ST UM0874 User manual

June 2010 Doc ID 16844 Rev 1 1/33
UM0874
User manual
Graphical display panel
demonstration board based on the STM32F103VE
Introduction
The STM32-based graphical display panel is a device that displays images one by one as in
a slideshow. The core of this demonstration board is the STM32 microcontroller which is
able to read the memory card of the photographs and display them on the screen. The
memory used to store the JPEG images is a micro-SD card. The MEMS is used for picture
orientation. The growing popularity and use of digital cameras and cell phones with high-
pixel cameras allow users to view digital photos in storage media without printing. Digital
photo frames are the perfect example of enjoying these digital images. The functionality of
displaying images with the STM32 shows the capability of this microcontroller in multimedia
applications. The STM32 has additional features like displaying room temperature, date and
time. An S-Touch™based keypad for user interface is also on the board. Other features
include USB mass storage, ZigBee®, and a rechargeable battery system. This board can be
used either as a standalone solution or combined with an application (i.e. POS, card
readers, security panels, USB speakers, high-end remote controllers).
Figure 1. STM32-based graphical display panel
This document explains the implementation of a digital photo frame using the STM32, an
ARM Cortex-M3 based microcontroller, and explains the different parts of the application.
The demonstration board is the STEVAL-CCM001V2.
www.st.com
www.BDTIC.com/ST

Contents UM0874
2/33 Doc ID 16844 Rev 1
Contents
1 Features . . . . . . . . . . . . . . . . . . . . . . . . . . . . . . . . . . . . . . . . . . . . . . . . . . . 4
2 Definitions of acronyms . . . . . . . . . . . . . . . . . . . . . . . . . . . . . . . . . . . . . . 5
3 Getting started . . . . . . . . . . . . . . . . . . . . . . . . . . . . . . . . . . . . . . . . . . . . . . 6
3.1 Package . . . . . . . . . . . . . . . . . . . . . . . . . . . . . . . . . . . . . . . . . . . . . . . . . . . 6
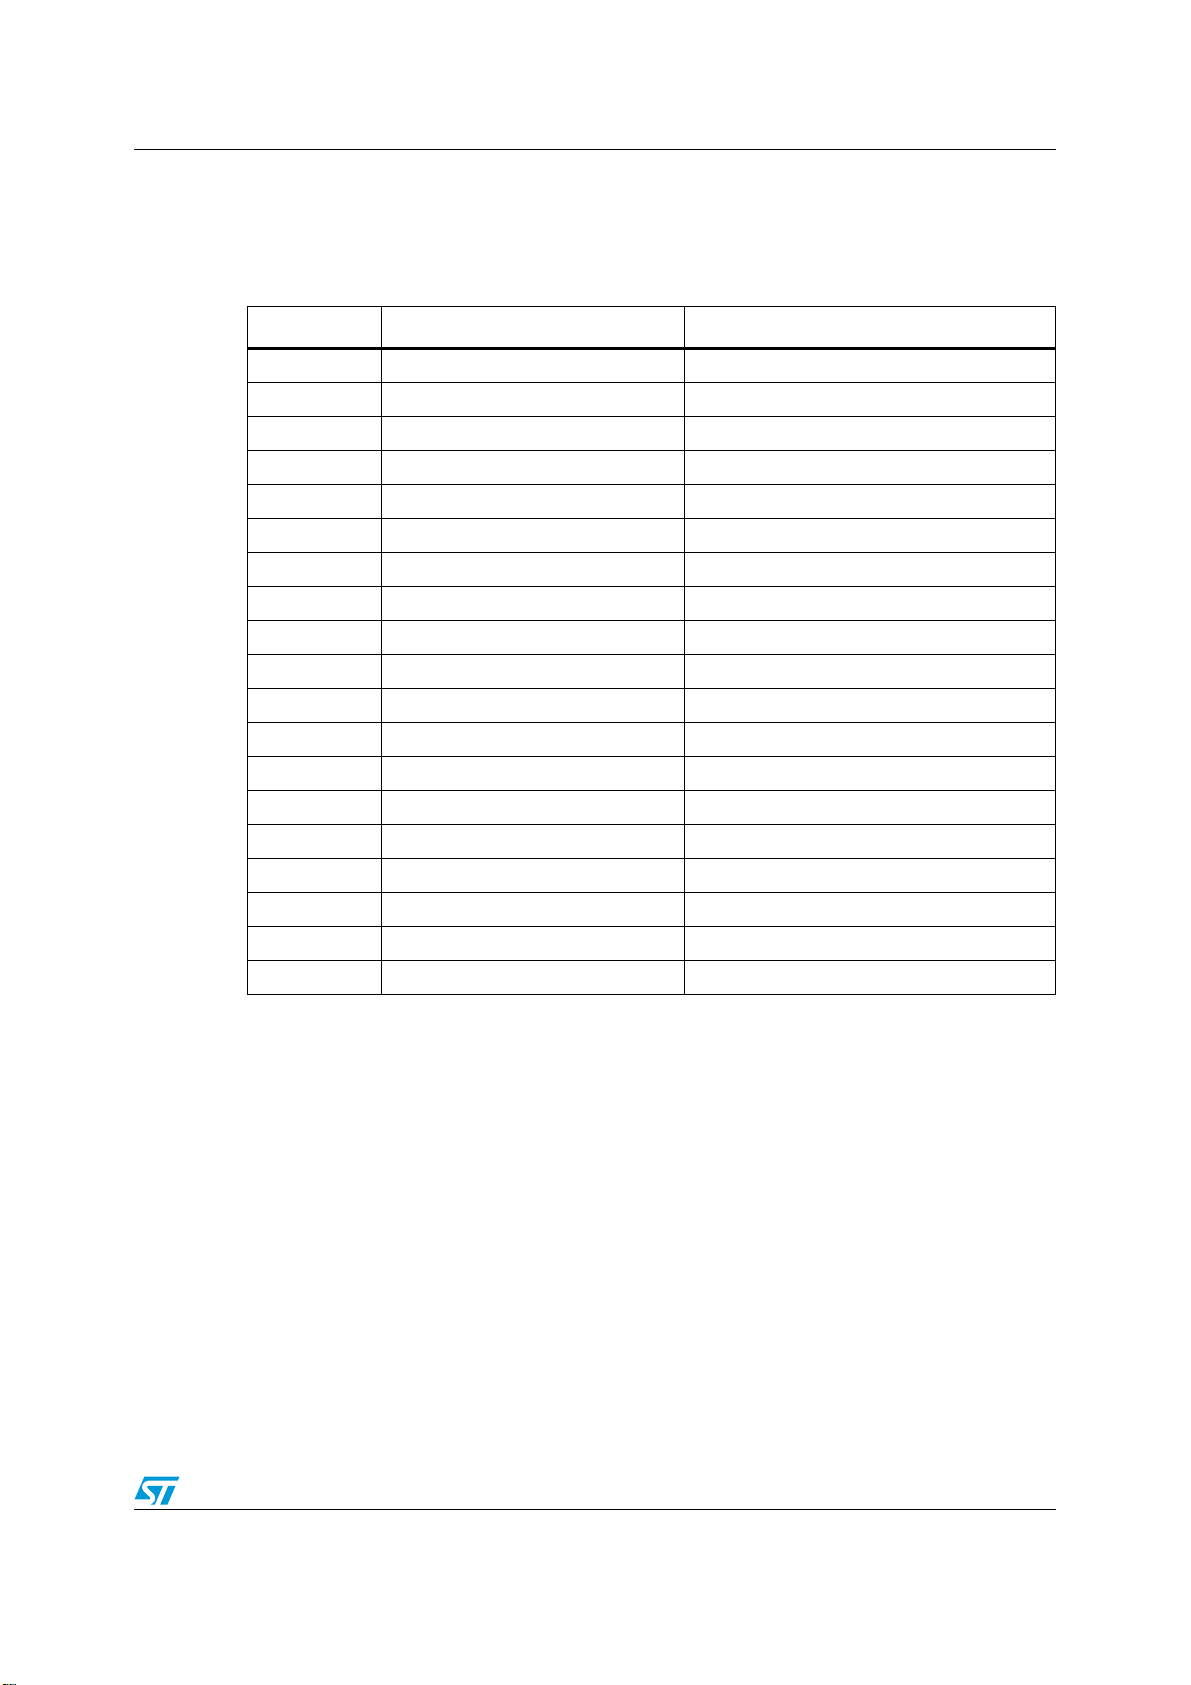
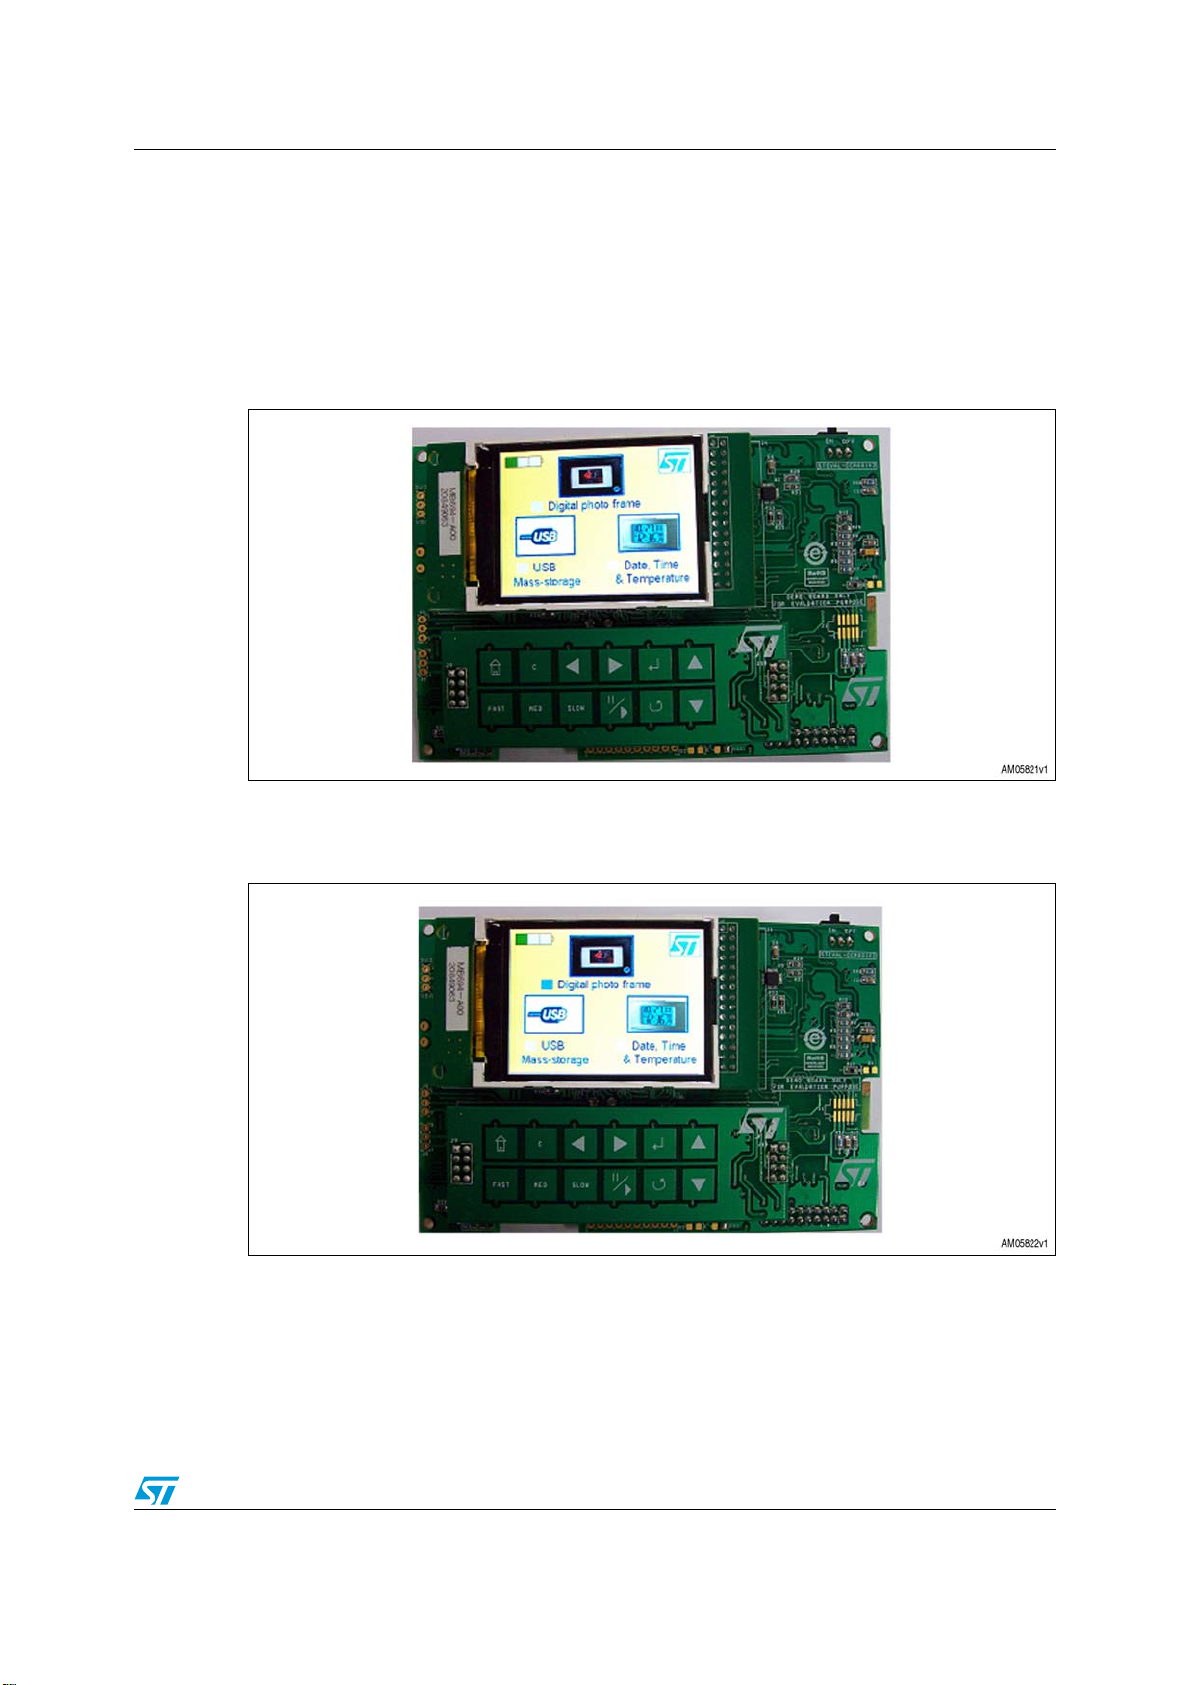
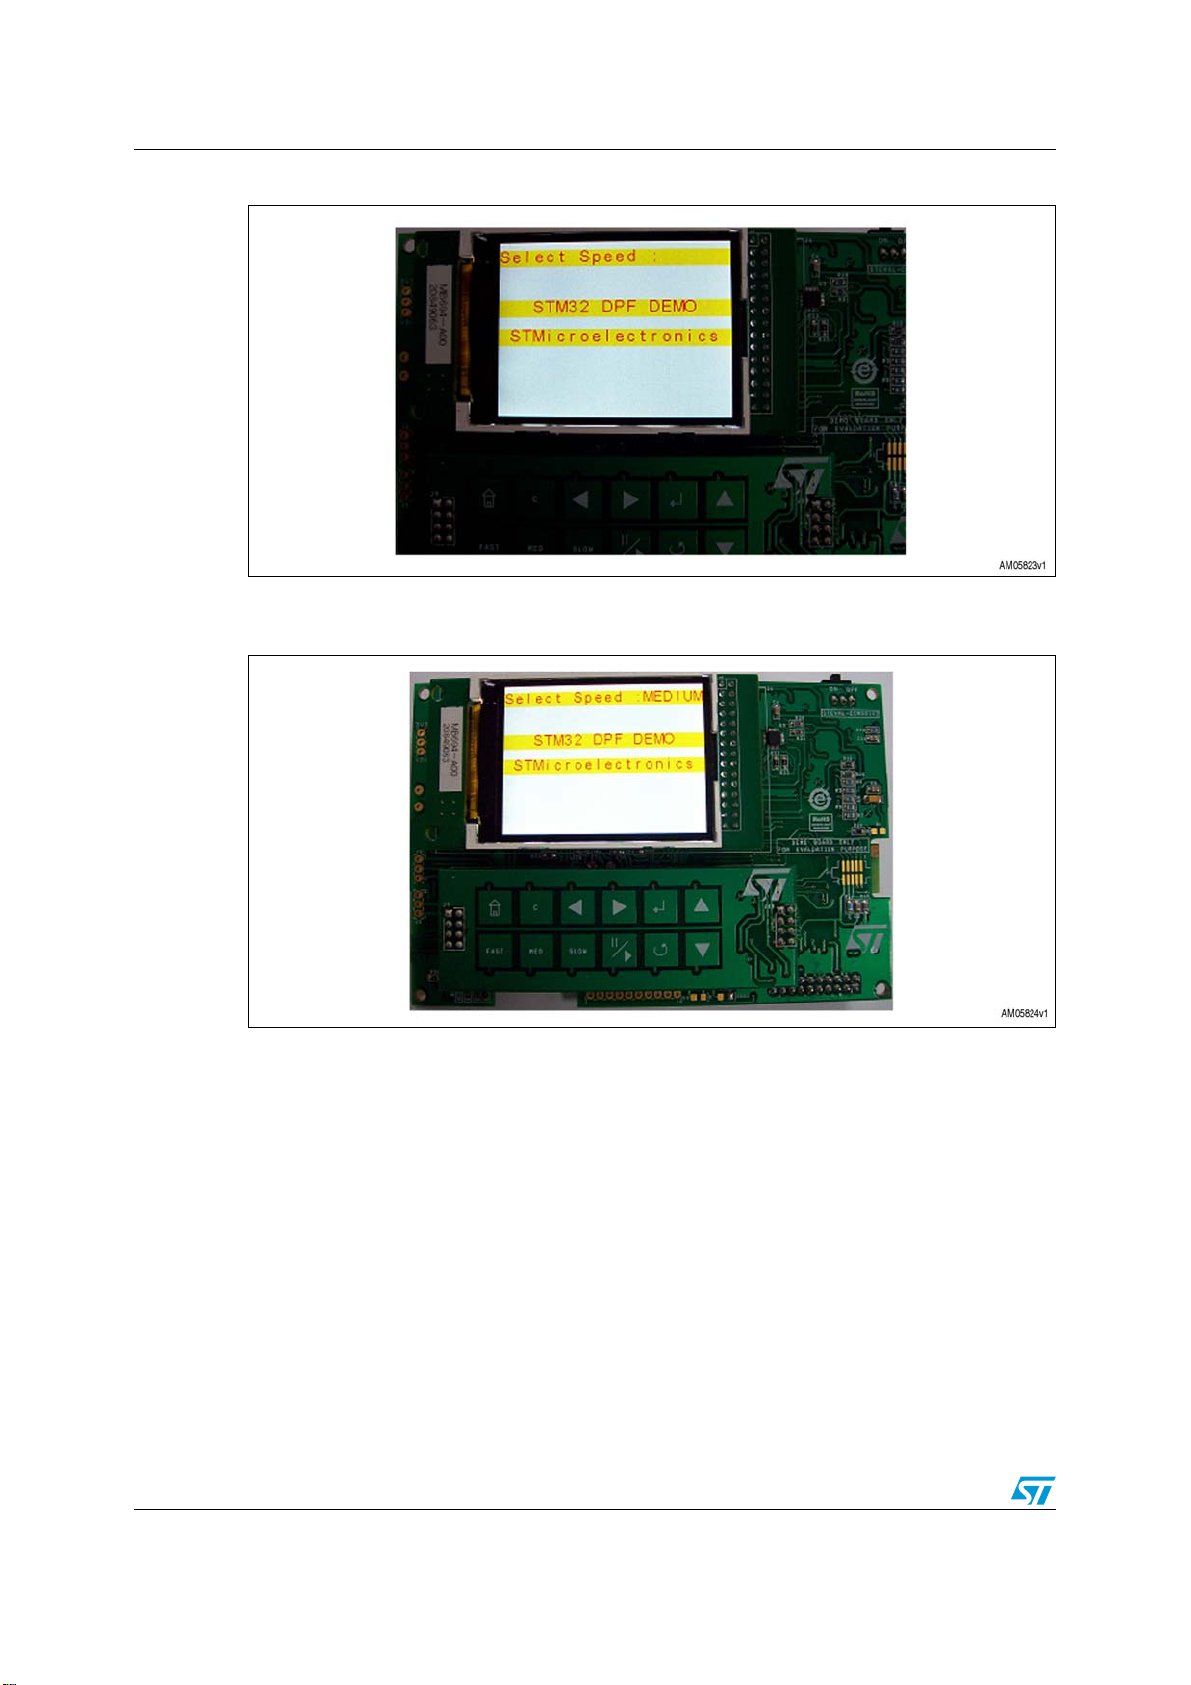
3.2 Setting up the board . . . . . . . . . . . . . . . . . . . . . . . . . . . . . . . . . . . . . . . . . . 6
3.3 Hardware layout . . . . . . . . . . . . . . . . . . . . . . . . . . . . . . . . . . . . . . . . . . . . 11
4 System overview . . . . . . . . . . . . . . . . . . . . . . . . . . . . . . . . . . . . . . . . . . . 14
4.1 Hardware design description . . . . . . . . . . . . . . . . . . . . . . . . . . . . . . . . . . 14
4.1.1 Microcontroller (STM32) . . . . . . . . . . . . . . . . . . . . . . . . . . . . . . . . . . . . 14
4.1.2 Mini-USB type B connector . . . . . . . . . . . . . . . . . . . . . . . . . . . . . . . . . . 15
4.1.3 LCD connector . . . . . . . . . . . . . . . . . . . . . . . . . . . . . . . . . . . . . . . . . . . . 15
4.1.4 JTAG connector . . . . . . . . . . . . . . . . . . . . . . . . . . . . . . . . . . . . . . . . . . . 15
4.1.5 Micro-SD connector . . . . . . . . . . . . . . . . . . . . . . . . . . . . . . . . . . . . . . . . 15
4.1.6 MEMS . . . . . . . . . . . . . . . . . . . . . . . . . . . . . . . . . . . . . . . . . . . . . . . . . . 15
4.1.7 Temperature sensor . . . . . . . . . . . . . . . . . . . . . . . . . . . . . . . . . . . . . . . . 15
4.1.8 S-Touch™based keypad . . . . . . . . . . . . . . . . . . . . . . . . . . . . . . . . . . . . 15
4.1.9 Bluetooth®module . . . . . . . . . . . . . . . . . . . . . . . . . . . . . . . . . . . . . . . . . 15
4.1.10 ZigBee®module . . . . . . . . . . . . . . . . . . . . . . . . . . . . . . . . . . . . . . . . . . 15
4.1.11 Power supply unit . . . . . . . . . . . . . . . . . . . . . . . . . . . . . . . . . . . . . . . . . . 16
4.2 Firmware architecture description . . . . . . . . . . . . . . . . . . . . . . . . . . . . . . 17
4.2.1 Firmware library for STM32 . . . . . . . . . . . . . . . . . . . . . . . . . . . . . . . . . . 17
4.2.2 Display interface (TFT AM-240320L8TNQW00H) driver library . . . . . . 18
4.2.3 SD/MMC library . . . . . . . . . . . . . . . . . . . . . . . . . . . . . . . . . . . . . . . . . . 18
4.2.4 File system library . . . . . . . . . . . . . . . . . . . . . . . . . . . . . . . . . . . . . . . . . 18
4.2.5 JPEG decompression library . . . . . . . . . . . . . . . . . . . . . . . . . . . . . . . . . 19
4.2.6 Other libraries . . . . . . . . . . . . . . . . . . . . . . . . . . . . . . . . . . . . . . . . . . . . 19
4.3 Hardware schematic . . . . . . . . . . . . . . . . . . . . . . . . . . . . . . . . . . . . . . . . . 20
5 Bill of material . . . . . . . . . . . . . . . . . . . . . . . . . . . . . . . . . . . . . . . . . . . . . 25
6 Revision history . . . . . . . . . . . . . . . . . . . . . . . . . . . . . . . . . . . . . . . . . . . 32
www.BDTIC.com/ST

UM0874 List of figures
Doc ID 16844 Rev 1 3/33
List of figures
Figure 1. STM32-based graphical display panel . . . . . . . . . . . . . . . . . . . . . . . . . . . . . . . . . . . . . . . . . 1
Figure 2. USB mass storage screen on the TFT display . . . . . . . . . . . . . . . . . . . . . . . . . . . . . . . . . . . 6
Figure 3. Home page on the TFT display . . . . . . . . . . . . . . . . . . . . . . . . . . . . . . . . . . . . . . . . . . . . . . 7
Figure 4. Home page with DPF icon selected on the TFT display . . . . . . . . . . . . . . . . . . . . . . . . . . . . 7
Figure 5. Start of DPF demonstration on the TFT display . . . . . . . . . . . . . . . . . . . . . . . . . . . . . . . . . . 8
Figure 6. Start of DPF demonstration with medium speed on the TFT display . . . . . . . . . . . . . . . . . . 8
Figure 7. Change of speed during DPF demonstration on the TFT display. . . . . . . . . . . . . . . . . . . . . 9
Figure 8. Set date and time screen on the TFT display . . . . . . . . . . . . . . . . . . . . . . . . . . . . . . . . . . . . 9
Figure 9. Set time screen on the TFT display . . . . . . . . . . . . . . . . . . . . . . . . . . . . . . . . . . . . . . . . . . 10
Figure 10. HomePageMenu. jpg . . . . . . . . . . . . . . . . . . . . . . . . . . . . . . . . . . . . . . . . . . . . . . . . . . . . . 10
Figure 11. STM32-based graphical panel display with touch keys’ notation . . . . . . . . . . . . . . . . . . . . 11
Figure 12. Demonstration board: top side . . . . . . . . . . . . . . . . . . . . . . . . . . . . . . . . . . . . . . . . . . . . . . 12
Figure 13. Demonstration board: bottom side . . . . . . . . . . . . . . . . . . . . . . . . . . . . . . . . . . . . . . . . . . . 12
Figure 14. Hardware layout: top side . . . . . . . . . . . . . . . . . . . . . . . . . . . . . . . . . . . . . . . . . . . . . . . . . . 13
Figure 15. Hardware layout: bottom side . . . . . . . . . . . . . . . . . . . . . . . . . . . . . . . . . . . . . . . . . . . . . . . 13
Figure 16. System block diagram . . . . . . . . . . . . . . . . . . . . . . . . . . . . . . . . . . . . . . . . . . . . . . . . . . . . 14
Figure 17. Power supply unit with Li-Ion battery charger. . . . . . . . . . . . . . . . . . . . . . . . . . . . . . . . . . . 16
Figure 18. F/W architecture . . . . . . . . . . . . . . . . . . . . . . . . . . . . . . . . . . . . . . . . . . . . . . . . . . . . . . . . . 17
Figure 19. JPEG decompression . . . . . . . . . . . . . . . . . . . . . . . . . . . . . . . . . . . . . . . . . . . . . . . . . . . . 19
Figure 20. Schematic: microcontroller section . . . . . . . . . . . . . . . . . . . . . . . . . . . . . . . . . . . . . . . . . . . 20
Figure 21. Schematic: connectors (TFT, micro-SD, JTAG, touch board) . . . . . . . . . . . . . . . . . . . . . . 21
Figure 22. Schematic: connectors (temp. sensor, ZigBee®, Bluetooth®) . . . . . . . . . . . . . . . . . . . . . . 22
Figure 23. Schematic: power, MEMS and USB . . . . . . . . . . . . . . . . . . . . . . . . . . . . . . . . . . . . . . . . . . 23
Figure 24. Schematic: S-Touch™keypad section . . . . . . . . . . . . . . . . . . . . . . . . . . . . . . . . . . . . . . . . 24
www.BDTIC.com/ST

Features UM0874
4/33 Doc ID 16844 Rev 1
1 Features
The key features of the board are:
●STM32 high-density (64 KB RAM, 512 KB flash) microcontroller
●320 x 240 pixel resolution parallel-interfaced TFT display using the FSMC peripheral for
faster display
●Bluetooth®module footprint
●S-Touch™based keypad for user interface
●ZigBee®for picture transfer
●STM32-based RTC available to display the date/time and calendar
●MEMS used to rotate the image as per the TFT alignment
●Micro-SD card interfaced through SDIO
●USB mini-B connector
●Uses the mass storage for connectivity to PC. User will be able to copy data directly
using USB, hence the card reader functionality
●User-programmable time interval for pictures
●Temperature sensor senses temp. and is displayed on the TFT
●Onboard power supply for DPF
●Rechargeable battery circuit available
●Onboard JTAG connector for firmware upgrades and changes
●Additional ESD-protection device for USB and SD card
www.BDTIC.com/ST

UM0874 Definitions of acronyms
Doc ID 16844 Rev 1 5/33
2 Definitions of acronyms
Table 1. Definitions of acronyms
Acronym Definition Comment
DPF Digital photo frame
JPEG Joint photographic experts group Compressed format of a digital image
BMP Bitmap Decompressed format of a digital image
MCU Microcontroller unit
IDCT Inverse discrete cosine transform
MMC/SD Multimedia card / secured drive
MPEG Moving picture experts group
FAT File allocation table
TFT Thin film transistor
LCD Liquid crystal display
SPI Serial peripheral interface
I2C Inter integrated circuit
MEMS Micro-electro-mechanical system Motion sensor, accelerometer
USB Universal serial bus
LCD Liquid crystal display
JTAG Joint test action group
BMP Bitmap picture
RGB Red green blue Raw data of a color image
ESD Electrostatic discharge
www.BDTIC.com/ST

Getting started UM0874
6/33 Doc ID 16844 Rev 1
3 Getting started
3.1 Package
The STM32-based graphical display panel demonstration board includes the following
items:
●Hardware content
– Demonstration board
●Documentation
– User manual (this document)
– Schematics, Gerber files, BOM
●Firmware
– Already programmed, the STM32 device is soldered on the demonstration board
– Object files are also available for the firmware
3.2 Setting up the board
The STM32-based graphical display panel demonstration board can be set up as follows:
1. Copy some JPEG images to the micro-SD card
2. Connect the micro-SD card to the demonstration board
3. Check that the board is powered by a 5 V adaptor with a mini-USB connector or via a
mini-USB cable or through the batteries. Turn-on the power using the slide switch
4. The board can be put in mass storage mode by connecting a USB mini-B cable. For
this, first connect a mini-B cable. Then switch on the SW1 to start charging the battery.
Figure 2. USB mass storage screen on the TFT display
www.BDTIC.com/ST

UM0874 Getting started
Doc ID 16844 Rev 1 7/33
5. To run the demonstration in DPF mode, first switch off the system, then remove the
mini-B cable. Switch on the system again by sliding the SW1 SPDT switch. The home
page will pop up on the TFT display. Please make sure that the Li-Ion battery is
connected at BT2 terminals with the correct polarity. If the user does not have the
batteries, a 3.3 V voltage power supply can be connected.
6. Three icons appear on the home page ("Digital Photo Frame", "USB Mass-storage"
and "Date, Time & Temperature").
Figure 3. Home page on the TFT display
7. Any of the above-mentioned icons can be highlighted by pressing the left or right key on
the S-Touch™daughterboard
Figure 4. Home page with DPF icon selected on the TFT display
8. Once an icon is highlighted, it can be selected by pressing the “Enter” key once
9. If "Digital Photo Frame" is selected, the following screen will appear. Select the speed
by pressing one of the three keys "FAST", "MED" or "SLOW".
www.BDTIC.com/ST

Getting started UM0874
8/33 Doc ID 16844 Rev 1
Figure 5. Start of DPF demonstration on the TFT display
10. After selecting one of the speeds, the image slideshow starts
Figure 6. Start of DPF demonstration with medium speed on the TFT display
www.BDTIC.com/ST

UM0874 Getting started
Doc ID 16844 Rev 1 9/33
11. During the slideshow, the speed can be changed.
Figure 7. Change of speed during DPF demonstration on the TFT display
12. The slideshow can be paused by pressing the “Play n Pause” key. To resume, press the
same key
13. During the slideshow, the user can rotate the board to see the MEMS functionality. The
image will appear according to the frame alignment
14. To set the time and date, press the "C" calendar key. The following window will pop up.
Select one of the options "Set Time" or "Set Date"
Figure 8. Set date and time screen on the TFT display
15. If "Set Time" is selected, the following window will pop up. The right and left keys help
the user to move the cursor. Time digits can be entered using the up and down keys
16. Once the time values are entered, press the "Enter" key to store the values
17. Similarly, the date can be set through the "Set Date" menu
www.BDTIC.com/ST

Getting started UM0874
10/33 Doc ID 16844 Rev 1
Figure 9. Set time screen on the TFT display
If the user is going to use a brand new micro-SD card and an unprogrammed board, follow
these steps before inserting it into the demonstration board:
1. Format the micro-SD card through Windows Explorer using a card reader or the
demonstration board in mass storage mode
2. Copy any JPEG images to the micro-SD card
3. Insert the card into the micro-SD slot on the board
4. Program the demonstration board using the suitable tool for example, using J-Link and
IAR work bench, or JFlash
5. Remove the JTAG flex cable from the demonstration board
6. Follow the steps mentioned above for setting up the demonstration
Figure 10. HomePageMenu. jpg
www.BDTIC.com/ST

UM0874 Getting started
Doc ID 16844 Rev 1 11/33
Figure 11. STM32-based graphical panel display with touch keys’ notation
3.3 Hardware layout
The STM32-based graphical panel display board is built using STMicroelectronics' ARM®
Cortex-M3 core-based STM32F103VE in a 100-pin LQFP100 package. The ST
components used in this board are listed below. Figure 14 and 15 show the component
layout to help the user to locate different components / sections on the board.
!-V
3LIDESWITCH
ONOFF
(OMEKEY
#ANCELKEY
,EFTKEY
2IGHTKEY
%NTERKEY
5PKEY
3LOWKEY
$OWNKEY
"LACKKEY
0LAY.PAUSE
-EDIUM
&AST
Table 2. ST component list
ST component Part no.
Microcontroller STM32F103VET6
ESD protection for SD EMIF06-MSD02N16
ESD protection for USB USBLC6-2P6
Voltage regulator LD1117D33TR
Battery interface L6920D
Battery charger STW4102IQT
Power MOSFET STT5PF20V
Power Schottky rectifier STPS3L60U
MEMS LIS331DLH
Temp. sensor STLM75
S-Touch™STMPE1208SQTR
www.BDTIC.com/ST

Getting started UM0874
12/33 Doc ID 16844 Rev 1
Figure 12. Demonstration board: top side
Figure 13. Demonstration board: bottom side
!-V
4&4
34OUCHBASED
KEYPAD
!-V
,I)ONBATTERY
CONNECTOR
-(Z
CRYSTAL
K(Z
CRYSTAL
34-
34,-
0OWERONOFF
SWITCH
53"MINI"
CONNECTOR
*4!'
CONNECTOR
-ICRO3$
CONNECTOR
www.BDTIC.com/ST

UM0874 Getting started
Doc ID 16844 Rev 1 13/33
Figure 14. Hardware layout: top side
Figure 15. Hardware layout: bottom side
www.BDTIC.com/ST

System overview UM0874
14/33 Doc ID 16844 Rev 1
4 System overview
4.1 Hardware design description
Figure 16. System block diagram
The hardware block diagram is given in Figure 16. As shown, the STM32 microcontroller is
the main controller of the system.
4.1.1 Microcontroller (STM32)
The STM32 is a 32-bit MCU based on the popular ARM 32-bit Cortex™-M3 CPU running at
72 MHz with performance of 90 DMIPS with 1.25 DMIPS/MHz. The memories embedded in
it contain up to 20 Kbytes of SRAM and 128 Kbytes of flash memory. The microcontroller
has single-cycle multiplication and hardware division. It has 80 fast general-purpose IOs to
enhance the overall performance. The IOs are 5 V tolerant.
The microcontroller has up to 9 communication interfaces which include two I2Cs
(400 kHz), three USARTs (4.5 Mbps), two SPIs (18 MHz), CAN 2.0B active interface and
USB 2.0 (12 Mbps) full-speed interface. For more details, please refer to the STM32F103VE
datasheet.
For the digital photo frame application, the firmware is using the two SPIs, two I2Cs, SDIO,
FSMC and USB interfaces. One of the SPIs is interfaced with MEMS and the other one with
the ZigBee®module. The SD card is interfaced with SDIO and the TFT with FSMC. The
STLM75 and STMPE1208SQTR use I2C-2 and the STW4102 uses I2C-1 to communicate
with the controller.
The microcontroller works on a single voltage from 2 V to 3.6 V, unlike several
microcontrollers requiring dual voltage. In this application the voltage bus is managed with
3.3 V.
www.BDTIC.com/ST

UM0874 System overview
Doc ID 16844 Rev 1 15/33
4.1.2 Mini-USB type B connector
A mini-USB type B connector is available on the board for connecting the USB cable with
the mini-B connector or a USB adaptor with mini-B connector. An ESD-protection device
(USBLC6) is also mounted for protecting the USB bus.
Although the microcontroller has built-in protection of ESD up to 2 KV (human body model),
It can be noted that the USBLC6 device provides additional protection of USB signals
compliant to IEC61000-4-2 level 4: 15 kV (air discharge), 8 kV (contact discharge).
The USBLC6 device is recommended for additional protection.
4.1.3 LCD connector
A 30-pin LCD connector is available to connect the TFT module MB694. The LCD module is
mounted on the board. It is interfaced through the embedded FSMC controller. It is a color
TFT module with 2.4" diagonal length.
4.1.4 JTAG connector
A 20-pin JTAG connector is available on the board to program the microcontroller through
JTAG and debug the firmware.
4.1.5 Micro-SD connector
The micro-SD connector is provided for the micro-SD card. It is interfaced with SDIO.
4.1.6 MEMS
MEMS (LIS331DLH) is available on the board and is used for the auto-rotation of the images
(portrait or landscape) according to the frame alignment.
4.1.7 Temperature sensor
The temperature sensor, STLM75 mounted on the board, senses the room temperature and
the measured temperature is displayed on the TFT.
4.1.8 S-Touch™based keypad
The S-Touch™keypad, based on the STMPE1208SQTR, is a user interface available on
this demonstration board which helps to navigate through the menu. This keypad is a
daughterboard having 12 keys. In Figure 11 the touch keys are shown.
4.1.9 Bluetooth®module
The footprint for the Bluetooth®module SPBT2563C2A is available on the board. It's an
optional feature which is not included in the present firmware package.
4.1.10 ZigBee®module
The ZigBee®module, SPZB260 footprint, is available on the board. This can be used by
user to build their own applications by mounting the ZigBee®module.
www.BDTIC.com/ST

System overview UM0874
16/33 Doc ID 16844 Rev 1
4.1.11 Power supply unit
The onboard power supply unit contains components like the battery charger system
(STW4102), step-up converter (L6920), voltage regulator (LD1117D33TR) and ESD-
protection on the USB bus (USBLC6), Power MOSFET (STT5PF20V). See Figure 17.
Figure 17. Power supply unit with Li-Ion battery charger
www.BDTIC.com/ST

UM0874 System overview
Doc ID 16844 Rev 1 17/33
4.2 Firmware architecture description
Figure 18. F/W architecture
4.2.1 Firmware library for STM32
The firmware library for the STM32 can directly be used for different peripherals of the
STM32.
For this application, the firmware library for the STM32 is used for driving the different
peripherals.
The firmware uses two SPIs, two I2Cs, SDIO and FSMC for this application. One of the SPIs
(SPI1) is interfaced with MEMS and the other one (SPI2) with the ZigBee®module. I2C1 is
with battery charger and I2C2 with temperature sensor and S-Touch™. SDIO is the interface
used for the micro-SD card. The TFT is connected to the controller through the FSMC
interface. Refer to Figure 16 on page 14 for a pictorial view of the different interfaces used in
this application. The Systick timer is used to produce the required delay for the LCD-TFT
library or slideshow.
The user can download the latest STM32 firmware library from http://www.st.com.
www.BDTIC.com/ST

System overview UM0874
18/33 Doc ID 16844 Rev 1
4.2.2 Display interface (TFT AM-240320L8TNQW00H) driver library
The TFT used is QVGA (320 x 240) resolution. It is diagonally 2.4" in size. The TFT has an
amorphous, transmissive, normally white display format with 12 o’clock alignment. It adopts
one backlight with 4 high brightness white LEDs.
It has real 262K color display and supports 5-6-5 and 6-6-6 RGB mode. We use the 5-6-5
RGB mode which means it takes 5, 6, 5 most significant bits for red, green and blue
respectively to form one pixel of data. The TFT controller is ILI9320. The TFT internal RAM
capacity is 172,800 bytes to display direct data. This TFT is to be used under conditions
with a temperature range of 0 to 35 deg C and humidity under 60%.
This TFT is interfaced through FSMC, a parallel interface. The TFT driver firmware library
writes the graphics file from the MMC/SD card to the TFT RAM in order to display it on the
TFT screen.
The TFT driver firmware library also contains functions for displaying text lines, clearing TFT
screen with a given color, setting the display window on the TFT, and setting the text color.
These functions are used in this application.
This library is available with the 'STM3210E-EVAL demonstration firmware' available on
www.st.com.
4.2.3 SD/MMC library
The SD/MMC cards are very common in mass storage media and are frequently used in
many digital cameras and cell phones. SD cards are found in different forms. According to
the dimensions, they are called SD, mini-SD, or micro-SD cards.
In this application we use micro-SD (SD/Micro-SD) cards for storing JPEG images.
The SD card can store images depending on their memory capacity. For instance, a 64 MB
card can store up to 200 JPEG images of 2 megapixel (1600 x 1200) resolution.
The library for the SD/MMC has functionalities for read and write operations. Read/write
commands are issued to the card for these operations. For this application, the firmware
library for the SD/MMC card reads data in the card through the SDIO. The SDIO is a
dedicated IP for the SD card.
This library is available in the demonstration firmware 'STM32F10xxx USB developer kit'
mass storage example.
4.2.4 File system library
In order to implement the DPF, the firmware uses the file system library (FAT16/32) on the
STM32. When copying the images from the computer to the micro-SD card, the operating
system copies the files and stores them according to the FA16/FAT32 file system format.
The file system running on the demonstration board reads the files from the memory card
one by one and decompresses the JPEG images for display on the TFT.
There is freeware in the file system on the web and some are licensed versions available
from companies.
www.BDTIC.com/ST

UM0874 System overview
Doc ID 16844 Rev 1 19/33
4.2.5 JPEG decompression library
Most of the images taken by a digital camera are in JPEG format which is a compressed
format of image data. To display this image on the TFT, it must be decompressed into RGB
data. The decompressed format is called BMP format. BMP files are of different types
depending upon the RGB format. Generally, the BMP images we see in our PCs are 24-bit
BMP. In this case, one pixel contains 24 bits with 8 bits associated each with R, G and B,
but the TFT used in this application supports 5-6-5 RGB format. The JPEG decompression
library decompresses the JPEG, resizes the image to fit the TFT resolution and then
converts them into 5-6-5 RGB format.
Figure 19. JPEG decompression
The JPEG decompression library first extracts the RGB data from the JPEG luminance and
chrominance components namely Y, Cr and Cb using Huffman decoding and IDCT (Inverse
Discrete Cosine Transform). Each pixel has now 3 bytes of data, 1 byte each for R, G and B.
To convert this 24-bit (8-8-8) RGB format to 16-bit (5-6-5) RGB it is required to extract 5, 6
and 5 most significant bits of R, G and B respectively.
The TFT we are using is of QVGA (320 x 240) resolution. Hence after extracting RGB, the
library downsamples the higher resolution image into 320 x 240 resolution to fit the TFT
screen.
The JPEG decompression library using Huffman decoding and IDCT (Inverse Discrete
Cosine Transform) decompresses a JPEG image of any resolution and converts it into a
BMP image of 5-6-5 RGB format with 320 x 240 resolution.
4.2.6 Other libraries
The firmware also includes source code for the MEMS, temperature sensor, S-Touch™,
RTC, and menu navigation. Refer to the f/w architecture block diagram in Figure 18 on
page 17.
www.BDTIC.com/ST

System overview UM0874
20/33 Doc ID 16844 Rev 1
4.3 Hardware schematic
The following figures represent the schematic diagrams for the board.
Figure 20. Schematic: microcontroller section
!-V
26&B287
9
*1'
Q567
*1'
9
*1'
9
%227
9
*1'
9''$
*1'
%227
9
9
*1'
9
9
Q567
9''$
9
%227
3&B26&B,1
3&B26&B287
*1'
9
9
26&B,1
*1'
9
%227
9%$7
3%B=%B026,
3&B06'B6',2B'
3&B/&'BQ567
3&B06'B6',2B'
3$B-7$*B-7',
3&B/&'B%/B&175/
3&B=%BQ5(6(7
9
3&B=%BQ+267B,17
3$B-7$*B-7&.
9
3&B=%BQ: $.(
3&B06'B6',2B'
3(B86%B'3B38
3'B/&'BQ:5
3'B/&'BQ5'
3'B0(0B,17
3$B86%B'3
3$ B 86 %B ' 0
3(B0(06B,17
3'B/&'B'%
3'B/&'B'%
3'B/&'B'%
3'B/&'B'%
3'B/&'B'%
3'B76B,17
3'B&+5*B3: '7
3%B&+5*B567
3%B&+5*B67'%<
3(B/&'B'%
3'B/&'B'%
3'B/&'B'%
3(B/&'B'%
3(B/&'B'%
3(B/&'B'%
3(B/ &'B'%
3(B/&'B'%
3(B/&'B'%
3(B/&'B'%
3$B(2&+*
3(B/&'B'%
3'B06'B6',2B&0'
3&B06'B6',2B'
3%B-7$*B-7'2
3%B-7$*B-17567
3$ B0 6' B &'
3$B-7$*B-706
3%B=%BQ66
3%B=%B6&.
3%B76B67B6&/
3&B06'B6',2B&.
3&B/&'B56
3%B76B67B6'$
3%B=%B0,62
Q567
3&B/&'BQ&6
*1'
9
3'B3:0B.+]
*1'
3$B%7B576
3$B%7B&76
3$ B% 7B 7;
3$ B% 7B 5;
3$B%7B:.83
Q567
26&B,1
26&B287
3&B26&B,1
3&B26&B287
3&B%7B+267:.83
3'B/('
3'B/('
3'B/('
3'B/('
3$B0(06B6&.
3$ B0 (0 6B 0, 62
3$ B0 (0 6B 02 6,
3(B0(06B&6
3%B,&B6&/
3%B,&B6'$
3%B67B,17
3(B%7B&/.B,1
3(B%7B&/.B,1
3(B%7B&/.B287
3(B%7B&/.B287
3$B%7B5(6(7
9
9%$7
3%B76B5(6(7
670627
'
/('
'
/('
'
/('
'
/('
5
5
&
X)
&
X)
&
Q)
&
Q)
&
S)
&
S)
&
Q)
&
Q)
&
Q)
&
Q)
<
0+]
<
0+]
5
5
-
&21
-
&21
5
5
8
670)9(7
8
670)9(7
3'
3'
3'
3'
3'
3'
3'
3'
3&
3&
3&
3$
3$
9''B
966B
1&
3$
3$
3$
3$
3$
3$
3&
3&
3&
3&
3'
3'
3'
3'
3'
3'
3(
3(
3(
9%$7
3&7$03(557&
3&26&B,1
3&26&B287
966B
9''B
26&B,1
26&B287
3&
1567
3(
3(
966$
3&
9''
3&
3&
95()
95()
9''$
3$ : . 83
3$
3$
3$
966B
3$
3$
3$
3$
3&
3&
3%
3%
3%%227
3(
3(
3(
3(
3(
3(
3%
3'
3'
3%
3%
3%
3%
966B
3%
9''B
3%
3(
3(
3(
3%
3%
3%
%227
3%
3%
3%
3(
3(
966B
9''B
Q)
&
Q)
&
&
Q)
&
Q)
&
S)
&
S)
&
Q)
&
Q)
%7
%$77(5<
%7
%$77(5<
5
0
5
0
5
N
5
N
<
.+]
<
.+]
&
S)
&
S)
0
5
0
5
5
N
5
N
&
Q)
&
Q)
/
X+
/
X+
&
Q)
&
Q)
88
966
567
9&&
&
Q)
&
Q)
5
N
5
N
6:
6:B3%B6367
6:
6:B3%B6367
&
S)
&
S)
www.BDTIC.com/ST
Table of contents