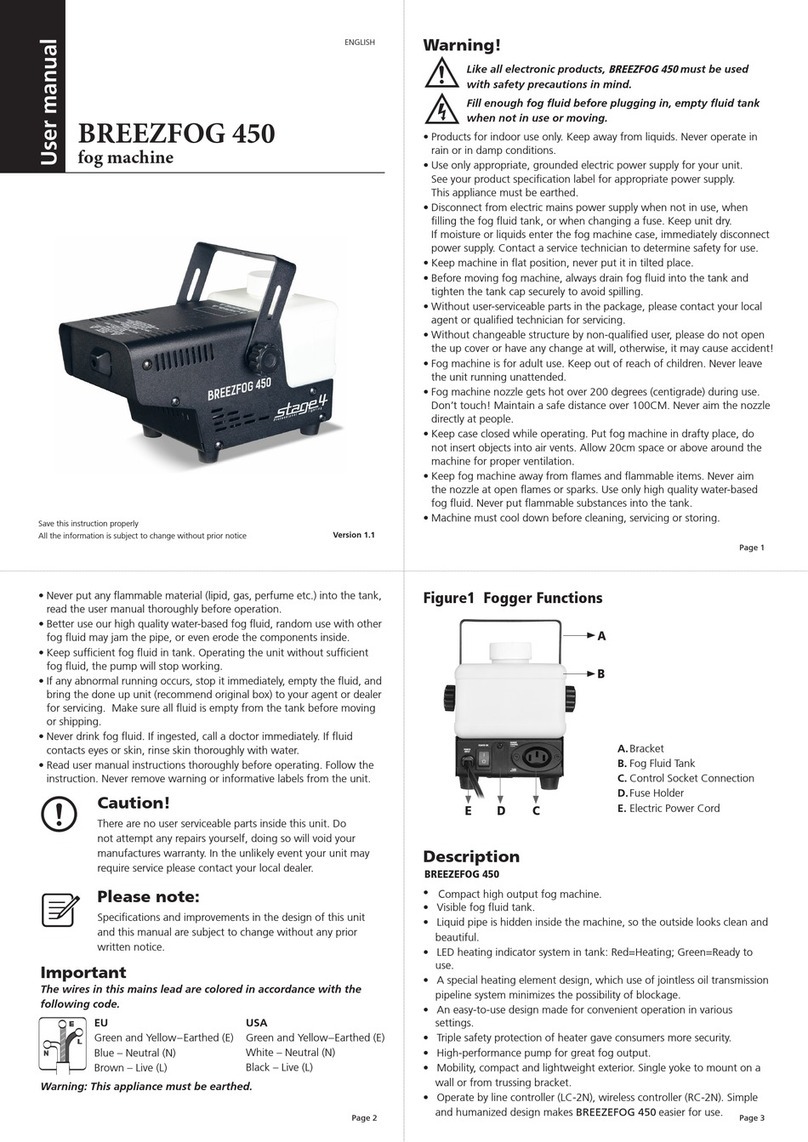
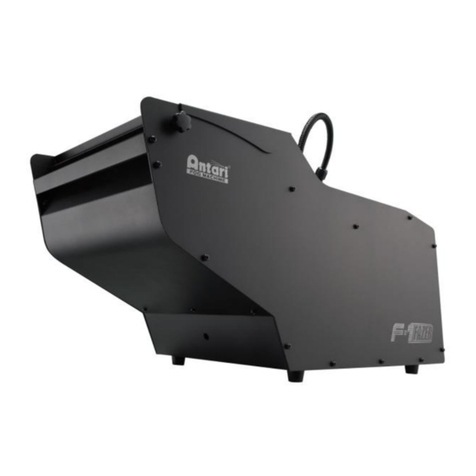
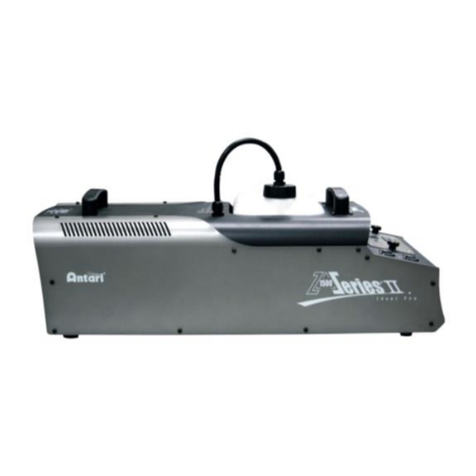
Stage4 MYSTYQUE 400 DMX User manual

User manual
ENGLISH
MYSTYQUE 400 DMX
Version 1.1

1
3
4
4
4
5
6
7
6
8
8
9
11
11
16
17
19
Warning
Important safeguards
Caution
Please note:
Important
Figure 1 DMX HAZE Functions
Description
Getting ready
Mounting
Set Up
DMX Connector Pin Assignment
Functions of the buttons
Very Important
Operation
Figure 2 DMX Chart
Troubleshooting
Maintenance
Product Specification 20
CONTENTS
If the supply cord is damaged, it must be replaced
by the manufacturer, its service agent or similarly
qualied persons in order to avoid a hazard.
Read the manual
Indoor use only
This symbol indicating separate collection for electrical and
electronic equipment
Warning: situations that could cause injury to yourself or
others
Caution: situations that could cause damage to your
machine or other equipment
Note: notes, usage tips, or additional information
!
Instructional icons

1
• Useonlyappropriate,groundedelectric power
supply for your unit. See your product
specification label for appropriate power supply.
This appliance must be earthed.
• Disconnectfromelectricmainspowersupply
when not in use, when filling the fluid tank, or
when changing a fuse. Keep unit dry.
If moisture or liquids enter the haze machine
case, immediately disconnect power supply.
Contact a service technician to determine safety
for use.
• Beforemovingthemachine,alwaysdrainfog
fluid and tighten the tank cap securely to avoid
spilling.
• Withoutuser-serviceablepartsinthepackage,
please contact your local agent or qualified
technician for servicing.
Thank you for selecting our DMX haze machine,
you already own the high-tech, professional
DMX haze! Better read the manual thoroughly
before operation, follow instruction will help
you have a smooth handling with DMX haze
machine to achieve the most satisfactory haze
effect, it will also assist unit to further prolong
life time as a whole.
Warning!
Like all electronic products, DMX haze machine
must be used with safety precautions in mind.
Fill enough fog fluid before plugging in, empty
fluid tank when not in use or moving.
!

2
• Withoutchangeablestructurebynon-qualified
user, please do not open the cover or have any
change at will, otherwise, it may cause accident!
• Hazemachineisforadultuse.Keepoutof reach
of children. Never leave the unit running
unattended.
• Hazemachinenozzlegetshotover200degrees
(centigrade) during use. Don’t touch! Maintain a
safe distance over 100CM. Never aim the nozzle
directly at people.
• Keepcaseclosedwhileoperating.Putthe
machine in drafty place. Do not insert objects
into air vents. Allow 100CM space or above
around the machine for proper ventilation.
• Keephazemachineawayfromflamesand
flammable items. Never aim the nozzle at open
flames or sparks. Use only high quality water-
basedhazefluid.Neverputflammable
substances into the tank.
• Machinemustcooldownbeforecleaning,
servicing or storing.
• Neverputanyflammablematerial(lipid,gas,
perfume etc.) into the tank, read the user
manual thoroughly before operation.
• Betteruseourhighqualitywater-basedfog
fluid, random use with other haze fluid may jam
the pipe, or even erode the components inside.
• Keepsufficientfluidintank.Operatingthe unit
without sufficient fluid, the pump will stop
working.

3
•Ifanyabnormalrunningoccurs,stopit
immediately, empty the fluid, and bring the
done up unit (recommend original box) to
your agent or dealer for servicing. Make sure
all fluid is empty from the tank before moving
or shipping.
•Neverdrinkfoguid.Ifingested,calladoctor
immediately. If fluid contacts eyes or skin, rinse
skin thoroughly with water.
•Readusermanualinstructionsthoroughly
before operating. Follow the instruction.
Never remove warning or informative labels
from the unit.
Important Safeguards
•Readallinstruction
•Productsforindooruseonly.
Keep away from liquids. Never operate in rain
or in damp conditions.
•Unitmustbegrounded.
•Donnotopenunit,riskofelectricshock.
•Donotimmerseinanyliquid
•Savetheseinstructions.

4
Caution!
There are no user serviceable parts inside this unit.
Do not attempt any repairs yourself, doing so will void
your manufactures warranty. In the unlikely event your
unit may require service please contact your local dealer.
Particular Warning :
Please install the product correctly according to the
instruction of the user manual. To avoid any accident,
it is not allowed to install the product with any way
not instructed on the user manual. If accident happens
because users do not install the product according to
the instruction of the user manual, the manufacturer
will not take any responsibility.
Please note:
Specifications and improvements in the design of this
unit and this manual are subject to change without any
prior written notice.
Important
The wires in this mains lead are colored in
accordance with the following code.
230V, 240V .................................................................
Green and Yellow – Earthed (E)
Blue–Neutral(N)
Brown–Live(L)
Warning: This appliance must be earthed.
100V, 120V .................................................................
Green and Yellow – Earthed (E)
White – Neutral (N)
Black–Live(L)
Warning: This appliance must be earthed.
!

5
A. HangingBracketwithhandlescrew(usedasatripod)
B. Tank
C. Quick Connector
D. Fixed Ring
E. Air Deflector
F. Sponge
G. Smoke Output
H. LED Display
I. 4FunctionButtons
J. Control Socket Connection
Figure1 DMX HAZE Functions
C
D
B
O
P
E
A
F
G
K. DMX 3 pin XLR Output
L. DMX 3 pin XLR Input
M. Manual Fog
N. Power ON/OFF
O. Fuse
P. Electric Power Input
Q. Safety Ring
R. Pad
FI
Q
JR
R
K
L
MN

6
Description
• Primaryheatinguptakesveryshorttime,onlyabout40seconds,
shorter than general haze machines.
• Theinnovativeheatingpreservationfunctionoftheheater,
under status of standby, heater keeps heating up steadily by lower
temperature to protect the heating pipe to prolong the life.
• Drying,stableandsmoothlysmokeoutputcontrolfrom0-100%.
High quality smoke, with smooth fan effect, so that the effect of
smoke thinner and more uniform.
• Thehangingbracketofthemachinecanbeusedasatripodanddo
a variety of angles setting.
• Excellentdesignof3-literliquidtankhasnoworryofoilleaking
when being operated up spray or forward spray. Quick connector
makes replacement direct and easier when performance is ongoing.
• DMXonboard,3DMXmodesforchoice;1CH,2CH,4CH,operate
by any additional DMX controller.
• Built-inmulti-functionoperationcontrol.Built-Intimercontroland
continuous fogging control.
• Equippedwith0-90degreeadjustableairdeflector.
• Heavy-duty.Abletokeepworkinglongtime.
• Self-cleaningfunction:Themachinedesignofmachinestops
working after a delay of 100 seconds, automatically clear the tubing
of the remaining liquid.
• EasyunderstandingLEDscreenandintelligentdesignofsoftware
control.
• CouldbeusedwiththeVT-1controller(optional).Simpleanduser-
friendlydesignmakesMYSTYQUE 400 DMXeasiertouse.
• Thestreamlinehousingcouldbehanging,sidehanging,landing
installation, easy to set in various occasions.

7
Getting Ready
All products are thoroughly tested at the factory and shipped in
perfect condition. If damage has occurred during shipping, or if
components are missing, please contact your local dealer immediately.
Your package should include:
1.OneDMXHazer
2.One product user manual
Mounting
MYSTYQUE 400 DMXisshippedcomplete,readytouse.Thebracketis
installedbefore shipping, the unit can be hung in any position.
Fastentheeffectfanontormtrussing(Usea15-kgratedorstronger
C-clampboltedontothebracket,enhancingsafetynecessarilywith
safety cables). Allow enough space (around 20cm) on all sides for
proper cooling.
C-clamp
safety cable
Note:
When mounting , please be sure the
safety cable must be through the
safety ring on the up of the machine.

8
Set Up
1. Open the shipping carton and carefully remove the unit from the
shippingcarton;
2. Besuretoremovepackingmaterialfromaroundthehazemachine,
especiallynearthenozzle;
3. Setthehazemachineonadry,flatsurface;
4. Connectthequickconnectorwiththeliquidtankcap(Figure1-C).
Besureofwellconnection.Usedefinitelywaterbasedliquidof
goodquality;
5. Plug mains power cord from the haze machine into appropriate
power supply socket. Wait about 40 seconds for heating element to
heatup;
6. Use LED display for operating control, or connect DMX controller
forsetting;
7. Moving the machine during operation could probably get air
entered into the liquid pipe and affect smoothness of fog blasts. If
this happened, press the “Manual Fog” button to fog for a
moment. Until the air is dispersed from the pipe, the machine will
recover its normal fogging.

9
DMX Connector Pin Assignment
Themachineprovidesa3-or5-pinXLRconnectorforDMX
connection. The diagram below indicates pin assignment information.
5 pin XLR 3 pin XLR
1. Ground
1. Ground
1. Ground
1. Ground
2. Cold
2. Cold
2. Cold
2. Cold
3. Hot
3. Hot
3. Hot
3. Hot
4. N/A
4. N/A
5. N/A
5. N/A
XLR Pin Configuration
Pin 1= Ground
Pin 2= Data Compliment
(negative)
Pin 3= Data True (positive)
Pin 4= No use
Pin 5= No use
XLR Pin Configuration
Pin 1= Ground
Pin 2= Data Compliment
(negative)
Pin 3= Data True (positive)

10
MENU: Functionswitchingbutton;thenhavethenumericalvalue
changed by using UP and DOWN buttons.
Functions of the buttons
8.8.8.8.
A512
C001
U100
LO20
H---
012
DMX Address:
DMX Mode:
Volume:
Interval:
Duration:
Heat Preservation:
Setting of DMX address. Range of address value:
address=001~512.
Press UP or Down 1.5 seconds can change value
continuously and fast, pressed UP/DOWN at the same
time, value back to 1.
DMX mode selection. Single channel, 2 channels and
4 channels mode can be selected.
Setting output of timing fogging and continuous
fogging(Volume=5~100%).
Setting interval of timing fogging
(Interval=20-900s).
Setting duration of timing fogging
(Duration=10-200s).
Setting duration of heating preservation (Duration = 1
min.-200mins.–nolimit).
Under status of standby, duration of kept
temperature of the heater, heater keeps heating up
steadily by lower temperature to start fogging more
quickly.
H200

11
TIMER: Start and stop button for timing fogging.
UP: Buttonforincreasingnumericalvalue.
DOWN: Buttonfordecreasingnumericalvalue.
• Setvaluesareautomaticallysaved.
• Self-cleaningfunction :Whenthemachinestopsfogging,
please do not unplug the machine immediately, but wait 100
seconds to let the machine automatically clean the fluid left in
the pipe. LED screen will show as picture and slow flash.
• Standby :Aftertheendofthepipeclearing,Standbywill
appear.
• Ifuidisrunout,fullthetankwithuidandpress“Manual
Fog” to reset.
Fluid inspection ON/OFF: ON/OFF setting of automatic inspection of fluid volume.
1. When this function is “0” means OFF, the machine
cannot inspect volume of the fluid. This means that
the machine will keep working even there’s no fluid.
2. When this function is “1” means ON, the machine
starts this inspection function automatically. Some
points need to be paid attention to:
A. 80 seconds after being powered, the machine will
inspect if there’s fluid.
B. If the machine detects no fluid, it needs 30
seconds to do judgement to make sure there’s
no fluid, and then stop working. The display will
show .
C. If the machine detects no fluid during operation,
the machine stops working. At this moment, it is
allowed to supplement fluid in the tank and then
press “Manual Fog” button to let the machine
enter working status again.
Stby
no f
PI C L
F000

12
Very Important
Please do not pull out the power suddenly when the machine is in
normal smoke condition.
Control priority order:
WhenbothDMXconsoleandVT-1areconnectedtothemachine,
appears problem of priority among the panel control, DMX console
andVT-1controller.There’snoapparentpriorityamongthethree
controls. The one which has change action gets the priority of control.
1. If DMX values changes of each DMX channel by DMX console, the
control priority is DMX console.
2. IfwantingVT-1tohavethecontrolpriority,turntheknobtoOFF
then to ON.
3. Pressing Manual Fog button or Timer button of the control panel to
let it get the control priority.
Important: The one which controls the last action has the control
priority.
Operation
1. Plug mains power cord from the haze machine into appropriate
powersupplysocket;
4. Waitabout40secondsforheatingelementtoheatup;
6. After the heating up is complete, Please do follow the required
operatingmodes;
Primarypoweron,appearversionnumber1.9;
2secondsafter,switchestoworkingstatus:heatingup;
After heating up, displays the previous functions list
before the last power off: The picture shows the new
machinedefaultstate;
2.
3.
5.
U19
HEAt
100

13
Continuous Fogging Operation .......................................................
Panel control, DMX signal is not connected.
Timing Fogging Operation...............................................................
Panel control, DMX signal is not connected.
Press MENU to enter Volume adjustment, the picture
showsthenewmachinedefaultstate;
PressMENUtoentertoInterval;
Press “Up” or “Down” to adjust the value of interval
(20s-900s),thepictureshowstheIntervalvalueis668s;
Press again MENU to switch to adjust the value of duration,
pleasenotetimingfoggingstillstopsatthesamemoment;
Press “Up” or “Down” to adjust time value of duration
(10s-200s),thepictureshowstheIntervalvalueis58s;
Press “Up” or “Down” to adjust smoke volume value
(1-100%),thepictureshowsthevolumevalueis20%;
Press Manual Fog to starts continuous fogging status,
thereddotwillruncircularly;
After setting the interval and duration, press Timer to
start timing fogging, the display will shows decreasing in
duration, and then shows decreasing in interval, continuous
repeatingcycle,thereddotwillruncircularly;
Press Manual Fog again to stops continuous fogging
status,thereddotdisappearsatthesametime;
After the end of the pipe clearing, Standby will appear.
When the machine stops fogging, please do not unplug
the machine immediately, but wait 100 seconds to let
the machine automatically clean the fluid left in the
pipe. This is to avoid causing negative effect when used
next time. The LED screen will show as the picture, and
lettersareslowashing;
1.
1.
2.
3.
5. Andsoon,youcouldalsoadjustthevolume;
4.
2.
3.
6.
4.
6.
5.
U100
L020
L668
U020
U020
stby
pI C L
0.20
055.
012
058

14
Remote Control Operation...............................................................
For best result, use VT-1 wired controller.
TheLEDscreenofthehazeshowsasleftpicture;
Press again Timer to stop Timing fogging, red dot
disappearsatthesametime;
After the end of the pipe clearing, Standby will appear.
When the machine stops fogging, please do not unplug
the machine immediately, but wait 100 seconds to let
the machine automatically clean the fluid left in the
pipe. This is to avoid causing negative effect when used
next time. The LED screen will show as the picture, and
lettersareslowashing;
The LED screen of the haze shows the increase and decrease
correspondingly with adjusted by controller, the red dot will
runcircularly;
When the machine stops fogging, please do not unplug
the machine immediately, but wait 100 seconds to let
the machine automatically clean the fluid left in the
pipe. This is to avoid causing negative effect when used
next time. The LED screen will show as the picture, and
lettersareslowashing;
After the end of the pipe clearing, Standby will appear.
1.
Firmlyattachtheremotecontrolmechanismtosocket(Figure1-J)onthe
backoftheunit;
2.
Plug mains power cord from the machine into appropriate power supply
socket,theredLEDuponthecontrollerislighted;
3.
Thevolumeadjustmentknobonthecontrolleriswiththeswitch;
6.
The volume adjustment knob clockwise adjustment volume increases,
counterclockwise adjustment volume reduction, the green LED upon the
controllerisblinking;
4.
Turn the knob counterclockwise to the end to switch off, the fog is off,
thegreenLEDuponthecontrollerislighted;
5.
5.
7.
9.
9.
8.
8.
stby
stby
pI C L
pI C L
000
0.07
002

15
A-1/4” stereo jack B- Knob
C- Green LED (Volume output) D- Red LED (power)
A
CB
D
VT-1 wired controller
Controllerpowercordlength:3m;
Connector:1/4“stereojack;
Function:Airvolumeadjustment&ON/OFF;
Model VT-1
Cable Length 3m
Effective Distance N/A
Connector 1/4” stereo jack
Function ON/OFF
Volume adjustment
Dimension (LxWxH) 90 x 50 x 39 mm
Weight 0.257 kg

16
DMX Control Operation ...................................................................
1.
SettingDMXmodeandDMXaddressbyfunctionbuttons(gure1-I)on
bothsideoftheLEDscreen,DMXoperationhasnotstartedatthistime;
4.
ConnecttheDMX512controllercabletotheinputsocket(gure1-L)
of the machine unit. Make sure the signal cable polarity is correct.
When DMX socket receives effective DMX signals, the machine enter
DMXcontrolmodeautomatically,otherbuilt-infunctionsstillvalid
(pleaserefertocontrolpriorityorder);
6. The values on the LED screen will change correspondingly with adjusted
bytheDMXcontroller;
7. During the DMX operating (DMX signal has been received and began
to work) still can switch DMX mode and change DMX address, please
press Up/Down to switch DMX mode to 2 channel or 4 channel and to
changetheaddress;
8. If desired, connect another haze machine: Plug one end of another
signalcableintotheoutputsocket(figure1-K)onthebackofthefirst
machine;plugtheotherendofthesignalcabletotheinputsocket
(figure1-I)onthebackofthesecondmachine.Followthesame
proceduretolinkmoremachines,ifdesired.Wholelinkisdaisychain;
9. Down. Refer to DMX channel chart in Figure 2 make related settings.
Now start operating the machine with DMX console.
Press MENU enter to DMX mode, press Up or Down button
to set the DMX Mode, there are 3 DMX modes for choice:
1CH,2CH,4CH;
Press MENU enter to DMX address, press Up or Down
buttontosettheDMXaddress;
When received DMX signal, the three lines in the left will
blinking;
2.
3
C001
A512
5. 100
• UponreceivingDMXsignal,allbuilt-infunctionsstillvalid.
• Setvaluesareautomaticallysaved.
• Self-cleaningfunction:Whenthemachinestopsfogging,
please do not unplug the machine immediately, but wait 100
seconds to let the machine automatically clean the fluid left
in the pipe. LED screen will show and slow flash.
After the end of the pipe clearing, Standby will appear,
LED screen shows .
Stby
PI C L

17
Figure 2 DMX Chart
CH1
DMX Value Volume
0-255 0%-100%
CH1 CH2
DMX Value Volume DMX Value ON/OFF
0-255 0%-100% 128-255 ON
0-127 OFF
1 CH
2 CH
4 CH
CH1 CH2 CH3 CH4
DMX Value Volume DMX Value ON/OFF DMX Value Duration DMX Value Interval
0-255 0%-100% 128-255 ON 10-255 10-255s 2-255 20-2550s
0-127 OFF 0-9 0s 0-1 0s
**s=seconds.
**Interval =0 means constant fog.
** When the smoke state is off (volume =0), the timer does not work, the
LED screen of the machine shows values of interval and duration which
aretheparameterssetbytheDMXconsole;whenthesmokestateison
(volume=1%-100%),thetimerworks,theintervalanddurationvaluesshowsby
LED screen are decreased by second, this process will always be cycled.

18
Troubleshooting
This troubleshooting guide is meant to help solve simple problems.
If a problem occurs, carry out the steps below in sequence until a
solution is found. Once the unit operates properly, do not carry out
following steps. If the problem persists, refer servicing to a qualified
technician.
Power Connected but No Smoke is Emitted:
1. Check the power supply. Plug the unit into grounded electric
power supply socket with proper voltage.
2. Disconnect the machine from electric power supply. Replace fuse
with one of the same type.
3. Keep sufficient fluid in tank.
4. Check if pump is working (with fluid flow or not).
5. Check if the heater is heating (touch the panel to see if it is
warming).
6. Check your controller if in correct connection.
7. Check your DMX address setting.
Power Connected, Fog Blasts not Smooth:
Moving the machine during operation could probably get air entered
into the liquid pipe and affect smoothness of fog blasts. If this
happened, press Manual Fog button to fog for a moment. Until the
air is dispersed from the pipe, the machine will recover its normal
fogging.
Should there be any low fog emitted, running noisily or hindered
fogging,pleasewaitforself-cleaningandpullouttheplug
immediately. Check if string enough fluid, if the pipe connected to
the tank is clean, if there’s air inside the pipe, if the liquid flows, if
not,plug-inagain;stillpersistsabnormalrunning,andIfcausation
Table of contents
Other Stage4 Fog Machine manuals
