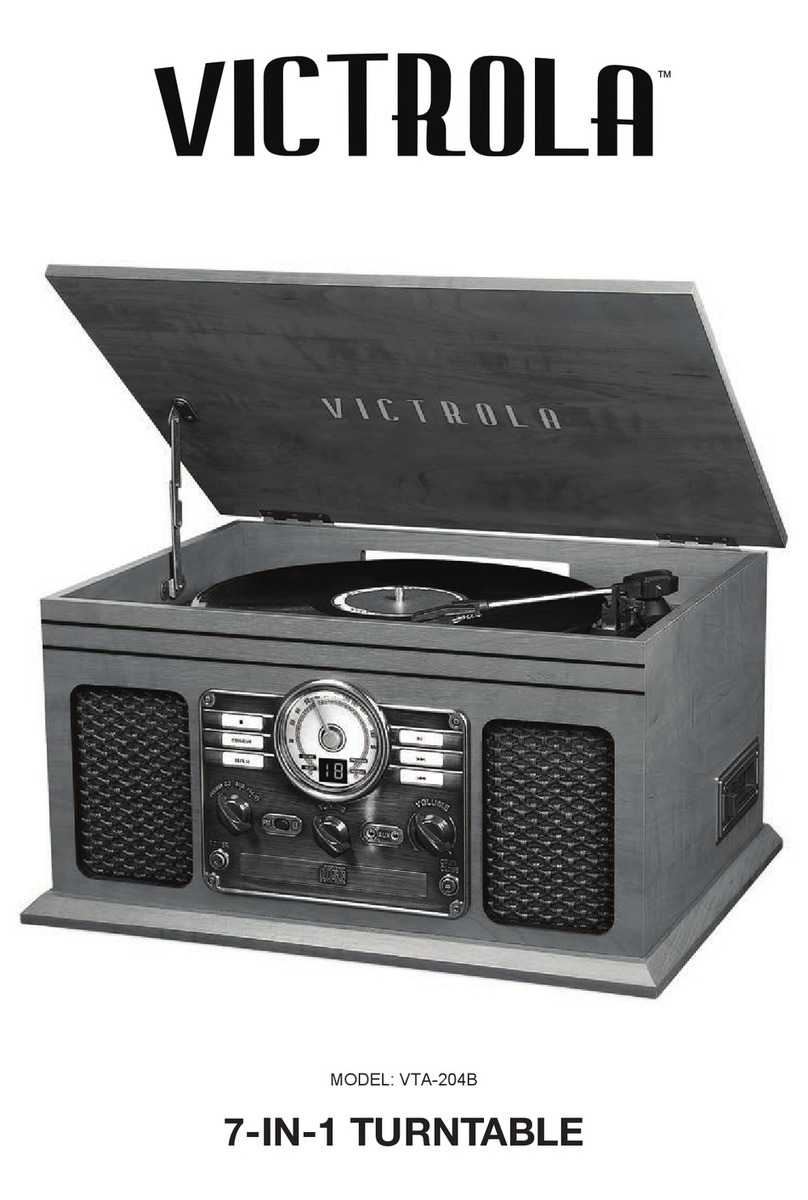
StarLogic USB Turntable Operation manual

1
USB Turntable
Item number 62904201
Installation & User's Guide
All brand namesand trademarks arethe property oftheir respective owners.
RR
RR

Safety Information
CAUTION
1.In order toshut off the power of this product completely, unplug thepower cord fromthe
wall outlet. Besure to unplugthe unit ifyou do notintend to useit for anextended period
of time.
2.If this productdevelops trouble, contactour service center, and donot use theproduct in
defective state.
Safety Precautions
Precautions
WARNING:
Toreduce the riskof fire orelectric shock, donot expose thisappliance to rainor moisture.
CAUTION
RISK OF ELECTRICSHOCK DOES NOTOPEN
Toreduce the riskof electric shock:do not removecover(or back).
No user serviceableparts inside. Referservicing to qualifiedservice personnel.
The lightning flashwith arrowhead symbol,within an equilateraltriangle, is
intended to alertuser to thepresence of uninsulated"dangerous voltage"
within the product'senclosure that maybe of sufficient magnitude to
constitute risk ofelectric shock topersons.
The exclamation pointwithin an equilateraltriangle is intendedto alert user
to the presenceof important operatingand
maintenance(servicing)instructions in theliterature accompanying the
appliance.
2
Before Use
1. Choose unitinstallation location carefully. Avoid placing itin direct sunlightor close toa
source of heat. Also avoid locations subject to vibrations and excessive dust, cold or
moisture. Keep awayfrom sources thathum, such astransformers or motors.
2. Do notopen the cabinetas this mightresult in damageto the circuitryor electrical shock,
if a foreignobject should getinto the set,contact your dealer.
3. Be surenot to handlerecords with dirtyfingers. Never playa record thathas a crackon
the surface.
4. When removingthe adapter fromthe wall outlet,always pull directlyon the adapter, never
pull the cord.
5. Do notattempt to cleanthe unit with chemical solvents as this might damage the finish.
Use a clean,dry cloth.
6. In orderto shut off the powerto this productcompletely,unplug the adapterfrom the wall
outlet. Be sureto unplug the unit if you do not intend to use itfor an extended period of
time.
7. Keep thismanual in asafe place forfuture reference.
Beware of Condensation
When the turntable is moved from a cold to a warm place or is used after a sudden
temperature change, there is a danger of condensation. Water vapor in the air could
condense on the mechanism. To prevent this, if you are going to use the turntable in a
condition where condensation could occur, you should leave the turntable on for 1 or 2
hours after pluggingit into anAC outletdepending on theamount of condensation.If this is
done, the turntablewill stabilize atthe temperature ofits surroundings.
3

2
3
4
5
6
7
10
9
8
4
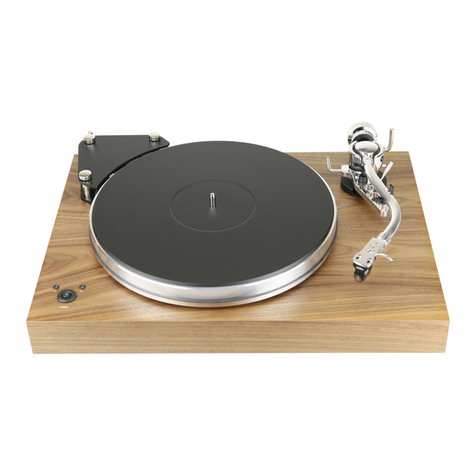
Location of parts
1
1.POWER SWITCH
2.TONE ARM
3.SPEED CONTROLSWITCH
4.SECURITY HOOK
5.TONE ARMREST
6.TURNTABLE
7.SUSPENSION SCREW
8. PLAY BUTTON
9.EJECT BUTTON
10.STOP BUTTON
11.USBJACK
12.LINE OUT
13.DC JACK
12
11
USBOUTUSBOUT
LINEOUTLINEOUT
13
5
1. Remove allthe packaging fromthe unit.
2. Connect theAC adaptorto the turntableand then to
an ACoutlet.
3. Thesuspension screw protectsthe phonograph chassisduring transportation.Turn this
screw clockwise to release the turntable suspension system. This will alow the
turntable to absorbany vibrations whileplaying.
How To ReplaceThe Stylus
Removing old stylus
1. Set a screwdriver at the tip of the stylus and push down to
the direction "A".
2. Remove the stylus by pulling it down and forward.
Installing a new stylus
1. Hold the tip of the stylus and insert the other edge by
pressing in the direction "B".
2. Push up in the direction "C" until it locks at the tip.
A
Guide Pins (inside)
B
C
Preparation forUse
Front View
Back View

Installing theAudacity Software
Install theAudacity software inyour
Computer, thedisc is compatiblewith the
USB turntable.
Insert theAudacity disc intothe CD
drive of yourcomputer.
Click on MyComputer on thedesktop.
Double click CDdrive to viewthe
contents of theAudacity disc.
Double clickAudacity Set Upto install
the Audacitysoftware according tothe
instructions.
Footnote:If you misplaceyour software
CD or itbecomes damaged,you may
Install theUSB Driver
Make sure theAudacity discis still in
your CD drive.
Using the includedUSB cable, connect
the turntable to your computer.
Follow screen instructionsto install the
USB driver.
Running theSoftware
1.Double click the Audacity softwareicon
“ ” and it willopen the following
interface;
download Audacitysoftware online at:
http://download-audacity.org/
6
Listening toa Record
1. Connect theAC adapterto the main
power supply, the standardis 120V-
60Hz, and output
DC 9V.
3. Switch onthe unit usingthe POWER
switch on thefront.
2. Plug theother ends ofthe RCACable
into the auxiliaryinput (Aux) onyour TV,
home entertainment receiveror other
music system, besure that thered RCA
Cable is insertedinto the redjack and
the white RCACable is insertedinto the
white jack.(optional)
4. Put arecord onto theturntable, when
playing the 45rpmrecord, remember to
use the adapter.
5. Select correctspeed according tothe
record you areplaying.
6. Remove thetone arm fromthe holder,lift
the que-lever andmove the tonearm
gently to thedesired position overthe
record, lower theque-lever slowly, then
the record willbegin playing.
7. Turnon the receiver which you
connected to thisUSB turntable by
using the On/off Knob orVolume knob,
adjust the volumeknob to controlthe
volume of themusic.
8. Press STOP buttonto stop playing.
9. Press thePLAYbutton to continue
playing.
10. When themusic is finishedplaying, and
the tone-arm reachesthe end ofthe
record, the tone-armwill return tothe
arm-rest automatically. Or youcan
press the ejectbutton when playingthe
record, the tonearm will liftfrom the
record and thenback to thearm-rest.
3
5
46
10
98
USB Jack
Line Out
USBOUTUSB OUT
LINEOUTLINEOUT
2 1
7
Audacity Music Software andUSB Computer Connection
2. Using theattribute control buttonat the
top of thescreen, go tobeginning, Play,
Record, Pause, Stopand go toend. Use
the File, Edit,View,Project, Generate,
Effect andAnalyze menusto Save, Export,
and edit themusic.
3. Select preferencesat the bottomof the
menu which willopen upAudacity
Preferences. You can setthe Audio
I/O,Quality,FileFormats, Spectrograms,
Directories, Interface, Keyboardand
Mouse in theAudacity preference
Interface.
Audacity Preferences
Stereo
Sound Mapping
Sound Mapping
Stereo
Front View
Back View

8
5.Select the recordbutton ( )to record
the disc, theleft and righttracks will show
on the interface;
If you donot have thefluctuant wave onthe
interface when recording, please adjust
the line involume as follows:
Click “start” in the left corner of the
computer,Select“Programs”,
“Accessories”,“Entertainment”, “Sound
Recorder” and it willopen the soundrecord
interface.
Sound Recorder Interface
Select Edit andclick “Audio Properties”
in the bottomof the menu to open
“Audio Properties”interface;
Output Volume Input Volume
4. Adjustthe output andinput volume.
Stereo
Stereo
Line in Volume
Microphone Volume
1
2
Control
Rising Security
3
Stereo
Audacity MusicSoftware andUSB ComputerConnection
9
Audio PropertiesInterface
Select sound recordingvolume and
come into“Recording Control”interface;
4
Adjust the linein volume tothe upper or
middle, of the scale,thefluctuant wave
should now showon the interfacewhen
recording.
6.Click the ( ) button toskip to start;
7.Click the ( ) button toskip to end;
8.Click the ( ) button toplay;
9.Click the ( ) button topause the
record play;
10.Click the ( ) button tostop the
Recording.
11.Exportthe Music Filesfor WAV,MP3,
Ogg Format.
Once you havefinished the recording,
you should saveyour music tothe
computer.
Click File menuand move downto
Export as WAVformat,MP3 format or
Ogg format.
Click one formatto save themusic,
and you willbe asked forthe file name
of the musicrecorded.
Note: Audacity doesnot export MP3
files directly, you shoulddownload the
LAME MP3 encoder, which isnamed
lame_enc.dll.
7
9
85
610
Audacity Music Software andUSB Computer Connection
3

TURNTABLE SECTION
Motor..............................................DCservo motor
Drive System...................................Belt Drive
Speeds...........................................33-1/3 rpm,45 rpm and78 rpm
Wow&Flutter....................................Lessthan 0.25%(WTD)
S/N Ratio.........................................Morethan 50 dB
Cartridge Type.................................Ceramic Stereo Cartridge
Stylus..............................................402-M208-165
Output Level....................................160-380 mV(5 cm/sec at1 KHz)
GENERAL
Power Requirements........................Input: AC 120 V~ 60 Hz Output: DC 9V~ 800 mA
Power Consumption.........................5 W
Standard Accessories.......................OperatingInstruction Booklet
45 rpmAdapter
Power does not come on
when the power switch is
pressed.
Unit is unplugged. Connect the unit to the AC
power supply.
The sound isnoisy. The unit is too close to a
TV set or another similar
appliance.
Turn off the TV or other
appliance, and relocatethe
unit.
Problem cause solution
TroubleshootingGuide
In case of trouble withthe unit ,please look throughthis chart and see ifyou can solve the problem
by yourself before calling ourtech support 800 639 3803Line.
Specifications
10
TURNTABLE
11

1312
This manual suits for next models
1
Table of contents

