Stealth Products Tarta Guide

Backs &
Support
Owner’s Manual - Maintenance Guide
Tarta®Original Backrest System

1
General ................................................................................................................................... i
Warranty ............................................................................................................................... ii
Supplier Reference............................................................................................................ ii
Warning Labels.................................................................................................................. iii
Limited Liability................................................................................................................. iii
Testing................................................................................................................................... iii
Intended Use.......................................................................................................................1
The Tarta System................................................................................................................1
Parts and Accessories ..................................................................................................2-5
Parts Included .....................................................................................................................2
Tarta Original Back Specications...............................................................................3
Tarta Original Parts............................................................................................................4
Mounting Hardware Options........................................................................................5
Kit Contents.........................................................................................................................5
Installing the Central Plates & Vertebrae................................................................. 6
Installing the Ribs..............................................................................................................7
Uninstalling Vertebrae & Ribs ......................................................................................8
Installing the Pads...................................................................................................... 9-10
Mounting Hardware................................................................................................11-18
Width Adjustment of Rigidizer Bar...........................................................................19
Vertebral Angle Adjustment........................................................................................20
Rib Angle Adjustment ...................................................................................................21
Column Height and Angle Adjustment ..................................................................22
Converting Active Contour to Deep .................................................................23-24
Dealer Assistance ............................................................................................................25
User Testing .......................................................................................................................25
Conditions of Use............................................................................................................25
Cleaning ..............................................................................................................................26
General Maintenance.....................................................................................................26

i
is committed to 100% customer satisfaction. Your complete satisfaction
is important to us. Please contact us with feedback or suggestions to help us improve the
quality and usability of our products.
You may reach us at:
General
Read and understand all instructions prior to the use of the product. Failure to adhere to
the instructions and warnings in this document may result in property damage, injury, or
death. Product misuse or failure to follow instructions will void your warranty.
Immediately discontinue use if any function is compromised, if parts are missing or loose,
or if any component shows signs of excessive wear. Consult with your supplier for repair,
adjustment, or replacement.
All persons responsible for tting, adjustment, and daily use of the devices discussed in
these instructions must be familiar with and understand all safety aspects of the devices
mentioned. In order for our products to be used successfully, you must read and
understand all instructions on care and maintenance.
The installation instructions will guide you through this product's options and possibilities.
Instructions are written with the expressed intent of use with standard congurations. They
also contain important safety and maintenance information, as well as describe possible
problems that can arise during use. For further assistance, or more advanced applications,
please contact your supplier or at (512) 715-9995 or toll free at (800) 965-
9229.
Always keep the operating instructions in a safe place so they may be referenced as
necessary.
All information, pictures, illustrations, and specications are based on the product
information that was available at the time of printing. Pictures and illustrations shown in
these instructions are representative examples and are not intended to be exact depictions
of the various parts of the product.
104 John Kelly Drive,
Burnet, TX 78611
Phone: (512) 715-9995 Fax: (512) 715-9954
Toll Free: (800) 965-9229 Toll Free: (800) 806-1225
info@stealthproducts.com
www.stealthproducts.com
UK Authorized Representative
Schigraben 41
30175 Hannover
Germany
Chemin Praz Devant 12
1032 Romanel sur-Lausanne
Switzerland
6 Wilmslow Road, Rusholme
Manchester M14 5TP
United Kingdom

ii
These products are designed to be tted, applied, and installed exclusively by
a healthcare professional trained for these purposes. The tting, application,
and installation by a non-qualied individual could result in serious injury.
Warranty
Our products are designed, manufactured, and produced to the highest of standards.
If any defect in material or workmanship is found, will repair or
replace the product at our discretion. Any implied warranty, including the implied
warranties of merchantability and tness for a particular purpose, shall not extend
beyond the duration of this warranty. does not warrant damage due
to, but not limited to: misuse, abuse, or misapplication of product, and/or modication
of product without written approval from Any alteration or
lack of serial number, where applicable, will automatically void this warranty.
is liable for replacement parts only. is not
liable for any incurred labor costs.
warrants against failure due to defective materials or workmanship.
In the event of a product failure covered by our warranty, please follow the procedures
outlined below:
Call at (512) 715-9995 or toll free at (800) 965-9229.
Request a Return Authorization (RA) form from the Returns Department and follow the
documentation instructions.
You can download additional copies of this manual by accessing the Stealth website (https:/
/stlpro.site/stealth-docs) and searching "Tarta Original" in the search bar at the top of the
page.
Supplier Reference

iii
Identies a situation which, if not avoided, may
result in
Identies an situation which, if not avoided, may
result in
Identies a situation which, if not avoided, may
result in
Identies important information not related to
injury, but possible property damage.
SAFETY
Indicates steps or instructions for safe practices,
reminders of safe procedures, or important safety
equipment that may be necessary.
Warning Labels
Warnings are included for the safety of the user, client, operator, and property.
Please read and understand what the signal words
and mean, and how they could aect the user, those
around the user, and property.
Limited Liability
accepts no liability for personal injury or damage to
property that may arise from the failure of a user or other persons to follow the
recommendations, warnings, and instructions in this manual.
does not hold responsibility for nal integration of nal
assembly of product to end user. is not liable for user death or
injury.
Testing
Initial setup and driving should be done in an open area free of obstacles until the
user is fully capable of driving safely.

1
Intended Use
The system's balance of comfort and functionality provides unique
supportive benets to users with even the most dicult postural abnormalities. Its
versatility and adaptability allow for a custom-molded t for each patient, while its
individually and independently mounted staves allow the backrest
to be fully customizable.
The Tarta Original system is intended for use by individuals for whom other seating
systems lack the necessary support and customization, as well as for individuals
who, clinically, have non-traditional sizing requisites.
The Tarta System
The system is a backrest devised to be adaptable to each individual
and their unique positioning needs. It utilizes a combination of design, materials,
and technology to deliver a highly congurable, easy-to-use product.
l oers a high degree of comfort while introducing a uniquely functional
design following the modular build-a-back philosophy.
The materials used in have been designed to achieve the highest
levels of performance. The pre-stressed steel used for the vertical spine column
exes to follow the movement of the person, giving freedom of movement, and
then returns to an original position. The padding is made of washable, breathable
material.
The backrest consists of an exoskeleton similar to the rib cage in
which adjustable aluminum ribs can be congured to conform to the position of
the person, and are attached to customizable central vertebrae which simulate a
spinal column.
use this device
before receiving a clinical evaluation

2
Parts Included
The system consists of a series of vertebrae that, when joined
together by elements made from pre-stressed steel, closely parallel the form and
characteristics of a spinal column.
Each system is comprised of the following items:
Each column is made up of a series of vertebrae,
from size ranges of four to six vertebrae. The
custom, build-a-back nature of the product allows
for virtually any height back conguration.
Each vertebra has a height of 50mm (1.97in) and
a digression to 10mm (.39in).
On each vertebra it is possible to t ribs that
provide both posterior and lateral support. These
ribs are available in four dierent sizes: small,
medium, large, and extra large. The position of
the rib is determined by locking plugs in the spine.
Made of malleable aluminum, they can be
manually contoured in the eld to create a more
intimate t.
After the ribs are installed, the padding is tted
and easily adjusted by means of hook-and-loop
fasteners.
Once the nal conguration has been established,
the pads are securely mounted to the ribs using
screws and t-nuts.

3
Tarta Original Back Specications

4
PADS COLUMNS
4-SECTION 5-SECTION 6-SECTION
TRT-PAD-051
TRT-PAD-054 TRT-PAD-055
TRT-PAD-052
TRT-PAD-056 TRT-PAD-057 TRT-PAD-058
Ergonomic - Modular
Flexible - Revolu�onary
TRT-PAD-062 TRT-PAD-059 TRT-PAD-060 TRT-PAD-061 TRT-PAD-053
TRT-RIB-S1 TRT-RIB-M1 TRT-RIB-L1 TRT-RIB-XL1
TRT-RIB-S2 TRT-RIB-M2 TRT-RIB-L2 TRT-RIB-XL2
TRT-RIB-S3 TRT-RIB-M3 TRT-RIB-L3 TRT-RIB-XL3
TRT-RIB-S4 TRT-RIB-M4 TRT-RIB-L4 TRT-RIB-XL4
TRT-RIB-L5 TRT-RIB-XL5
RIBS
Tarta Original Parts

5
TRTHW1AS XXXXX
TRTHW1AL X X X X
TRTHW2RS XXX
TRTHW2RL XXXXX
TRTHW1RS X X
TRTHW1RL XXX
Mounting Hardware Options
Kit Contents*
* As the Tarta Back is highly
customizable, the contents
of your kit will probably vary
from the kit shown here.

6
Use a 5mm hex key to tighten the screws into the central plates.
Reference the previous section for
Back-in-a-Box part numbers and components.
Installing the Central Plates & Vertebrae

7
Installing the Ribs
Place the alignment pins (one per side) to place the rib in the desired
position on the vertebra. Use an M6 x 10mm FHS (B1) and a 4mm hex key to ax
each rib to the vertebra.
Install the next set of ribs, placing the alignment pin, aligning the rib to the
desired position, and securing with an M6 x 10mm FHS (B1).
Repeat Step 2 until all the ribs are installed.
Once all the ribs are mounted and positioned, go over each screw and
ensure they are snug.

8
Uninstalling the Vertebrae/Ribs
Using a 4mm hex key, loosen the M6 screws to remove the ribs.

9
Once the conguration is complete, Use a pencil and
mark the screw locations on the back of the pad through
the slots in the ribs.
Remove the pad from the ribs and cut a 15mm slot
into the back of the pad, making sure to break
through the backing of the pad.
Installing the Pads
Using the hook-and-loop
material, arrange the pads on
the ribs as needed to provide
the most support and comfort
to the user.

10
Thread an M4 T-Nut (E1)
on the provided M4
Socket Head Screw (E3),
and insert it into the slot
on the back of the pad.
Turn the M4 T-Nut (E1) a
quarter-turn clockwise.
Remove the M5 Socket
Head Screw (E3) from
the M4 T-Nut (E2)
Place the pad back
into the previous
position on the ribs.
Ensure the slots
from the rib and
the holes made on
the pad are lined
up.
When the pad is
properly oriented
on the ribs, use
the M4 Button
Head Screws (E1)
to secure the pad
to the ribs.

11
The tension strap adds support and helps stabilize the desired section of the Tarta
back. The tension strap should be installed after the back has been installed and
nal adjustments have been made.
Mounting Hardware
Place the provided hook-and-loop strap directly on the
middle section of the canes.
: Wrap the tension strap
around the canes. The tighter
the strap is pulled, the more
rigid the back will be.
Attach the strap that has both
hook and loop surfaces on
either side rst. The hook
side of the surface should be
facing outward to receive the
second strap.
Wrap the other
side of the strap
with the loop
surface onto the
tension strap.
To adjust the tension strap, pull the ends of the strap to separate the hook and
loop surfaces. Adjust the strap to the desired tension and press the hook and
loop surfaces together to fasten it in place.

12
To adjust the height of the mounting clamp on the mounting plate follow the
instructions below:
Attach and tighten clamp onto chair rigidizer bar (B) with two (2) of the six
(6) M6 screws provided in the hardware kit. This will secure the clamp to
the bar and hold it in place while preparing to secure the mounting plate.
Align the Tarta mounting plate (C) with the clamp. Using the remaining
four (4) M6 screws, secure and tighten clamp to plate.

13
Determine which vertebra the mounting plate will be attached to. Remove
the M6 screws on the vertebra where the clamp will be placed. Position
the carter (A) on the vertebra and snap into place. The ribs will be loose.
Place the two (2) spacers inside the center mount holes on the carter.
Using the M6 screws provided with the mounting hardware, insert the
screws into the spacers on the carter, and secure.
Remove logo cover from the hook and loop strap. Position on the chair,
wrap around the canes, and secure the hook and loop strap directly back
on itself.
Second Strap with Hook and Loop
Hook and Loop for locking on frame

14
Mark tubing at desired height for hardware.
Align lever block to height marked on canes. The hardware is side-
specic. Insets on the mounting hardware should be facing inward.
Slide u-clamp onto cane. Clamp should be outside mounting hardware.
Insert two M6 BHS* into hardware and tighten with a 3mm hex key.
Tighten the 4mm bolt under the locking lever to secure lever block in
place.
Locate rigidizer bar. Lower rigidizer bar into hardware mounting insets.
Lower the locking lever on the hardware once the bar is in place.
When locking lever is in the down position, slide the locking rig over the
lever to prevent breaking or shifting of the hardware.
SAFETY
Ensure hardware is installed at the same height on the canes.
Installing hardware at dierent heights could prevent the
back from being properly installed and could cause injury.
* Screws included in hardware package

15
Using a 5mm hex key, secure clamp onto rigidizer bar
with the provided M6 x 16mm SHS (A). The M6 screws
will secure the front of the clamp (1) to the back (2).
With a 5mm hex key, secure the spacer (3) and Tarta
plate (4) onto the clamp. Secure the rigidizer bar using
the M6 x 40mm SHS (B).
Table of contents
Other Stealth Products Personal Care Product manuals
Stealth Products
Stealth Products Stealth Positioning Foot Support User manual

Stealth Products
Stealth Products Pediatric i-Drive Control Harness User manual

Stealth Products
Stealth Products HMO400-KK User manual
Stealth Products
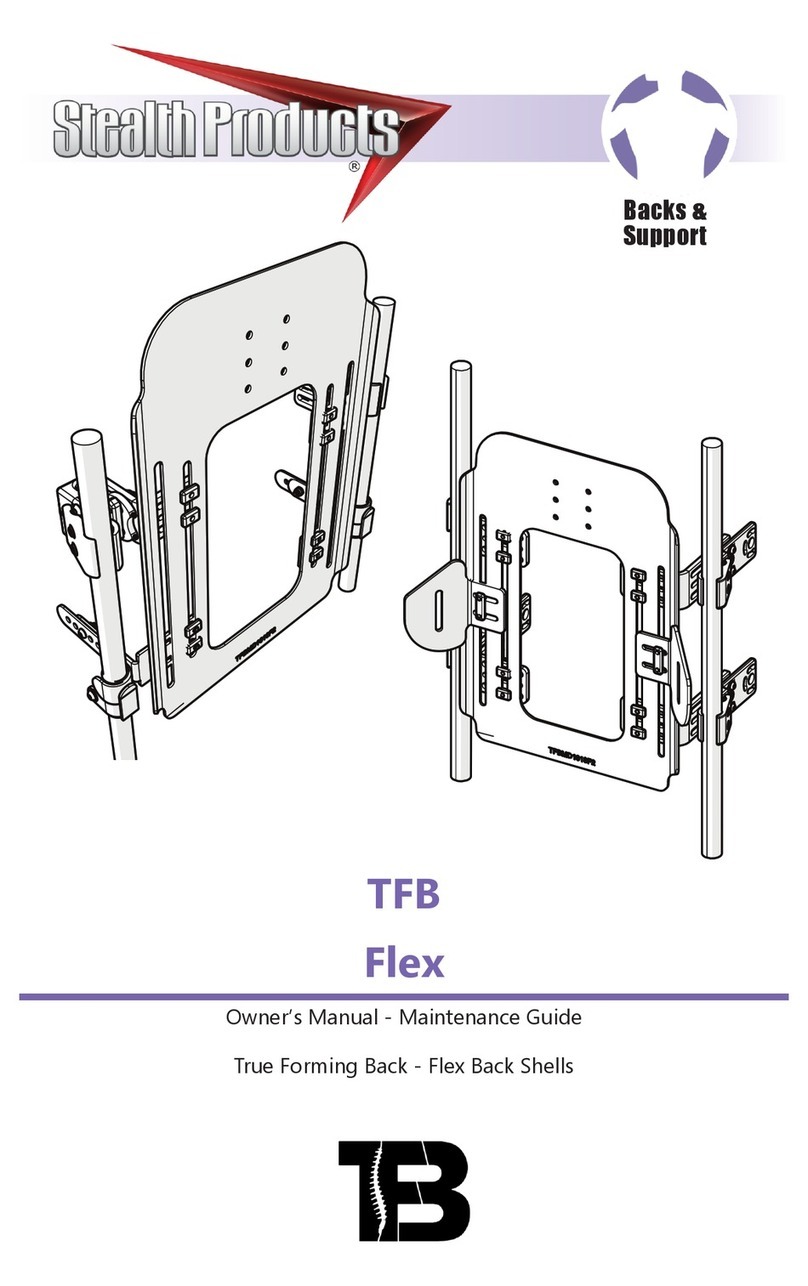
Stealth Products True Forming Back Flex Guide
Stealth Products
Stealth Products Stealth Positioning Foot Positioners User manual

