3
TURTLE SHELL INSTALLATION STEPS
1. Clean the tiles or acrylic liner thoroughly where the F Rails attach.
2. Measure the depth and width of the shower at the top. Cut F Rails to length using
mitre cuts in internal corners. With a level and a soft pencil mark the line that the F Rail
will be positioned.
3. On the back side of the F Rail apply short lengths of double sided tape for initial hold
to the wall. Apply a small bead of Silaex NG silicone between double sided tape.
Apply the rails one at a time using the pencil line as a guide. Clean up excess silicone.
4. The Turtle Shell comes with a protective surface on one side. Leave this in place until
trimmed and tted. To avoid confusion identify the door side of the Turtle Shell with
tape.
5. Try up in place and check if the Turtle Shell dome part is centralised to the shower.
If trimming is needed, refer to “Trimming Guidance” below.
6. If the sides adjacent to the walls need some trimming mark and trim these rst. Use a
at and soft surface as a working platform. A 3 sided Alcove will need to be trimmed
by measurement and a square as this cannot be positioned initially.
7. Sand the edges that have been trimmed to so the Turtle Shell can slide into the F Rail.
Mark and cut the remaining side that overhangs the frame.
8. You can now remove the protective lm and t into place. The Turtle Shell should
not move in place and it is preferred not to use silicone as the option to remove for
cleaning wouldn’t be available. Blue Tack is an option.
9. Aftercare: The turtle Shell can be removed to wash with a little detergent and warm
water.Avoid scratching but small scratches can be polished out with Plastic Polish.
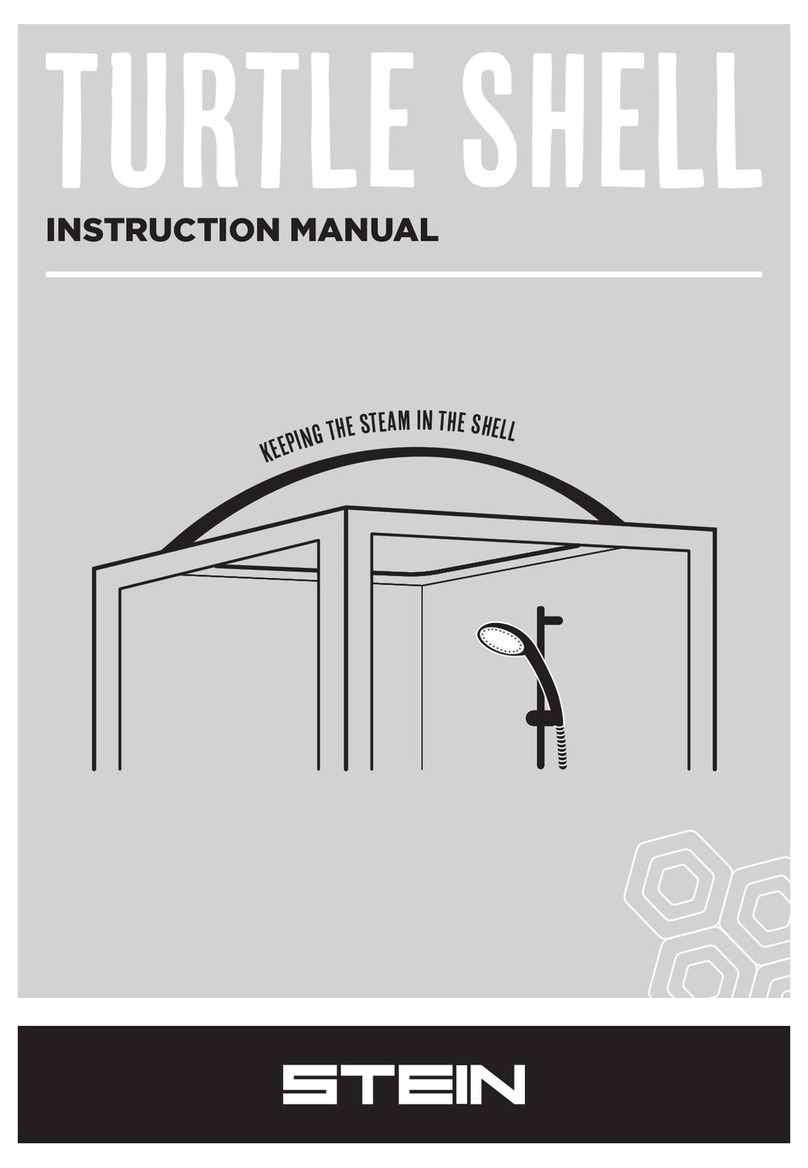
Your Turtle Shell is now installed and ready to use. The Turtle Shell is designed to help provide a
barrier between the warm, moist air inside the shower and the cooler air outside in the bathroom.
TIPS TO MAXIMIZE THE EFFICIENCY OF YOUR TURTLE SHELL
• Where possible eliminate any signicant gaps around the shower door and the Turtle Shell.
Extra door seals are available from your Stein retailer.
• Ensure that the shower door is properly closed when showering to help prevent warm air from
escaping. On exiting the shower, leave the door slightly open to allow the shower cubicle to dry.
TRIMMING GUIDANCE
Straight Cuts: Scoring Knife (Fibre cement cutter): Clamp straight edge to line on side to
be kept and down onto support. Run several passes against the straight edge and break
surplus upwards. Sand edges smooth.
Curved Cuts: Jigsaw (use blade for plastic). Router (cut a slit against waste side of the line).
Note: Apply tape under base plate of any power tools to prevent scratches.
Tip: Practice your chosen cutting method on a portion of Turtle Shell that is clearly scrap.
