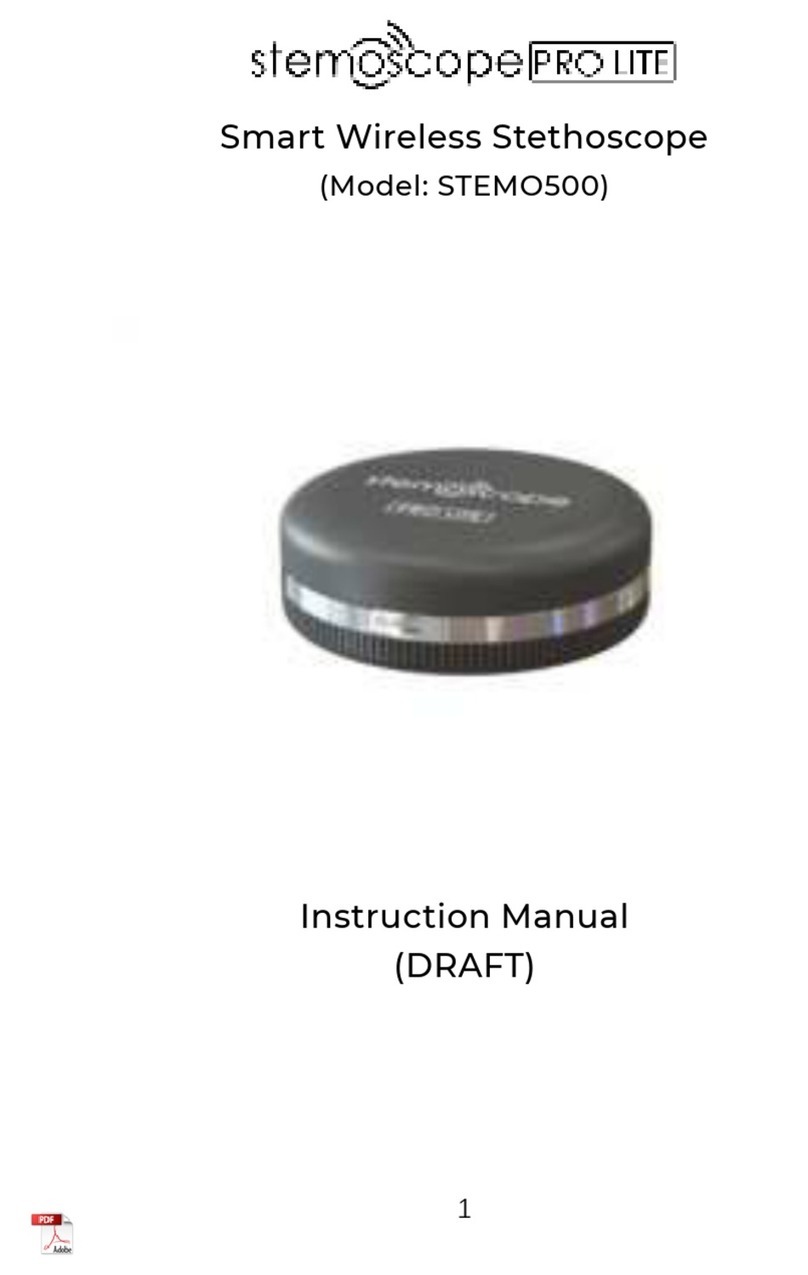
stemoscope STEMO300 User manual

1
Smart Wireless Stethoscope
(Model: STEMO300)
Instruction Manual
(DRAFT)

2
SAFETY WARNINGS AND PRECAUTIONS
Consult your physician before using the
device if you are not a medical professional.
Keep Stemoscope II at least 1 meter away
from all radio frequency (RF) emitters,
including WIFI routers and radios. DO NOT
use Stemoscope II near strong RF signals or
portable and/or mobile RF devices. If sudden
or unexpected sounds are heard, move away
from any radio transmitting antennas.
Bluetooth Class 2 is used for data
transmission. Its maximum radio frequency
field strength is considered safe to use with
other medical devices. However, audio, video,
and other similar equipment may cause
electromagnetic interference. If such devices
are encountered, and cause interference,
immediately move Stemoscope II away from
that device and/or switch OFF Stemoscope II.
Store Stemoscope II and components in a
clean and safe place out of the reach of infants
and children.
DO NOT move, slide or push the switch
button when Stemoscope II is wet. If you do

3
so, liquid droplets may go into the device and
damage the internal electrical circuitry.
Recharge the battery using only the provided
charging cable with a UL-certified charger
(not provided). DO NOT use Stemoscope II
when it is being charged.
DO NOT subject the device to extreme
temperatures, humidity, or direct sunlight.
DO NOT subject the device to strong shocks,
such as dropping the unit on the floor.
The working distance will be reduced when
objects (walls, furniture, people, etc.) are
between Stemoscope II and the connected
phone or earphones. To improve Bluetooth
connection, reduce the distance and/or allow
a line of sight between Stemoscope II and the
connected phone or earphones.
No modification of this equipment is allowed.
Switch off Stemoscope II to save the battery
power when not in use.

4
CONTENT
SAFETY WARNINGS AND PRECAUTIONS ...............2
1. Introduction .......................................................................5
1.1. Indications for use .....................................................5
1.2. Specifications and technical data...................6
1.3. Signs and symbols.....................................................7
1.4. Package contents ......................................................8
2. Hardware identification............................................8
3. Basic steps to listen to the sounds.....................10
4. Record a video composed of the auscultatory
sounds and the camera view ............................................16
5. Record the sounds on a predefined body spot
16
6. More features for medical professionals ........18
7. Live stream the auscultatory sounds ............... 21
8. Share (send) a recording.......................................... 27
9. Care, cleaning, and disinfection ......................28
10. Data security .............................................................28
11. Trouble shooting ......................................................... 29
12. Electrical Safety ....................................................... 31
13. FCC Statement ........................................................36
14. Disposal.........................................................................36
15. Warranty....................................................................... 37
16. Contact information ........................................... 37

5
1. Introduction
Stemoscope II (Model: STEMO300) is a smart
wireless stethoscope. It transmits audio to the
“DrStemo” app installed on a smartphone. The
“DrStemo”app provides rich functions such as
amplification, visualization, filtering, recording,
sharing, etc. The app also allows a user to access
premium cloud services, including video call
service and cloud data storage.
Before your first use, please read the manual
carefully and follow all the instructions. Please
contact us if you encountered any problems.
1.1. Indications for use
The smart wireless stethoscope is designed for
medical professionals or lay users to auscultate,
record, and transmit sounds from the heart, lungs,
abdomen, arteries, veins, and other internal
organs. The device is intended for medical
diagnostics purposes but not for self-diagnosis.

6
1.2. Specifications and technical data
Item
Description
Supported
phones
iOS: 9.0 or above
Android: 7.0 or above
Frequency range
20 – 2000 Hz
Working distance
< 2 meters typically
Transportation
And storage
-10 °C to +60 °C / 15 %RH to
85 %RH / 800 hPa to 1060
hPa
Operating
conditions
+10 °C to +40 °C / 15 %RH to
85 %RH / 800 hPa to 1060
hPa
The time required for Stemoscope II to warm from the
minimum storage temperature(-25°C)between uses
until it is ready for intended use when the ambient
temperature is 20°C: 1 hour.
The time required for Stemoscope II to cool from the
maximum storage temperature(70°C)between uses
until it is ready for intended use when the ambient
temperature is 20°C: 1 hour.

7
1.3. Signs and symbols
Follow operating instructions
Indicates the manufacturer of the unit,
including manufacturer’s name and address
The device must be disposed of properly
when it will no longer be used. Dispose
medical waste based on local regulations and
comply with applicable laws.
Indicates the Batch Code
Attention, see instructions for use
MR Unsafe
Bluetooth

8
1.4. Package contents
Stemoscope II
Charging cable
Quick start guide
x1
x1
x1
2. Hardware identification
The switch in the left position is the OFF state.
Slide the switch to the right to start Stemoscope II.
The diaphragm makes contact with the human
body to pick up body sounds.
Switch
Diaphragm
Notification light
Charge port

9
To charge Stemoscope II, plug one end of the
charging cable into the charge port and another
end to a UL-certified USB charger (not provided in
the package).
The device status can be identified by the
notification light.
Notification light
Device status
Pulsing (smoothly
fading in and out)
Waiting for Bluetooth
connection.
Blinking
Connected but not transmitting
sound.
Consistently on
Connected and transmitting
sounds.
Off
The battery is fully charged if the
device is turned off and being
charged.
Out of battery power if the
device is turned on.

10
3. Basic steps to listen to the sounds
Here are the basic steps for you to use Stemoscope
II.
Step 1. Open the “DrStemo”app. If you haven’t
installed the “DrStemo”app, please search and
install it from Apple’s App Store or Google’s Play
Store.
The “DrStemo”App
The app user interface is customized for medical
professionals and lay users. The first time you use
the app, you will be asked to set your role. Please
choose the right one, because a wrong choice can
prevent you from using the device correctly. If you
want to change later, you need to re-install the app.
The app needs to read the QR code on the
diaphragm of your Stemoscope II as shown in the
picture below. Just follow the simple steps to

11
register.
Find the QR code on your Stemoscope II
After registration, you will see the home user
interface as shown below. This user interface
shows that there is no Stemoscope II connected
yet. Before Stemoscope II is connected, the “listen”
button is not active.

12
Home user interface before Stemoscope II is
connected
Step 2. Slide the switch button of Stemoscope II to
the right. The notification light will start to
smoothly fade in and out and the app will start to
search for and connect to the Stemoscope II.
Menu button
“listen &
record” button
“livestream”
button

13
When the Stemoscope II is connected, the
notification light of the Stemoscope II will blink.
Bluetooth pairing in the phone settings is NOT
needed.
The home user interface will be updated once
connected. The “listen”button will start to animate.
The battery power level of the Stemoscope II is
displayed. When the power is low, please charge it
timely. You can press the doctor/patient button to
make a video call to your doctor/patient if you have
access to the cloud service.
Step 3. Press the “listen”button in the app to start
listening. The “listen”user interface is customized
for non-medical professionals and medical
professionals respectively. The “listen”user
interface has three themes: “video,” “heart,” and
“lung”. You can listen to the sounds in any of these
three themes. Internal phone speakers are not
good at playing body sounds that have many low-
pitched components. Therefore, please use high
quality earphones (either wired or Bluetooth) to
listen. Even if you just want to record the sounds,

14
you may use earphones to monitor the sounds (for
example, holding Stemoscope II stable can give
better quality). Please consult your doctor on
where to listen and record.
Home user interface (after Stemoscope II is
connected)
The battery
level of the
connected
stethoscope
Animated
“listen” button
after
connection.
Press it to
listen.

15
The “video”theme of the “listen”user interface
The sound
waveform
Select one of
the themes by
pressing the
button. “video”
is selected in
this example
Bluetooth signal strength
Battery power level
Switch the
front and back
camera
Record button

16
4. Record a video composed of the auscultatory
sounds and the camera view
You can use the “video”theme of the “listen”user
interface to record a video composed of the video
showing where Stemoscope II is placed and the
sounds transmitted from this Stemoscope II.
Sounds from different body spots may have
different characteristics, so it is critical to know
what part of the body emitted those sounds. A
video can record the sounds and associated
location of the Stemoscope II. When you do the
recording, please make sure the location of the
Stemoscope II can be determined in the camera
view. For example, a doctor may determine the
spot based on its relative location to the neck.
Using the “video”theme for recording is the
preferred recording option if you are not sure
about the correct spots for listening.
5. Record the sounds on a predefined body
spot
Besides the “video” theme in the “listen” user
interface, there are another two themes: “heart”

17
and “lung,”providing some predefined spots to
save heart sounds and lung sounds respectively.
The following picture shows the “heart” theme.
You can place Stemoscope II on one of the body
spots shown in this user interface and press the
corresponding “red dot”recording button to
record the corresponding sounds. You may choose
to screen record so that the sounds and the
waveform displayed on the screen can be
composed into a single video file. To do so, toggle
on the screen recording option button before you
press the “red dot”recording button. When you
look at the picture that shows the interested body
spots (red dots), pay attention to the orientation
of the human body marked with right-hand side
and left-hand side. Make sure you do not mix the
left and the right of the human body where the
Stemoscope II is placed.

18
The “heart”theme of the “listen”user interface
6. More features for medical professionals
Two extra features were provided in the “listen”
user interface for medical professionals. Medical
professionals sometimes need to filter the sounds
Record button.
Place your
device on one
of the heart
listening spots
and press this
button to
record the
sound
associated
with this
location.
Option to
record screen

19
for better interpretation or record the sounds from
some body spots that are not commonly used.
⚫Choose Stemoscope II frequency modes
The auscultatory sounds can be filtered in three
different frequency modes: bell mode, diaphragm
mode, and extended range mode respectively. The
following table shows the frequency ranges of
these modes.
The Bell mode emphasizes the low frequency
sound, which makes the major part of normal
heart sounds, while the Diaphragm mode
weakens the low frequency sounds, which may
reduce the interference of heartbeat when you
listen to the lung sounds. The Extended range
mode covers the whole frequency range from 20-
2000 Hz. You may switch among these modes
based on your preference. We don’t make
recommendations on what frequency mode
should be used.

20
Extra features for medical professionals in the
“listen”user interface
⚫Record on non-predefined auscultation
spots
Stethoscope
frequency
modes for
medical
professionals
Non-
predefined
recording spot
Table of contents
Other stemoscope Medical Equipment manuals
