manuals.online logo
Brands
  1. Home
  2. •
  3. Brands
  4. •
  5. Stenner
  6. •
  7. Water Pump
  8. •
  9. Stenner Classic Series Operating instructions

Stenner Classic Series Operating instructions

US and Canada 800.683.2378, International 904.641.1666 Classic Series
TROUB ESHOOTING MOTOR
HAZARDOUS VO TAGE
DISCONNECT power cord before removing motor cover for service. Electrical service
should be performed by trained personnel only.
PROB EM POSSIB E CAUSE SO UTION
Loud or excessive noise Worn ball bearings Replace rotor assembly
Damaged bearing brackets or Replace bearing brackets and
tolerance rings tolerance rings
Insufficient gear lubrication Apply AquaShield™ to gears and gear posts
Worn gears or gear posts Inspect and/or replace gears and gear posts
Motor does not work; aulty electrical supply Check electrical supply
fan does not turn Bearing brackets broken Replace bearing brackets
Damaged motor coil Replace motor coil
Worn or damaged rotor bearings Replace rotor assembly
Damaged power cord Inspect and/or replace power cord
Rotor bound or rusted to coil Buff off coil and rotor or replace
aulty wire connections Inspect and/or repair electrical connections
Obstructed fan Remove obstruction
Motor runs; fan turns, Worn or damaged gears Replace gears as needed
output shaft does not
Motor overheats and Incorrect voltage Check voltage and frequency matches
shuts off and on pump label
High ambient temperature Pumps are rated to 125˚ (51 °C) maximum
Damaged/malfunctioning coil Replace motor coil
Phenolic gear is stripping Water intrusion Use rain roof, replace phenolic gear &
all affected components
Cracked bearing bracket Replace bearing bracket & phenolic gear
Worn gear posts Replace gear posts & affected gears
Rusted helical gear at end of rotor Buff off rotor or replace rotor,
replace phenolic gear
Worn or cracked gear case cover Replace gear case or gear case cover
Missing phenolic gear spacer Replace phenolic gear and install spacer on
top of gear
Insufficient lubrication Apply AquaShield™ to gears and
gear posts
Classic Series www.stenner.com
TROUB ESHOOTING FEED RATE CONTRO
PROB EM POSSIB E CAUSE SO UTION
Dial ring will not turn Seized or broken variable cam Apply Aquashield™to variable cam &
cam slot in feed rate control housing
Seized dial ring Clean then lubricate dial ring & cam slot
with AquaShield™
Dial ring turns, Variable cam disengaged from Re-insert 90˚ end into ring
output doesn’t change dial ring
Broken variable cam Replace variable cam
Pump head does not rotate Worn index plate Turn over or replace index plate
Motor problem Refer to motor troubleshooting
Pump head roller assembly stripped Replace roller assembly
Index pin holder loose Tighten holder into spider assembly
Index pin broken Replace index pin and lifter assembly
Pump head rotates continuously Variable cam out of place or worn Replace or re-insert variable cam
Ratcheting sound Index plate worn Turn over or replace index plate
Variable cam worn Replace variable cam
Lifter worn Replace lifter or complete
index pin assembly
US and Canada 800.683.2378, International 904.641.1666 Classic Series
TROUB ESHOOTING PUMP HEAD
PROB EM POSSIB E CAUSE SO UTION
Roller Assembly Motor not locked ixed Rate Pumps: Place tube housing latch
will not expand or into motor slot; Adjustable Rate Pumps:
collapse with Set feed rate control to 10
tube housing cover Stripped or cracked Replace roller assembly
roller assembly hub
Components cracking Chemical attack Check chemical compatibility
Chemical intrusion from tube failure Identify and correct cause, clean components of
chemical & replace tube according to manual
Pump head leaking Pump tube rupture Identify and correct cause, clean components of
chemical & replace tube according to manual
No pump output, Roller assembly not fully expanded Expand roller assembly using pump head cover
pump head rotates as a tool, according to manual
Depleted or weighted strainer is above Replenish solution and position suction line 3"
solution tank above bottom of tank
Leak in the suction line or Inspect or replace suction line and/or connections
at connections
errules installed incorrectly, Replace ferrules, beveled end faces pump
missing or damaged
Sleeve and/or plastic gripper inside Replace if damaged or missing. Reorient if
3/8" connecting nut is missing incorrectly assembled; gripper beveled end
damaged, or incorrectly assembled faces nut; sleeve wide end faces gripper
Injection point is clogged Inspect and clean injection point
Clogged suction and/or discharge Clean and/or replace as needed
line and/or check valve
Life of pump tube exhausted Replace tube according to manual, schedule
tube replacement based on application
Suction line is flush with the nose of the Pull suction line approximately 1" from bottom of
weighted strainer strainer, cut bottom of suction at an angle
Low pump output, Life of pump tube exhausted Replace tube according to manual, schedule
pump head rotates tube replacement based on application
Rollers worn or broken Replace roller assembly
Injection point is restricted Inspect and clean injection point regularly
Incorrect tube size or setting Refer to pump output chart and determine dial
ring setting or replace tube & ferrules
High system back pressure Verify system pressure against tube psi,
replace tube and ferrules
No pump output, Stripped or cracked Replace roller assembly
pump head roller assembly hub
doesn’t rotate eed rate control problem Refer to feed rate control troubleshooting
Motor problem Refer to motor troubleshooting
Pump output high Incorrect tube size or setting Refer to pump output chart and determine dial
ring setting or replace tube and ferrules
Roller assembly broken Replace roller assembly
Malfunctioning feed rate control Refer to feed rate control troubleshooting
Incorrect motor rpm Replace with motor that matches pump model
Classic Series www.stenner.com
TROUB ESHOOTING PUMP TUBE
NOTICE: A leaking pump tube damages the metering pump. Inspect pump frequently
for leakage and wear. Refer to Tube Replacement section for additional safety
precautions and instructions.
PROB EM POSSIB E CAUSE SO UTION
Tube leaking Pump tube ruptured Identify and correct cause,
clean components of chemical &
replace tube according to manual
Calcium or mineral deposits Clean injection fitting; replace tube and
duckbill according to manual
Excessive back pressure Verify system pressure against tube psi,
replace tube and ferrules
Tube is twisted Replace tube and ferrules according to
manual, hold tube fitting while tightening
connecting nut to prevent twisting
Tube not centered Clean components of chemical,
replace tube and ferrules according to
manual & confirm tube is centered
Tube life is shortened Chemical attack Check chemical compatibility
Mineral deposits at injection point Clean injection fitting. Replace tube,
ferrules & duckbill according to manual
Sediment blockage at check valve Clean injection fitting, ensure suction
line is 3" above tank bottom. Use
suction line strainer.
Degraded check valve duckbill Replace duckbill. At every tube change,
replace duckbill & ferrules.
Duckbill in wrong orientation Reverse duckbill orientation
Seized rollers caused abrasion on tube Clean roller assembly or replace,
do not lubricate
Exposure to heat or sun Do not store tubes in high temperatures
or in direct sunlight
Tube connection is leaking errules installed incorrectly, Replace ferrule, beveled end faces pump
missing or damaged
3/8" nut loose irmly hold adapter and finger tighten nut.
Wrench tighten additional 1/2 turn.
Missing ferrule in 3/8" adapter Insert new ferrule into adapter or
replace adapter fitting
Sleeve and/or plastic gripper inside Replace if damaged or missing;
3/8" connecting nut is missing Reorient if incorrectly assembled;
damaged, or incorrectly assembled gripper beveled end faces nut;
sleeve wider end faces gripper

Other manuals for Classic Series

1

Other Stenner Water Pump manuals

Stenner 45MHP2 User manual

Stenner

Stenner 45MHP2 User manual

Stenner ECON FP Series Manual

Stenner

Stenner ECON FP Series Manual

Stenner M128 Series Manual

Stenner

Stenner M128 Series Manual

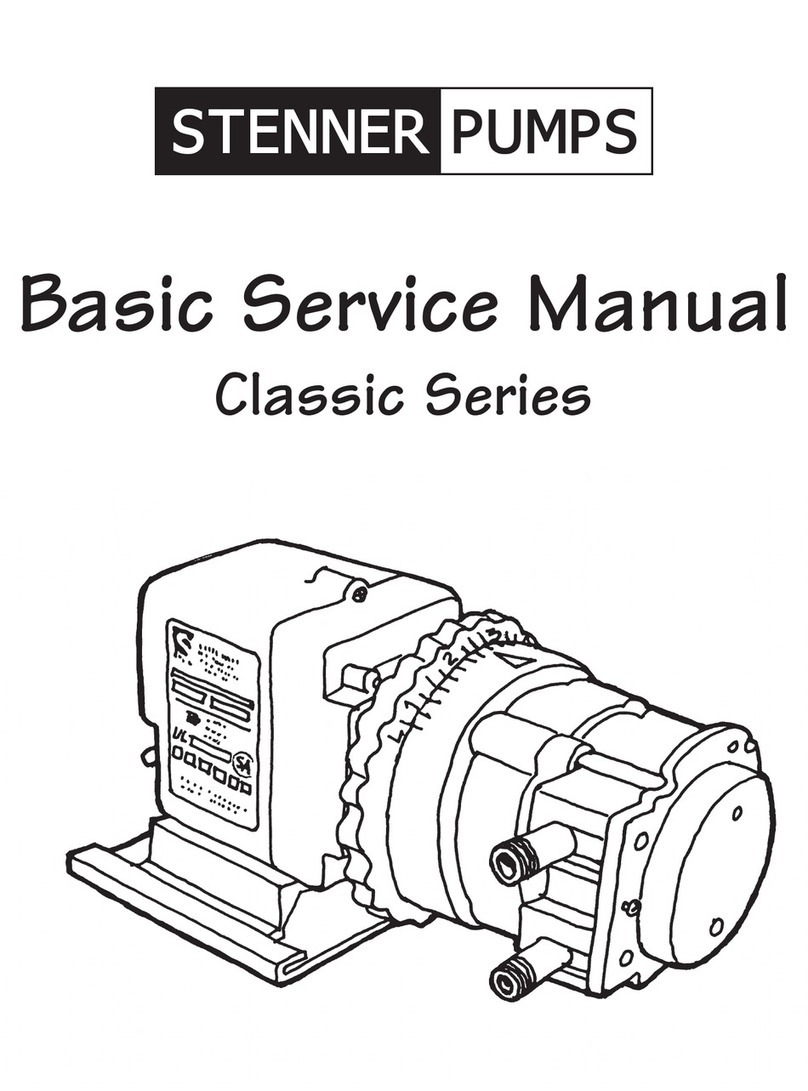
Stenner Classic Series User manual

Stenner

Stenner Classic Series User manual

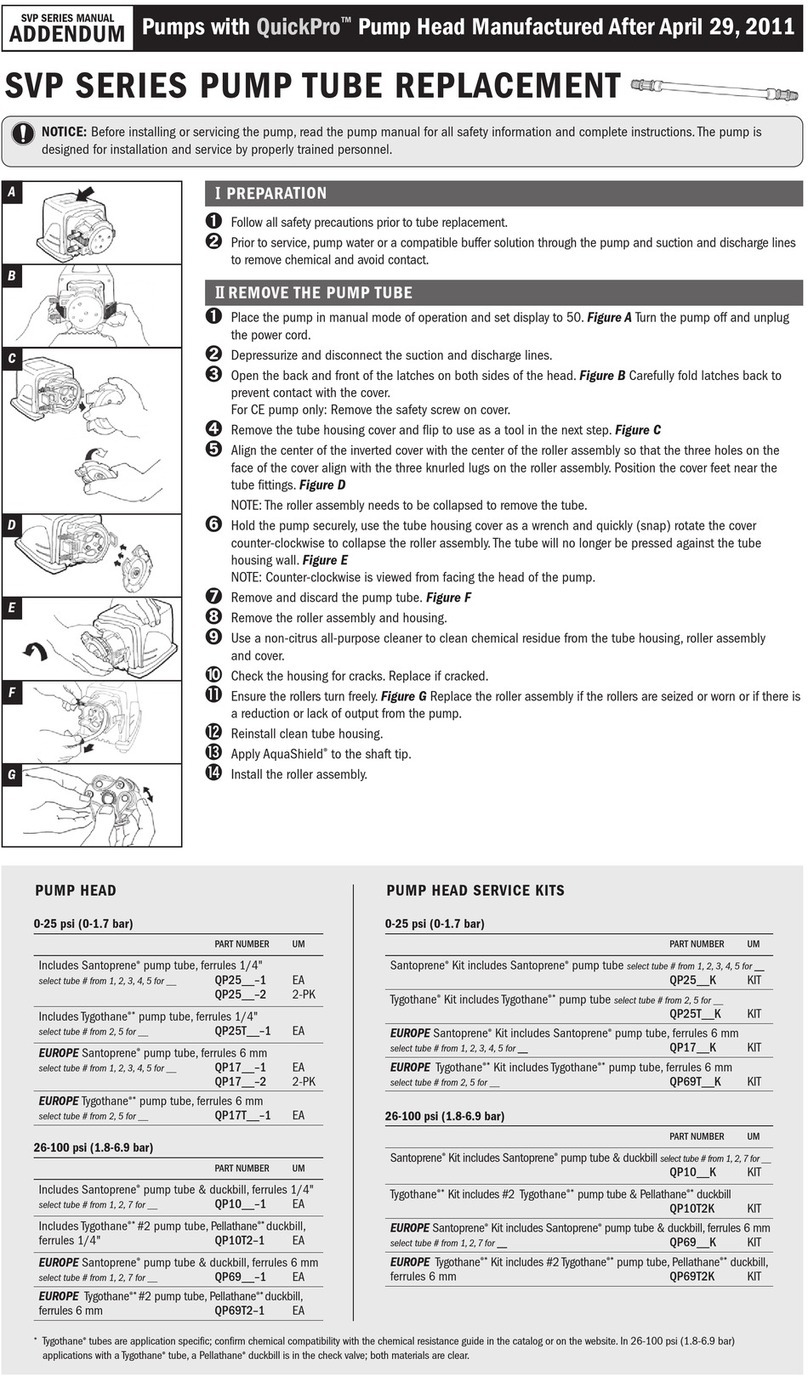
Stenner SVP Series Installation and operating instructions

Stenner

Stenner SVP Series Installation and operating instructions

Popular Water Pump manuals by other brands

Steinbach SPS 175-1T ORIGINAL OWNER'S MANUAL

Steinbach

Steinbach SPS 175-1T ORIGINAL OWNER'S MANUAL

BIANCO PUMPZ 2 Series manual

BIANCO PUMPZ

BIANCO PUMPZ 2 Series manual

Biral A 402 V2 Installation and operating instructions

Biral

Biral A 402 V2 Installation and operating instructions

Sauer Danfoss H1 technical information

Sauer Danfoss

Sauer Danfoss H1 technical information

Wilo Stratos PARA-C Installation and operating instructions

Wilo

Wilo Stratos PARA-C Installation and operating instructions

LEYBOLD DRYVAC DV 200 operating instructions

LEYBOLD

LEYBOLD DRYVAC DV 200 operating instructions

Aqua PRO 60013 owner's manual

Aqua PRO

Aqua PRO 60013 owner's manual

PFT 00260621 operating instructions

PFT

PFT 00260621 operating instructions

Espa DRAINEX 200 Series instruction manual

Espa

Espa DRAINEX 200 Series instruction manual

ProMinent Sigma 1 S1Cb operating instructions

ProMinent

ProMinent Sigma 1 S1Cb operating instructions

FMT MOBIFI Series operating instructions

FMT

FMT MOBIFI Series operating instructions

Veolia AS Series Installation, operation & maintenance instructions

Veolia

Veolia AS Series Installation, operation & maintenance instructions

Jelrus SILVER BULLET+ instruction manual

Jelrus

Jelrus SILVER BULLET+ instruction manual

Turbo T03209 quick start guide

Turbo

Turbo T03209 quick start guide

Grundfos LM Series Installation and operating instructions

Grundfos

Grundfos LM Series Installation and operating instructions

Sandpiper S1F series Service & operation manual

Sandpiper

Sandpiper S1F series Service & operation manual

Viking pump F-1020 Installation operation & maintenance

Viking pump

Viking pump F-1020 Installation operation & maintenance

GORMAN-RUPP PUMPS JSV3A60-E2.7 200/3 Installation, operation, and maintenance manual with parts list

GORMAN-RUPP PUMPS

GORMAN-RUPP PUMPS JSV3A60-E2.7 200/3 Installation, operation, and maintenance manual with parts list

manuals.online logo
manuals.online logoBrands
  • About & Mission
  • Contact us
  • Privacy Policy
  • Terms and Conditions

Copyright 2025 Manuals.Online. All Rights Reserved.