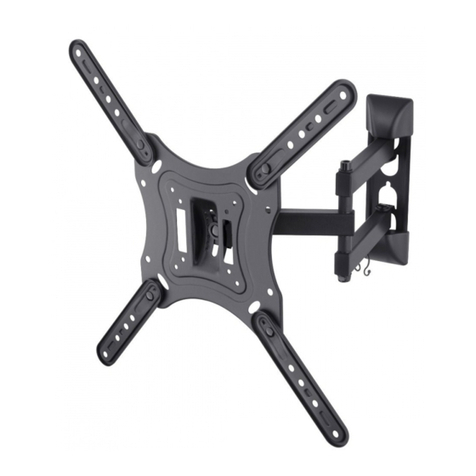
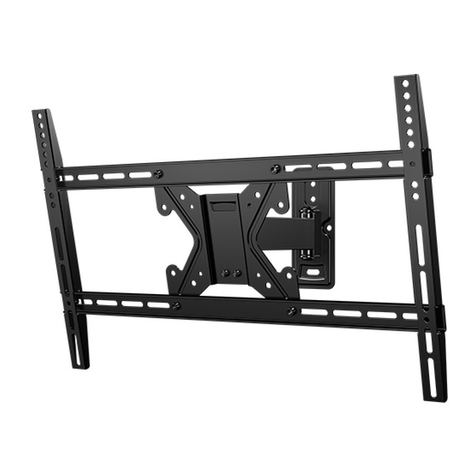
Steren STV-115 User manual

1

2
S
oporte para TV L
C
D
/
LED
d
e
3
2 ha
s
ta
50
” con brazo dual
STV-115
Gracias por la compra de este producto Steren.
Este manual contiene todas las indicaciones necesarias para manejar su
nuevo Soporte para TV LCD/LED de 32 hasta 50” con brazo dual.
Por favor, revíselo completamente para estar seguro de cómo utilizar
apropiadamente el producto.
Para apoyo, compras y todo lo nuevo que tiene Steren,
visite nuestro sitio web:
www.steren.com

3
IMPORTANTE
- Durante el montaje, utilice sólo las piezas suministradas y fije todas las piezas firmemente.
- No olvide ninguna pieza durante el montaje. Instale todas las piezas tal como se indica.
- No altere ni modifique ninguna pieza.
- Hay que tener cuidado especial cuando se instala en una pared a causa de su peso.
- Cuando instale el soporte en una pared de concreto, asegúrese de utilizar taquetes.
- Cuando instale el soporte en una pared de madera tenga cuidado especial, ya que la
unidad puede necesitar un soporte adicional para aguantar el peso de la pantalla.
- Se recomienda que la instalación sea llevada a cabo por dos personas.
- Elija una pared recta para poder fijar con seguridad la pantalla.
- Coloque una cubierta de protección sobre la superficie en la que trabajará mientras
manipula la pantalla y la unidad de soporte en pared.
- Tras la instalación, compruebe que la unidad está firmemente fijada.
- Durante la instalación, deje al menos 15 cm libres alrededor y quite los objetos que pueda
haber en el espacio de la unidad.
El soporte para pantallas de LED y LCD está diseñado con un sistema de brazo dual que
permite adaptarse a pantallas de 32 hasta 50”, con un peso máximo de 40 kg, manteniendo
el televisor siempre en la posición fijada.
Se puede ajustar casi en cualquier dirección y es ideal para colocarlo en escuelas, oficinas,
hoteles, salas de conferencia y en cualquier pared de la casa.
Está fabricado en acero de bajo carbón con pintura en color negro e incluye los tornillos y
herrajes necesarios para armar y fijar en la pared.
Ángulo de inclinación +/- 15°
Carga máxima 40 kg
Grosor de lámina: 1,3 mm
Brazo de expansión de 39 cm
C
ARA
C
TERÍ
S
TI
C
A
S

4
CO
NTENID
O

5
1.- Localice el lugar donde desea
instalar la pantalla.
2.- Coloque la placa (I) de soporte
en la pared, para saber que se esta
montando de modo correcto verifique
que está nivelado, usando la burbuja
central del nivelador (H). Marque los
lugares donde se van a realizar las
perforaciones, de forma que la placa
quede completamente fija.
3. Una vez que realizó las perforaciones, inserte taquetes (B) en cada una de ellas.
Taquetes
DE PANTALL
A

6
4. Posteriormente coloque la placa de soporte e inserte los tornillos A en los taquetes
correspondientes, asegurándose de que quede firme.
5. Coloque los seguros de las barras de
movimiento en las barras de sujeción como se
muestra en la figura, asegúrese de que el tornillo
embone bien en la entrada cuadrada.
Los seguros deben quedar en la parte exterior
de las barras de sujeción de modo que pueda
ajustarlos libremente.

7
7. Una vez que los sujetadores están colocados en la pantalla, engánchelos en la placa de
soporte de la pared. Note que el gancho va en la parte superior.
Los tornillos suministrados
son de medidas estándar, le
recomendamos referirse al
manual de instrucciones de
su pantalla para obtener
información de los tornillos
que son necesarios para el
montaje en un soporte.
A continuación se muestra un
ejemplo de colocación.
6. Coloque las barras de sujeción sobre la parte trasera de su pantalla en los
orificios correspondientes (para más información refiérase al manual de su
pantalla). Utilice tornillos C, D, o E y las rondanas F o G.

8
A
j
uste de án
g
ulos después de la
i
n
s
talació
n
8. Para asegurar los sujetadores a la pantalla coloque los dos tornillos
sujetadores y apriete firmemente.
1. Una vez que instaló la pantalla y está fir-
memente sujeta, localice los seguros de las
barras de movimiento.
2. Aflójelas ligeramente a fin de que la panta-
lla tenga movimiento.
3. Coloque la pantalla en el ángulo que de-
see.
4. Vuelva a apretar los seguros de las barras
de movimiento.

9
Una vez que instaló la pantalla y está firmemente sujeta, tiene la posibilidad de expandir
o contraer el brazo flexible de acuerdo a sus necesidades.

Producto: Soporte para pantalla LCD/LED de 32 hasta 50” con brazo dual
Modelo: STV-115
Marca: Steren
PÓLIZA DE GARANTÍA
Esta póliza garantiza el producto por el término de un año en todas sus partes y mano de obra, contra
cualquier defecto de fabricación y funcionamiento, a partir de la fecha de entrega.
CONDICIONES
1.- Para hacer efectiva la garantía, presente esta póliza y el producto, en donde fue adquirido o en
Electrónica Steren S.A. de C.V.
2.- Electrónica Steren S.A de C.V. se compromete a reparar el producto en caso de estar defectuoso sin
ningún cargo al consumidor. Los gastos de transportación serán cubiertos por el proveedor.
3.- El tiempo de reparación en ningún caso será mayor a 30 días, contados a partir de la recepción del
producto en cualquiera de los sitios donde pueda hacerse efectiva la garantía.
4.- El lugar donde puede adquirir partes, componentes, consumibles y accesorios, así como hacer válida esta
garantía es en cualquiera de las direcciones mencionadas posteriormente.
ESTA PÓLIZA NO SE HARÁ EFECTIVA EN LOS SIGUIENTES CASOS:
1.- Cuando el producto ha sido utilizado en condiciones distintas a las normales.
2.- Cuando el producto no ha sido operado de acuerdo con el instructivo de uso.
3.- Cuando el producto ha sido alterado o reparado por personal no autorizado por Electrónica Steren S.A.
de C.V.
El consumidor podrá solicitar que se haga efectiva la garantía ante la propia casa comercial donde adquirió
el producto. Si la presente garantía se extraviara, el consumidor puede recurrir a su proveedor para que le
expida otra póliza, previa presentación de la nota de compra o factura respectiva.
DATOS DEL DISTRIBUIDOR
Nombre del Distribuidor __________________________
Domicilio ______________________________________
Producto ______________________________________
Marca ________________________________________
Modelo _______________________________________
Número de serie ________________________________
Fecha de entrega ________________________________
ELECTRÓNICA STEREN S.A. DE C.V.
Camarones 112, Obrero Popular, 02840, Del. Azcapotzalco,
México, D.F. RFC: EST850628-K51
STEREN PRODUCTO EMPACADO S.A. DE C.V.
Biólogo Maximino Martínez No. 3408 Int. 2, 3 y 4,
San Salvador Xochimanca, Del. Azcapotzalco, México,
D.F. 02870, RFC: SPE941215H43
ELECTRÓNICA STEREN DEL CENTRO, S.A. DE C.V.
Rep. del Salvador 20 A y B, Centro, 06000,
Del. Cuauhtémoc, México. D.F. RFC: ESC9610259N4
ELECTRÓNICA STEREN DE GUADALAJARA, S.A.
López Cotilla No. 51, Centro, 44100, Guadalajara, Jal.
RFC: ESG810511HT6
ELECTRÓNICA STEREN DE MONTERREY, S.A.
Colón 130 Pte., Centro, 64000, Monterrey, N.L. RFC:
ESM830202MF8
ELECTRÓNICA STEREN DE TIJUANA, S.A. de C.V.
Calle 2a, Juárez 7636, Centro, 22000, Tijuana, B.C.N.
RFC: EST980909NU5
En caso de que su producto presente alguna
falla, acuda al centro de distribución más
cercano a su domicilio y en caso de tener alguna
duda o pregunta por favor llame a nuestro Centro
de Atención a Clientes, en donde con gusto le
atenderemos en todo lo relacionado con su
producto Steren.
Centro de Atención a Clientes
01 800 500 9000

11

22
Thank You on purchasing your new Steren product.
This manual includes all the feature operations and troubleshooting necessary
to install and operate your new Steren´s 32 to 50” LCD/LED TV stand
with double arm
Please review this manual thoroughly to ensure proper
installation and operation of this product. For support, shopping,
and everything new at Steren, visit our website:
www.steren.com
STV-115
3
2 to
50
” L
C
D
/
LED TV
s
tand
with double ar
m

33
IMPORTANT
-Only use the supplied pieces and fasten them tightly.
-Do not forget to use all pieces. Install all pieces as shown on this manual.
-Do not try to modify any piece.
-Take care about the weight of the bracket while mounting in a wall.
-If you mount the bracket in a concrete wall, make sure to use the supplied anchors.
-If you mount the bracket in a wooden wall, it is possible that you need an additional support,
in order to bear the weight of the TV.
-At least two people are needed for installing the bracket.
-Choose a flat wall, in order to fix the TV securely.
-Place a cover protection over the working surface, while you manipulate the monitor and
the wall bracket.
-Make sure the wall bracket is securely fixed to the wall, after the installation.
-Leave at least 15 cm around the unit, and remove all kind of objects.
The LED/LCD TV stand has been designed with a double arm to fit screens between 32 and
50”, and can support up to 88 lb.
The TV can be adjusted in almost any direction and the stand is perfect to be installed at
schools, offices, hotels, conference rooms and any other wall at home.
Manufactured in low carbon steel finished in black paint. All required fittings for installation
are included in the package.
Tilt angle: +/- 15°
Maximum load: 88 lb
Plate thickness: 1.3 mm
1.2 ft arm length
H
I
G
HLI
G
HT
S

44
PA
C
KA
G
E
CO
NTENT

55
3. Then, insert the anchors (B) in the holes.
Wooden pegs
H
O
W T
O
IN
S
TALL THE WALL
B
RA
C
KET
1 .- Locate the place where you
want to install the screen.
2 .- Place the support (1) on the
wall, so you know that is mounted
correctly. Check if it is leveled using
the central bubble of the leveler (H).
Mark the places where you have to
drill.

66
4. Place the wall bracket over the holes and insert screws A, make sure to tight them
firmly.
5. Place the movement bars knobs in the
fastening bars as shown on the image; make
sure the screw fits right into the square entry.
The knobs must be place in the exterior part
of the fastening bars, so you can adjust them
without any trouble.

77
7. When the monitor is securely mounted in the holders, hook it up to the wall bracket. Note the
hook must be placed in the upper side of the wall bracket.
The screws are standard
size, we recommend refer to the
instruction manual of your screen
for more information about
the necessary screws for the
mounting.
The next diagram is an example of
placement.
6. Place and secure the bars on screen’s back (check your screen’s manual for
more information). Use screws C, D, or E and the washer F and G.

88
Ad
j
ustin
g
the view an
g
le a
f
ter installatio
n
8. Tighten the screws so that the bracket is properly fixed.
1. Once the screen is installed and firmly
attached, locate the knob on the movement
bars.
2. Loosen them slightly so that the screen
moves.
3. Adjust the screen at the desired angle.
4. Tight the knob.

99
Once the screen is installed and firmly attached, you can also adjust the
flexible arm according to your needs.

1010
WARRANTY
This Steren product is warranted under normal usage against defects in workmanship
and materials to the original purchaser for one year from the date of purchase.
CONDITIONS
1. This warranty card with all the required information, invoice, product box or
package, and product, must be presented when warranty service is required.
2. If the product is in the warranty time, the company will repair it free of charge.
3. The repairing time will not exceed 30 natural days, from the day the claim was
received.
4. Steren sell parts, components, consumables and accessories to customer, as well
as warranty service, at any of the addresses mentioned later.
THIS WARRANTY IS VOID IN THE NEXT CASES:
If the product has been damaged by an accident, acts of God, mishandling, leaky
batteries, failure to follow enclosed instructions, improper repair by unauthorized
personnel, improper safe keeping, among others.
a) The consumer can also claim the warranty service in the purchase establishment.
b) If you lose the warranty card, we can reissue it, if you show the invoice or purchase
ticket.
RETAILER INFORMATION
Name of the retailer
Address
Product
Brand
Part number
Serial number
Date of delivery
Product: 32 to 50” LCD/LED TV stand with double arm
Part number: STV-115
Brand: Steren
In case your product fails
or have questions, please
contact your nearest dealer.
If you are in Mexico, please
call to our Call Center.
01 800 500 9000
Table of contents
Languages:
Other Steren TV Mount manuals

Steren
Steren STV-039 User manual

Steren
Steren STV-150 User manual

Steren
Steren STV-021 User manual

Steren
Steren STV-125 User manual

Steren
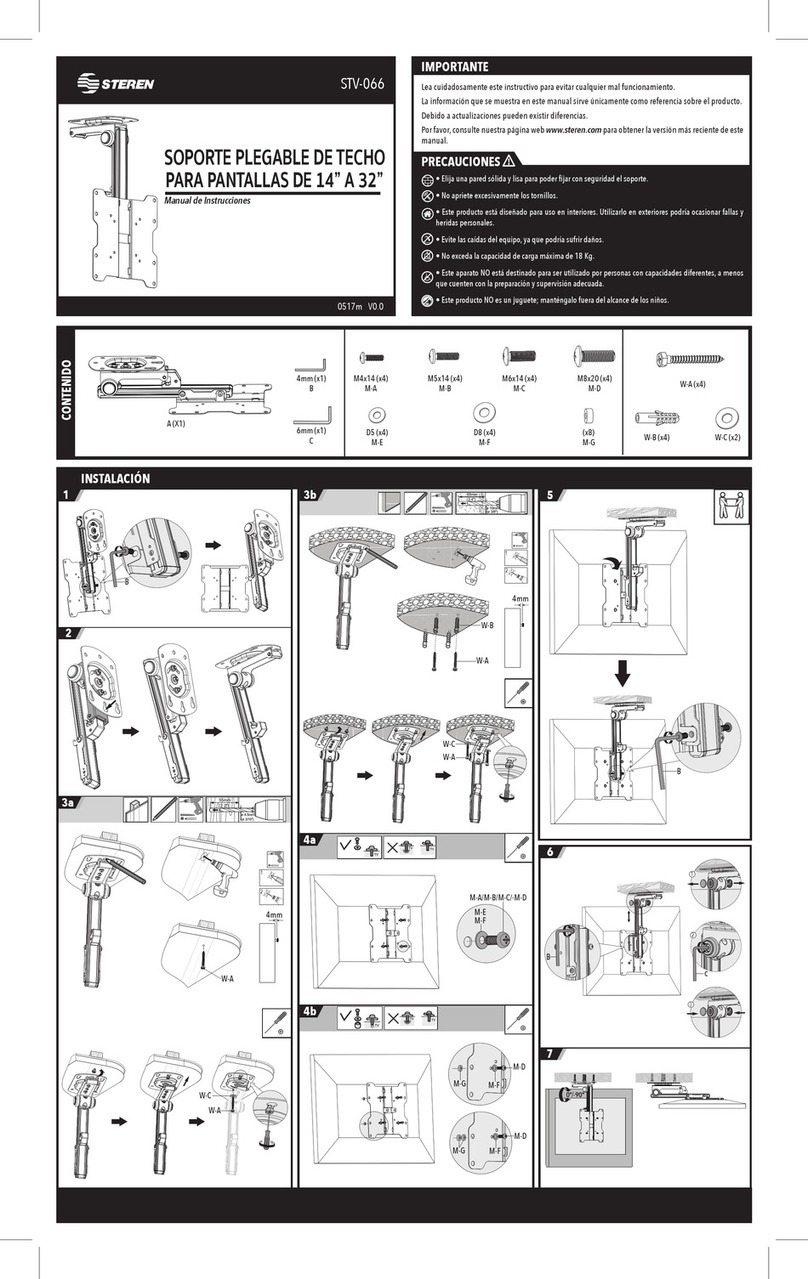
Steren STV-066 User manual

Steren
Steren STV-305 User manual

Steren
Steren STV-021 User manual

Steren
Steren TV-075 User manual

Steren
Steren STV-036 User manual

Steren
Steren STV-048 Operating instructions

Steren
Steren STV-037 User manual

Steren
Steren STV-024 User manual

Steren
Steren STV-033 User manual

Steren
Steren Platinum STV-2000 User manual
Steren
Steren STV-034 User manual

Steren
Steren STV-062 User manual

Steren
Steren STV-021 User manual

Steren
Steren STV-031 User manual

Steren
Steren STV-040 User manual
Steren
Steren STV-041 User manual