worn AV buffers will tend to have
higher vibration levels.
- Maintain a firm grip at all times, but
do not squeeze the handles with
constant, excessive pressures, take
frequent breaks.
All the above mentioned precautions do
not guarantee that you will not sustain
whitefinger disease or carpal tunnel
syndrome. Therefore continual and
regular users should monitor closely the
condition of their hands and fingers.
If any of the above symptoms appear,
seek medical advice immediately.
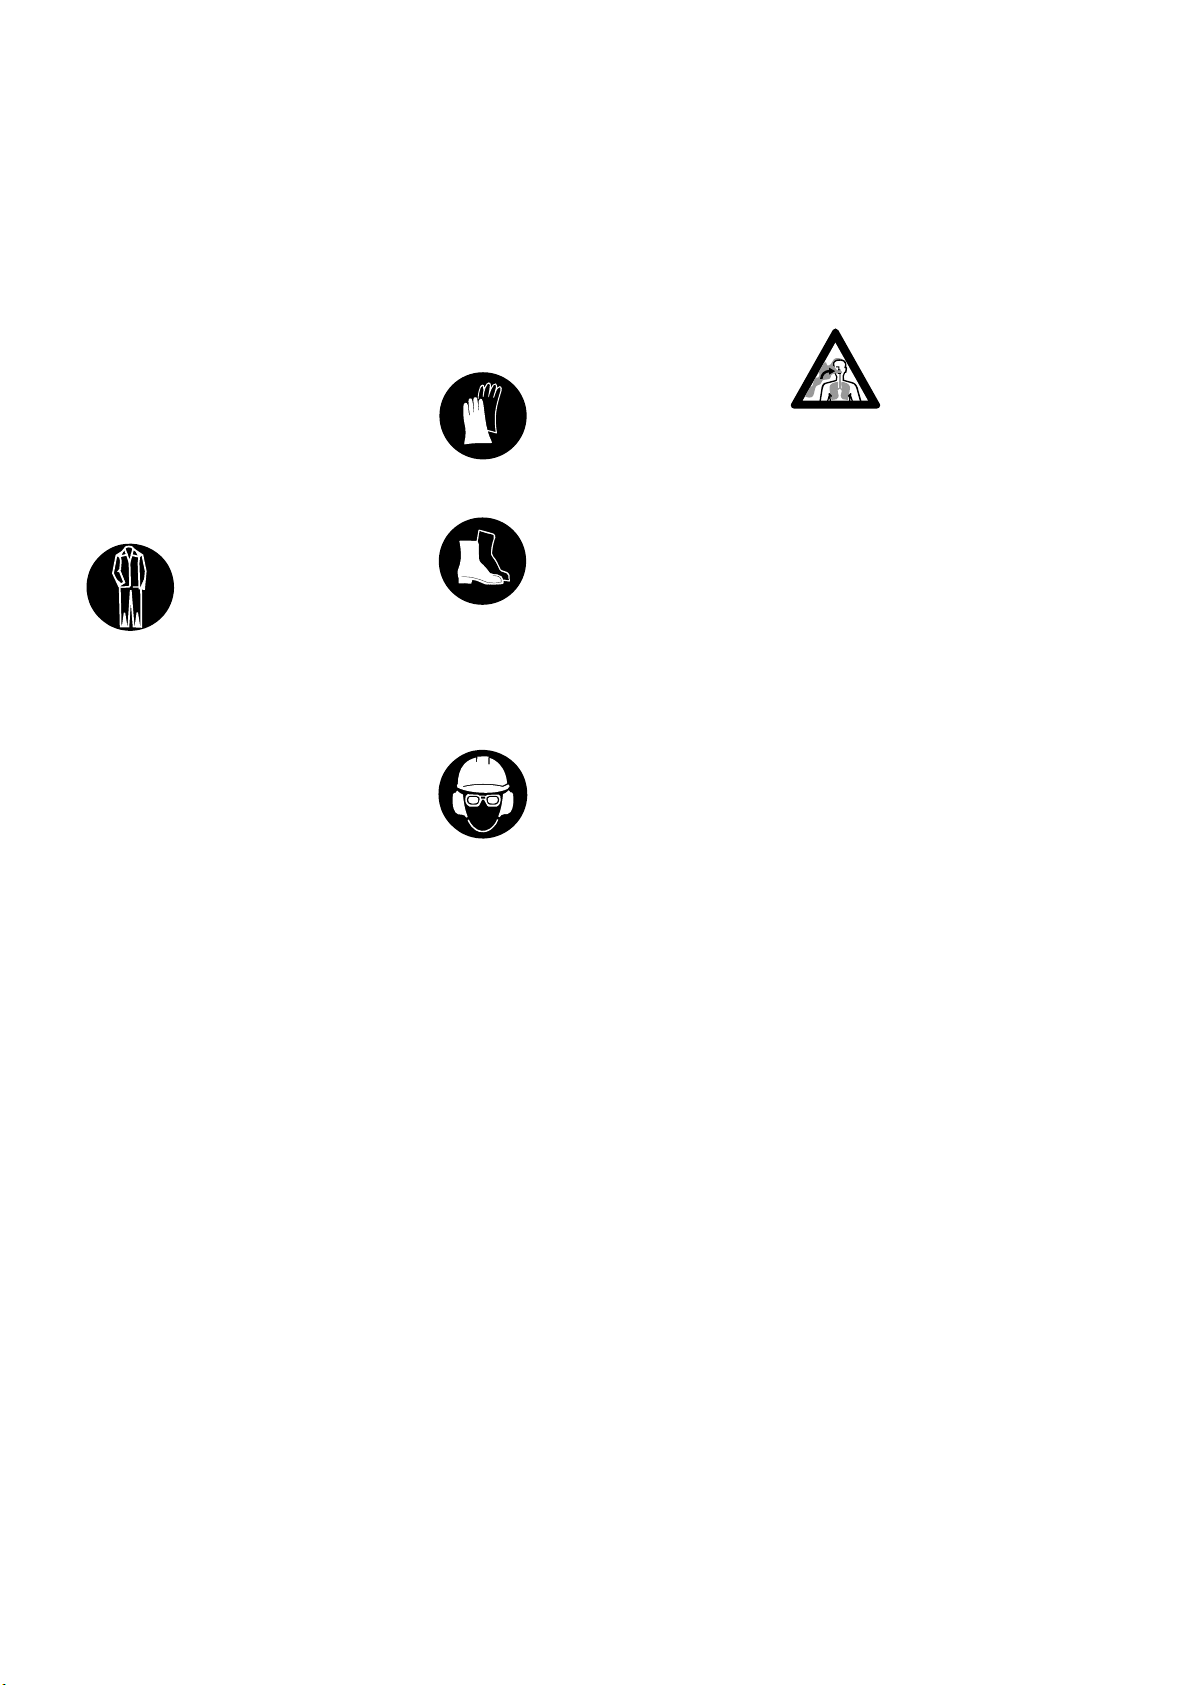
3URSHU&ORWKLQJ
Clothing must be sturdy
and snug-fitting, but allow
complete freedom of
movement. Avoid loose-
fitting jackets, scarfs,
neckties, jewelry, flared or cuffed pants,
unconfined long hair or anything that
could become caught on any obstacles
or moving parts of the unit. Wear over-
alls or long pants to protect your legs.
Do not wear shorts.
:DUQLQJ
When cutting metal, a cut-off machine
generates sparks which can ignite
clothing. Most fabrics used in clothing
are flammable - even flame retardant
fabrics will ignite at higher temperatures.
To reduce the risk of burn injury STIHL
recommends wearing clothing made of
leather, wool, flame-retardant treated
cotton or a tightly woven, heavier cotton
such as denim. Some flame-retardant
synthetic fabrics are also suitable but
others such as polyester, nylon, rayon
and acetate can melt during fire into a
tar-like matter that burns into the skin.
Keep clothing free of oil, fuel, grease
and other flammable substances.
Protect your hands with
gloves when handling the
cut-off machine.
Heavy-duty, nonslip
gloves improve your grip
and protect your hands.
Good footing is most im-
portant in cut-off machine
work.
Wear sturdy boots with
nonslip soles. Steel-toed
safety boots are recommended.
:DUQLQJ
Loose objects may be thrown toward the
operator by the cutting tool.
To reduce the risk of
injury to your eyes never
operate a cut-off machine
unless wearing goggles
or properly fitted safety
glasses with adequate top and side
protection complying with ANSI Z 87.1.
Proper eye protection is a must.
Wear an approved safety hard hat to
protect your head. cut-off machine noise
may damage your hearing.
Always wear sound barriers (ear plugs
or ear mufflers) to protect your hearing.
Regular users should have their hearing
checked regularly.
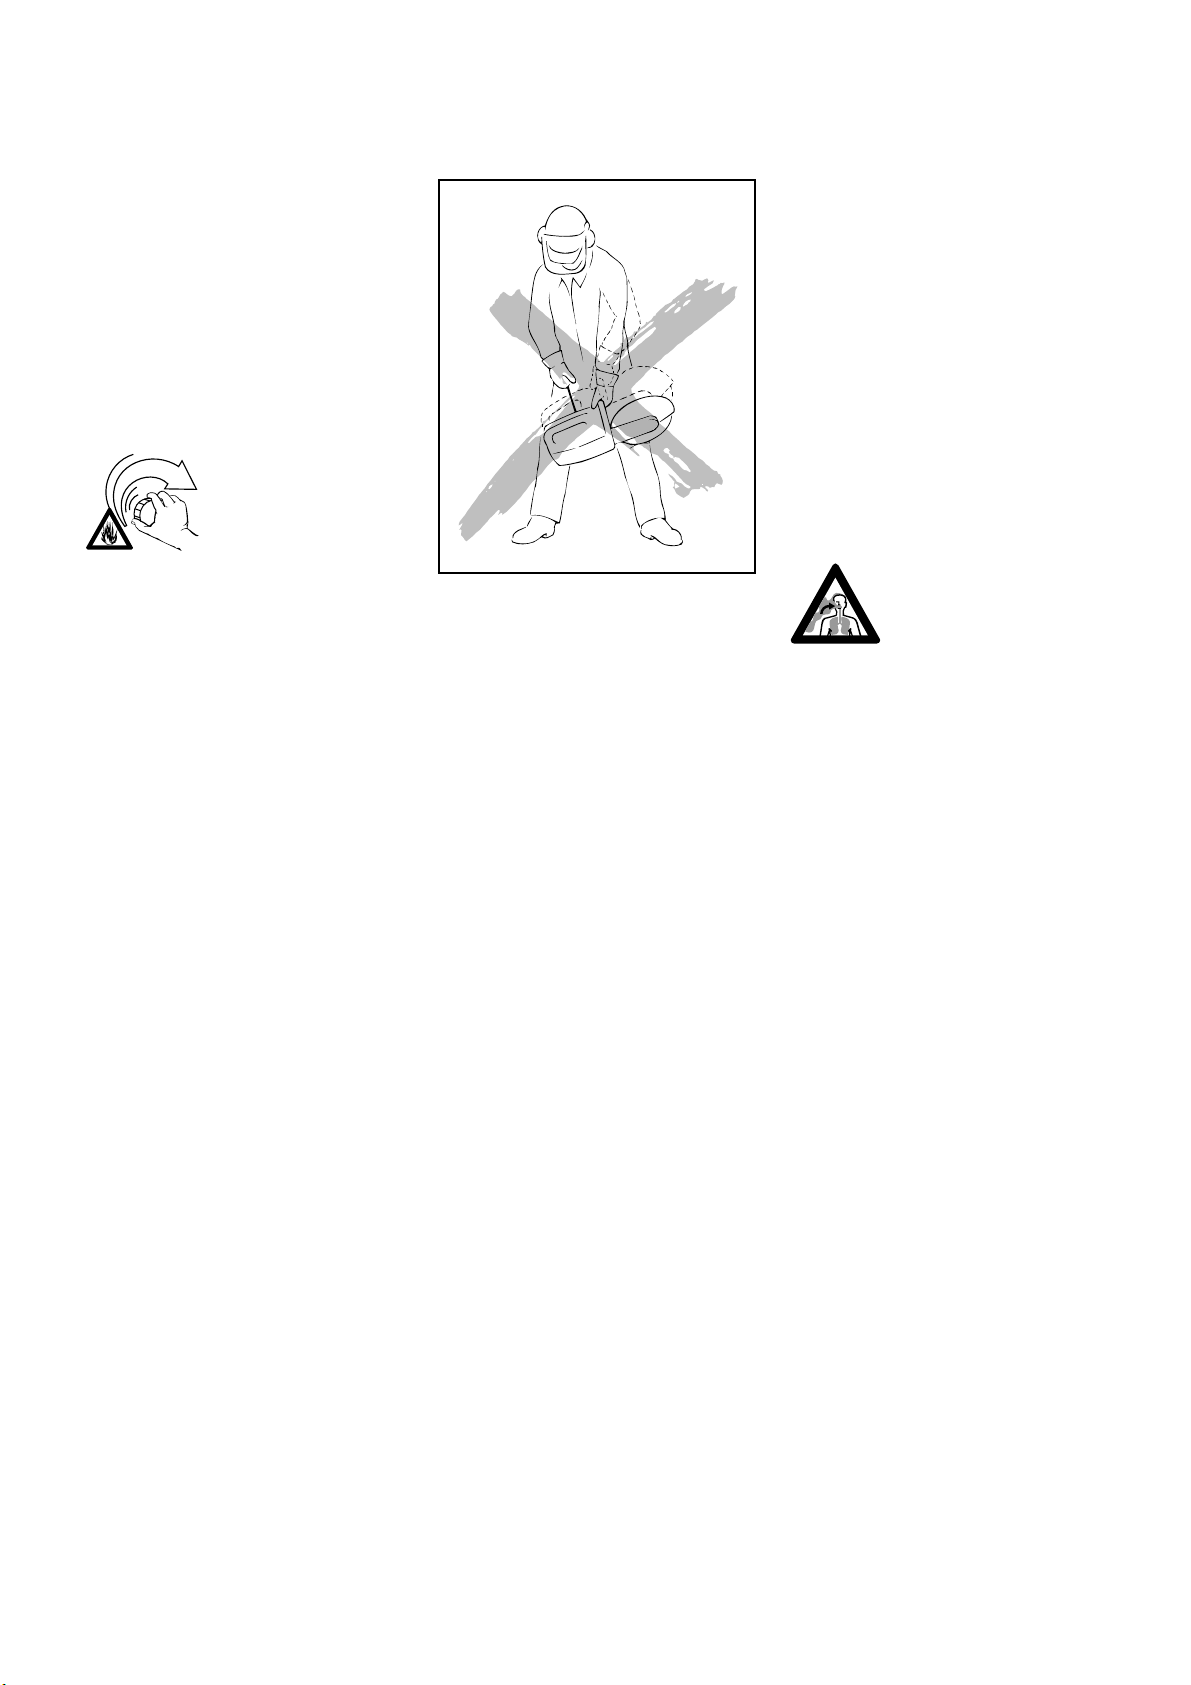
:DUQLQJ
Use of this product to cut
masonry, concrete, metal
and other materials can
generate dust, mists and
fumes containing
chemicals known to cause serious or
fatal injury or illness, such as respiratory
disease, cancer, birth defects or other
reproductive harm. If you are unfamiliar
with the risks associated with the particu-
lar material being cut, review the material
safety data sheet and/or consult your
employer, the material manufacturer/-
supplier, governmental agencies such
as OSHA and NIOSH and other sources
on hazardous materials. California and
some other authorities, for instance,
have published lists of substances
known to cause cancer, reproductive
toxicity, etc.
Control dust, mist and fumes at the
source where possible. In this regard
use good work practices and follow the
recommendations of the manufacturer/-
supplier, OSHA/NIOSH, and occupatio-
nal and trade associations. A water
attachment kit is available for your cut-off
machine and should be used for dust
suppression when wet cutting is feasible.
When the inhalation of dust, mists and
fumes cannot be eliminated, the operator
76