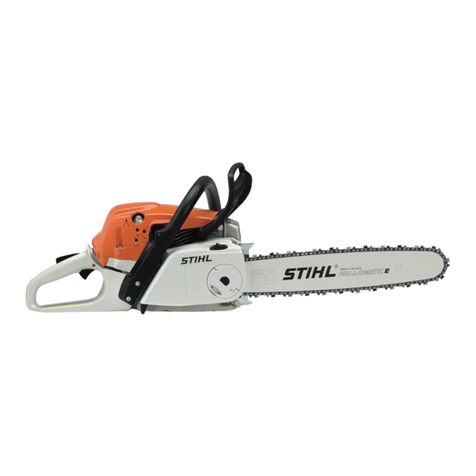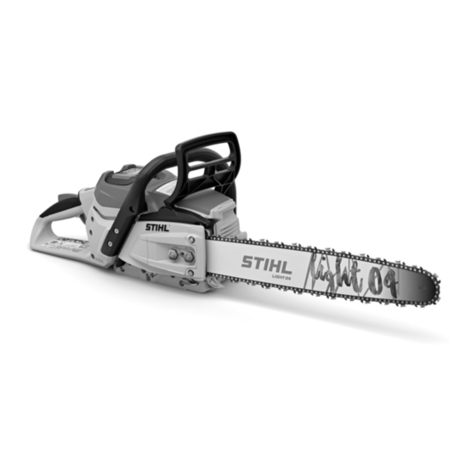
Guide Bars 7
5.1 Tools, Servicing Aids
–Guide bar dresser – 5605 773 4400
–Filing gauge 1/4" P – 0000 893 4005
–Filing gauge 1/4", 3/8" P, .325", 3/8" – 1100 893 4000
–Filing gauge .404", 1/2" – 1106 893 4000
–Groove drift 1.3 mm – 1110 893 9200
–Groove drift 1.6 mm – 1106 893 9200
–Flat file
–Hammer
–Leveling plate
–Spacer that matches groove width
5.2 Removing Burrs
A burr can build up on the outer edge of the guide bar.
NInspect bar body for cracks and damage.
NRemove burr with a belt grinder and/or grinding
wheel.
The burr can also be removed with a flat file or the STIHL
guide bar dresser.
NCheck groove depth with a filing gauge of the right
pitch.
Depending on the pitch, the following minimum groove
depths must be maintained:
NIf the measured groove depth is less than specified:
Replace the guide bar.
5.3 Straightening the Guide Bar
NInspect bar body for cracks and damage.
NSupport the bar in a press or vise at two points
equidistant from the center of the bend (1).
NApply pressure to the apex of the bend (1) until the
bar is straight.
NRelease pressure and check that the bar is still
straight. If the bar is not straight: Repeat the above
procedure.
NUse a hammer to finish straightening on a leveling
plate until it is flat in the rail area.
NInspect bar body for cracks and damage.
5.4 Opening and Closing the Bar Groove
Opening the Groove
NInspect bar body for cracks and damage.
NClamp the center of the guide bar in a vise.
NInsert a groove drift which matches the specified
groove width in the groove at an angle of about 45°.
NUse a hammer to knock the groove drift through the
pinched portion of the groove.
NInspect bar body for cracks and damage.
Closing the Groove
NInspect bar body for cracks and damage.
5 Guide Bar Body
– 1/4" P: 4 mm
– 1/4": 4 mm
– .325": 6 mm
– 3/8" P: 5 mm
– 3/8": 6 mm
– .404": 7 mm
0000-GXX-2226-A0
0000-GXX-2375-A0
