manuals.online logo
Brands
  1. Home
  2. •
  3. Brands
  4. •
  5. Stockmaster
  6. •
  7. Ladder
  8. •
  9. Stockmaster Mezzalad User manual

Stockmaster Mezzalad User manual

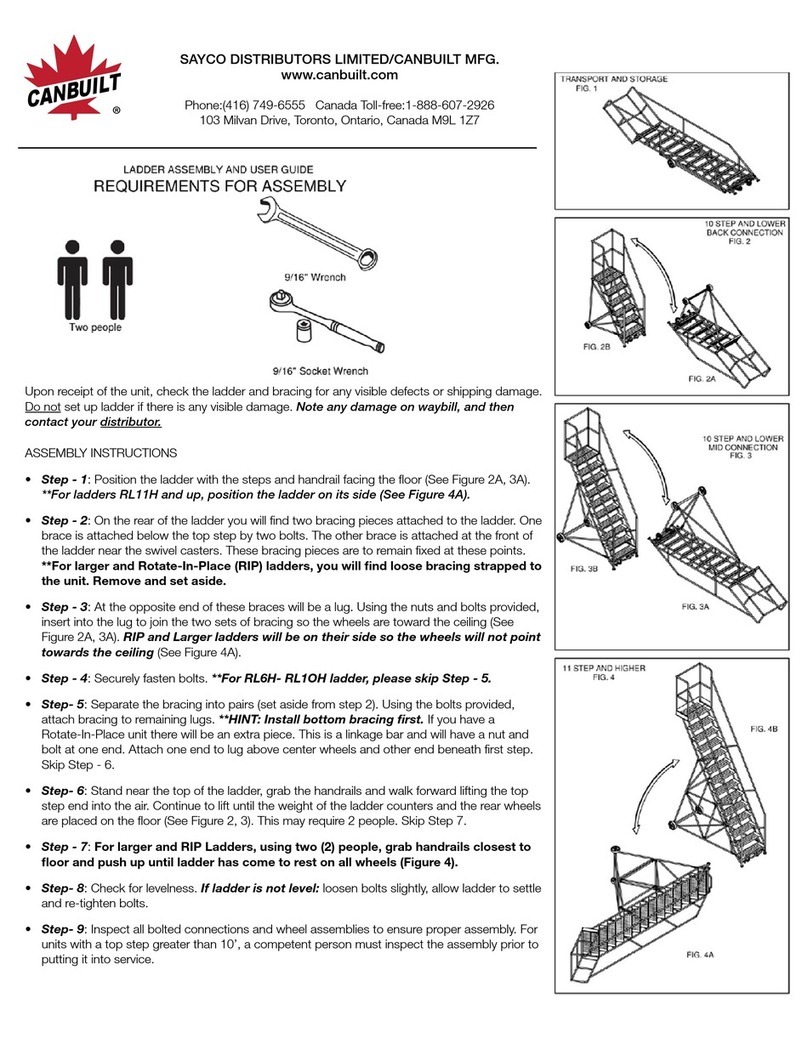
Assembly Instructions
Mezzalad Assembly Mezzalad Assembly
IMPORTANT: To avoid assembly problems follow these instructions exactly.
Step 1 - At the top of the ladder, Fix the Upper Handrail to the Ladder Stile at A & B using the 6 x 40mm bolts nuts
and washers -
Finger tight only.
(See illustration No. 1)
Note: Bolt Heads should be seen from this face
Step 2- At the centre of the ladder, fix the lower end of the Upper Handrail to the Ladder Stile at C & the upper end of
the Lower Handrail to the Ladder Stile at D. Use the 6 x 40mm bolts nuts and washers -
Finger tight only.
(See illustration
No. 2)
Step 3 - At the base of the ladder, fix the lower end of the Lower Handrail to the Ladder Stile at E & F using the
6 x 40mm bolts nuts and washers. NOW tighten all bolts.
(See illustration No. 3)
Step 4 -Assemble the Tube of the Safety Gate to the Gate Hinge/Latch. Locate the end of the Tube with the hole in
it. Seat this end into the Gate Hinge/Latch and Insert a Clevis Pin into the hole. (See illustration No. 4)
Step 5 - Push the Clevis Pin thru the Tube and Gate/Latch, fit the Washer and secure with the R Clip.
(See illustration
No. 5)
Step 6 -Fit the Safety Gate to the top of the Handrail. It may be mounted to either the left or right side. Use a Clevis
Pin, R Clip and Washer to secure. (See illustration No. 6)
Step 7 -Fit the remaining Gate Hinge/Latch to the top of the opposite Handrail. Place the Nylon Washer
between the Handrail and Gate Hinge/Latch and pass the bolt thru the assembly. Fit the Washer and Nut -
Finger tight
only.
(See illustration No. 7)
Step 8 - Lower the Safety Gate into the Latch (See illustration No. 8)
Step 9 -Tighten the Gate Latch bolt. (See illustration No. 9)
Step 10 - Ensure that a clear space of 770mm is available at the Mezzalad mounting position. Lay the Mezzalad
against the Upper floor and adjust the position so that the top step is flush with the Upper floor. Position the Mezzalad
in the centre of the opening. (See illustration No. 10)
Step 11 - Carefully ascend the ladder and engage mounting bracket into the slot at the left hand side of the
Mezzalad. (See illustration No. 11)
Note: Illustration No. 11 shows a floor mounting application. For a wall mounting application place this bracket on
the right hand side
.
Step 12 - Position the Bracket Tab against the wall for a floor mounting, or floor for a wall mounting application.
Fasten the bracket to the floor or wall using appropriate fasteners (not supplied). One 10mm diameter hole and 2 x
5mm diameter holes are providedin each bracket. (See illustration No. 12)
Step 13 -Engage the remaining bracket into the slot on the opposite side of the Mezzalad. Repeat the
instructions above in step 12 and fasten the bracket. Pull the ladder out fully to the using (open) position and check that
the upper surface of the top step is flush with the upper floor. Also check that the Bracket Tabs are flush with the floor
or wall (dependant on chosen mounting position).
Thank you for choosing Stockmaster. Your safety is in
good hands. Please register your 2 year warranty online at
www.stockmaster.co
2 YEAR WARRANTY
This completes the product assembly
Before use - See product Risk Assesment at
www.stockmaster.co
RISK ASSESMENT
Mezzalad Assembly Mezzalad Assembly
Illustration 7 Illustration 8
Illustration 1 Illustration 2
Illustration 3 Illustration 4
M6 x 40
B
B
A
A
Illustration 5 Illustration 6
C
D
M6 x 40
E
F
Mezzalad Assembly
Illustration 9 Illustration 10
Illustration 11 Illustration 12
Wall Mount
Application
Floor Mount
Application

Other Stockmaster Ladder manuals

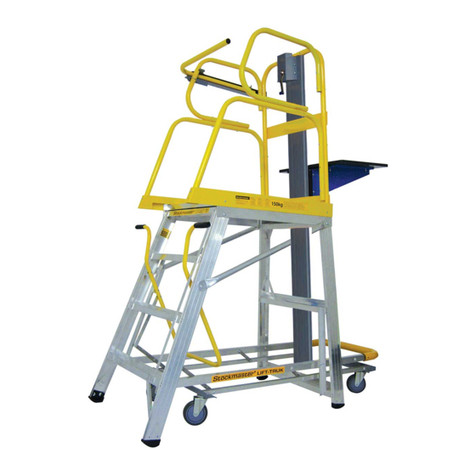
Stockmaster Tracker User manual

Stockmaster

Stockmaster Tracker User manual

Stockmaster Surefoot User manual

Stockmaster

Stockmaster Surefoot User manual

Stockmaster Navigator User manual

Stockmaster

Stockmaster Navigator User manual

Stockmaster Omni User manual

Stockmaster

Stockmaster Omni User manual

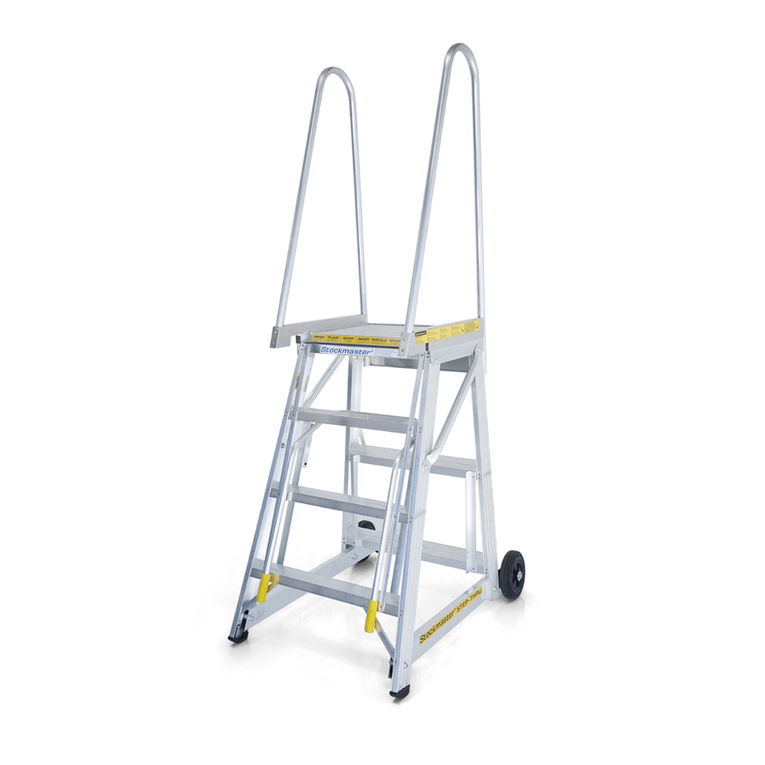
Stockmaster Step-Thru User manual

Stockmaster

Stockmaster Step-Thru User manual

Stockmaster Mezzanlad VH01 User manual

Stockmaster

Stockmaster Mezzanlad VH01 User manual

Stockmaster Navigator User manual

Stockmaster

Stockmaster Navigator User manual

Stockmaster Omni User manual

Stockmaster

Stockmaster Omni User manual

Stockmaster Step-Thru User manual

Stockmaster

Stockmaster Step-Thru User manual

Stockmaster Mezzalad VH01 User manual

Stockmaster

Stockmaster Mezzalad VH01 User manual

Popular Ladder manuals by other brands

Silverline 226092 instructions

Silverline

Silverline 226092 instructions

HSS Hire Conservatory Roof Access System Operating & safety guide

HSS Hire

HSS Hire Conservatory Roof Access System Operating & safety guide

Telesteps 1600EKP quick start guide

Telesteps

Telesteps 1600EKP quick start guide

AGI Westeel Wide-Corr Installation and Storage Instructions

AGI

AGI Westeel Wide-Corr Installation and Storage Instructions

Fieldmann FZZ 4001 operating instructions

Fieldmann

Fieldmann FZZ 4001 operating instructions

Bestway 58331 owner's manual

Bestway

Bestway 58331 owner's manual

macc EN 131 Instructions for use

macc

macc EN 131 Instructions for use

U-Line H-840U-20 manual

U-Line

U-Line H-840U-20 manual

Alto Industrial Aluminium Towers Assembly instructions

Alto

Alto Industrial Aluminium Towers Assembly instructions

zarges Scana S Assembly and use instructions

zarges

zarges Scana S Assembly and use instructions

Canbuilt NH Series Assembly and user's guide

Canbuilt

Canbuilt NH Series Assembly and user's guide

MetalTech Jobsite series instructions

MetalTech

MetalTech Jobsite series instructions

Mocka Maya Ladder Assembly instructions

Mocka

Mocka Maya Ladder Assembly instructions

Main Access 200400T Assembly instructions

Main Access

Main Access 200400T Assembly instructions

Rainbow Attic Stair ProTech-12 Series installation guide

Rainbow Attic Stair

Rainbow Attic Stair ProTech-12 Series installation guide

Bison VB76 instruction manual

Bison

Bison VB76 instruction manual

Hornbach 58332 owner's manual

Hornbach

Hornbach 58332 owner's manual

INNOVAPLAS Lumi-O H2O 7000 installation instructions

INNOVAPLAS

INNOVAPLAS Lumi-O H2O 7000 installation instructions

manuals.online logo
manuals.online logoBrands
  • About & Mission
  • Contact us
  • Privacy Policy
  • Terms and Conditions

Copyright 2025 Manuals.Online. All Rights Reserved.