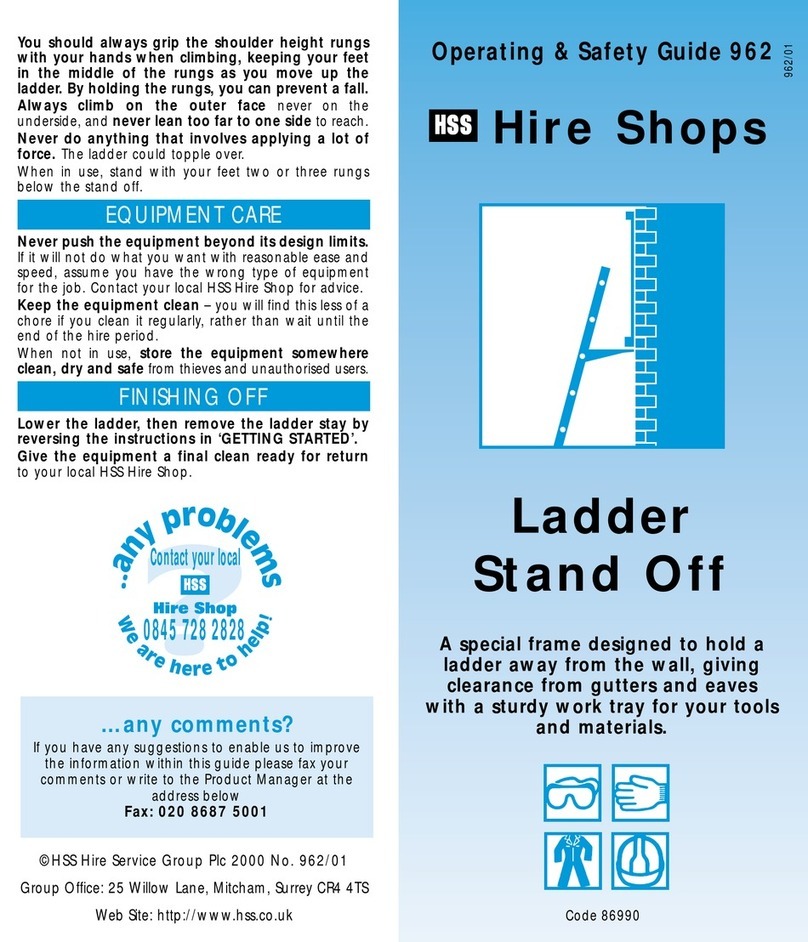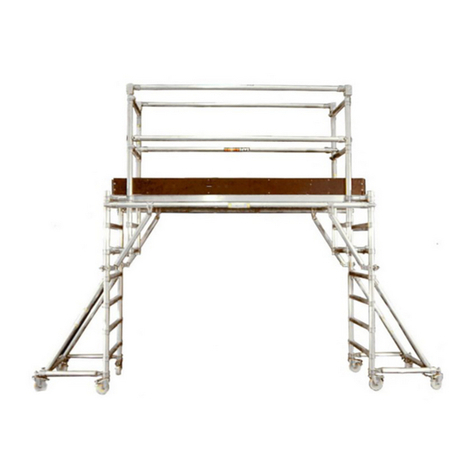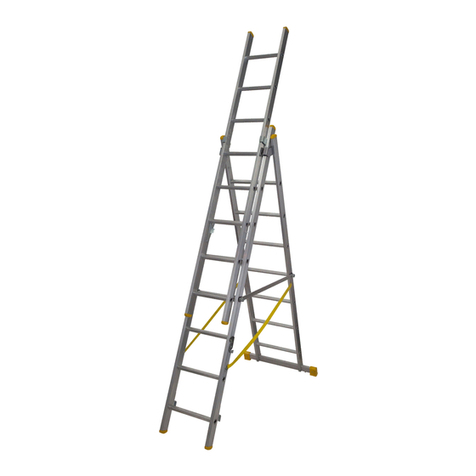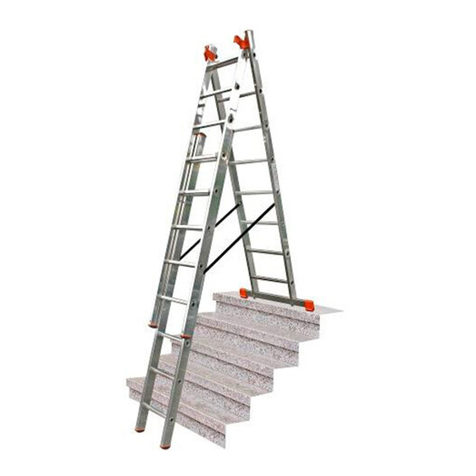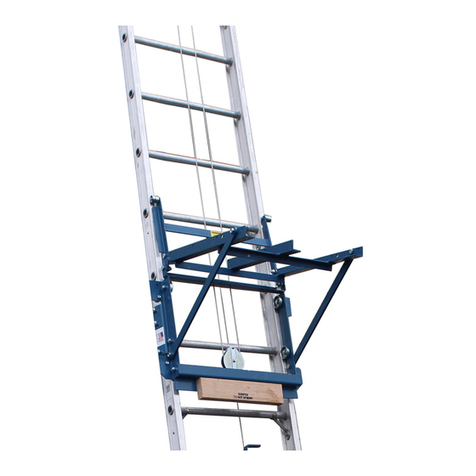
Take the main ladder and offer it up to the
conservatory. When correctly positioned, the base of
the ladder must be set back to achieve an angle
equivalent to 1 out and 4 up (or 75 degrees).
The ladder is designed to sit clear of any guttering
and relies upon the cross bar to support it.
With the ladder positioned, check that the top cross bar
is resting upon at least two rafters and that the
ladder stands clear of any guttering. It may be
necessary to raise or lower the top crossbar to achieve this.
If you need to reposition the cross bar, move the ladder
away from the conservatory
and lay it on the ground.
Remove the two lock pins
and move the cross bar
assembly up or down until
aligned with the alternative
position. Reinsert the pins
ensuring they are pressed
completely through the
assembly.
Reposition the ladder
against the conservatory
with the crossbar resting on
the rafters but clear of the
guttering.
The base bar is adjustable
to allow for any slight sloping
of the ground and for
lengthening the ladder if the
1 out 4 up setting can’t be
achieved fully.
To adjust the base bar raise
the ladder base and
depress the two lock
buttons to allow the base
bar to drop as necessary.
Release the buttons and
check that the ladder is
correctly positioned and that
the buttons have fully re-
engaged.
For advice on the safety and suitability of this equipment
contact your local HSS Hire Shop.
There is a serious risk of personal injury if you do not
follow all instructions laid down in this guide.
The hirer has a responsibility to ensure that all necessary
risk assessments have been completed prior to the use
of this equipment.
This equipment should only be used by an operator
who has been deemed competent to do so by
his/her employer.
This equipment should be used by an able bodied,
competent adult who has read and understood these
instructions. Anyone with either a temporary or
permanent disability, should seek expert advice before
using it.
Keep children, animals and bystanders away from
the work area. Cordon off a NO GO area using either
cones, barriers or tape, available for hire from your local
HSS Hire Shop.
Never use this equipment if you are ill,
feeling tired, or under the influence of
alcohol or drugs.
Wear practical, protective clothing, gloves,
protective footwear and a hardhat. Avoid loose
garments and jewellery that could get in the way, tie back
long hair.
Never let more than one person onto the access
system at any one time.
Don’t attempt to use access equipment unless you
feel comfortable working at heights.
Never use this equipment unless there is someone
within ear-shot to summon help in the event of
accident.
Never use this equipment near over-head or wall
mounted power cables and similar hazards.
Never use the access system in very windy or
blustery conditions or when it is raining.
Note that the access system is not designed to
provide access for heavy maintenance work. Never
use it as a heavy work platform.
Don’t try to reach anything if you can’t reach it
without leaning out from the access system, for safety
sake MOVE THE ACCESS SYSTEM closer.
Never do anything that involves applying a lot of
side force. The access system could topple over.
Never use boxes, tables and so on to gain extra
height.
Never use the access system base ladder or roof
ladder separately.
Ensure the work area is well lit and ventilated, if in
doubt, ask about lighting and ventilation equipment at
your local HSS Hire Shop.
Make sure that everyone is warned of what you are
doing.
Check the condition of the equipment before use. If
it shows signs of damage or excessive wear, return it to
your local HSS Hire Shop.
Always set the access system up on a smooth, level,
non-slip surface.
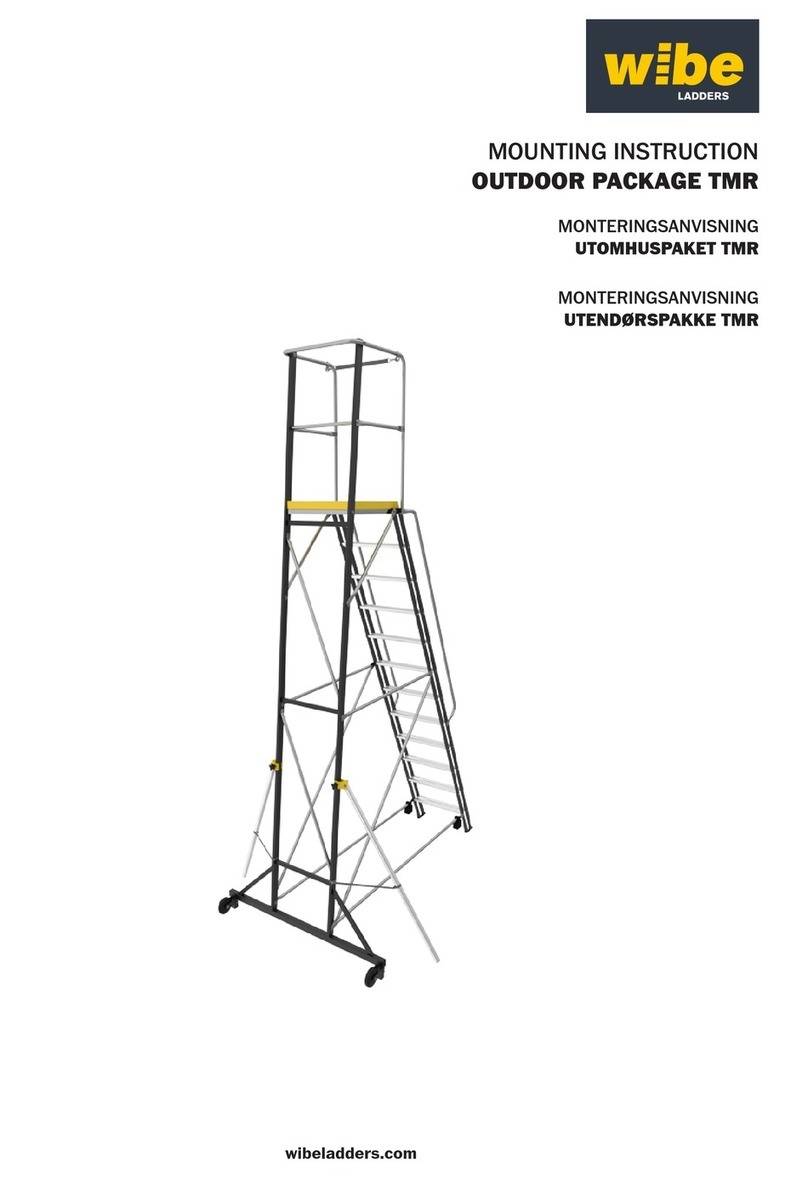
There are two main components which make up the
access system the main ladder and the roof section.
These two parts must be separated prior to setting the unit
up.
GENERAL SAFETY
GETTING STARTED
Main Ladder
Main
Ladder
Link
Strap
Suction
Cup
Lock Button
Base Bar
Raise
Lower
Thumbscrew
Adjustable
Support
Slots
Captive
Pin
Roof Section
Suction Cup
Insert Tray Lever
Open
Close
Roof Section
Cross Bar
Rafter
Crossbar
Assembly
Locating
Hole
Lock Pin
Ladder Alternative
Position

