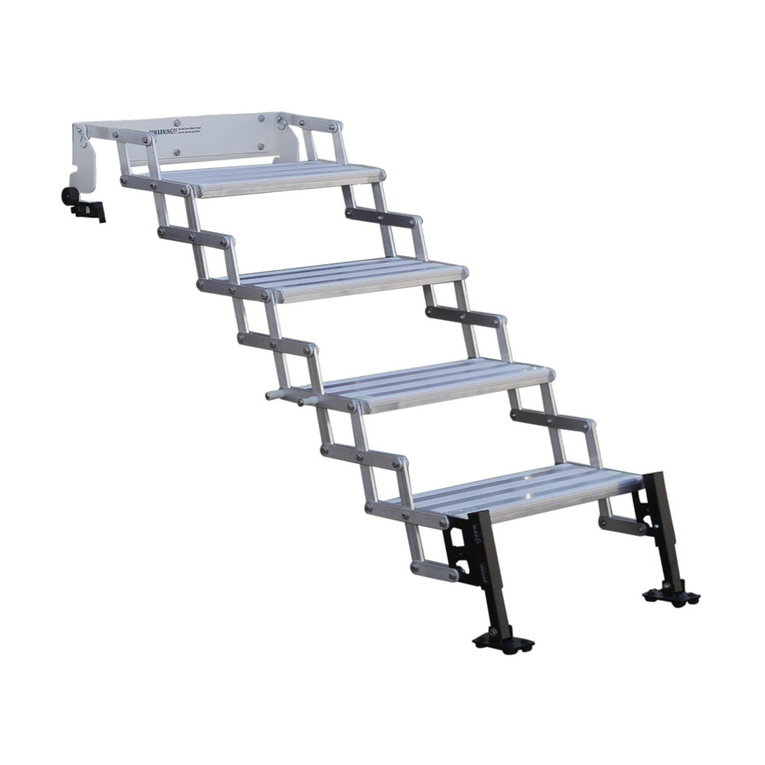
Telesteps 1600EKP User manual

Height Open Height Closed Reach Height Product Weight Weight Capacity TYPE
12.5ft / 3.89m 34in / 0.87m 16ft / 4.88m 30lbs / 13.64kg 300lbs / 136kg 1A
Non-Conductive
REACH HEIGHT
1600EKP
TYPE IA
300lbs/136kgs
SHA®
ANSI 14.5
Tested to:
Special Purpose
Ladder
telestepsworldwide.com

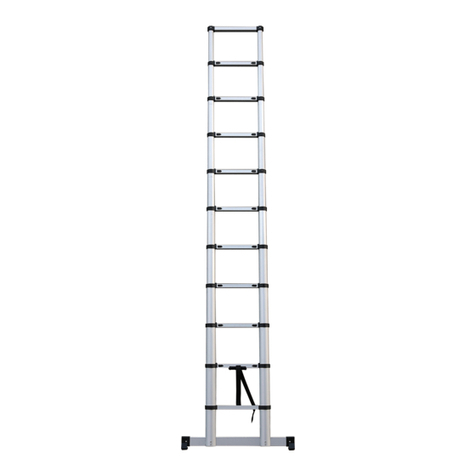
Telesteps non-conductive Kevlar ladder is a revolutionary telescopic ladder that by its unique construction extends from
a compact format (illustration 2) to, either a full length (illustration 6) or any intermediate length (illustration 4).
Its Kevlar design and non-conductive properties help to make it one of the safest, most versatile ladders in the industry.
The Telesteps Kevlar telescoping ladder must be handled, cared and maintained in accordance with the following
instructions.
NOTE: Illustrations are for demonstration purposes only.
Ladder may not be exactly as shown.
1 2
43
5 6
Wide
Treads/Rungs
Safety
Indicator
Windows
Swivel
Feet
15.5” (392.5mm)
One-Touch
Release
11.98” (304.5mm)
153.15” (3890mm)
Aircraft
Grade
Aluminum
Rubber
Bumpers
MODEL: 1600EKP
Nylon
Fittings

SAFETY GUIDELINES
Before Use
• Inspect the ladder after delivery and before rst use to conrm good condition and correct operation of all its
external and internal parts.
• Before any use, inspect the ladder to check for any damage.
• Do not use the ladder if damage to any part is noticed.
• Check you are physically t to use a ladder. Under no circumstance should you use this ladder if under the
inuence of medication, alcohol or drugs.
• Check that this ladder is suited for the task you are using it for. Please ensure you read and understand the
maximum climbing, reach heats and load capacities for the ladder before operating and climbing.
• DO NOT use this ladder on uneven surfaces.
• DO NOT use this ladder against round roles, trees, or corners. Both top rubber bumpers must rest rmly against a
solid structure.
• Regular checking is required to inspect all parts of the ladder as per this manual to ensure optimum performance.
• Remove any contamination from the ladder, such as wet paint, mud, oil or snow.
• When transporting the ladder in a vehicle/truck, please ensure it is secured safely to prevent any damage.
• Identify any electrical risks such as overhead power lines or other exposed electrical equipment.
• Make sure all stair rungs are locked before climbing and all the safety indicator windows are green.
• Ladder shall not be positioned on slippery surfaces (such as ice, shiny surfaces or signicantly contaminated solid
surfaces)
• NEVER use the ladder horizontally, e.g. bearing on a step or on step ladders.
Operating Checklist Before Each Use
• Ladder treads/rungs and uprights are not bent, bowed, twisted, dented cracked or damaged.
• Any hinges between the front and rear sections are not loose or damaged.
• Safety indicator windows are properly working and each section locks in place.
• Locking catches are not damaged.
• Swivel feet are free from contaminants and in bottom treads are not worn through.
• The entire ladder is free from (ex. contaminants, mud, dirt paint, oil, grease)
NOTE: If any of the above checks fail, then you should NOT use the ladder.
Locking mechanism:
• Each ladder tread is locked using 2 steel locking pins, on either side of the treads.
• The pins are actuated automatically when a section of the ladder is unfolded.
• Each locking pin has a locking indicator.
• It changes colour when the tread us locked. The indicator switches from red to green (illustration 1).
• GREEN means the tread is locked and it is safe to climb, RED means DO NOT CLIMB.
OPERATING THE LADDER
Opening the ladder fully:
• Place the ladder on a solid and at surface, and set one foot on the rst tread as shown in illustration 2.
With your foot on the rst tread, open the ladder from the top starting by unfolding the rst tread from the top
(illustration 3). Then open each tread while ensuring the locking indicators switch from red to green for the un-
folded treads (illustration 1).
• Position the ladder to a 65-75 degree angle for optimal safety.
To open the ladder partially:
• With the ladder closed completely, open the ladder by placing your foot on the bottom step and starting by
unfolding the second tread from the bottom. Unused treads are grouped at the top of the ladder as indicated in
illustration 4.
• Continue unfolding treads until desired height is reached.
• Position the ladder to a 65-75 degree angle for optimal safety.
IMPORTANT! Never stand on the very top tread of the ladder.
NOTE: Illustrations are for demonstration purposes only.
Ladder may not be exactly as shown.

Closing the ladder:
• Before closing the ladder, clean the ladder and areas around the nylon ttings from any debris and
contaminants.
• Maintain the ladder in a vertical position with one hand and set your foot on the rst tread from the bottom.
• With your hand, clamp the red one-touch release sliding buttons (illustration 5) located under the second tread from
the bottom, while your other hand is holding tightly to the upright. (This prevents the ladder from collapsing on its own)
• With both hands on the ladder uprights, slowly collapse the treads together, sliding the uprights within
themselves. (illustration 5 and 6). The lower treads are folded rst.
Caution! To avoid pinching your ngers, do not place them on or between the treads when closing the ladder.
USE OF THE LADDER
• Check the label on the ladder for maximum total load. Ensure this suites the load of the work you are doing.
• Do not exceed the total maximum load for the type of ladder being used.
• Do not use the ladder on uneven or slippery surfaces.
• Maximum one person on the ladder at a time.
• Do not carry equipment or materials that are heavy and dicult to handle.
• Do not use this ladder against round roles, trees, or corners.
• Both top rubber bumpers must rest rmly against a solid structure.
• Do not attempt to reach a point too far.
• When reaching, both feet must be on the same ladder uprights on the same step/tread throughout the task.
• Do not use a double ladder to access another level.
• Do not stand on the top three upper steps/treads of the ladder.
• Use non-conductive ladders for works to be performed under electrical current.
• Do not use the ladder outdoors when weather conditions are unfavorable (ex. strong wind, rain and heavy snow).
• Take any precautions required to prevent children from playing on the ladder.
• When using in front of doors or windows, secure the doors (but not emergency exits) and windows closed so
that they do not open and hit the ladder.
• Climb up or down the ladder facing the treads.
• Hold the ladder rmly when climbing up or down.
• Do not use the ladder as a bridge.
• Wear appropriate shoes to climb up the ladder.
• Do not stay too long on the ladder without regular breaks
• Hold the ladder with one hand when performing a task or, when not possible, apply other safety measures.
• Avoid any work that imposes a sideways load on ladders, such as drilling through solid materials.
• Do not move ladder while standing on it.
• The ladder must never be opened, closed or used upside down.
• Ladder is to be used and maintained as outlined in this manual, with an angle of 65-75 degrees against a solid
surface wall or structure.
CLEAN & MAINTENANCE
This is a precision tool. Clean and maintain the ladder as specied below:
• After each use, wipe the telescopic tubes and treads with a soft cloth.
• Ensure the ladder and areas around the nylon ttings from any debris and contaminants.
• Check the sliding parts regularly and if necessary use a silicon-based spray. To do this, extend the ladder com-
pletely and spray the uprights.
• The caps must also remain in place to prevent pollution from inltrating in the telescopic tubes and guarantee
the product’s safety.
• Any damaged ladder should be returned to the dealer having sold you the product with the proof of purchase to
have it repaired or replaced.
• The ladder must always be kept dry. Do not store the ladder outdoors in wet, cold conditions.
TECHNICAL SUPPORT is available 10am - 8pm EST
Phone: 1-800-819-4344 | Email: [email protected]
Warranty Information and Guarantee Conditions can be found on telestepsworldwide.com
Table of contents
Other Telesteps Ladder manuals
Telesteps
Telesteps Prime User manual

Telesteps
Telesteps TSO User manual
Telesteps
Telesteps 60927 User manual
Telesteps
Telesteps 100-1540-01 User manual

Telesteps
Telesteps Eco Series User manual
Telesteps
Telesteps Rescue Line User manual

Telesteps
Telesteps Prime Series User manual

Telesteps
Telesteps 1000L User manual
Telesteps
Telesteps Combi User manual
