manuals.online logo
Brands
  1. Home
  2. •
  3. Brands
  4. •
  5. Stompa
  6. •
  7. Indoor Furnishing
  8. •
  9. Stompa Uno Highsleeper Nero User manual

Stompa Uno Highsleeper Nero User manual

Dimensions
Width - 148cm
Depth - 204cm
Height -109cm
Issue 1 - 22/10/10
Important – Please read these instructions fully before starting assembly
If you need help or have damaged or missing parts, call the Customer Helpline: 0844 8008475
Assembly Instructions - Please keep for future reference 6564942
B
A
Uno Highsleeper Nero
T1084-03
DESK LEFT
SIDE
The desk can be
placed in either right or
left side of the bed
208
,
2cm
105
,
1cm
174
,
4cm
T1084-03 NR321-VL211-106/101/108
DESK RIGHT
SIDE
Issue 2 - 12/08/16
Batch nr:
Issue 3 - 08/04/19
ā :DUQLQJ &KLOGUHQ FDQ EHFRPH WUDSSHG
EHWZHHQ WKH EHG DQG WKH ZDOO
7R DYRLG ULVN RI VHULRXV LQMXU\ WKH
GLVWDQFH EHWZHHQ WKH WRS VDIHW\ EDUUHO
DQG WKH ZDOO VKDOO QRW H[FHHG  PP RU
VKDOO EH PRUH WKDQ PP
Glue safety - Take care when using glue, please follow the advice below
Skin contact: Remove
contamination by washing with
soap and water. This procedure
should also be followed prior to
eating and drinking.
Eye contact: Rinse immediately
with clean water for 15 minutes
and seek medical advice.
If swallowed: Seek medical
advice immediately.
Care and maintenance
 7KH EXQN EHG PHHWV WKH HXURSHDQ
(1 $ VWDQGDUGV IRU VHFXULW\
DQG GXUDELOLW\
 7KH EXQN EHG PHHWV WKH %XQN %HGV
(QWUDSPHQW +D]DUGV 6DIHW\
5HJXODWLRQV 


 FP
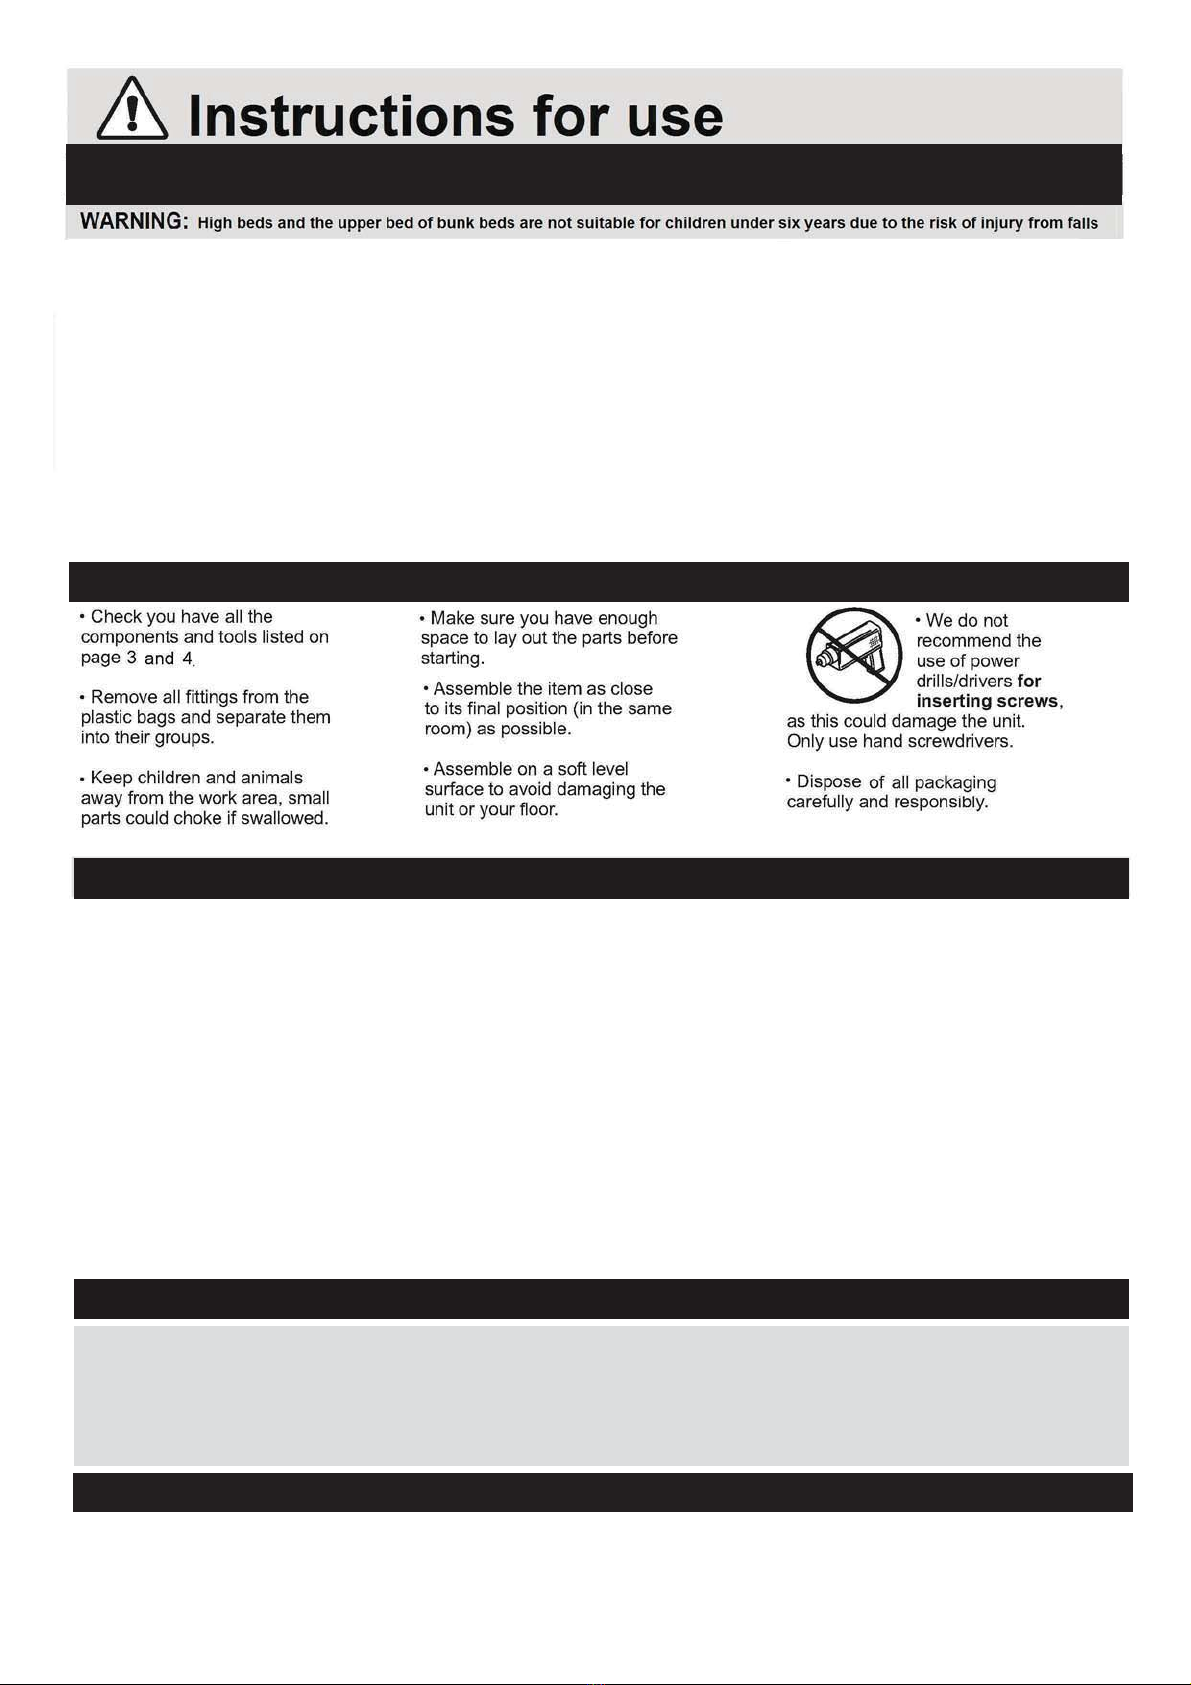
%HIRUH 6WDUWLQJ $VVHPEO\
 2QO\ FOHDQ XVLQJ D GDPS FORWK
DQG PLQG GHWHUJHQW GR QRW XVH
EOHDFK RU DEUDVLYH FOHDQHUV
 5HJXODUO\ FKHFN WKDW WKHUH DUH
QR ORRVH VFUHZV RQ WKLV XQLW DQG
UHWLJKWHQ ZKHQ QHFHVVDU\
3DUWV RI \RXU SURGXFW DUH SURGXFHG
IURP VROLG SLQH ZKLFK LV D QDWXUDO
SURGXFW FRQWDLQLQJ D EHDXWLIXO
ZRRGHQ VWUXFWXUH
'LUHFW VXQOLJKW FDQ VSHHG XS WKH
QDWXUDO SURFHVV RI WKH UHVLQ
FRQWDLQHG LQ WKH SLQH NQRWV WR FKDQJH
FRORXU DURXQG NQRWV
7KLV LV D QRUPDO SURFHVV KDSSHQLQJ
WR QDWXUDO ZRRG DQG FDQQRW EH VHHQ
DV D PDQXIDFWXUHUV IDXOW $OO ZRRG
KDV EHHQ GU\HG WR ,QGXVWU\ VWDQGDUGV
IRU IXUQLWXUH WLPEHU DQG DOO
SURFHGXUHV IRU REWDLQLQJ WKH EHVW
ODFTXULQJ ILQLVK KDYH EHHQ IROORZHG
2XU IXUQLWXUH ZLOO HQGXUH PRVW
WHPSHUDWXUHV LQ WKH KRPH EXW LW LV EHVW
WR DYRLG SODFLQJ IXUQLWXUH QH[W WR KHDW
VRXUFHV DV UDGLDWRUV RU ILUH %H
SDUWLFXODUO\ FDUHIXO ZLWK VROLG ZRRG DV
WKH ODFN RI KXPLGLW\ FDXVHG E\ FHQWUDO
KHDWLQJ FDQ FDXVH GDPDJH VXFK DV
ZDUSLQJ
6DIHW\ZKHQ XVLQJ \RXU EHG
'R QRW DOORZ FKLOGUHQ WR FOLPE RYHU WKH VDIHW\ UDLOV $OZD\V XVH WKH ODGGHU ZKHQ FOLPELQJ LQ DQG RXW RI EHG 1HYHU
DWWHPSW WR KDQJ EDJV EXQWLQJ RU RWKHU LWHPV ZLWK VWULQJV RU KDQGOHV RQ WKH EHG
IMPORTANT, READ CAREFULLY - RETAIN FOR FUTURE REFERENCE
Always follow the manufacturer`s
instructions.
Do not use the bed if any structural part is
broken or missing.
WARNING
Children can become trapped between the
bed and the wall, a roof pitch, the ceiling,
adjoining pieces of furniture (e.g.
cupboards) and the like. To avoid risk of
serious injury the distance between the top
safety barrier and the adjoining structure
shall not exceed 75 mm or shall be be
more than 230 mm.
Ventilation of the room is necessary in
order to keep the humidity low and to
prevent mould in and around the bed.
The bunk bed meets the european
EN 747+A1:2015 standards for security
and durability.
WARNING
Bunk beds and high beds can present a
serious risk of injury from strangulation if
not used correctly. Never attach or hang
items to any part of the bunk bed that are
not designed to be used with the bed, for
example, but not limited to ropes, strings,
cords, hooks, belts and bags.
Mattress: This bed is designed to use
mattress size 200 cm long and 90mm
wide. Total thickness must not exceed
15,25 cm. The label on the ladder side
indicates maximum height of mattress to
be used in this bed.
Components - Fittings
Please check you have all the fittings listed below
Note:The quantities below are the correct amount to complete the assembly. In some cases more
fittings may be supplied than are required.
A
Tools reqiured
1cm 2 345678910
11 12 13 14 15 16
1 inch 23456
Rulers - Use this ruler to help correctly identify the screws
Philips screwdriver (medium)
Flathead screwdriver (medium)
Allen key (incl)
Small hammer
Dowel Ø8x40 x34 Conformat screw Ø7x 60mm x20 Screw 3.5 x 35mm x60
Barrel nut Ø10 x 14mm x24 Allen key 4mm x1 Cover cap Ø15/Ø18 x12
Cover cap Ø8/Ø13 x16
E F
H K L
N P
Spacer 20x72x3mm x2
3
Rubber hammer
Q
Connecting bolt M6 x 50mm x5
Connecting bolt M6 x 75mm x19
R
Metal dowel x16
S
Locking nut x32
T
Cover cap Ø4/Ø17 x12
U
Cover cap Ø10/Ø13 x6
V
Cover cap Ø12/Ø3 x20
Y
Rubber hammer
Rubber hammer
A
C
B
D
EF
G
H
H
J
H
K
H
L
H
M
H
P
H
ZH
X
H
Y
F
H
A1
G
H
D1
H
E1
H
F1
H
G1
H
H1
H
J1
H
Q
D15x12 Locking nut x 7
D8x13 Cover Cap x 6 3,5x15 Screw x 6
5x38 Screw x 3
7x34 Metal dowel x 7
4mm Allen key x 1
D15x18x3 Cover Cap x 4
8x30 Dowel x 14
GLUE
Angle bracket x 3
3,5x40 Screw x 26
7x34 Metal dowel x 4
D35 Cover Cap x 4
D4x17 Cover Cap x 4
D12x2 Cover Cap x 1
6,3x80mm Screw x 2
3,5x35 Screw x 2
7x50mm Screw x 20 55mm Screw x 6
M6x10x13 Cross dowel x 4
D35 Sector x 4
7x60mm Screw x 4
D15x12 Locking nut x 4
10x40 Wooden dowel x 48
M6x75 Bolt x 4
6,3x70mm Screw x 4
Fittings for Bed frame
Fittings for Desk and Shelves
Components - Panels
3OHDVH FKHFN \RX KDYH DOO WKH SDQHOV OLVWHG EHORZ
Rear safety rail x1
(200,6x14,5x2 cm)


























A
NB! NB!
B


(200,6x14,5x2 cm)
Components
Bed rail x1


(200,6x11,5x2 cm)
Bed rail x 2
Front safety rail x2
(83,3x14,5x2 cm)
Components - Panels
3OHDVH FKHFN \RX KDYH DOO WKH SDQHOV OLVWHG EHORZ
16 Large desk top x 1
(85,8x62,5x1,6 cm)
19 Shelf x 2
(90,1x21,8x1,6 cm)
17 Small desk top x 1
(95,7x34,8x1,6 cm)
18 Vertical shelf support x 1
(69,9x22,1x1,6 cm)
7End rail x 1 End rail x 1
(80,2x11,5x2 cm)(80,2x11,5x2 cm) 8
10 Leg x 1
Slats x1
20
(174,4x9x3,8 cm)
(172,2x9x2 cm)
Ladder side x2
13
(174,4x9x3,8 cm)
Leg x 1
12
(174,4x9x3,8 cm)
Leg x 1
119 Leg x 1
(174,4x9x3,8 cm)
5End rail x 2
(80,2x14,5x2 cm) 6End rail x 2
(80,2x14,5x2 cm)
14 Step x3
(36x6,8x2,5 cm)
15 Step x2
(36x6,8x2,5 cm)
4
Assembly Instructions
Step 1
Fitting dowels
Insert wooden dowels A
into the holes in bed rails
1, headboard rails 2
,3, footboard 6and
bottomrail 7.
Note: It may be
nessesary to tap the
dowel in very gently with
small hammer.
Insert wooden dowels
Hinto the holes in
headboard panels 4
and 5.
Note: It may be
nessesary to tap the
dowel in very gently with
small hammer.
Assembling
headboard
Position details and
attach headboard panels
WRKHDGERDUGUDLOVOLNH
showed on illustration at
side.
Step 2
A
AA
A
A
H
A
A
A
A
A
A
11
2
6
7
A
H
H
H
3
4
5
2
5
3 4
4
4
4
4
4
x 6
4
B
35 mm
GLUE
GLUE
GLUE
GLUE
GLUE
GLUE
GLUE GLUE
Step 2
In this step use this fitting:
A
H
G
G
G
G
H
H
H
A
A
A
A
A
A
A
A
A
A
A
A
A
A
C
2
C
1
C
3
C
4
C
5
C
6
C
7
C
8
C
9
C
12
C
10
C
11
A
H
G
x48
x4
x4
Insert dowels into the
holes in bed rails 1, 3 and
safety rails 2 and 4.
Place a little glue in each
hole for dowels in the end
rails 5, 6, 7 and 8. Insert
dowel and tap gently
with a small hammer.
Remove spilled glue with a
damp cloth.
Note: It may be necessary
to tap dowel in very gently
with small hammer
A
A
H
G
Screw connecting screws
into upper holes of legs using
4mm Allen key.
Screw metal dowels into
holes of legs as shown using
Phillips screwdriver.
Do not overtighten. See
illustration.
H
G
x3
x2
x2
x2
x2
x2
x2
x2
x3
x3
x2
x3
x2
x2
x2
x2
4
Assembly Instructions
Step 1
Fitting dowels
Insert wooden dowels A
into the holes in bed rails
1, headboard rails 2
,3, footboard 6and
bottomrail 7.
Note: It may be
nessesary to tap the
dowel in very gently with
small hammer.
Insert wooden dowels
Hinto the holes in
headboard panels 4
and 5.
Note: It may be
nessesary to tap the
dowel in very gently with
small hammer.
Assembling
headboard
Position details and
attach headboard panels
WRKHDGERDUGUDLOVOLNH
showed on illustration at
side.
Step 2
A
AA
A
A
H
A
A
A
A
A
A
11
2
6
7
A
H
H
H
3
4
5
2
5
3 4
4
4
4
4
4
x 6
4
GLUE
GLUE
GLUE
GLUE
GLUE
GLUE
GLUE
A
NB!
GLUE
NB!
Step 3
Step 4
In this step use this fitting:
H
J
H
Z
H
J
F
F
E
E
B
D
C
C
D
B
E
F
F
F
C
5
C
6
C
8
C
7
C
9
C
10
C
12
C
11
C
5
C
6
C
2
C
1
C
3
C
9
C
11
H
J
H
Z
F
E
B
D
C
x4
x4
x4
x2
x2
x2
x2
Place a little glue in holes in
legs 9, 10, 11, 12 as shown
in the picture.
Remove spilled glue with a
damp cloth.
Position legs. Insert sectors
into 35mm holes as
shown in the picture.
Tighten screws with 4mm
Allen key.
Cover 35mm holes with
cover caps
Insert locking nut into
end rails 7 and 8 and lock
using flathead screwdriver.
YOU SHOULD NOW DECIDE WHERE TO PLACE THE DESK.
THE DESK CAN BE PLACED IN EITHER RIGHT OR LEFT SIDE.
DESK LEFT
SIDE
H
J
H
Z
F
Push Cross dowel into
hole in bed rail 1
the groove on Cross dowel
should be horizontal.
Push Bolt through each
leg to meet Cross dowel
and then fasten with the
Allen key.
Attach the safety rail 2 to
the legs with the screws
Attach the bed rail 3 to the
legs with the screws
E
D
C
B
4
Assembly Instructions
Step 1
Fitting dowels
Insert wooden dowels A
into the holes in bed rails
1, headboard rails 2
,3, footboard 6and
bottomrail 7.
Note: It may be
nessesary to tap the
dowel in very gently with
small hammer.
Insert wooden dowels
Hinto the holes in
headboard panels 4
and 5.
Note: It may be
nessesary to tap the
dowel in very gently with
small hammer.
Assembling
headboard
Position details and
attach headboard panels
WRKHDGERDUGUDLOVOLNH
showed on illustration at
side.
Step 2
A
AA
A
A
H
A
A
A
A
A
A
11
2
6
7
A
H
H
H
3
4
5
2
5
3 4
4
4
4
4
4
x 6
4
Step 5
Step 6
Step 7
In this step use this fitting:
D
D
E
D
H
A1
H
A1
H
A1
H
A1
G
G
G
G
G
C
1
C
16
C
16
C
17
C
19
C
18
C
14
E
D
H
A1
G
x2
x2
x14
x7
Insert dowels into the
holes in desks 16, 17 and
shelves 19.
Push Cross dowel into
hole in bed rail 1
the groove on Cross dowel
should be horizontal.
Push Bolt through each
leg to meet Cross dowel
and then fasten with the
Allen key.
E
D
Screw metal dowels into
holes of desk 16, vertical
shelf support 18 and steps 14
as shown using Phillips
screwdriver.
Do not overtighten.
G
H
A1
x4
x2
x2
x2
x2
x3
4
Assembly Instructions
Step 1
Fitting dowels
Insert wooden dowels A
into the holes in bed rails
1, headboard rails 2
,3, footboard 6and
bottomrail 7.
Note: It may be
nessesary to tap the
dowel in very gently with
small hammer.
Insert wooden dowels
Hinto the holes in
headboard panels 4
and 5.
Note: It may be
nessesary to tap the
dowel in very gently with
small hammer.
Assembling
headboard
Position details and
attach headboard panels
WRKHDGERDUGUDLOVOLNH
showed on illustration at
side.
Step 2
A
AA
A
A
H
A
A
A
A
A
A
11
2
6
7
A
H
H
H
3
4
5
2
5
3 4
4
4
4
4
4
x 6

AB
A
Step 8
Step 9
In this step use this fitting:
Step 10
In this step use this fitting:
F
F
F
H
-
H
-
H
+
H
+
H
*
H
*
H
*

H
.
C

C

C

C

C

C

C

C

C

F
H
*
H
-
H
+
H
.
H
.
H
.
H
-
H
+
H
*
F
$OZD\V SODFHG
LQVLGH WKH ODGGHU
[
[
[
[
[
$VVHPEOH ODGGHU VLGHV DQG
VWHSV  DQG  DV VKRZQ
LQ WKH SLFWXUH
8VH FRQQHFWLQJ VFUHZV
DQG PP $OOHQ NH\
$WWDFK DQJOH EUDFNHW WR
GHVN WRS ZLWK VFUHZV DQG
D 3KLOOLSV VFUHZGULYHU
&RYHU XQXVHG KROHV ZLWK
FRYHU FXS  3UHVV ZLWK
\RXU ILQJHUV RU WDS JHQWO\ ZLWK
D VPDOO UXEEHU KDPPHU
,QVHUW ORFNLQJ QXW LQWR
VPDOO GHVN DQG ORFN XVLQJ
IODWKHDG VFUHZGULYHU
'(6. /()7 6,'(
'(6. 5,*+7 6,'(
[
[
[
PD[ KHLJKW RI PDWWUHVV
F
F
F
H
J1
H
J1
H
H1
H
H1
H
G1
H
G1
H
G1
H
K
C
16
C
17
C
13
C
13
C
14
C
14
C
14
C
15
C
15
F
H
G1
H
J1
H
H1
H
K
H
K
x2
x6
x2
x2
x20
Assemble ladder sides and
steps 14 and 15 as shown
in the picture.
Use connecting screws
and 4mm Allen key.
H
K
Attach angle bracket to
desk top with screws and
a Phillips screwdriver.
Cover unused holes with
cover cup . Press with
your fingers or tap gently with
a small rubber hammer.
Insert locking nut into
small desk and lock using
flathead screwdriver.
DESK LEFT SIDE
DESK RIGHT SIDE
H
J1
H
H1
H
G1
x6
x2
F
x2
4
Assembly Instructions
Step 1
Fitting dowels
Insert wooden dowels A
into the holes in bed rails
1, headboard rails 2
,3, footboard 6and
bottomrail 7.
Note: It may be
nessesary to tap the
dowel in very gently with
small hammer.
Insert wooden dowels
Hinto the holes in
headboard panels 4
and 5.
Note: It may be
nessesary to tap the
dowel in very gently with
small hammer.
Assembling
headboard
Position details and
attach headboard panels
WRKHDGERDUGUDLOVOLNH
showed on illustration at
side.
Step 2
A
AA
A
A
H
A
A
A
A
A
A
11
2
6
7
A
H
H
H
3
4
5
2
5
3 4
4
4
4
4
4
x 6
4
Step 11
In this step use this fitting:
Step 12
In this step use this fitting:
H
E1
H
E1
H
J1
H
J1
H
J1
H
H1
H
D1
F
F
C
19
C
19
H
E1
H
J1
H
H1
H
D1
F
x2
x3
x1
x4
x2
Attach angle bracket to
desks 16, 17 and bed rail 3,
insert screw and tighten
using Philips screwdriver.
Connect desk to endrail with
screw . Tighten using a
Philips screwdriver.
Place vertical self support 18
as shown.
Insert screw in the desk
and screw in the bed rail.
Tighten using a Philips
screwdriver.
Place shelf 19 onto vertical
shelf support 18, insert
locking nut into selves
and lock using a Philips
screwdriver.
C
18
H
E1
H
H1
H
J1
H
E1
H
D1
H
D1
H
E1
x2
x2
F
C
18
C
16
C
3
C
17
4
Assembly Instructions
Step 1
Fitting dowels
Insert wooden dowels A
into the holes in bed rails
1, headboard rails 2
,3, footboard 6and
bottomrail 7.
Note: It may be
nessesary to tap the
dowel in very gently with
small hammer.
Insert wooden dowels
Hinto the holes in
headboard panels 4
and 5.
Note: It may be
nessesary to tap the
dowel in very gently with
small hammer.
Assembling
headboard
Position details and
attach headboard panels
WRKHDGERDUGUDLOVOLNH
showed on illustration at
side.
Step 2
A
AA
A
A
H
A
A
A
A
A
A
11
2
6
7
A
H
H
H
3
4
5
2
5
3 4
4
4
4
4
4
x 6
4
Step 13
In this step use this fitting:
Step 14
In this step use this fitting:
H
F1
F
H
F1
H
L
H
L
H
L
F
H
F1
H
L
x3
x4
x2
Connect ladder to small desk
top 17 and shelves as shown
by inserting locking nut in
each and lock using flathead
screwdriver.
Cover locking nut holes with
cover cups
Connect ladder to bedside
using screws and 4mm
Allen key.
H
L
F
H
F1
4
Assembly Instructions
Step 1
Fitting dowels
Insert wooden dowels A
into the holes in bed rails
1, headboard rails 2
,3, footboard 6and
bottomrail 7.
Note: It may be
nessesary to tap the
dowel in very gently with
small hammer.
Insert wooden dowels
Hinto the holes in
headboard panels 4
and 5.
Note: It may be
nessesary to tap the
dowel in very gently with
small hammer.
Assembling
headboard
Position details and
attach headboard panels
WRKHDGERDUGUDLOVOLNH
showed on illustration at
side.
Step 2
A
AA
A
A
H
A
A
A
A
A
A
11
2
6
7
A
H
H
H
3
4
5
2
5
3 4
4
4
4
4
4
x 6
4
Step 15
In this step use this fitting:
Step 16
In this step use this fitting:
H
L
B
B
H
M
H
Q
H
P
H
P
H
P
H
P
C
4
C
4
C
20
H
L
B
H
M
H
P
H
Q
x2
x4
x26
x4
x1
Position front safety rail up to
bed end.
Attach the safety rail 4 to the
legs with the screw
Attach the safety rail to the
ladder with the screws
Position slats equally.
End slats must be in contact
with legs.
Place two screws in each
slat and tighten using a
Philips screwdriver.
Cover locking nut holes in
end rails with cover caps
Cover the screwhead on
desk with cover cap
x2
x26
H
M
B
H
L
B
C
7
C
8
H
M
H
P
H
Q
9/9
M
Calls cost 7 pence a minute plus your phone company's access charge.
01943 81780
Customer Service Form
Please return complete to Fax: 0560 1132071
Name:
Address:
Contact No:
Date of purchase:
Place of purchase:
Product Name:
See assembly instructions:
Problem:
Parts Needed: Part No. Quantity
Please quote assembly
instruction or number
Description
e.g drawer base
01943 81780

This manual suits for next models

1

Other Stompa Indoor Furnishing manuals

Stompa TN1106-02 User manual

Stompa

Stompa TN1106-02 User manual

Stompa T1037-02 User manual

Stompa

Stompa T1037-02 User manual

Stompa Classic Bunk Bed STO090004 User manual

Stompa

Stompa Classic Bunk Bed STO090004 User manual

Stompa Highsleeper User manual

Stompa

Stompa Highsleeper User manual

Stompa STO090001 User manual

Stompa

Stompa STO090001 User manual

Stompa T1035-02 User manual

Stompa

Stompa T1035-02 User manual

Stompa T1034-02 User manual

Stompa

Stompa T1034-02 User manual

Stompa 140 - 7901 User manual

Stompa

Stompa 140 - 7901 User manual

Stompa W1089-02 User manual

Stompa

Stompa W1089-02 User manual

Stompa A001 Installation guide

Stompa

Stompa A001 Installation guide

Stompa UNO S DRAWER User manual

Stompa

Stompa UNO S DRAWER User manual

Stompa A002 User manual

Stompa

Stompa A002 User manual

Stompa Pull Out Desk User manual

Stompa

Stompa Pull Out Desk User manual

Stompa Truckle Installation guide

Stompa

Stompa Truckle Installation guide

Stompa Uno S Highsleeper T1082-02 User manual

Stompa

Stompa Uno S Highsleeper T1082-02 User manual

Stompa A002 User manual

Stompa

Stompa A002 User manual

Stompa Uno S Highsleeper User manual

Stompa

Stompa Uno S Highsleeper User manual

Stompa 80364528 User manual

Stompa

Stompa 80364528 User manual

Stompa A002 User manual

Stompa

Stompa A002 User manual

Stompa STK 443305 User manual

Stompa

Stompa STK 443305 User manual

Stompa A002 User manual

Stompa

Stompa A002 User manual

Stompa 199 User manual

Stompa

Stompa 199 User manual

Stompa MidsleeperT1006-02 - White User manual

Stompa

Stompa MidsleeperT1006-02 - White User manual

Stompa STK 4433-02 User manual

Stompa

Stompa STK 4433-02 User manual

Popular Indoor Furnishing manuals by other brands

modway EEI-3052 quick start guide

modway

modway EEI-3052 quick start guide

Costway NP10539 user manual

Costway

Costway NP10539 user manual

EDN Liverpool manual

EDN

EDN Liverpool manual

Second Story Home HOLLOWAY instructions

Second Story Home

Second Story Home HOLLOWAY instructions

Ameriwood COSCO 5871216PCOM Assembly manual

Ameriwood

Ameriwood COSCO 5871216PCOM Assembly manual

U-Line H-6577 instruction manual

U-Line

U-Line H-6577 instruction manual

Sauder Palladia Highboy 411626 manual

Sauder

Sauder Palladia Highboy 411626 manual

Rauch M2359 Assembly instructions

Rauch

Rauch M2359 Assembly instructions

MID.YOU FRTD021 Assembly instructions

MID.YOU

MID.YOU FRTD021 Assembly instructions

Dorel Signature DA6402BG-K instruction manual

Dorel

Dorel Signature DA6402BG-K instruction manual

Broyhill SANDPOINTE H21GK018VE Assembly instruction

Broyhill

Broyhill SANDPOINTE H21GK018VE Assembly instruction

Forte KFLR821 Assembling Instruction

Forte

Forte KFLR821 Assembling Instruction

Exclusive Heritage BV-20048S-WMCG installation manual

Exclusive Heritage

Exclusive Heritage BV-20048S-WMCG installation manual

Belnick Conference Table GC-TL1035-MHG-GG Assembly instructions

Belnick

Belnick Conference Table GC-TL1035-MHG-GG Assembly instructions

Santalucia Mobili HOMY Night Collection quick start guide

Santalucia Mobili

Santalucia Mobili HOMY Night Collection quick start guide

Costway BC10150 manual

Costway

Costway BC10150 manual

comptree WF198158 Assembly instructions

comptree

comptree WF198158 Assembly instructions

Sonoma X-BASE OTTOMAN WITH BUILT IN TRAY Assembly instructions

Sonoma

Sonoma X-BASE OTTOMAN WITH BUILT IN TRAY Assembly instructions

manuals.online logo
manuals.online logoBrands
  • About & Mission
  • Contact us
  • Privacy Policy
  • Terms and Conditions

Copyright 2025 Manuals.Online. All Rights Reserved.