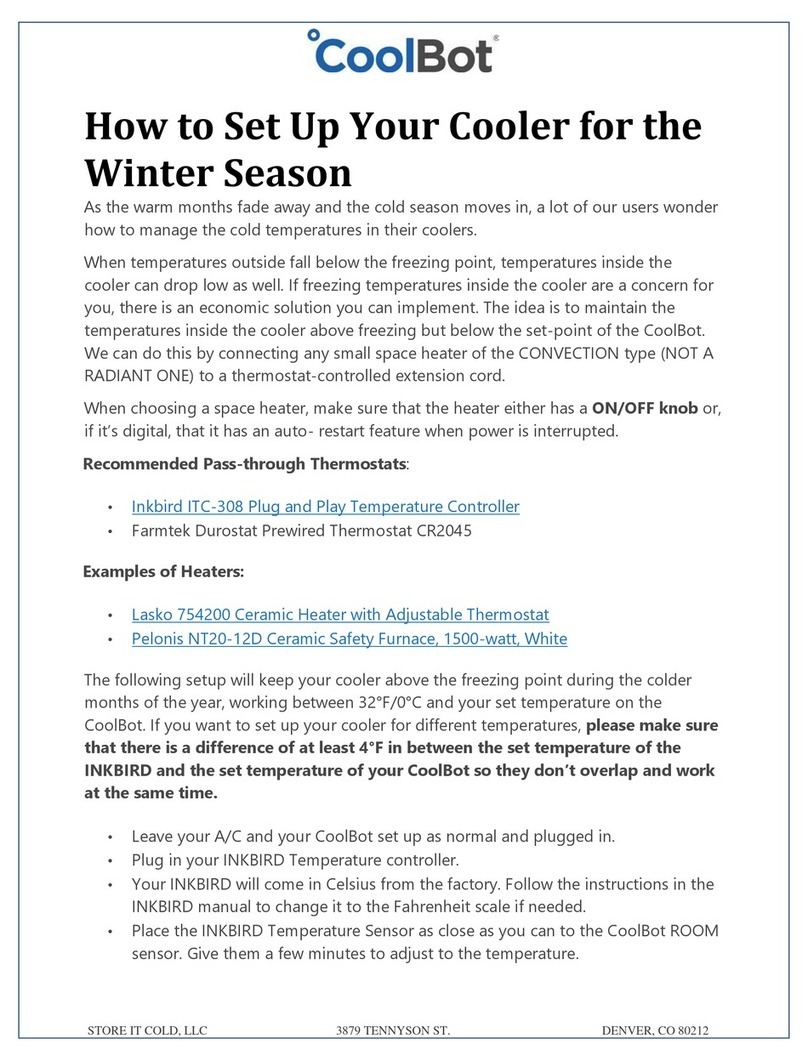
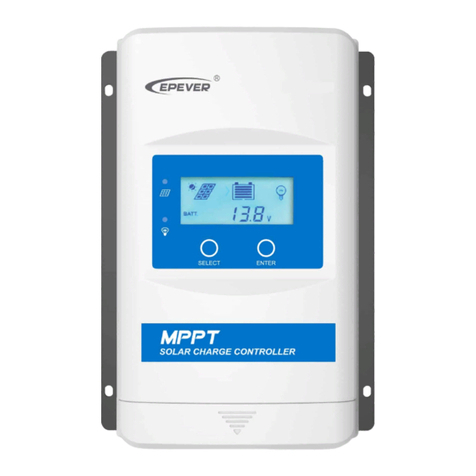
Store It Cold CoolBot PRO User manual

1 | P a g e
CoolBot Pro Quick Start Set Up Guide Rev 2021 –01A UL ©2021 Store It Cold, LLC
CoolBot Pro
CoolBot Jumper
BOX CONTENTS
TECHNICAL DATA
BEFORE STARTING
•Do you have a compatible air conditioner? For a list of compatible A/Cs visit: www.storeitcold.com/support-library/
•Mini Split A/Cs. Skip this step-by-step guide. Detailed Mini Split-CoolBot Installation Guide available at:
www.storeitcold.com/support-library/
•Important. Follow this step-by-step guide entirely to ensure proper installation of the CoolBot Pro to the air conditioner.
Complete CoolBot Pro Instruction Manual available at our CoolBot Info section at: www.storeitcold.com/support-library/
•No Wi-Fi? Or don’t want to use the Wi-Fi feature? Go straight to page 3. You can use the CoolBot Pro just like previous
generation CoolBots without connecting the CoolBot Jumper. NOTE: The CoolBot Pro will keep your cooler cold but you won’t be
able to access online data or change CoolBot Pro settings directly from the App.
•Using with Wi-Fi? Start on page 2. Connect only to a secured 2.4GHz Wi-Fi Network (5GHz is not supported).
•Installation Video. Watch our CoolBot Pro installation video at: www.storeitcold.com/build-it/install-your-coolbot/
Qty
Item
Description
1
CoolBot Pro
Patented Digital Temperature Controller
1
CoolBot Jumper
Wi-Fi Radio Signal Module
2
Temperature Sensors
Sensor Cables (Blue Cable - Black Tip) with external 2.5mm jack connector
1
Heater
CoolBot Heater Cable (Black Cable - Red Tip) with external 2.5mm jack connector
1
Data Cable
Data Transfer Cable (Silver or Grey) with RJ11 connector on both ends
1
Power Supply
Mini-USB port connector cable. Input: 110V-240V / Output: 5VDC, 1Amp
Classification
Temperature Regulating and Indicating Equipment
UL File Number
E500290
Rated
5V DC, SELV, <15W, Class 2
Action Type
Type 1
Purpose
Operating Control
Software Class
Class A
Control Construction
Independently Mounted for Surface Mounting
Pollution Degree
2
Power Supply
For use with Phihong PSAC05A-050L6 power supply
Rated Impulse Voltage
330V
Temperature Sensors
Heater
Power Supply
Data Cable

2 | P a g e
CoolBot Pro Quick Start Set Up Guide Rev 2021 –01A UL ©2021 Store It Cold, LLC
CONNECTING THE COOLBOT PRO TO A WI-FI NETWORK
Skip this entire page if you are using the CoolBot Pro without a Wi-Fi connection - no Jumper connected
CoolBot Pro and CoolBot Jumper Set Up
STEP 1 Unpack the CoolBot Pro in an area with good Wi-Fi reception (outside of your cooler and close to your Router is best). Plug
in the Temperature Sensors and the Heater Cable into the corresponding ports (See diagram on page 4). Don’t connect the
cables to the A/C and don’t plug in the power supply yet.
STEP 2 Connect the CoolBot Jumper to the CoolBot Pro using ONLY the provided silver/grey Data Cable.
STEP 3 Plug in the CoolBot Pro’s Power Supply. You should see codes and flashing mode lights for several seconds. These should
settle down to one flashing Program light, and the code “E0” alternating with the current room temperature.
Wi-Fi Configuration and Web app Set Up
STEP 4 Start the CoolBot Pro App by scanning the QR Code on your smartphone or go to the web page
https://cb.storeitcold.com on a device that has Wi-Fi (PC, tablet, phone, etc.). The CoolBot Pro App
is a web-based app and is not available from any mobile App Store.
STEP 5 On the first screen, fill in your email address, create a password and click the gray button “Create
New Account”. The email address will be used for notifications, as well as to link your CoolBot Pro
data to your account. Continue to follow the prompts and the app will guide you through
configuring the CoolBot Pro to talk to the CoolBot server using your Wi-Fi Network.
STEP 6 When prompted, you will need to change the Wi-Fi settings on your device (PC, tablet, phone, etc.) to connect to the Wi-Fi
network called “CoolBot”. On most smartphones use Settings > Wi-Fi, and on most PCs use the network or Wi-Fi status icon.
STEP 7 After connecting your device (PC, tablet, phone, etc.) to the “CoolBot” network, the next prompt on the app will ask you to
choose from the drop-down menu (or type in) the Wi-Fi network you want the CoolBot Pro to connect to. This is usually the
same network your devices (PC, tablet, phone, etc.) use, but it can be a different network if you prefer. Enter the Wi-Fi
password for the network and press Next. CAUTION - Some devices may change the first letter of your password to a Capital
letter, ensure that your password is correct. CoolBot cannot connect to unsecure Networks (Networks without a password).
STEP 8 Once the CoolBot Pro is connected to the network, you should see no codes flashing on the CoolBot Pro display.
If your device (PC, tablet, phone, etc.) did not automatically switch back to your usual Wi-Fi settings use the method outlined
in Step 6 to switch them back.
STEP 9 Press the “Refresh” button on your browser screen. You should now see temperatures on the app.
Adding the App icon on your home screen
STEP 10 On most devices you can add a link to your home screen for the CoolBot Pro App so you can access it just
like any other app. While in the CoolBot Pro App on your Internet browser do the following:
•In Chrome on Android: Open the menu at the upper right and choose “Add to Home Screen.”
•In Safari on iOS: Tap the Share button at the bottom of the screen and choose “Add to Home Screen.”
•In most desktop browsers, you can drag the icon at the left of the URL bar at the top of the browser and
drop it onto your desktop to create a shortcut.
You may be prompted for your user ID and password the first time you access the App from the icon on the home screen.
STEP 11 You are all set up! Unplug the CoolBot Pro from the power supply and proceed to page 3: “CONNECTING THE COOLBOT
PRO TO A WINDOW AIR CONDITIONER”.
IMPORTANT!
Always disconnect power from the CoolBot Pro before plugging or unplugging the Data Cable.

3 | P a g e
CoolBot Pro Quick Start Set Up Guide Rev 2021 –01A UL ©2021 Store It Cold, LLC
CONNECTING THE COOLBOT PRO TO A WINDOW AIR CONDITIONER
See installation diagram on page 3.
NOTE: If you are connecting the CoolBot Pro to a Wi-Fi network follow page 2 first.
SECONDARY SENSORS ON WINDOW AIR CONDITIONERS
Most brands of Window A/C units have secondary sensors except for LG and HAIER window units.
(LG window Inverter models are the exception to the rule –they have secondary sensors)
To find the A/C’s secondary sensor(s) check our A/C Secondary Sensor Guide at: www.storeitcold.com/support-library/
STEP 1 Plug the cables into the corresponding labeled ports at the bottom of the CoolBot Pro except for the Data Cable. If you are
replacing an existing CoolBot with “removable”cables, use all your new cables and save the old cables as spare parts. The
CoolBot Pro works with both black and blue Temperature Sensor Cables.
STEP 2 Mount the CoolBot Pro on the wall next to the A/C, preferably on the same side as the A/C’s control panel.
STEP 3 REMOVE THE AIR FILTERS from the front of the A/C –DO NOT use them!
STEP 4 Find and free the A/C’s main Temperature Sensor. It’s the only thing attached to the front grill of the A/C. Take the sensor
out of the mounting clip - DO NOT use the mounting clip for any of the CoolBot sensors installation.
STEP 5 Using ONLY a 2” square piece of regular Aluminum foil, place the CoolBot Heater Cable (Red Tip) next to the A/C’s main
temperature sensor. Hold them together and wrap them tightly with the foil into a bundle. You can use a Zip-tie or a piece
of tape 1 inch below the foil bundle to keep them together. Make sure the foil bundle does NOT hang in front of the A/C - it
should hang to the side or below the A/C.
STEP 6 If you found a secondary sensor on the A/C, place the secondary sensor on top of the foil bundle from step 5 (touching the
foil but not inside) and hold it in place with a small piece of electrical tape –do not over insulate the foil bundle while doing
this, use ONLY one layer of tape.
STEP 7 Use a pen or a pencil to open a small gap in the front of the fins of the A/C about 1” from the bottom and near the center,
between the bottom and second cooling pipes.
Insert ONLY ¼” of the tip of the CoolBot Fins Sensor into the small gap.
DO NOT force the sensor in, you will damage it! DO NOT touch any cooling pipes with the Fins Sensor - only the fins!
Pinch the fins lightly around the sensor to keep it in place.
STEP 8 If you are not using Wi-Fi, skip this step and go to Step 9. Mount the CoolBot Jumper outside of the cooler in a location close
enough for the provided Data Cable (~25ft) to connect the CoolBot Jumper to the CoolBot Pro. The CoolBot Jumper is not
weatherproof. If it is to be mounted outdoors where rain, snow, and sunlight may get to it, install it inside of a weatherproof
nonmetallic container. After the CoolBot Jumper is mounted, connect the CoolBot Pro and the CoolBot Jumper using the
provided Data Cable.
STEP 9 Turn the A/C ON. Set the A/C on “COOL”Mode and set the Fan on “HIGH” speed. Set the A/C temperature to the lowest
setting. If the A/C has a separate Economy Mode Setting make sure it is OFF. The Fan should run continuously!
STEP 10 Plug in the CoolBot Pro power supply. To set the temperature directly on the CoolBot Pro controller, press the checkmark
button –the current set temperature will blink. Use the right or left arrows to set the temperature to the desired value.
Press the checkmark to save the value.
CoolBot Pro Installation Video, Installation & Operation Manual, App Features and Settings,
Specification Sheets and Troubleshooting available at:
www.storeitcold.com/support

4 | P a g e
CoolBot Pro Quick Start Set Up Guide Rev 2021 –01A UL ©2021 Store It Cold, LLC
Follow step by step as described on pages 2 and 3
DISCLAIMER
By using the CoolBot Pro temperature controller, you (the “User”) acknowledge there are inherent hazards in getting an air-conditioner
(“A/C”) to do something it was not originally designed to do, and that these inherent hazards cannot be ameliorated, mitigated or
obviated while still maintaining the essential functionality of the CoolBot Pro. User accepts all responsibility in the use of and monitoring
of the CoolBot Pro and A/C. User assumes all risk of loss of property or product due to improper functioning of the CoolBot Pro (or A/C).
User assumes all risk of injury and warrants that he/she will defend, indemnify and hold the seller harmless for any direct or
consequential harm or damage that may result from the use of this product. Users that don’t accept this responsibility must return the
CoolBot Pro for a FULL REFUND before use.
LIMITED WARRANTY
The CoolBot Pro is warranted against defects for 1 year, not including damage due to misuse or accidents. To double the warranty on
your CoolBot Pro visit us at www.storeitcold.com/support
HAPPY CUSTOMER GUARANTEE
Return the CoolBot Pro in its original condition within 45 days if you are not fully satisfied for a full refund (shipping not included).
https://www.instagram.com/storeitcold https://www.facebook.com/thecoolbot
https://www.youtube.com/storeitcold https://twitter.com/storeitcold
Other manuals for CoolBot PRO
4
Table of contents
Other Store It Cold Controllers manuals
