STS SHIGEMATSU SYCN 01 Series User manual
Powered Air Purifying Respirator
Instruction Manual
Gebläseltersystem
Bedienungsanleitung
Appareil de protection respiratoire à épu-
rationd’airmotorisé
Manuel d’utilisation
Vifteltersystemet
Instruksjonshåndbok
Powered luftrensende respirator
Brugsvejledning
Motoriseeritud- ja suruõhuvarustusega
Kasutusjuhend
Puhallinsuojain-järjestelmä
Käyttöopas
Luftltersystem
Bruksanvisning
Respiradorpuricadordeairemotorizado
Manual de instrucciones
Aangedrevenltertoestel
Gebruiksaanwijzing
Sync
01
Series
IIMN510000 AA
March 2018
en
de
fr
no
da
et
sv
es
nl
bg
el
hu
it
pl
pt
ro
sk
sl
tr
Захранванипречистващивъздушни
респиратори
Инструкции
Σύστημαφιλτραρίσματοςαέρα
Εγχειρίδιο χρήσης
Szűrt-ésnyomólevegőslégzésvédők
Használati útmutató
Sistemaaltroconventola
Manuale di istruzioni
Aparatltrowentylacyjny
Instrukcja obsługi
Sistemadeltragemcomventilador
Manual de Instruções
Aparatederespiratdepuricareaaerului,
cuacţionare
Manual de utilizare
Systémysnútenýmobehomaprívodom
vzduchu
Návod na používanie
Sistemizatlačnoltracijozrakainzadova-
janjezraka
Priročnik za uporabo
fanlıltresistemi
Kullanım Kılavuzu

2
Sync01 Series
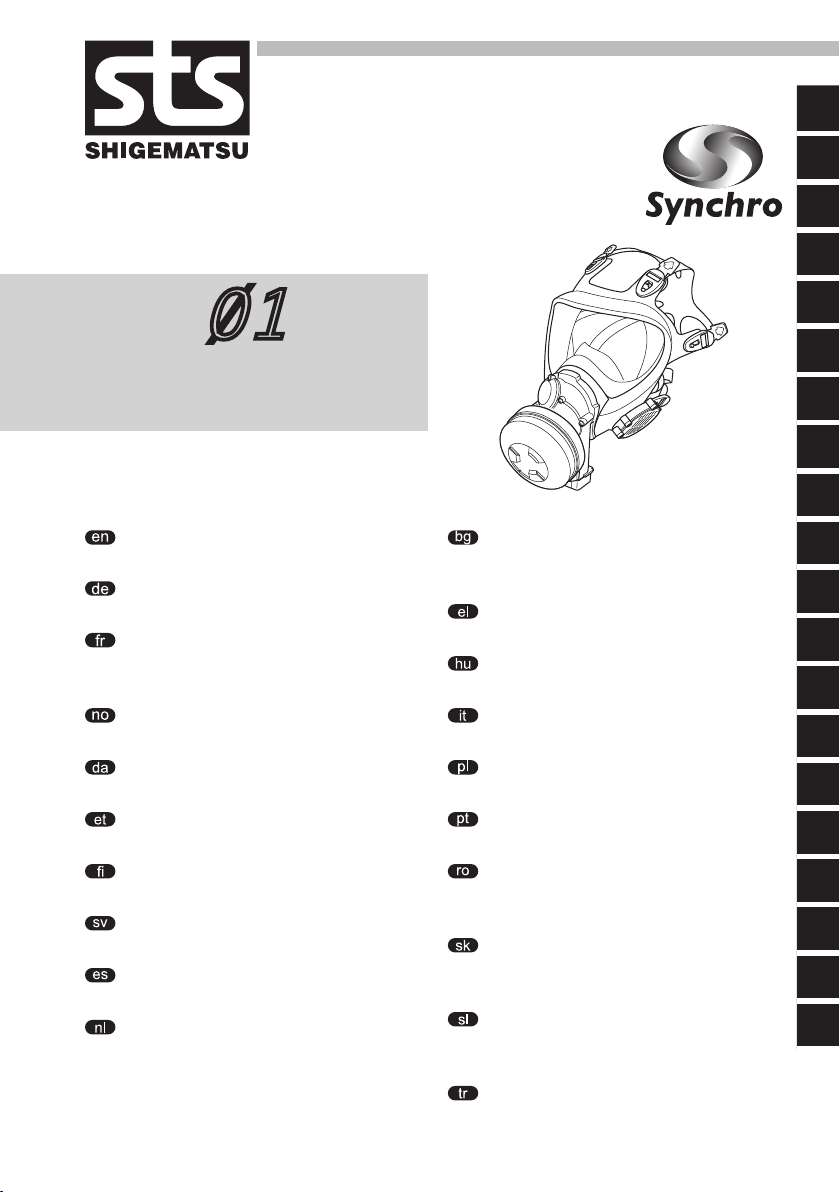
A
12
0
3
7
6
5
4
9
B
D
C
E
F
G
H
I
J
Q
O
R
S
T
P
N
A
8
L
M
M
1.
2.
3.
K
U
V
W
B
I II III IV
C
1 2
D
E
1
3
Sync01 Series
en
de
fr
no
da
et
sv
es
nl
bg
el
hu
it
pl
pt
ro
sk
sl
tr
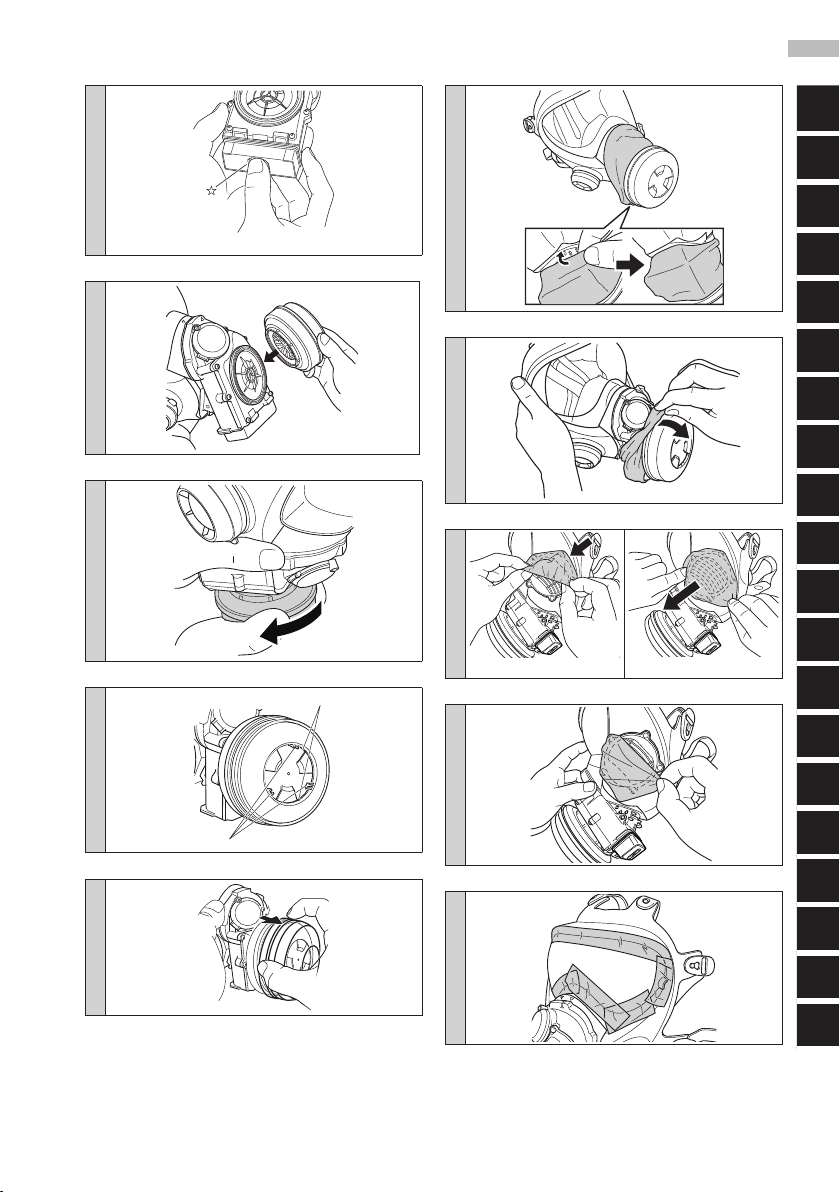
F
1
G
H
I
2
1
J
K
L
M
1 2
N
O
4
Sync01 Series
P
1
2
1
4
Q
1
R
1 2
3
4 5
S
1 2
T
1 2
U
V
W
1 2
5
Sync01 Series
en
de
fr
no
da
et
sv
es
nl
bg
el
hu
it
pl
pt
ro
sk
sl
tr
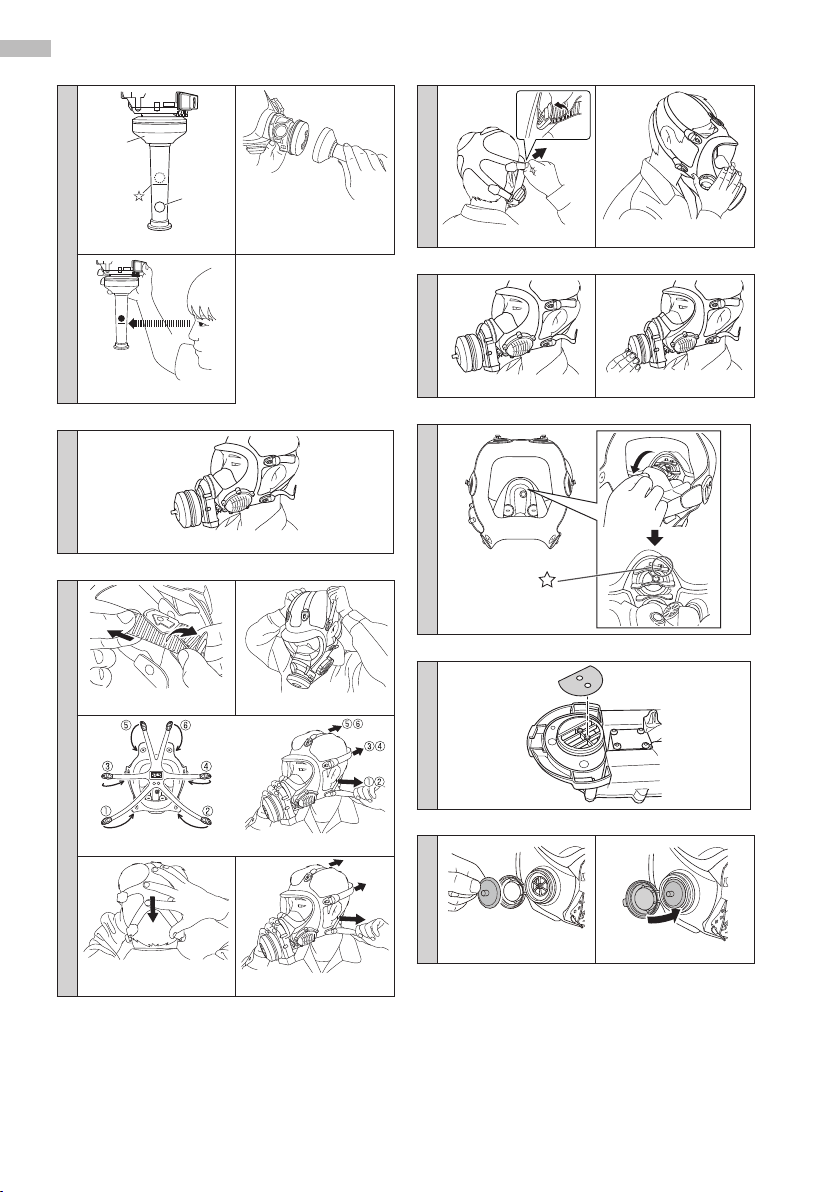
X
1
2
Y
Z
2 4
a
1
b2
c
d
1 3
This manual suits for next models
6
Table of contents
Other STS Respiratory Product manuals


