Sulzer ABS CA 523 User manual

www.sulzer.com
GSM-3G Modem Type ABS CA 523
EN Installation Guide
81907017E (08/2017)

81907017E
2
GSM-3G modem type ABS CA 523, Installation guide
Copyright © 2017 Sulzer. All rights reserved.
This manual, as well as the software described in it, is furnished under license and may
be used or copied only in accordance with the terms of such license. The content of this
manual is furnished for informational use only, is subject to change without notice, and
should not be construed as a commitment by Sulzer. Sulzer assumes no responsibility or
liability for any errors or inaccuracies that may appear in this book.
Except as permitted by such license, no part of this publication may be reproduced, stored
in a retrieval system, or transmitted, in any form or by any means, electronic, mechanical,
recording, or otherwise, without the prior written permission of Sulzer.
Sulzer reserves the right to alter specications due to technical developments.
EN

81907017E
3
GSM-3G modem type ABS CA 523, Installation guide
1 MOUNTING
1.1 Part number 28007005 contains:
1. Modem
2. Antenna
3. Power cable
4. DIN rail socket with 2 screws
1. The Modem 2. Antenna 3. Power cable 4. DIN rail socket with
2 screws
1.2 Part number 28007006 contains:
Same items as part number 28007005 above with additional RS-232 cable which
also can be ordered separately (p/n: 43320588). See accessory list on page 7
below.
5. RS-232 cable
1.3 DIN-rail socket (no. 4)
If the modem is to be mounted on a DIN-rail; attach the DIN rail socket on the
rear side of the modem. Use the two screws included to fasten the socket.
1.4 Antenna (no. 2)
Mount the antenna into the connector at the modem. Place the antenna in open
environment and shielded from precipitation. The backside of the antenna has
adhesive Sellotape or Scotch tape for mounting on a clean surface. Avoid mount-
ing the antenna on a grounded metal plate; it short circuits the signal.
1.5 Power connection
Use the enclosed power cable (no. 3). Plug in the RJ6/8 connector to the power
jack in the modem. Connect the open ends to your power supply according to
description below. The modem is supplied with +10 ─ +30 VDC.
Pin assignment and typical connection:
1 Blue
2 Black
3 Red
4 Green
5 Yellow
6 Brown 0 V
+10 ─ +30 V
6 5 4 3 2 1
EN

81907017E
4
GSM-3G modem type ABS CA 523, Installation guide
1.6 Power Supply
NOTE: Normally the modem is supplied from same source as the control unit.
1.7 Mounting of DIN-rail holder
The DIN-rail holder is fastened with two screws enclosed in the kit to t an uni-
versal 35 mm DIN-rail according to DIN EN 60715. There are two alternatives of
mounting the holder depending on if the modem shall be mounted horizontally or
vertically.
Alternative 2
Alternative 1
Figure 1-1 Mounting the holder for DIN-rail
1.8 Antenna
The enclosed antenna is a Dipole type T and is to be mounted on a nonmetallic
surface. For metal cabinet; use the “Smartdisc”-antenna. The Dipole-T and the
Smartdisc antenna cable must not be extended.
In the section of 4.1 Accessory List are additional antennas which can be or-
dered from Sulzer if the receiving signal is not sufcient.
EN

81907017E
5
GSM-3G modem type ABS CA 523, Installation guide
2 RS-232 Communication and cable congurations
Use the communication cable (section 1.2 on page 3) to connect the substation.
Follow the table below to ensure communication. The default parameters for the
modem are; 115 2 0 0 baud, No parity, 8data bits, 1stop bit.
CA 523
D-Sub 9 (F)
D-Sub 9 (M)
Cable Color
Connections in Controllers
Signal PC 441 PC 242 PCx
1Pink
2Brown RXD 51 23 47
3White TXD 50 24 48
4Blue RTS 49 25 49
5Gray GND 52 22 46
6 -
7Green RTS 49 25 49
8Yellow CTS 48 26 50
9 -
Antenna
EN

81907017E
6
GSM-3G modem type ABS CA 523, Installation guide
3 Installing the SIM card
Yellow LED
(Network status)
Green LED
(Power on/off)
SIM inserted
The SIM - with the circuit side facing towards the Sulzer logo - is inserted by
gently pushing it into the SIM card holder until it snaps hold. It is now protected
from accidental removal. The SIM can be removed from the card holder by us-
ing a at object such as a screwdriver to carefully press the inserted SIM until it
snaps out again.
3.1 Status LEDs
• A green LED; Power ON
• A yellow LED blinking every 2nd second; Network search
• A yellow LED ashes every 4th second; Connected to 2G/3G network
3.2 About SIM cards
AquaWeb
Sulzer provides the AquaWeb SIM-cards. To connect your station to Aquaweb,
follow the instructions enclosed with the SIM.
SIM card from other providers
Only telematics enabled SIM card is working. Consult your SIM provider of which
functions has to be enabling on the subscription of SIM card.
EN

81907017E
7
GSM-3G modem type ABS CA 523, Installation guide
4 Technical Data
Five band 3G UMTS (WCDMA/FDD) 800, 850, 900, 1900 and 2100 MHz
Quad band GSM 850, 900, 1800 and 1900
Ambient operating temperature –30 to +65 °C (–22 to +149 °F)
Automatic thermal shutdown Min: <-40 °C, Max: >+90°C (± 3°C)
(Min. <-40 °F, Max: >194 °F)
Degree of protection IP 20, NEMA: Type 1
Housing material PPO and PC
Mounting With socket; DIN Rail 35 mm
Humidity 0–90% RH non-condensing
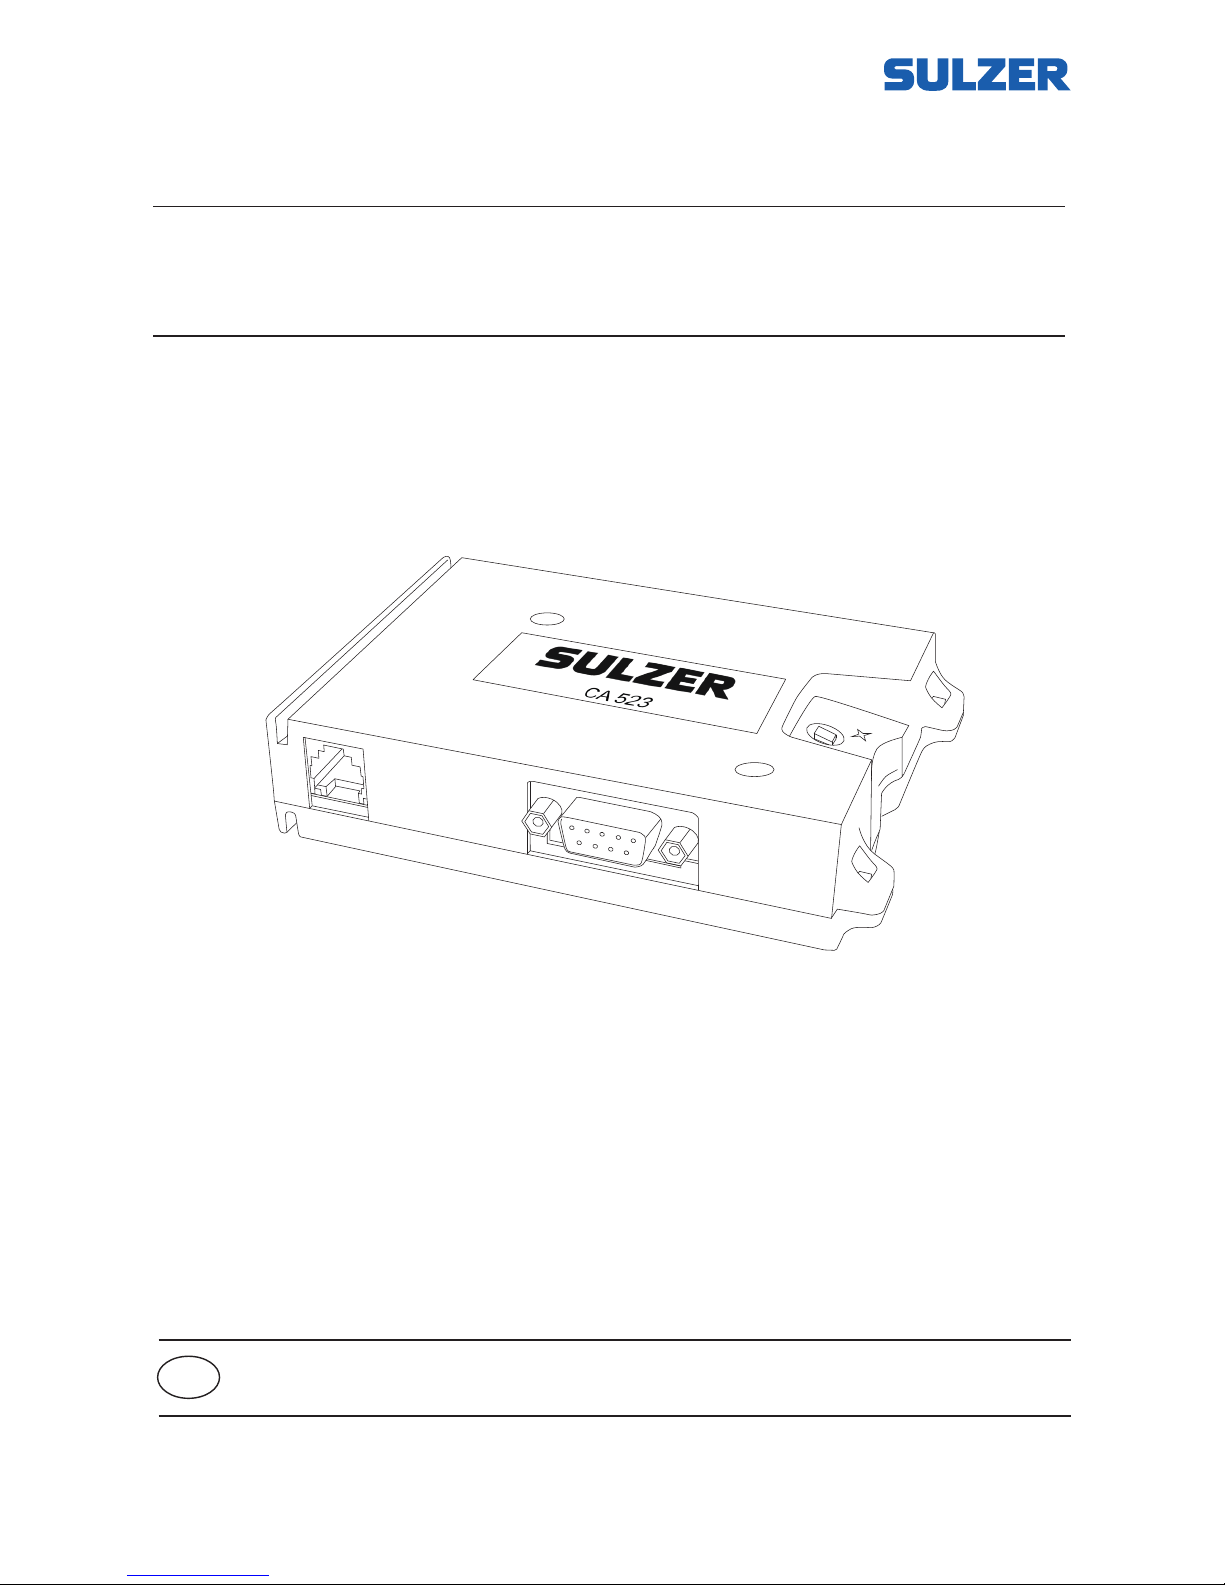
Dimensions H x W x D: 26 x 115 x 86 mm
(1.0 x 4.5 x 3.5 inch)
Power supply +10 – 30 VDC
Power consumption < 5 W
Altitude Max 2000 MASL or 6562 ft. AMSL
Compliance R&TTE, GCF, FCC, PTCRB, IC, UL
Attention If the unit is used in a manner not described in this document the protection pro-
vided by the equipment may be impaired.
4.1 Accessory list
Part number Description Note
43320588 Modem cable with DB9M + open end This part is included in
28007006
Antenna Accessories
Part number Description Note
28007007 Low prole Smartdisc
(SMA-M) +1 dB, 2.5 m
Extension of the cable is not
recommended
28007008 Align antenna kit +6.0 ─+9.0 dBi Included in kit:
Antenna
10 m cable
2 m cable
Wall and mast mounting
equipment
28007010 Adapter FME-M to SMA-M Only when CA 532 is
connected to an old antenna
4.2 Cleaning
How to clean the unit
Powers off the unit and only outside/front shall be cleaned by using a dry, soft
cloth. A good choice would be the microber type of cloth and gently wipe the
CA 523 unit on front in order not to scratch the overlay. If the dry cloth did not
completely remove the dirt, do not press harder in an attempt to scrub it off. If
necessary, moisten the cloth by adding a small amount of water with thin solution
of mild detergent and try again. Never use detergent with polish or solvent which
can have an impact of the plastic surface.
EN

Sulzer Pump Solutions Ireland Ltd., Clonard Road, Wexford, Ireland
Tel. +353 53 91 63 200, Fax +353 53 91 42 335, www.sulzer.com
Copyright © Sulzer Ltd 2017
Table of contents
Other Sulzer Modem manuals
Popular Modem manuals by other brands

Assured Wireless
Assured Wireless AW12 HPUE quick start guide

Siemens
Siemens SpeedStream 4200 quick start guide

Efficient Networks
Efficient Networks 52609x02 installation guide

Canon
Canon w-e1 instruction manual

Hughes
Hughes HX200 INSTALLATION PROCEDURE

Terayon
Terayon TJ 700x Series DOCSIS installation guide