Sumake TT-C Series User manual

INSTRUCTION MANUAL
ITEM NO.: TT-C series
DIGITAL TORQUE TESTER
TT-C series-I-1905B-MS

1
1. 【ZERO】: Manual rest for setting value zero
(1) Press the button to reset value back to zero.
(2) Zero LED signal will light up whenever the display value shows zero. To ensure precision and accuracy of test
result, always check if zero LED light is on while testing.
2. 【AUTO RESET】: Auto reset setting
(1) Press the button to switch on AUTO RESET mode (LED light on),
Press again to turn off AUTO RESET mode (LED light off and press the Zero button to do the zero action).
(2) Press the button for 3 seconds to enter AUTO RESET SETTING MODE.
Press ▲ and ▼ to adjust to preferred value (note that value/2 is the actual seconds), then press【ENTER】to
complete the setting.
3. 【ENTER】: Setting complete
4. 【RUN MODE】: Testing function switch
Press the button to select preferred function: SHUT OFF / IMPULSE / IMPACT / TORQUE WRENCH.
5. 【MODE FREQ】: Frequency response setting
6. 【UNIT】: Unit switch
Press the button to select preferred unit, corresponding LED above the screen will light up.
7. 【CCW】: Anti-clockwise testing
Switch to the Anti-clockwise testing.
8. 【SET】: B.P.M setting [ LOWER、UPPER、BPM、SET1 (set test seconds) ]
Press the button to select preferred B.P.M setting, press ▲ and ▼ to adjust the value (recommend test second
value: 3~5 seconds).
9. 【△▽】: Value setting (increase/decrease)
Press ▲ or ▼ to adjust increase and decrease of setting value.
Long press the button to speed up the value increase or decrease.
Operation Procedures
1. a. Plug in digital torque tester (110V - 240V auto-switch available).
b. Insert and tighten 9-pin sensor connector.
c. Check and make sure the ground wire behind monitor is connected to any screw at the sensor bottom (Figure 1).
d. Turn the power on.
Please note:
Display may show ERROR if power is turned on before pluggin in 9-pin sensor connector. In this case, turn off the power,
plug in and tighten 9-pin sensor connector, then t urn the power on.
2. Press【RUN MODE】to select test function.
3. To turn on auto reset, press 【AUTO RESET】and the LED will light up; press【AUTO RESET】again to cancel this
function. Press【ZERO】to mannual rest.
MODE FREQ
Shut off tools
Impulse / Clutch tools
Impact tools
Frequency Setting
500Hz
2,500Hz
4,000Hz

2
Please note:
(1) Press【AUTO RESET】for three seconds, display value is the time auto reset begins, i.e. “4” means auto reset starts
in 2 seconds (4/2=2) after the test; “6” means 3 seconds (6/2=3). To complete setting, press【ENTER】.
(2) Press ▲(increase) and ▼(decrease) to adjust to preferred value (note that is the value/2 is the actual seconds),
then press【ENTER】to complete the setting.
4. Press【UNIT】to select preferred one.
5. Press【SET】to set up maximum and minimum test result, press ▲(increase) and ▼ (decrease) to adjust value.
For example: when the LOWER light is on, enter 300 lbf.ft; when the UPPER light is on, enter 350 lbf.ft.
The LOW light will illuminate when test value is below 300 lbf.ft.
The HIGH light will illuminate when test value is above 350 lbf.ft.
The PASS light will illuminate when test value is between 300 lbf.ft and 350 lbf.ft.
※Green light outside black case will light up when test result passes.
6. To display B.P.M. value while testing, press【SET】and select B.P.M. function.
7. Press【SET】and select SET1 to set up testing duration (3~5 seconds recommended), press ▲(increase) and
▼(decrease) to adjust value.
8. Adjust test frequency【MODE FREQ】: Do not adjust unless necessary.
(1) Press【RUN MODE】and select preferred function: SHUT OFF / IMPULSE / IMPACT / TORQUE WRENCH.
(2) Press【MODE FREQ】and adjust frequency using ▲ and ▼. Press【ENTER】to complete.
Note: No need to adjust frequency value of【CCW】(anti-clockwise testing) and【TORQUE WRENCH】.
(3) Press【MODE FREQ】and adjust frequency using ▲ and ▼. Press【ENTER】to complete.
Note: No need to adjust frequency value of【CCW】(anti-clockwise testing) and【TORQUE WRENCH】.
9. 【CCW】lights up indicates anti-clockwise testing:
Press【CCW】until the screen displays signal(-)to do anti-clock testing.
Press【CCW】again,(-)signal will disappear.
※Red button on the black case is available for switching on/off CCW function.
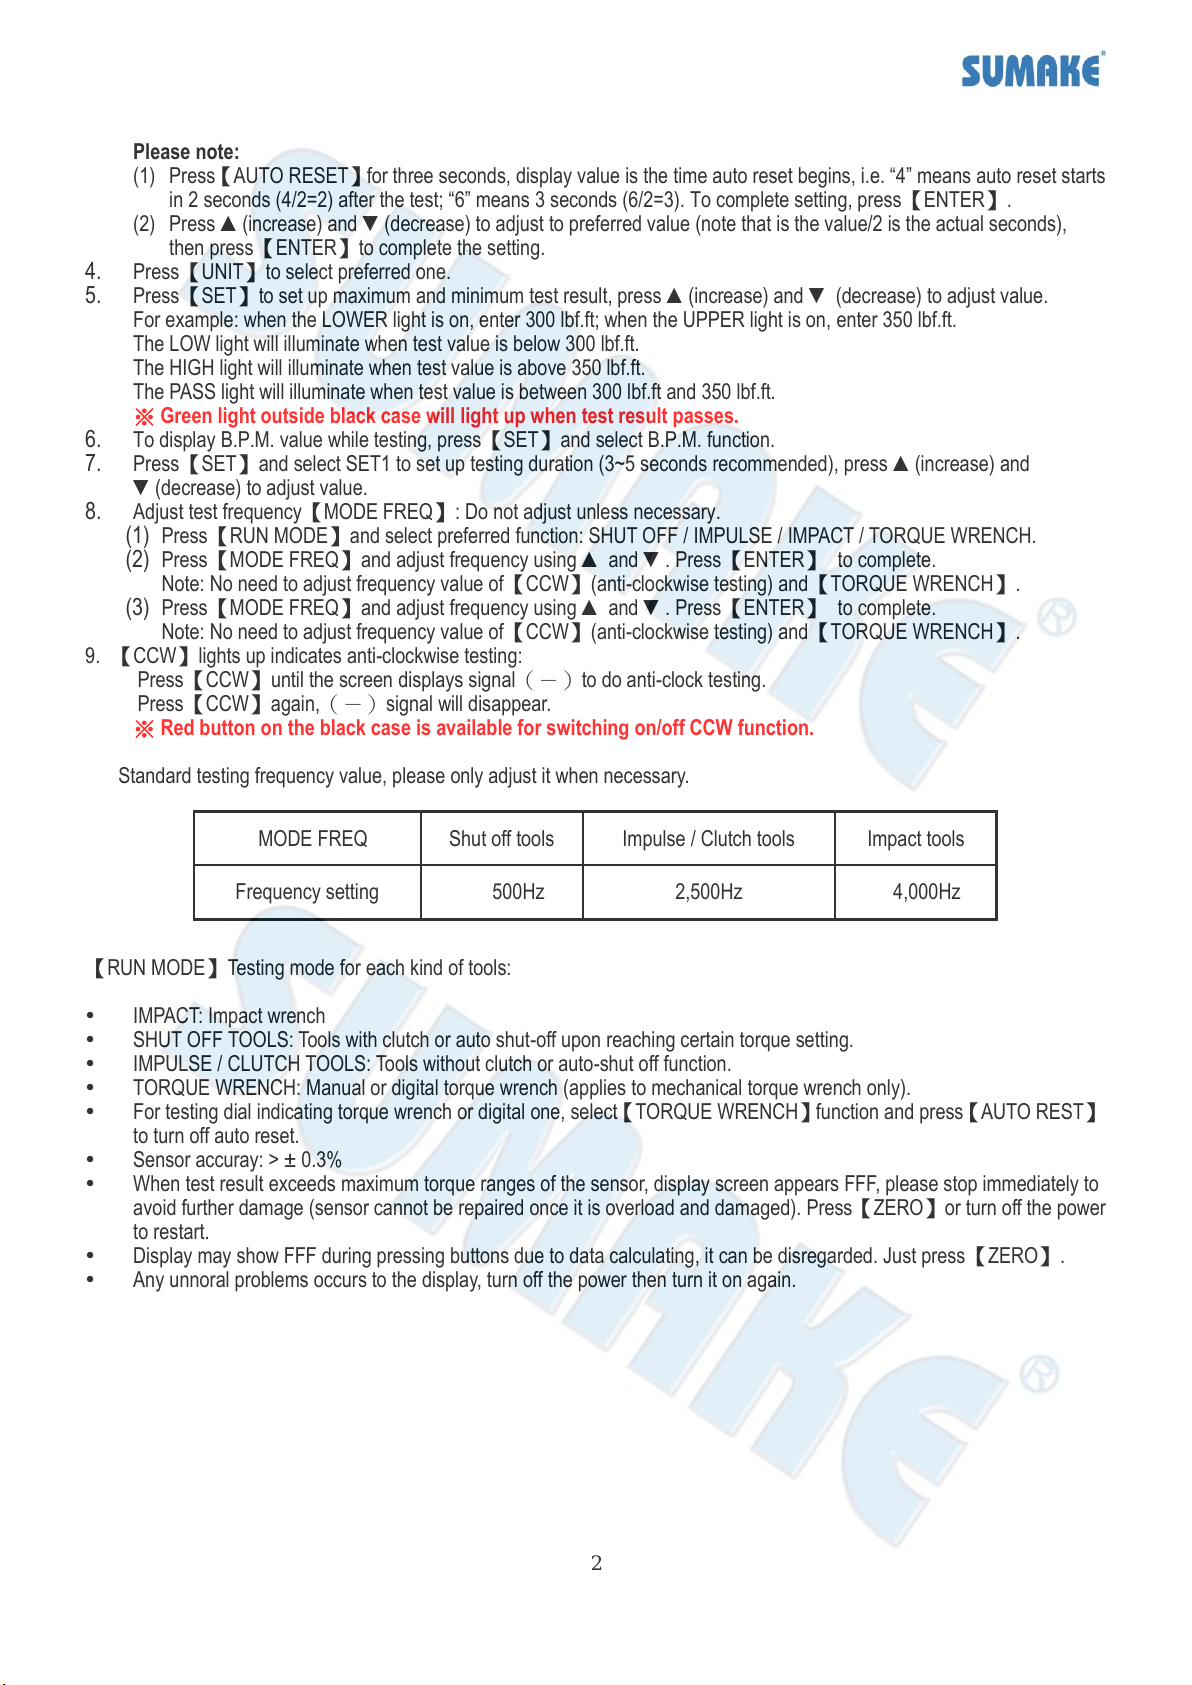
Standard testing frequency value, please only adjust it when necessary.
【RUN MODE】Testing mode for each kind of tools:
IMPACT: Impact wrench
SHUT OFF TOOLS: Tools with clutch or auto shut-off upon reaching certain torque setting.
IMPULSE / CLUTCH TOOLS: Tools without clutch or auto-shut off function.
TORQUE WRENCH: Manual or digital torque wrench (applies to mechanical torque wrench only).
For testing dial indicating torque wrench or digital one, select【TORQUE WRENCH】function and press【AUTO REST】
to turn off auto reset.
Sensor accuray: > ± 0.3%
When test result exceeds maximum torque ranges of the sensor, display screen appears FFF, please stop immediately to
avoid further damage (sensor cannot be repaired once it is overload and damaged). Press【ZERO】or turn off the power
to restart.
Display may show FFF during pressing buttons due to data calculating, it can be disregarded. Just press【ZERO】.
Any unnoral problems occurs to the display, turn off the power then turn it on again.
MODE FREQ
Shut off tools
Impulse / Clutch tools
Impact tools
Frequency setting
500Hz
2,500Hz
4,000Hz

3
Figure 1
Troubleshooting
When digital torque tester doesn’t work, turn off the power and restart. If still doesn’t work, follow below steps and
reset the system.
Step 1: Select unit as N-m.
Step 2: Use pointy tip to press【SET UP】, check and make sure if the value on display screen is the same as that
on the back board. If so, press【ENTER】to the next step; if not, adjust value using ▲ and ▼ until output number
matches, then press【ENTER】to the next setting.
Step 3: Check if the digits number after decimal point is correct, if so, press 【ENTER】to proceed to the next step;
if not, adjust value following Step 2. Then press【ENTER】to the next setting.
For example: a sensor with a rated torque (maximum torque) of 50 N-m ÷5000=0.01, it means that there must be 2
digits after the decimal point, the adjustment step is the same as 2, and the decimal point is moved to the correct
position, after setting, press【ENTER】once to proceed to next setting.
Step 4: Sensitivity check.
For example: the sensor with rated torque (maximum torque) of 500 N-m ÷ 5000=0.1, this 0.1 is the unit of minimum
count, the adjustment procedure is the same as 2, after setting, press【ENTER】once to enter next setting.
Step 5: Check if maximum torque value of the sensor is correct. If so, press【ENTER】to proceed to the next step;
if not, adjust value following Step 2. Then press【ENTER】to the next setting.
Step 6: Check if sample speed is set as 125 (out of three sample speed: 125, 250 and 500). Follow Step 2 to set up,
press【ENTER】after checking. Display screen will show 0.0, indicating the setting is complete.
During each step of setting above, if you would like to re-set any function, press 【ENTER】, turn off the power, turn the power
on, and proceed the setting you wish to do all over again.
If none of above-mention tips works and the problem can’t be solved after going through the steps, please return to SUMAKE
for further evaluation.

PARTS LIST
No. Description
1 Base
2 Fix Plate
3 Square Key (10mm)
4 Sensor
5 Screw (M12x35)
6 Transducer Plate
7 Protect Case
8 Screw (M12x40)
9 Screw (M8x16)
TT-C-P1-1207A-MS
TRANSDUCER

PARTS LIST
No. Description
1 Case
2 Monitor
3 Fix Plate
4 Screw (M4x20)
5 Rubber Foot Pad
6 Handle
7 Screw (M8x20)
8 Screw (M6x20)
9 Connector For Printer
10 Connector For Sensor
TT-C-P2-1208A-MS
DIGITAL TORQUE TESTER


NOTE
www.SUMAKE.com
www.AIRCOMPRESSOR.com.tw
Table of contents
Other Sumake Test Equipment manuals