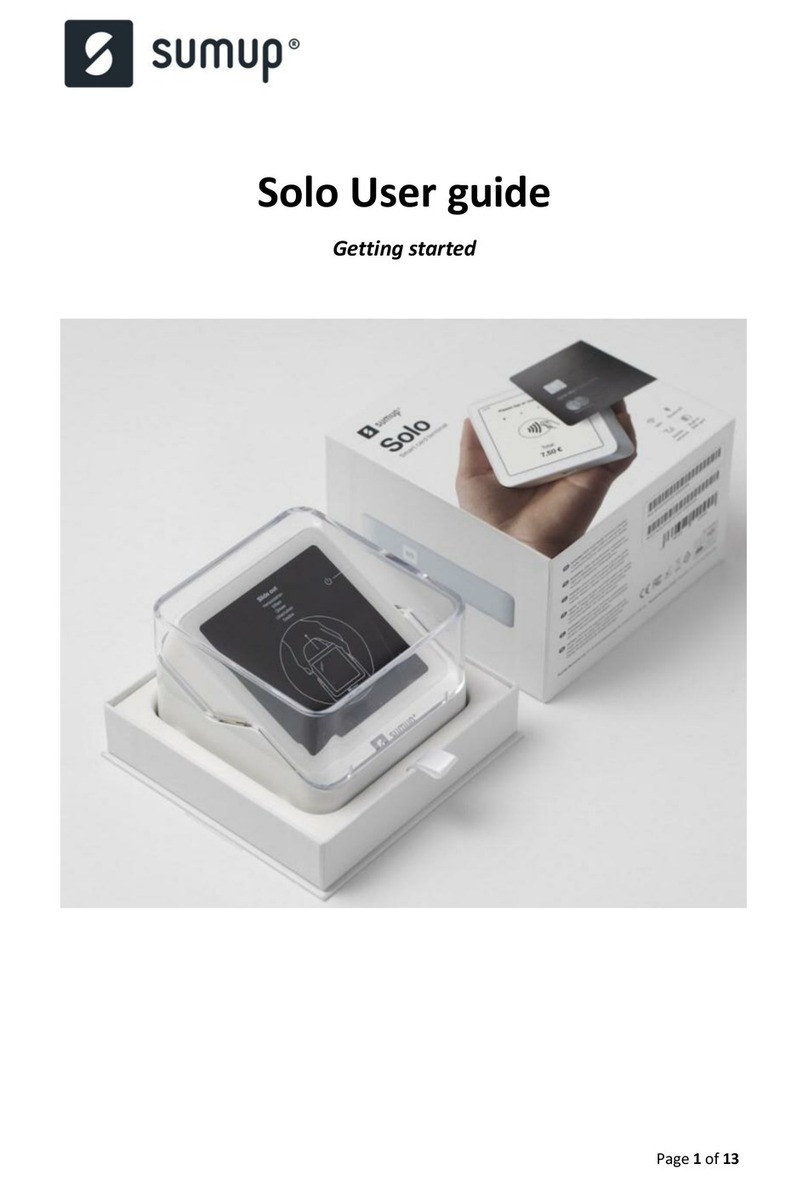
SumUp Solo User instructions

Setting up your SumUp Solo
[SUMUP] 2021
Taken from the sumUp website.
SumUp Solo: Set-up guide
Once your new SumUp Solo Card Reader has arrived, all that’s left is to set it
up. Here’s how to take your Solo from box to counter so you’re ready to start
accepting payments.
Note:
Be aware that your Solo requires a Wi-Fi connection to update during the
set-up process. (It doesn’t need a wifi connection after updating).
How to set up my Solo
After you sign up for SumUp and activate your profile, you can set up your Solo
like so:
1. First up, power your Solo on with the On/Off switch on its right side.
It’s the button that looks like the SumUp logo.
2. Tap the drop-down menu to select your preferred language from the
menu and hit “Let's start”.
3. Log in to your SumUp profile.

4. You'll be redirected to your Wi-Fi settings so you can connect your Solo
to a Wi-Fi network.
Note: Your Solo can only connect to secure networks.
5. You'll be prompted to update your Solo. Simply tap "Download &
Install" to get started. This will only take a couple of minutes.
Once the update is complete, your Solo is fully set up and ready to start
accepting payments.
Note:
If you haven’t created a SumUp profile, tap “I don’t have a profile” on the login
screen to bring up a QR code. Scan the code or type in the associated address
to find where you can create a SumUp profile.
SumUp Solo: Manual
Unlock the full potential of your SumUp Solo Card Reader with this guide to
the all of its features and functionalities, from technical advice to operating
tips.
Set up my Solo
We’ve created a handy step-by-step guide to setting up your Solo that takes
you from unboxing to ready to start accepting payments. Once you’re ready,
there’s also a guide on how to accept payments.

Settings and features
Tap or drag down the downward-pointing arrow at the top of your Solo’s
screen. From here, you can access a variety of features and settings for your
Solo.
Settings
About
The "About" section contains information about your Solo and SumUp profile,
including your Merchant ID, the device’s serial number, and your current
software version.
You can also log out of your SumUp profile from here by selecting "Log out"
and then hitting "Log out" again to confirm.
Software update
From here you can check your current software version and download updates
to keep your Solo running at its full potential.
Display & Brightness
Here, you can change display brightness and choose how long your Solo will
remain unlocked while not in use.

Languages
Click "Languages" to select your Solo’s operating language.
Connections
Toggle the Wi-Fi "On/Off" switch to "On" and connect to a Wi-Fi network to
switch to a Wi-Fi connection. Switch the Wi-Fi to "Off" to re-connect to a
mobile network via the unlimited data SIM card.
An internet connection is required for the Solo to process payments. For more
information, including some troubleshooting tips, check out our guide on
connecting your Solo to the internet.
Sales history
The Solo lets you view your past transactions and check transaction statuses.
You can then choose to refund transactions directly from your Solo or send
receipts. It also includes the option to filter transactions by date, time and
amount to help you find exactly what you’re looking for.

View my sales history
Tap the downward-pointing arrow at the top of the screen.
Select "Sales history".
Pick a transaction from the list to view transaction details and payout details.
Issue a refund
Choose the relevant transaction in your "Sales history".
Tap “Transaction successful” to view the transaction and associated options.
Tap “Refund” at the bottom of the screen.
Enter the refund amount and hit “Issue refund”.
Confirm the refund by entering your SumUp password.
You’ll see a confirmation screen, simply tap the arrow button or the "x" in the
top corner to return to the selected transaction.
Tipping
You can enable Smart Tipping under the “Tipping” section by simply switching
the toggle to “On”. Smart Tipping offers dynamic tipping options for
customers to choose from based on the transaction amount or the option to
add a custom tip amount.
Find out more about tipping with SumUp here.

Charging
You can charge your Solo using the included 2.0 USB type C cable or charging
cradle. The Solo can continue to accept transactions while charging.
Turn off my Solo
To turn your Solo off, hold the power button for a couple of seconds until the
option to shut down pops up on the screen. Tap “Shut down” again to confirm.
Sales history
Your sales history contains a basic breakdown of all the payments you’ve
accepted using SumUp.
Access sales history
You can quickly and easily check the status of past transactions with your
sales history on your SumUp profile, the app or either the SumUp 3G or Solo.
Here’s how you can find it.

Access my sales history on the SumUp profile
1. On your SumUp profile, select the "Home" tab in the left-hand panel.
2. Choose "Sales" to view your sales history.
3. Click on an individual transaction to view its details. A popup on the
right will also display the transaction and payout timeline, as well as
all items sold.
To search for individual transactions you can use the filter options or enter
the transaction code in the search bar at the top right corner.

Access my sales history on the 3G Card Reader
1. Press the arrow keys up or down on your SumUp 3G to enter the
menu.
2. Use the arrow keys to go to "Transaction history" and press the
green tick.
3. You'll then be able to view your transactions, beginning with the
most recent.
4. Select an individual transaction by scrolling to it and pressing the
green tick.
Be aware your 3G Reader can only show transactions processed using the
3G. Check the app or your SumUp profile for a full list.
Access my sales history with the Solo
1. Log in to your Solo and tap or drag down the arrow at the top of the
screen.
2. Hit “Sales history”.
3. Select the relevant transaction by tapping on it.

How to find a specific transaction
You can search for a specific transaction with the filter options. Either type the
specific transaction ID or item description into the search bar on your SumUp
profile or app or make use of the following filter options on your profile.

Time period
Your profile lets you see every transaction you’ve made since joining SumUp.
Use the date filter to specify a time period and make it easier to find one
transaction in particular.
Either select a preset time filter such as last week or last month or create a
custom time period.
Payment type
You can filter your transactions according to whether payment was by card or
cash.
Status
Filter transactions based on their current status to see what transactions have
been successful, which have failed and whether they’ve been paid out,
refunded or charged back.
Check out our guide for more information on transaction statuses.
Employees
Create employee profiles and then keep track of individual employee sales
histories by simply entering their name or email address in the relevant box.
Note: Employee profiles must be enabled for this filter option to appear.

Downloading or accessing your payment reports:
My Reports
This page gives you an overview of all the reports available to you as a
merchant, so you can get the most out of SumUp and take your business even
further.
How to download my reports
1. On your SumUp profile, click on the "Home" tab in the left-hand panel.
2. Then choose "All Reports".
3. Select a timeframe using the blue date button in the top left corner.
4. Select the report you wish to download.
What reports are available?
Sales Reports
The Sales Report gives you a detailed list of your sales activity over any given
period of time.
Used in combination with the Items section, this report will give you an
overview of all your cash and card transactions, showing you what and how
many items you sold and what tax category they fall under.

Payout Reports
The Payout Report is a list of all the card transactions that have already been
paid out to you–including the date of the payout and the associated
transaction fees.
Check out our article on Payout Reports for more information.
Monthly transaction fee invoices
The transaction fee invoice provides you with the total amount of your
transaction fees for the respective month. You don’t need to pay this amount
as it has already been deducted from your payouts. As a financial service, our
fees are exempt from VAT.
Note: We'll send you the fee invoice via email along with every monthly
Payout Report.
Transaction Reports
The Transaction Report is an overview of all your transactions, including card
payments, cash payments, and refunds.
You can view the payment method, the status of a transaction, the
customer’s card type, and a transaction description if it was added.

Revenue Reports
The Revenue Report provides you with a full overview of all the goods or
services you've sold over a period of time. SumUp’s Revenue Report gives you
a breakdown of business activity sorted by category, payment method, and
employees.
Report your taxes easily by downloading your report as a PDF and sending
it to all the relevant financial authorities.
Other manuals for Solo
3
Table of contents
Other SumUp Card Reader manuals
Popular Card Reader manuals by other brands

Technology Solutions
Technology Solutions 1153 user guide

BlueCard
BlueCard BP-2012S Usage manual

Star Micronics
Star Micronics TCP300 Series user manual

Simons Voss Technologies
Simons Voss Technologies SmartRelay3 SREL3 quick guide

Manhattan
Manhattan 101967 instructions

StarTech.com
StarTech.com FCREADU3HC instruction manual