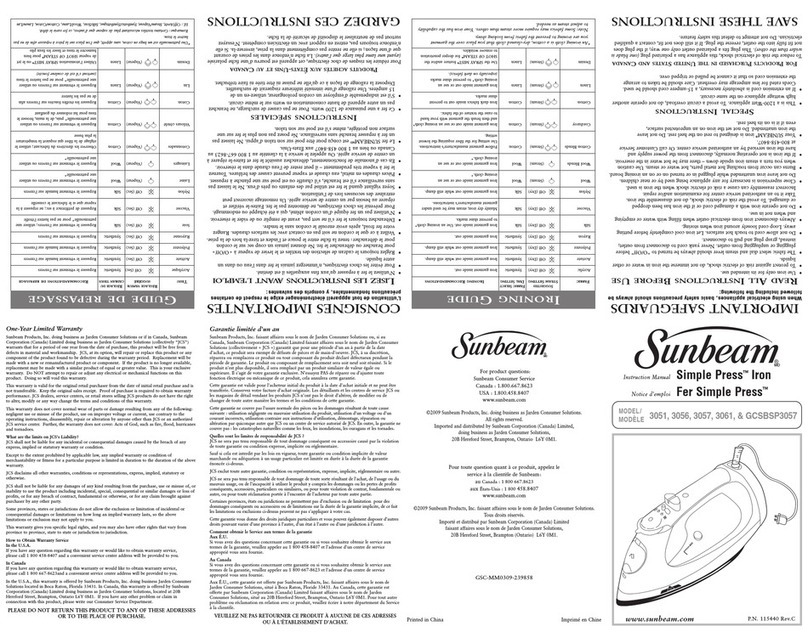
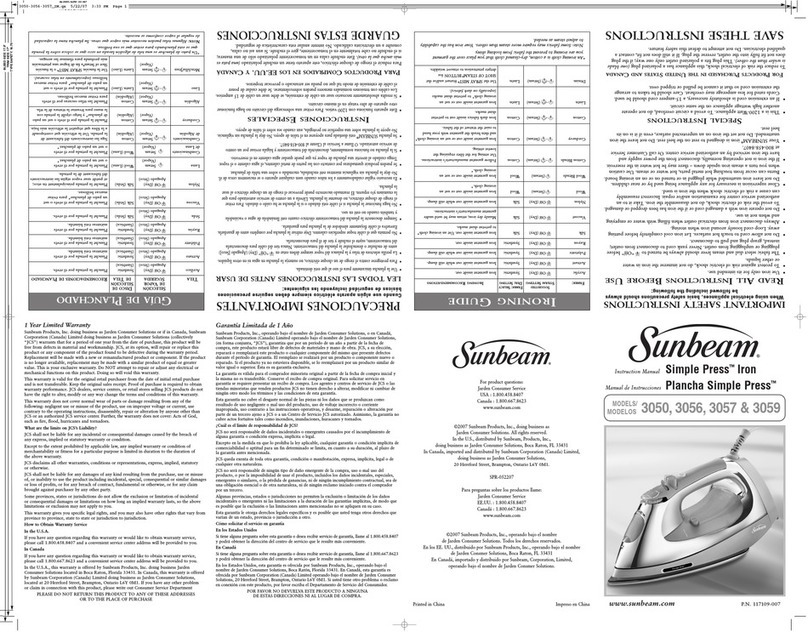
IMPORTANT SAFEGUARDS
When using electrical appliances, basic safety precautions should always be
followed including the following:
READ ALL INSTRUCTIONS BEFORE USE
• Use iron only for its intended use.
• To prote t against risk of ele tri sho k, do not immerse the iron in water or
other liquids.
• The Steam Swit h should always be turned OFF before plugging or unplugging from outlet.
Never yank ord to dis onne t from outlet; instead, grasp plug and pull to dis onne t.
• Do not allow ord to tou h hot surfa es. Let iron ool ompletely before putting away.
Loop ord loosely around iron when storing.
• Always dis onne t iron from ele tri al outlet when filling with water or emptying and when
not in use.
• Do not operate iron with a damaged ord or if the iron has been dropped or damaged.
To avoid the risk of ele tri sho k, do not disassemble the iron. Take it to an authorized
servi e enter for examination and/or repair. In orre t reassembly an ause a risk of
ele tri sho k when the iron is used.
• Close supervision is ne essary for any applian e being used by or near hildren. Do not leave
iron unattended while plugged in or turned on or on an ironing board.
• Burns an o ur from tou hing hot metal parts, hot water or steam. Use aution when you turn
a steam iron upside down – there may be hot water in the reservoir.
• If the iron is not operating normally, dis onne t from the power supply and have the iron
servi ed by an authorized servi e enter. Or all Customer Servi e at 1.800.458.8407.
• Your Sunbeam®iron is designed to rest on the heel rest. Do not leave the iron unattended.
Do not set the iron on an unprote ted surfa e, even if it is on its heel rest.
SPECIAL INSTRUCTIONS
• To avoid a ir uit overload, do not operate another high wattage applian e on the same ir uit.
• If an extension ord is absolutely ne essary, a 15-ampere ord should be used. Cords rated for
less amperage may overheat. Care should be taken to arrange the extension ord so that it
annot be pulled or tripped over.
FOR PRODUCTS PURCHASED IN THE UNITED STATES AND CANADA
To redu e the risk of ele tri al sho k, this applian e has a polarized plug (one blade is wider than
the other). This plug fits a polarized outlet only one way; if the plug does not fit fully into the
outlet, reverse the plug. If it still does not fit, onta t a qualified ele tri ian. Do not attempt to
defeat this safety feature.
SAVE THESE INSTRUCTIONS
PRECAUCIONES IMPORTANTES
Cuando use algún aparato eléctrico sie pre deben seguirse precauciones básicas de
seguridad incluyendo las siguientes:
LEA TODAS LAS INSTRUCCIONES ANTES DE USAR
• Use la plan ha úni amente para el uso al que está destinada.
• Para protegerse ontra el riesgo de un hoque elé tri o, no sumerja la plan ha en agua ni en
otros líquidos.
• La Palan a del Vapor siempre deben estar en OFF antes de en hufar o desen hufar la plan ha
del toma orriente. Nun a tire del able para des one tarla del toma orriente, sujete el en hufe
y tire de él para des one tarla.
• No permita que el able toque superfi ies alientes. Deje enfriar la plan ha por ompleto antes de
guardarla. Envuelva el able flojamente alrededor de la plan ha para guardarla.
• Siempre des one te la plan ha del toma orriente elé tri o uanto esté llenándola de agua o
va iándola y también uando no esté en uso.
• No haga fun ionar la plan ha si el able está dañado o si la plan ha se ha aído o dañado.
Para evitar el riesgo de hoque elé tri o, no desarme la plan ha. Llévela a un entro de servi io
autorizado para que la examinen y/o reparen. El rearmado in orre to puede provo ar el riesgo
de un hoque elé tri o al usar la plan ha.
• Es ne esario vigilar uidadosamente a los niños uando usen ualquier aparato o se
en uentren er a de él. No deje la plan ha sin vigilan ia mientras esté en hufada, en endida o
sobre una tabla de plan har.
• Se pueden produ ir quemaduras por onta to on las partes de metal alientes, el agua
aliente o el vapor. Tenga uidado al invertir una plan ha de vapor ya que puede quedar agua
aliente en el reservorio.
• Si la plan ha no fun iona normalmente, des oné tela del toma orriente y hágala revisar por
un entro de servi io autorizado. O llame a Servi io al Cliente al 1.800.458.8407.
• Su plan ha Sunbeam®está diseñada para apoyarse en el talón de apoyo. No deje la plan ha sin
vigilan ia. No apoye la plan ha sobre una superfi ie no protegida, aun uando sea sobre el
talón de apoyo.
INSTRUCCIONES ESPECIALES
• Para evitar una sobre arga del ir uito no haga fun ionar otro aparato de
alto vataje en el mismo ir uito.
• Si resulta absolutamente ne esario usar un able de extensión, se debe usar un able de 15 amperios.
Los ables on tensiones nominales menores pueden sobre olentarse. Se debe uidar de poner
el able de extensión de modo tal que no pueda ser arran ado o provo ar tropiezos.
PARA PRODUCTOS COMPRADOS EN LOS EE.UU. YCANADÁ
Para redu ir el riesgo de hoque elé tri o, este aparato tiene un en hufe polarizado (una pata es
más ancha que la otra) Este en hufe alza en un toma orriente polarizado sólo de una manera;
si el en hufe no abe totalmente en el toma orriente, gire el en hufe. Si aun así no alza, onsulte
a un ele tri ista alifi ado. No intente anular esta ara terísti a de seguridad.
GUARDE ESTAS INSTRUCCIONES
FEATURES OF YOUR COMPACT IRON
1. Lens
2. Handle Upper
3. Temp Sele t Dial
4. Steam Sele tor
5. Water Fill Door
6. Tank
7. Soleplate
8. Shot of Steam Buttons (both sides)
CARACTERÍSTICAS DE SU
PLANCHA COMPACTA
1. Lente
2. Parte superior del mango
3. Dial de sele ión de temperatura
4. Sele tor de vapor
5. Puerta para llenado de agua
6. Tanque
7. Pla a
8. Botón de disparo de vapor (ambos lados)
1
4
8
7
23
5
6
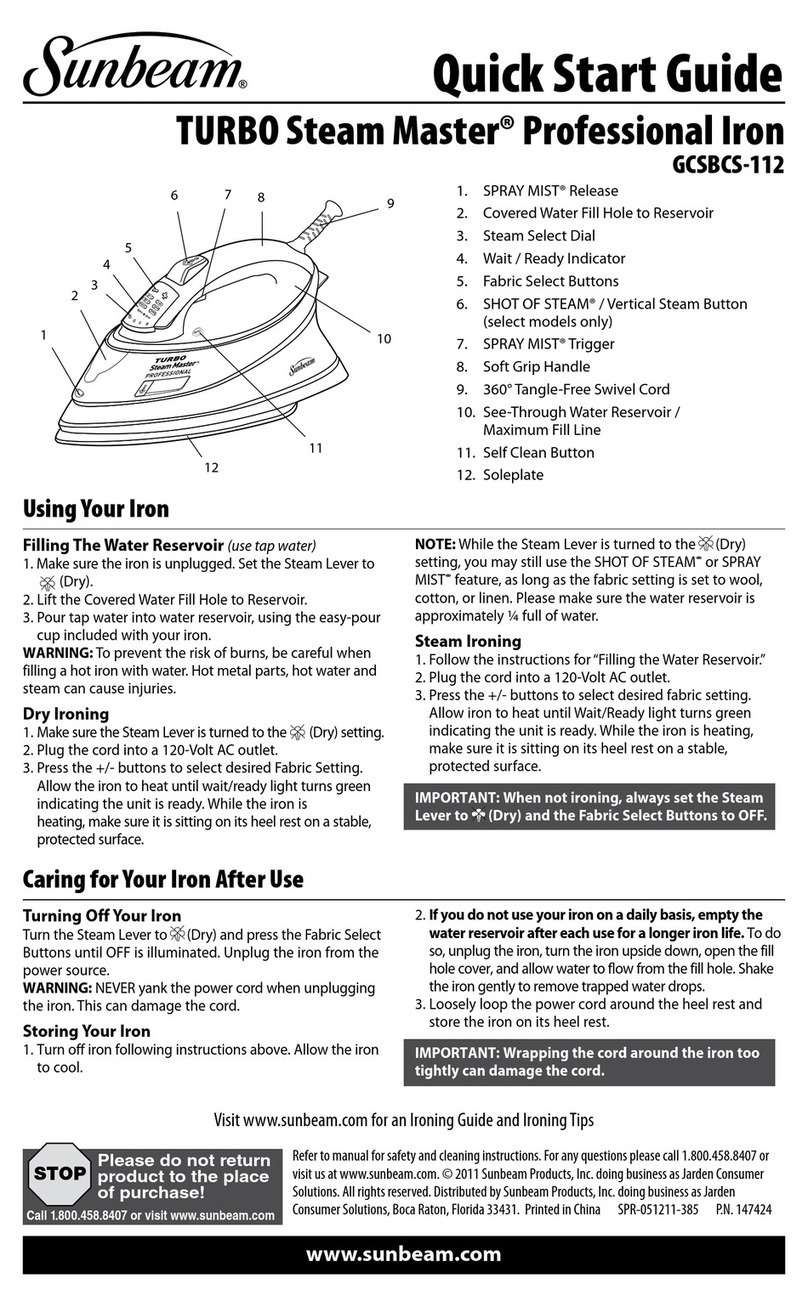
TOFILL THE WATER RESERVOIR (use tap water)
1. Make sure the iron is unplugged. Set the Steam Swit h
to (Dry) and the Temperature Sele t Dial to OFF.
2. Lift the Water Fill Hole Cover.
3. Pour tap water into iron water reservoir. Do not fill
water reservoir beyond maximum fill level.
WARNING: To prevent the risk of burns, be areful when
filling a hot iron with water. Hot metal parts, hot water
and steam an ause injuries.
DRY IRONING
1. Make sure the Steam Swit h is turned to the (Dry) setting.
2. Plug the ord into a 120-Volt AC outlet.
3. Sele t the temperature setting you desire using the dial.
Allow the iron to heat for 2 minutes. While the iron is
heating, make sure it is sitting on its heel rest on a stable,
prote ted surfa e.
STEAM IRONING
1. Follow the instru tions for “To Fill the Water Reservoir.”
2. Plug the ord into a 120-Volt AC outlet.
3. Sele t the temperature setting you desire using the dial.
Allow the iron to heat for 2 minutes. While the iron is
heating, make sure it is sitting on its heel rest on a
stable, prote ted surfa e.
4. Turn the Steam Swit h to the setting and begin ironing.
Important: When not ironing, always set the Steam Swit h
to (Dry) and the Temperature Sele t Dial to OFF.
USING THE IRON’SSPECIAL FEATURES
SHOT OF STEAM®FEATURE
Shot of Steam®Feature provides an extra burst of steam
for deep penetration of stubborn wrinkles. You an use
this feature while Dry or Steam ironing, but the water
reservoir must be at least 1/4 full of water.
TO USE THE SHOT OF STEAM®FEATURE Pla e the iron on top
of the wrinkle and press the Shot of Steam®button ea h
time you would like an extra burst of steam. The Shot of
Steam®feature may be used ontinuously in approximately
3 se ond intervals.
CARING FOR YOUR IRON AFTER USE
TURNING OFF YOUR IRON
1. Turn the Steam Swit h to (Dry) and Temperature
Sele t Dial to Off.
2. Unplug the iron from the power sour e.
WARNING NEVER yank the power ord when
unplugging the iron. This an damage the ord.
STORING YOUR IRON
1. Turn off and allow the iron to ool.
2. If you do not use your iron on a daily basis, empty the
water reservoir after ea h use for a longer iron life. To do
so, unplug the iron, turn the iron upside down, open the
fill hole over, and allow water to flow from the fill hole.
Shake the iron gently to remove trapped water drops.
3. Loosely loop the power ord around the iron body and
store the iron on its heel rest.
Important Wrapping the ord around the iron too tightly
an damage the ord.
MAINTAINING YOUR SUNBEAM®IRON
CLEANING THE SOLEPLATE
Clean the soleplate if star h or other residue a umulate.
TOCLEAN THE SOLEPLATE
Turn off and allow the iron to ool and then wipe it with a
soft, damp loth.
WARNING DO NOT use abrasive leansers, s ouring pads
or vinegar to lean the soleplate. This will damage the finish.
PARA LLENAR ELTANQUE DEAGUA
(use agua del grifo)
1. Cer iórese de que la plan ha esté des one tada. Fije el botón
de vapor en (Se o) y el termostato de tela en apagado.
2. Levante la Tapa del Orifi io del Tanque de Agua.
La tapa se puede retirar y se puede volver a olo ar
uidadosamente en las ranuras.
3. Vierta agua del grifo en el tanque de agua. No llene el
tanque de agua más allá del nivel máximo de llenado.
Advertencia Para prevenir el riesgo de quemaduras, tenga
uidado al llenar una plan ha aliente on agua. Las partes
de metal alientes, el agua aliente y el vapor pueden
ausar lesiones.
PLANCHANDO EN SECO
1. Asegúrese de que la palan a del vapor esté en la
posi ión (Dry) ( [Se o]).
2. En hufe el able en un toma orriente de CA de 120 voltios.
(En México, 127 voltios)
3. Sele ione el nivel de temperatura que usted desea on el
termostato. Deje que la plan ha se aliente por dos minutos.
Mientras se alienta, er iórese de que esté apoyada en el
talón sobre una superfi ie estable y protegida.
PLANCHANDO AL VAPOR
1. Siga las instru iones de la se ión “Cómo Llenar el
Depósito de Agua”.
2. En hufe el able en un toma orriente de CA de 120 voltios.
3. Sele ione el nivel de temperatura que usted desea on el
termostato. Deje que la plan ha se aliente por dos
minutos. Mientras se alienta, er iórese de que esté
apoyada en el talón sobre una superfi ie estable y protegida
4. Gire el botón de vapor al nivel y empie e a plan har.
Importante Cuando no esté plan hando, siempre ponga la
palan a de vapor en (Dry) ( [Se o]) y la temperatura de
sele ión de telas Off (Apagado).
USO DE LAS FUNCIONES ESPECIALES
DE LA PLANCHA
LAFUNCIÓN SHOT OF STEAM®
La fun ión Shot of Steam®brinda un horro de vapor
adi ional para penetra ión profunda en arrugas rebeldes.
Puede usar esta fun ión mientras plan ha en se o o
on vapor, pero por lo menos 1/4 del reservorio de
agua debe estar lleno.
PARA USAR LA FUNCIÓN SHOT OF STEAM®
Ponga la plan ha sobre la arruga y presione el botón
Shot of Steam®ada vez que desee apli ar un horro
adi ional de vapor. La fun ión Shot of Steam®se
puede usar en forma ontinua en intervalos de
aproximademente 3 segundos.
CUIDADO DE SUPLANCHA DESPUÉS
DEL USO
APAGADO DE SUPLANCHA
1. Ponga la palan a de vapor en (Dry) ( [Se o])
y la perilla de sele ión de telas en Off (Apagado).
2. Desen hufe la plan ha del toma orriente.
ADVERTENCIA NUNCA tire del able para
desen hufar la plan ha. Esto puede dañar el able.
ALMACENAMIENTO DE SUPLANCHA
1. Apague y deje que la plan ha se enfríe.
2. Si no usa la plan ha diariamente, va íe el reservorio
de agua después de ada uso para que la misma
tenga una mayor vida útil. Para ha erlo, desen hufe
la plan ha, inviértala, abra la tapa del orifi io para
argar agua y deje que salga el agua por el orifi io.
Sa uda la plan ha suavemente para eliminar las
gotas de agua retenidas.
3. Enrolle holgadamente el able elé tri o alrededor
del uerpo de la plan ha y guarde la plan ha
apoyada sobre el talón.
Importante Si se enrolla el able de la plan ha muy
ajustada alrededor de la plan ha se puede dañar el able.
MANTENIENDO DE SUPLANCHA
SUNBEAM®
LIMPIEZA DE LA BASE
Limpie la base si se a umula almidón o algún
otro residuo.
PARA LIMPIAR LA BASE
Apague y permita que la plan ha se enfríe y luego
limpie on un paño suave y húmedo.
ADVERTENCIA No use limpiadores abrasivos,
esponjas de metal ni vinagre para limpiar la base.
Esto dañará el a abado.
