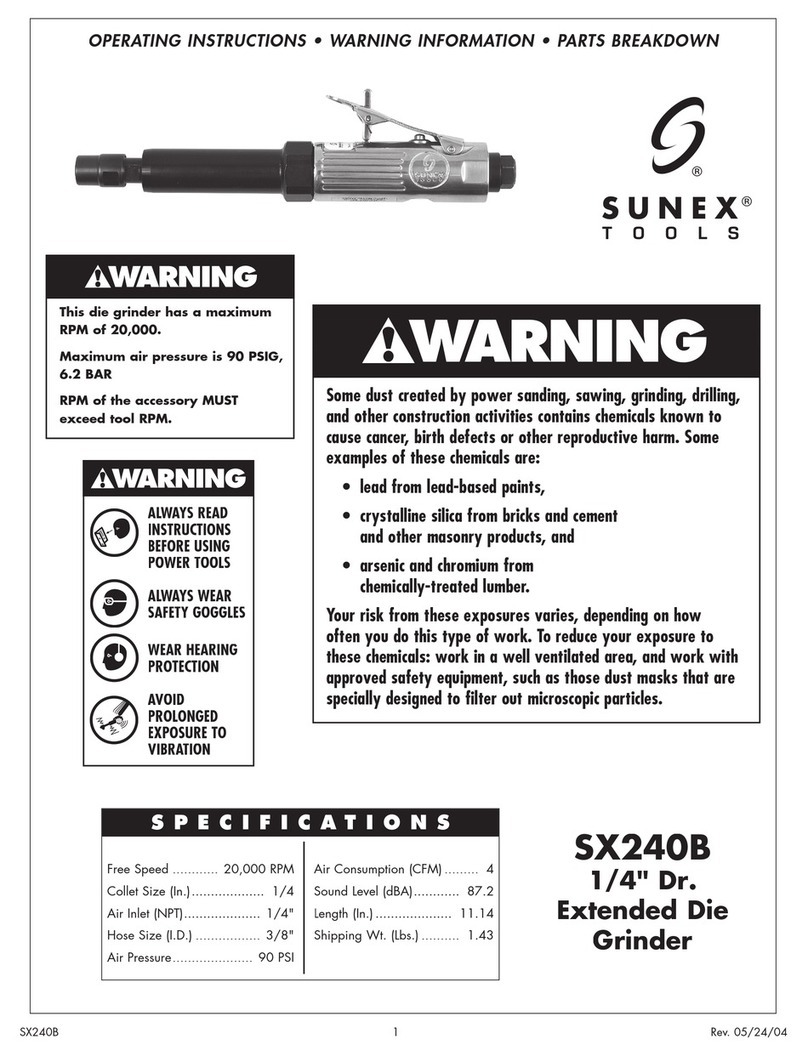
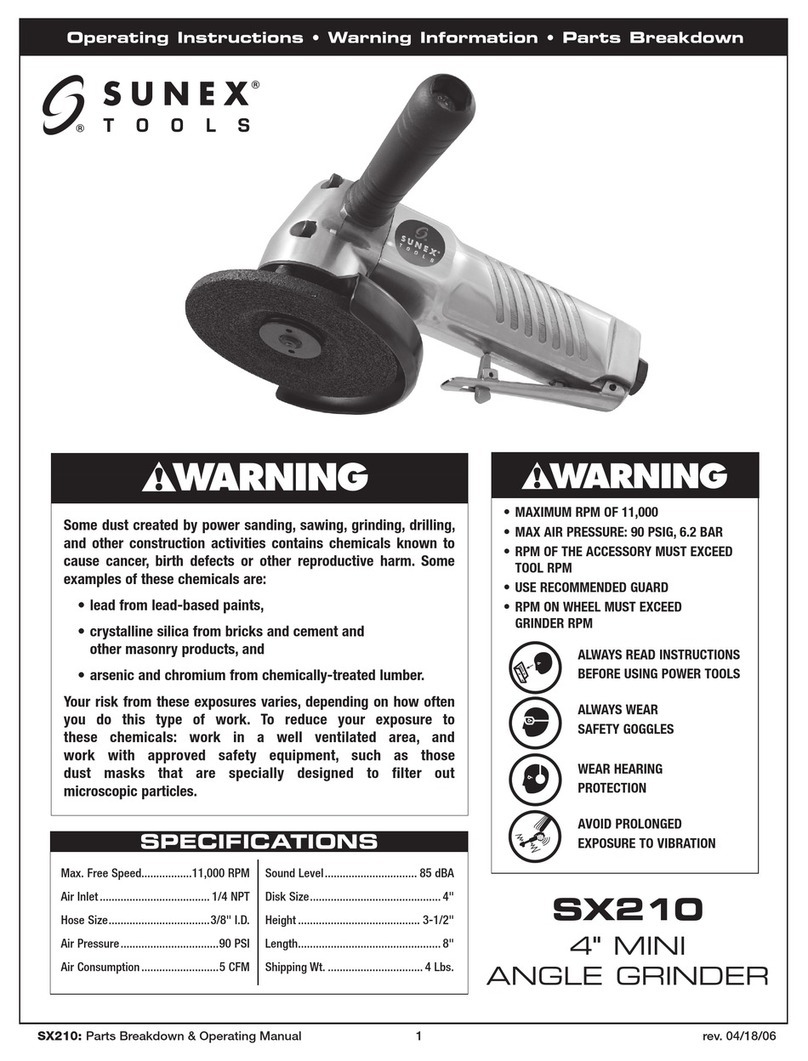
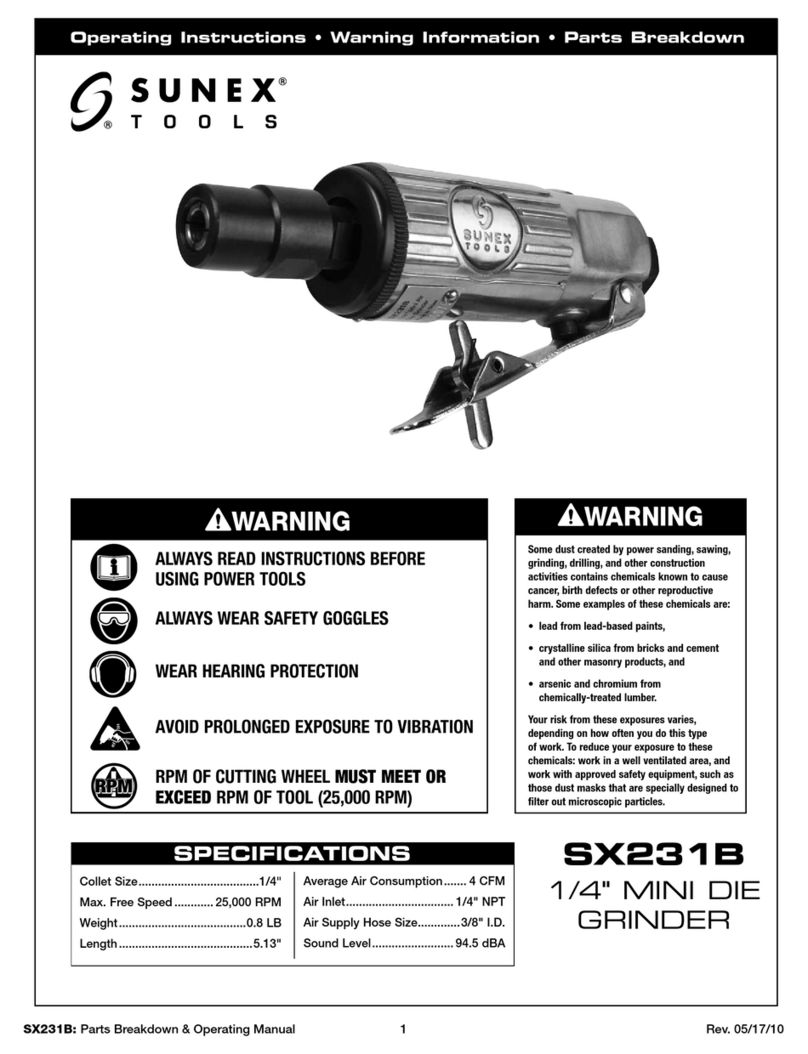
Sunex Tools SX211A User manual

Rev. 05/02/02
SX211A 1
SX211A
4" ANGLE
GRINDER
SPECIFICATIONS
Max. Free Speed ........11,000 RPM
Air Inlet............................1/4 NPT
Hose Size ........................3/8" I.D.
Air Pressure ........................90 PSI
Air Consumption..................6 CFM
Sound Level........................86 dBA
Pad Size....................................4"
Height ................................3-1/2"
Length ................................9-1/2"
Shipping Wt. ........................4 Lbs.
Operating Instructions • Warning Information • Parts Breakdown
ALWAYS READ
INSTRUCTIONS
BEFORE USING
POWER TOOLS
ALWAYS WEAR
SAFETY GOGGLES
WEAR HEARING
PROTECTION
AVOID
PROLONGED
EXPOSURE TO
VIBRATION
Some dust created by power sanding, sawing, grinding, drilling,
and other construction activities contains chemicals known to
cause cancer, birth defects or other reproductive harm. Some
examples of these chemicals are:
• lead from lead-based paints,
• crystalline silica from bricks and cement
and other masonry products, and
• arsenic and chromium from
chemically-treated lumber.
Your risk from these exposures varies, depending on how often
you do this type of work. To reduce your exposure to these
chemicals: work in a well ventilated area, and work with
approved safety equipment, such as those dust masks that are
specially designed to filter out microscopic particles.
• MAXIMUM RPM OF 11,000
• MAX AIR PRESSURE: 90
PSIG, 6.2 BAR
• RPM OF THE ACCESSORY
MUST EXCEED TOOL RPM
• USE RECOMMENDED GUARD
• RPM ON WHEEL MUST
EXCEED GRINDER RPM

Rev. 05/02/02
SX211A 2
This Instruction Manual Contains Important
Safety Information.
READ THIS INSTRUCTION MANUAL
CAREFULLY AND UNDERSTAND ALL
INFORMATION BEFORE OPERATING THIS
TOOL.
• Always operate, inspect and maintain
this tool in accordance with American
National Standards Institute Safety Code
of Portable Air Tools (ANSI B186.1) and
any other applicable safety codes and
regulations.
• For safety, top performance and maximum
durability of parts, operate this tool at
90 psig 6.2 bar max air pressure with
3/8” diameter air supply hose.
• Always wear impact-resistant eye and
face protection when operating or
performing maintenance on this tool.
Always wear hearing protection when
using this tool.
• High sound levels can cause permanent
hearing loss. Use hearing protection as
recommended by your employer or
OSHA regulation.
• Keep the tool in efficient operating
condition.
• Operators and maintenance personnel
must be physically able to handle the
bulk, weight and power of this tool.
• Air under pressure can cause severe
injury. Never direct air at yourself or
others. Always turn off the air supply,
drain hose of air pressure and detach
tool from air supply before installing,
removing or adjusting any accessory
on this tool, or before performing any
maintenance on this tool. Failure to do
so could result in injury. Whip hoses can
cause serious injury. Always check for
damaged, frayed or loose hoses and
fittings, and replace immediately. Do not
use quick detach couplings at tool. See
instructions for correct set-up.
• Air powered tools can vibrate in
use. Vibration, repetitive motions or
uncomfortable positions over extended
periods of time may be harmful to your
hands and arms. Discontinue use of tool
if discomfort, tingling feeling or pain
occurs. Seek medical advice before
resuming use.
• Place the tool on the work before starting
the tool. Do not point or indulge in any
horseplay with this tool.
• Slipping, tripping and/or falling while
operating air tools can be a major cause
of serious injury or death. Be aware of
excess hose left on the walking or
work surface.
• Keep body working stance balanced and
firm. Do not overreach when operating
the tool.
• Anticipate and be alert for sudden
changes in motion during start up and
operation of any power tool.
• Do not carry tool by the hose. Protect the
hose from sharp objects and heat.
• Tool shaft may continue to rotate briefly
after throttle is released. Avoid direct
contact with accessories during and after
use. Gloves will reduce the risk of cuts
or burns.
• Keep away from rotating end of tool.
Do not wear jewelry or loose clothing.
Secure long hair. Scalping can occur
if hair is not kept away from tool and
accessories. Choking can occur if
neckwear is not kept away from tool
and accessories.
• Correct grinding wheel mounting is necessary to prevent
injury from broken wheels. Do not use chipped or
cracked grinding wheels. Grinding wheels should be a
free fit on the spindle to prevent stress at the hole. Use
only wheel collars that come with the grinder for
mounting the grinding wheel. Flat washers or other
adapters may over stress the wheel. Always use heavy
paper blotter discs between the wheel collars and the
grinding wheel. Tighten the wheel on the spindle to
prevent spin off when the air grinder is turned off.
• Do not lubricate tools with flammable or volatile liquids
such as kerosene, diesel or jet fuel.
• Don’t force tool beyond its rated capacity.
• Do not remove any labels. Replace any damaged labels.
• Use accessories recommended by Sunex Tools.
FAILURE TO OBSERVE THESE WARNINGS COULD RESULT IN INJURY.
Rev. 05/02/02
SX211A 3
SX211A
4"Angle Grinder
Ref. # Item # DESCRIPTION QTY
1 21101 Body 1
2 21102 Screw 1
3 21103 Disc Cover 1
4 21104 Disc Nut 2
6 21106 Grip 1
7 21107 Retainer 1
8 21108 Gasket 1
9 21109 Ball Bearing 1
10 21110 Bevel Gear 1
11 21111 Gear Shaft 1
12 21112 Key 1
13 21113 Ret. Ring 1
14 21114 Ball Bearing 1
15 21115 Pinion Gear 1
16 21115 Screw 2
17 30531 Ball Bearing 2
18 21118 Ball Bearing 1
19 21119 Spacer 1
20 21120 Front Plate 1
22 21122 Spring Pin 1
23 21123 Cylinder 1
24 21124 Rotor 1
25 21125 Rotor Blade 4
26 21126 Rear Plate 1
28 21128 Spring 1
Ref. # Item# DESCRIPTION QTY
34 21134 Disc Wheel 1
37 21137 Cap Screw 4
39 21139 O-Ring 1
40 21140 Disc Spanner 1
41 21141 Stop Spanner 1
42 21142 Adjust Screw & Nut 1
43 21143 Wave Washer 1
44 21144 Governor Assembly 1
45 21145 Pendulum 8
46 21146 Plunger 1
47 21147 Spring Pin 2
48 21148 Exhaust Cover 1
50 21150 Lock Ring 1
51 21151 Coupling Nut 1
52 21152 Valve Screw 1
53 21153 O-Ring 1
54 21154 Valve Spring 1
55 21155 O-Ring 1
56 21156 Valve Housing 1
57 21157 Hose Adapter 1
58 21158 Spring Pin 1
59 21159 Valve Pin 1
60 21160 Throttle Lever 1
61 21161 Valve Bushing 1
62 21162 Plastic Cover 1

Rev. 05/02/02
SX211A 4
Operation...
• Always use the recommended wheel guard to prevent injury
from broken grinding wheel parts. If a guard has withstood a
wheel breakage, discontinue its use and replace
it with a new guard. It may be damaged. Position
the guard between the grinding wheel and the
operator. Use barriers to protect others from
wheel fragments and grinding sparks.
• Always wear impact-resistant eye and face protection when
involved in the operation of this tool. Even small projectiles can
injure eyes and cause blindness. A grinding
wheel that bursts can cause very serious injury.
Daily measure the air grinder speed with a
tachometer to make sure it's not greater than
the RPM marked on the grinding wheel. Never
use a grinding wheel marked with a speed lower than the air
grinder speed.
• Before grinding, test grinding wheel by briefly running the tool
at full throttle. Be sure to use a barrier (such as under a heavy
work table) to stop any possible broken wheel parts.
To Assemble Grinding Discs:
1. Use stop spanner (#41) to hold gear shaft (#11).
2. Screw on disc nut (#4) with shoulder side facing tool.
Tighten.
3. Attach grinding disc wheel.
4. Screw on other disc nut, shoulder side facing tool. Secure
tightly!
Nipple
Operating Instructions • Warning Information • Parts Breakdown
Air Supply...
Tools of this class operate on a wide range of air pressures. It is
recommended that air pressure of these tools measures 90 PSI at the
tool while running free. Higher pressure (over 90 psig; 6.2 bar) raises
performance beyond the rated capacity of the tool which will shorten
the tool’s life because of faster wear and could cause injury.
Always use clean, dry air. Dust, corrosive fumes and/or water in the
air line will cause damage to the tool. Drain the air tank daily. Clean
the air inlet filter screen on at least a weekly schedule. The
recommended hookup procedure can be viewed in the above figure.
The air inlet used for connecting air supply, has standard 1/4" NPT.
Line pressure should be increased to compensate for unusually long
air hoses (over 25 feet). Minimum hose diameter should be 3/8" I.D.
and fittings should have the same inside dimensions and be tightly
secured.
Lubrication...
Lubricate the air motor daily with quality air tool oil. If no air line
oiler is used, run a teaspoon of oil through the tool. The oil can be
squirted into the tool air inlet or into the hose at the nearest connection
to the air supply, then run the tool.
Limited Warranty...
SUNEX INTERNATIONAL, INC. WARRANTS TO ITS CUSTOMERS THAT THE COMPANY’S SUNEX TOOLS®BRANDED
PRODUCTS ARE FREE FROM DEFECTS IN WORKMANSHIP AND MATERIALS.
Sunex International, Inc. will repair or replace its Sunex Tools®branded products which fail to give satisfactory service due to defective
workmanship or materials, based upon the terms and conditions of the following described warranty plans attributed to that specific product.
This product carries a ONE-YEAR warranty. During this warranty period, Sunex Tools will repair or replace at our option any part or unit
which proves to be defective in material or workmanship.
Other important warranty information...
This warranty does not cover damage to equipment or tools arising from alteration, abuse, misuse, damage and does not cover any repairs
or replacement made by anyone other than Sunex Tools or its authorized warranty service centers.The foregoing obligation is Sunex Tools’
sole liability under this or any implied warranty and under no circumstances shall we be liable for any incidental or consequential damages.
Note: Some states do not allow the exclusion or limitation of incidental or consequential damages, so the above limitation or exclusion may
not apply to you. Return equipment or parts to Sunex Tools, or an authorized warranty service center, transportation prepaid. Be
certain to include your name and address, evidence of the purchase date, and description of the suspected defect.
If you have any questions about warranty service, please write to Sunex Tools. This warranty gives you specific legal rights and you may also
have other rights which vary from state to state. Repair kits and replacement parts are available for many of Sunex Tools products regardless
of whether or not the product is still covered by a warranty plan.
Shipping Address: Sunex Tools • 315 Hawkins Rd. • Travelers Rest, SC 29690
Mailing Address: Sunex Tools • P.O. Box 4215 • Greenville, SC 29608
Table of contents
Other Sunex Tools Grinder manuals

Sunex Tools
Sunex Tools SX232B User manual

Sunex Tools
Sunex Tools SX245K User manual

Sunex Tools
Sunex Tools SXC201 User manual

Sunex Tools
Sunex Tools SX-240A User manual

Sunex Tools
Sunex Tools SX240B User manual

Sunex Tools
Sunex Tools SX301B User manual

Sunex Tools
Sunex Tools SX231B User manual

Sunex Tools
Sunex Tools SX264 User manual

Sunex Tools
Sunex Tools SX210 User manual

Sunex Tools
Sunex Tools 5002A User manual