IMPORTANT SAFETY PRECAUTIONS
This manual includes installation
instructions for module-level power
optimizer SUNGO OPT, from
Jiangsu Sungo Power Technology
Co.,Ltd (known as “Sungo Power
Technology”).
DO NOT open, disassemble or repair
SUNGO OPT, for your life security. All
these operations should be operated
by trained and qualified persons.
For fire and electric shock risks, please
strictly follow local electric codes and
standards.
Before installation, please remove
your metal decorations, to reduce
electric shock risks. DO NOT install or
commissioning in bad weather.
DO NOT connect or disconnect SUNGO
OPTs underload. Please shut down
inverter before connecting or disconnecting
SUNGO OPTs.
For any help, please contact Sungo
Power Technology.
Before installing and using SUNGO
OPT, please read and understand ALL
NOTICEs and WARNINGs on the power
optimizer, and also please read and
understand related instructions in
manuals of PV inverters and PV panels.
Installation must be operated by trained
professional persons. Sungo Power
Technology would reject warranty or
compensation for damages caused by
improper installation, operation and use.
Before commission, please check and
make sure all cables are connected
correctly and firmly.
If any SUNGO OPT from Sungo Power
Technology is damaged before
installation,please DO NOT install or
operate.
GO WITH SUNSHINE
About Power Optimizer
02
Important Safety Precautions
01
CONTENT
03 Technical Specifications
04 Installation Instructions
05 Aftersales service and warranty
06 Certification
4.2 Steps
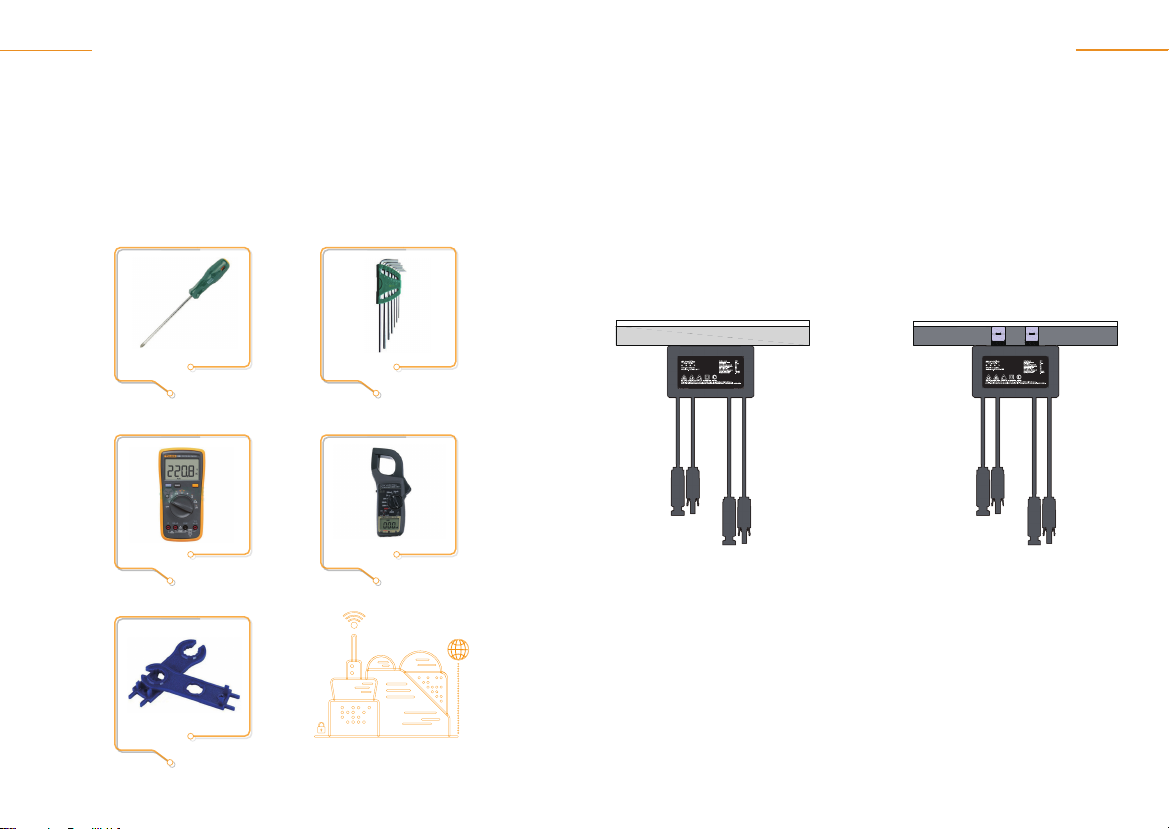
4.1 Tools
01