manuals.online logo
Brands
  1. Home
  2. •
  3. Brands
  4. •
  5. Sunquest
  6. •
  7. Tanning Bed
  8. •
  9. Sunquest Pro 16 SE User manual

Sunquest Pro 16 SE User manual

DANGERUltraviolet radiation. Follow instructions. Avoid overexposure. As with
natural sunlight, overexposure can cause eye and skin injury and
allergic reactions. Repeated exposure may cause premature aging of the skin and skin can-
cer. WEAR PROTECTIVE EYEWEAR; FAILURE TO MAY RESULT IN SEVERE BURNS OR
LONGTERM INJURY TO THE EYES. Medications or cosmetics may increase your sensitivity
to the ultraviolet radiation. Consult physician before using sunlamp if you are using medications
or have a history of skin problems or believe yourself especially sensitive to sunlight. If you do
not tan in the sun, you are unlikely to tan from the use of this product. Children, the elderly, or
fair skinned people who always burn easily and either never tan or tan minimally should not
use this equipment.
To use, lie down under canopy and pull down as far as adjustment will allow. Do not use without
clear plastic panel and wire grill in place. Untanned persons should not tan on consecutive days
during their rst week of tanning. Never tan more than once a day. Tanning normally appears
after the rst few sessions and maximizes after approximately four weeks. Tan once or twice
per week thereafter to maintain appearance. Persons already having a base tan may begin at
advanced levels corresponding to the extent of their base tan.
Skin Type:
I Sensitive Skin (Burns easily and severely and does not tan.)
II Light Skin (Burns easily and severely and tans minimally.)
III Normal Skin (Burns moderately and tans average.)
IV Dark Skin (Burns minimally, tans easily and above average.)
New lamps emit approximately 10% more ultraviolet radiation during the rst 50 hours of opera-
tion. Recommended tanning times should therefore be reduced by approximately 10% during
that period.
WARNING: • Read these instructions before using this sunlamp product. • All persons in the
room should wear protective eyewear when lamps are on. Recommended eyewear: provided
eyeshields or equivalent eyewear as dened under 21 CFR 1040.20. Other types of eyewear
may not provide adequate protection. Failure to use protective eyewear may result in severe
burns or other eye injury. If discomfort develops, discontinue use and consult a physician.
THE FOLLOWING LAMPS HAVE BEEN CERTIFIED FOR USE IN THE 16SE:
ETS ELITE Cool Tone Model F71-T12-100W BP
THIS EQUIPMENT MUST BE EARTH GROUNDED.
This product is in conformity with performance standards for sun lamp products under 21 CFR
PART 1040.20.
Disconnect power cord before attempting to clean, relamp,
or engage in the maintenance of this product
RECOMMENDED EXPOSURE TIMES IN MINUTES
Level 1/Week 1 Level 2 Level 3 Level 4 Level 5
Skin Type: 1st-3rd Sessions
I Sensitive NOT RECOMMENDED FOR TANNING
II Light 4 8 12 16 20
III Normal 6 10 15 20 20
IV Dark 8 12 16 20 20
MAXIMUM EXPOSURE TIME IS 20 MINUTES
Electrical Requirements
Your sunbed operates from a 120V AC source. You should have a
NEMA 5-15R electrical outlet (below), on a dedicated circuit capable
of providing 15 Amp service, installed in the room in which you will
use the unit. We recommend installation by a professional electrician.
The outlet must be earth grounded. 15 AMP NEMA #5-15R
RECEPTACLE
DANGER
Shock hazard.
Disconnect power before servicing or removing any protec-
tive covers.
Do not operate this device near water or while you are wet.
DANGER
Some medications may increase your sensitivity to ultraviolet light. It
is recommended that you consult a physician before using this sun-
bed if taking any medication or if you suspect that your skin might be
especially sensitive to sunlight.
WARNING
Wear protective eyewear.
Failure to may result in severe burns or longterm injury to the eyes.
CAUTION
Air from the room is used to cool the sunbed. Maximum ambient room
temperature should be 80°F. Place your sunbed no closer than 6” from
any wall. Make sure nothing obstructs the airow into the sunbed’s
endcaps or out of the fan openings. A poorly ventilated room may
cause the unit to become hot and cause discomfort to the user.
Unpacking and Inspection
Your sunbed comes in two cardboard cartons. Pull back the plastic
sheet and, with a helper, grasp the bench and pull it from the carton
bottom, leaving the plastic wrap and the carton packaging. Do not try
to lift the unit with the plastic still on as it may slip. Do the same with
the canopy.
The canopy box contains the canopy and a pair of gas springs. The
bench box contains the bench, assembly hardware and stand legs.
Inspect the items and make sure they are free from any visible damage.
Report the extent of any damage to the transportation company.
Hardware Inventory (These items and a small pillow)
Allen-head Bolt 5/16” x 1”
Quantity 2 Hinge Brackets
(1) left, (1) right
5/16” Metal Washer
Quantity 2
Bushing
Quantity 2
Allen-head Bolt 5/16” x 1 1/2”
Quantity 2
Hex (Allen) Wrench
Quantity 1
Safety Goggles
Quantity 1
Nylon Washer
Quantity 2
4930633-02
Assembly Procedures
Lay the bench upside down on the
oor. Locate the two stand legs.
1
Insert 5/16” x 1 1/2” bolts with nylon
washers into both hinge brackets. Tighten
bolts into the endcap threaded inserts
until snug, then an additional half turn.
Do not overtighten to avoid damaging
threaded inserts.
6
The gas springs have a locking
mechanism. Follow the directions
below for the type you received.
7
Lift the canopy and hold it
between the hinge brackets.
5
Place the bushings
into hinge brackets.
4
Turn bench over. Install hinge brackets
to ends of bench such that the short
boss engages the stud above the bolt
hole, and the long boss engages the
hole below the bolt hole. Secure using
5/16” x 1” Allen-head bolts and 5/16”
metal washers. Tighten bolt snug, then
an additional half turn.
3
Remove the six 5/16” x 1” bolts and
5/16” washers installed in the bench.
Attach the stand legs, with the two
small skirt mounting holes toward
the back, by installing the center bolt
rst. You may have to gently push
the sides of the legs in to align holes.
Tighten with the Allen wrench.
2
With a helper holding the canopy open,
align ends of gas spring ball joints with
pivot studs and push into place. Be sure
rod end is down as shown. DO NOT lower
canopy until both gas springs are engaged!
8
Lift and lower canopy a few
times to lubricate gas springs
for optimum performance.
9
Connect the canopy to
bench power cord to the
bench receptacle. Align the
terminals and rmly push
on until seated then tighten
the threaded locking ring.
10
Plug the three-prong 120V AC
power cord into a dedicated outlet
(see Electrical Requirements).
11
SKIRT MOUNTING HOLES
ELECTRICAL CONNECTOR
INDICATES BACK OF BENCH
STUD
SHORT BOLT
Type 1
Pry back the
locking clip
with a at
screwdriver.
Type 2
Remove locking
clip to install or
remove gas spring.
PIVOT STUD
CAUTION
Failure to engage locking clips may
result in the ball joints working loose,
allowing the canopy to fall, which may
result in damage to the unit and injury.
THREADED
LOCKING RING
RECEPTACLE
ON BENCH
CANOPY TO BENCH
POWER CORD
Thorough Periodic Cleaning
The cooling fans draw air through the bed and will cause a dust build-
up on the lamps and reectors. When a dust buildup is observed, it is
necessary to thoroughly clean the inside of the bench and canopy.
1 Remove the acrylic shield, metal grill and lamps.
2 With a soft cloth, wipe the entire length of each lamp.
3 Clean both sides of the acrylic shield and grill with a non-ammonia
disinfectant cleaner.
4 Wipe the reectors with a clean damp cloth.
5 Re-install the lamps, acrylic shield and grill.
Mechanical Inspection
Inspect the unit’s mechanical integrity every 400-500 hours of use.
• Inspect the unit’s fasteners verifying that all are rmly in place. Pay
particular attention to the hinge bolts.
• Inspect gas springs for signs of wear. Replace gas springs that will not
hold the canopy in the full open position when raised.
• Inspect the AC power cord and its connections.
• Inspect the acrylic. Replace if broken, cracked or badly scratched.
Removing/Replacing Acrylic Shield (bench)
The acrylic shield in the bench and metal grill in the canopy are se-
cured in place by hinged proles which run the length of the bed, both
front and back. Simply pry up on the inside edge of the prole until it
releases its latching action (see gure below). Continue to pry up the
prole across its entire length until it swings back freely. Repeat for the
other prole. The long edges of the acrylic shield are now exposed.
Standing in front of the sunbed, grasp the long exposed edge of the
acrylic and carefully slide it toward you until it is removed.
Removing/Replacing Canopy Grill
Follow the above directions for opening the hinged proles. As you pry
the hinged prole open the canopy grill should start to drop out on its
own. If you need to, slide the grill toward the head or foot end of the
sunbed and it will drop out easily.
After changing the lamps, replace the
bench acrylic shield and canopy
grill by reversing the above direc-
tions. Close the hinged prole by
pushing it back into place until it
snaps tight.
Using Your Sunbed
Before using your sunbed, please note the following:
• Your skin should be free of cosmetics, tanning oils, or other body
lotions prior to tanning except for those specically made for use
with tanning devices. However, do not remove natural body oils by
bathing or showering immediately before tanning.
• Keep treated hair from contacting sunbed surfaces. Many hair prod-
ucts can damage the sunbed acrylic. Wear a shower cap or towel if
you use gels, mousses, sprays, or other hair products.
• Your sunbed is designed for individual use. Always wear the safety
goggles supplied with your sunbed or another approved pair of gog-
gles, as dened under 21 CFR 1040.20. Regular sunglasses do not
provide adequate protection from ultraviolet light.
Exposure Times
Follow the guidelines for skin type and exposure times as shown in the
table below. Untanned persons should not tan on consecutive days
during their rst week of tanning. Never tan more than once a day. Tan-
ning normally appears after the rst few sessions and maximizes after
approximately four weeks. Tan once or twice per week thereafter to
maintain appearance. Persons already having a base tan may begin at
advanced levels corresponding to the extent of their base tan.
Skin Type:
I Sensitive Skin (Burns easily and severely and does not tan.)
II Light Skin (Burns easily and severely and tans minimally.)
III Normal Skin (Burns moderately and tans average.)
IV Dark Skin (Burns minimally, tans easily and above average.)
RECOMMENDED EXPOSURE TIMES IN MINUTES
Level 1/Week 1 Level 2 Level 3 Level 4 Level 5
Skin Type: 1st-3rd Sessions
I Sensitive NOT RECOMMENDED FOR TANNING
II Light 4 8 12 16 20
III Normal 6 10 15 20 20
IV Dark 8 12 16 20 20
MAXIMUM EXPOSURE TIME IS 20 MINUTES
Operation
1 Set the timer to the desired number of min-
utes (after rst determining the proper time
period from the table above). The lamps
will turn on as soon as you turn the dial
from the “0” position.
2 Lift the canopy, lie down on the bench
(face up), lower the canopy as close to your
body as possible.
3 When the timer reaches “0” the lamps automatically turn off. If you
want to stop your session before time expires, turn the dial back to
“0”.
Care and Maintenance
Cleaning After Use
Clean and disinfect your tanning bed’s bench and canopy after each
use. Use a non-abrasive disinfectant cleaner that does not contain
ammonia or ammonia derivatives. Ammonia may damage the acrylic
shield. Spray the acrylic lightly with disinfectant and wipe dry with a
clean soft cloth. Wipe the canopy grill with a soft cloth slightly damp-
ened with disinfectant, then wipe dry.
PROFILE
Start pulling from the
middle of the prole!
Replacing Lamps
To be assured of maximum tanning effectiveness, change lamps after
approximately 500-700 hours of use. Tanning will continue after this
time but at a slower rate. We recommend using the lamps specied on
page 1. Use of uncertied lamps is a violation of Federal regulations
and may void your warranty.
1 Grasp a lamp at one end and at the middle, then turn the lamp a
quarter turn. The lamp may then be gently removed from its holder.
2 To reinstall lamp, insert pins on the ends of the lamp into the slots
on top of the lamp holder and turn the lamp a quarter turn.
CAUTION
Be careful. The edges of the
acrylic shield may be sharp.
If you did not nd the solution to your problem above, contact your
place of purchase for additional assistance
Timer Maintenance
Your sunbed is equipped with a backup shut-off timer which automati-
cally turns off the sunbed if the primary timer ever malfunctions. This
important safety feature also prevents the user from resetting the timer
before the end of the pre-set maximum time interval. The electronic
timer limiting circuit automatically resets each time the primary timer
is turned to the OFF position.
Annually, or whenever your sunbed is re-lamped, check the operation
and accuracy of the timer system as follows.
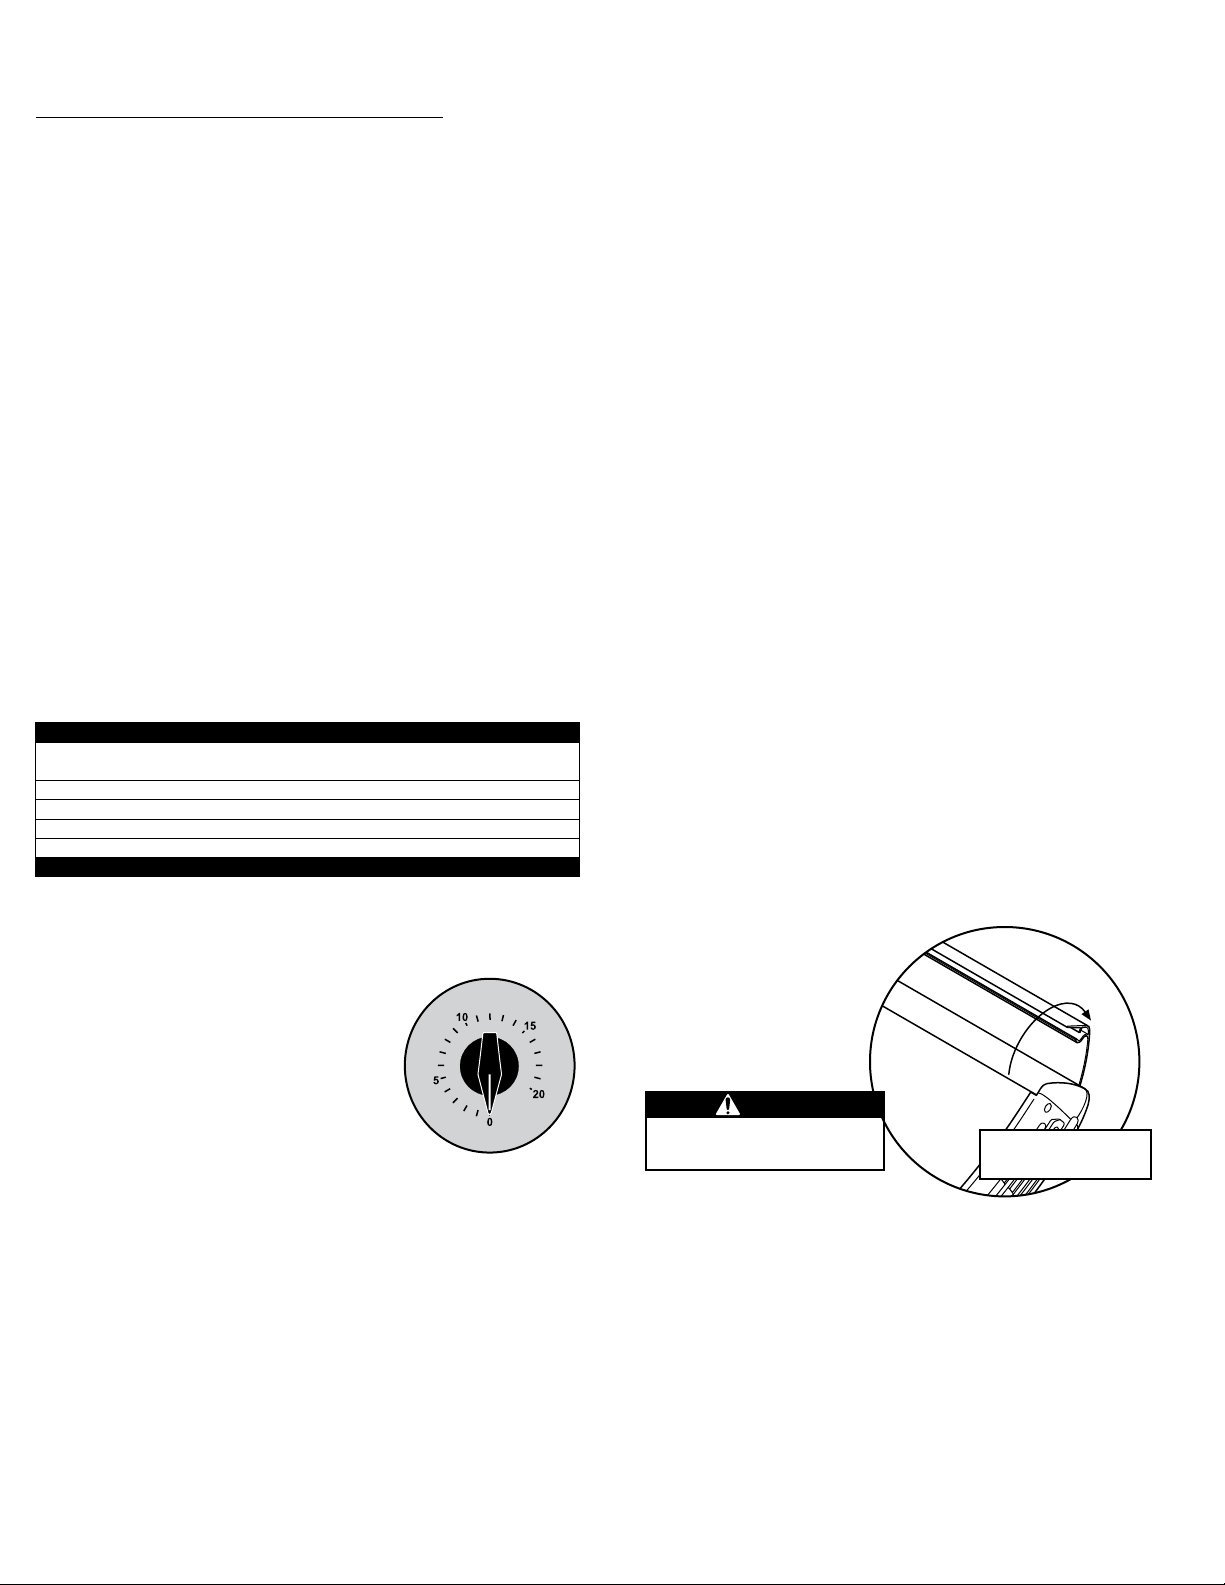
1 Obtain an accurate watch capable of measuring in seconds. Set the
timer to the maximum time. Time how long the lamps remain on.
The lamps should shut off within plus or minus 10% of the maxi-
mum timer interval.
2 Set the timer to the maximum time. Wait ten minutes, then turn
the knob back to the maximum time position. The electronic time
limiting circuit should turn the lamps off at an elapsed time equal
to approximately 10% beyond the maximum timer interval, even
though the primary timer continues to show time left.
Contact your place of purchase if your timer does not operate properly,
or if you experience difculty with these tests.
CAUTION
Do not perform these tests with a person in the sunbed.
Doing so may lead to overexposure which can cause eye
and skin injury and allergic reactions.
Sunbed not tanning
1. Clean sunbed, see Thorough Periodic Cleaning.
2. Replace lamps if lamp hours are greater than 800hrs.
3. Replace acrylic.
Lamps fail to light and timer display is blank
1. Check source of AC power. Reset circuit breaker or replace
fuse if necessary.
2. Make sure the unit is plugged into outlet.
3. Make sure canopy to bench cord is properly connected.
One or more lamps fail to light
1. Check that lamp is installed correctly.
2. Switch unlit lamp with a lamp that lights. If the new lamp
lights and the old lamp still does not, replace old lamp.
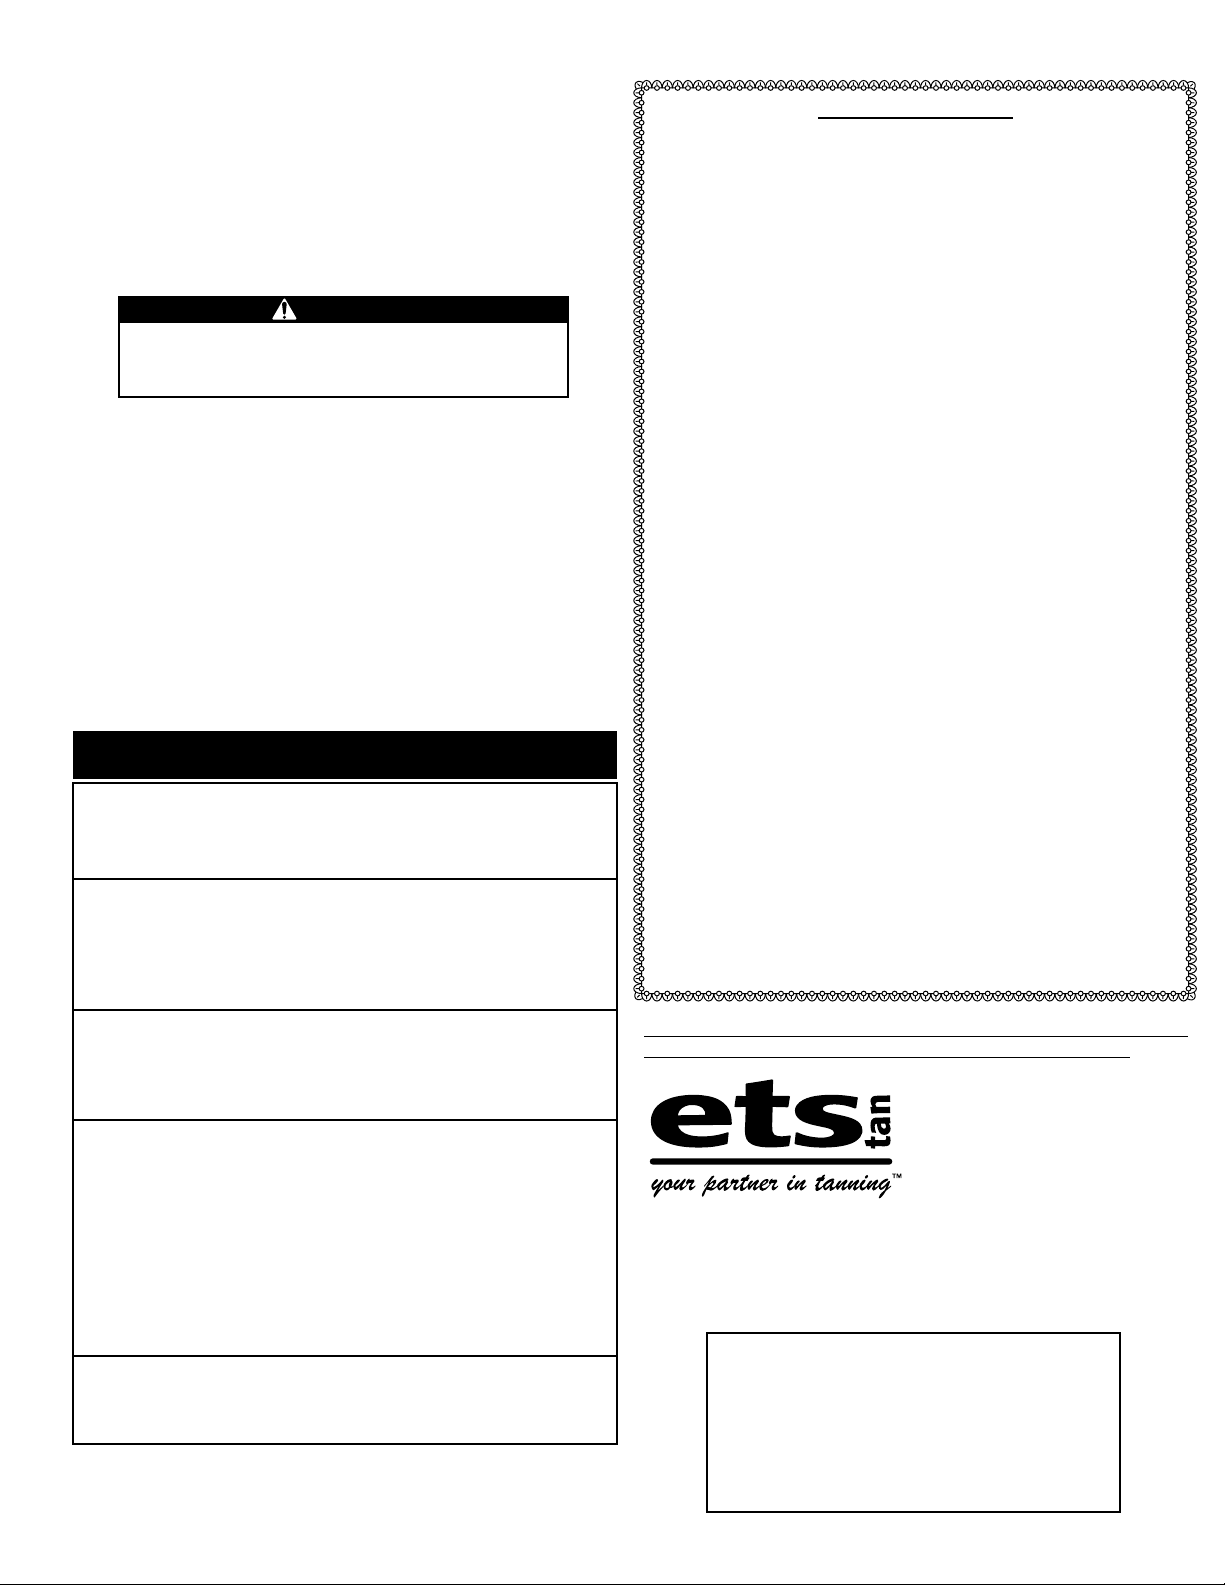
The canopy will not stay up
NOTE: Gas springs are manufactured to hold the canopy in its
fully open position as well as allow it to rest fully closed. If
left open for an extended period of time some creep down
may occur. This is considered normal. Keep the unit closed
when not in use. If the canopy will not stay fully open when
raised...
1. Raise and lower the canopy a few times to lubricate gas
spring internal seals.
2. Replace gas springs.
Sunbed does not stay lit
Check source of AC power. Reset circuit breaker or replace
fuse if necessary.
Problem Troubleshooting
Solution
To obtain warranty service contact JK Products & Services. Proof of
purchase, including serial number, is required for verication.
1•800•449•3605
1 Walter Kratz Drive
Jonesboro, AR 72401
Proudly manufactured in the U.S.A.
LIMITED WARRANTY
JK Products & Services (JK)warrants your tanning unit to be free of structural defects in
material and workmanship, under normal use, for its lifetime. JK will, at its discretion, repair
any structural defect which materially affects the performance of the tanning unit, or replace
the tanning unit.
For twelve (12) months following the purchase date of your tanning unit, JK will provide re-
placements for parts that prove to be defective in material or workmanship, with the following
exceptions: uorescent lamps are warranted against manufacturer’s defects for a period of thirty
(30) days; acrylics are warranted against manufacturer’s defects for a period of one (1) year
(prorated) following the purchase date of your tanning unit. Standard ground shipping charges
will be covered for the entire twelve (12) months of this warranty period. Any upgraded shipping
method charges will be paid for by the customer.
JK also extends to you a one (1) year parts warranty on all T-Max® remote system components.
External voltage transformers (buck-boosters) are covered by a ninety (90) day parts and labor
warranty, provided you send back the defective transformer.
Labor costs associated with repair or replacement work covered by this warranty will be re-
imbursed for repair or replacement work required to be performed for a period of ninety (90)
days following the purchase date of your tanning unit. Normal wear and tear, damage from
misuse or abuse, damage incurred in transit or damages resulting from unauthorized repairs or
modications are not covered by this warranty. Warranty coverage does not include cosmetic
abnormalities such as scratches, nicks, dents, or other cosmetic changes that do not materially
interfere with the function of the tanning unit.
THIS LIMITED WARRANTY IS EXPRESSLY MADE IN LIEU OF ANY OTHER WAR-
RANTIES, EXPRESS OR IMPLIED, INCLUDING ANY IMPLIED WARRANTIES OF MER-
CHANTABILITY AND FITNESS FOR A PARTICULAR PURPOSE, WHICH ARE HEREBY
DISCLAIMED. No one has the authority to change or modify this LIMITED Warranty in any
respect. To obtain service under this LIMITED Warranty, contact JK Products & Services.
Proof of purchase, including serial number, is required.
IN NO EVENT SHALL YOUR DISTRIBUTOR OR THE MANUFACTURER BE LIABLE
AT LAW OR IN EQUITY FOR ANY LOSS, LIABILITY, DAMAGE OR EXPENSE IN AN
AMOUNT IN EXCESS OF THE PURCHASE PRICE RECEIVED, OR FOR LOSS OF USE
OR PROFITS, LOSS OF TIME, INCONVENIENCE, RENTAL OR SUBSTITUTE PROD-
UCTS, LOSS OF BUSINESS, LOSS OF INCOME, OR ANY OTHER INCIDENTAL, INDI-
RECT, SPECIAL OR CONSEQUENTIAL DAMAGES. Some states do not allow the exclusion
or limitation of incidental or consequential damages, and the above limitation or exclusion will
not apply to residents of some states. This LIMITED Warranty gives you specic, legal rights
and you may have other rights which may vary from state to state.
JK Products & Services, Inc. makes no guarantees on income, return on investment, market con-
ditions, performance, etc. with any undertaking using its products and services. Past performance
is not indicative of future results.
All warranty service must be performed by an authorized service person using only JK autho-
rized replacement parts. Use of non-authorized parts may void your warranty. All labor charges
must be authorized by JK prior to the start of repairs and must not exceed the established
rates and time allotment policies established by JK. Contact JK Products & Services for the
authorized Service Center nearest you. This warranty is serial number specic and only applies
to tanning units purchased through an authorized JK Distributor. This warranty is extended to
the individual or legal entity whose name appears on the original sales document and may not
be transferred to any other individual or legal entity. This warranty is void if the tanning unit is
modied in any manner from its original design.
a division of JK Products & Services

Other Sunquest Tanning Bed manuals

Sunquest Pro 14SE User manual

Sunquest

Sunquest Pro 14SE User manual

Sunquest SQ 1000S User manual

Sunquest

Sunquest SQ 1000S User manual

Sunquest PRO 24RS User manual

Sunquest

Sunquest PRO 24RS User manual

Sunquest PRO 26RS User manual

Sunquest

Sunquest PRO 26RS User manual

Popular Tanning Bed manuals by other brands

ergoline Prestige Lightvision SLP operating instructions

ergoline

ergoline Prestige Lightvision SLP operating instructions

JK ERGOLINE FLAIR Series installation instructions

JK

JK ERGOLINE FLAIR Series installation instructions

JK 127/48-4 TT installation instructions

JK

JK 127/48-4 TT installation instructions

KBL megaSun P9 operating manual

KBL

KBL megaSun P9 operating manual

KBL space 3000 PURECOLLAGEN manual

KBL

KBL space 3000 PURECOLLAGEN manual

SUN CAPSULE X7 owner's manual

SUN CAPSULE

SUN CAPSULE X7 owner's manual

ADVANCED UV LIGHT ICON owner's manual

ADVANCED UV LIGHT

ADVANCED UV LIGHT ICON owner's manual

KBL megaSun pureEnergy 5.0 Assembly instructions

KBL

KBL megaSun pureEnergy 5.0 Assembly instructions

manuals.online logo
manuals.online logoBrands
  • About & Mission
  • Contact us
  • Privacy Policy
  • Terms and Conditions

Copyright 2025 Manuals.Online. All Rights Reserved.