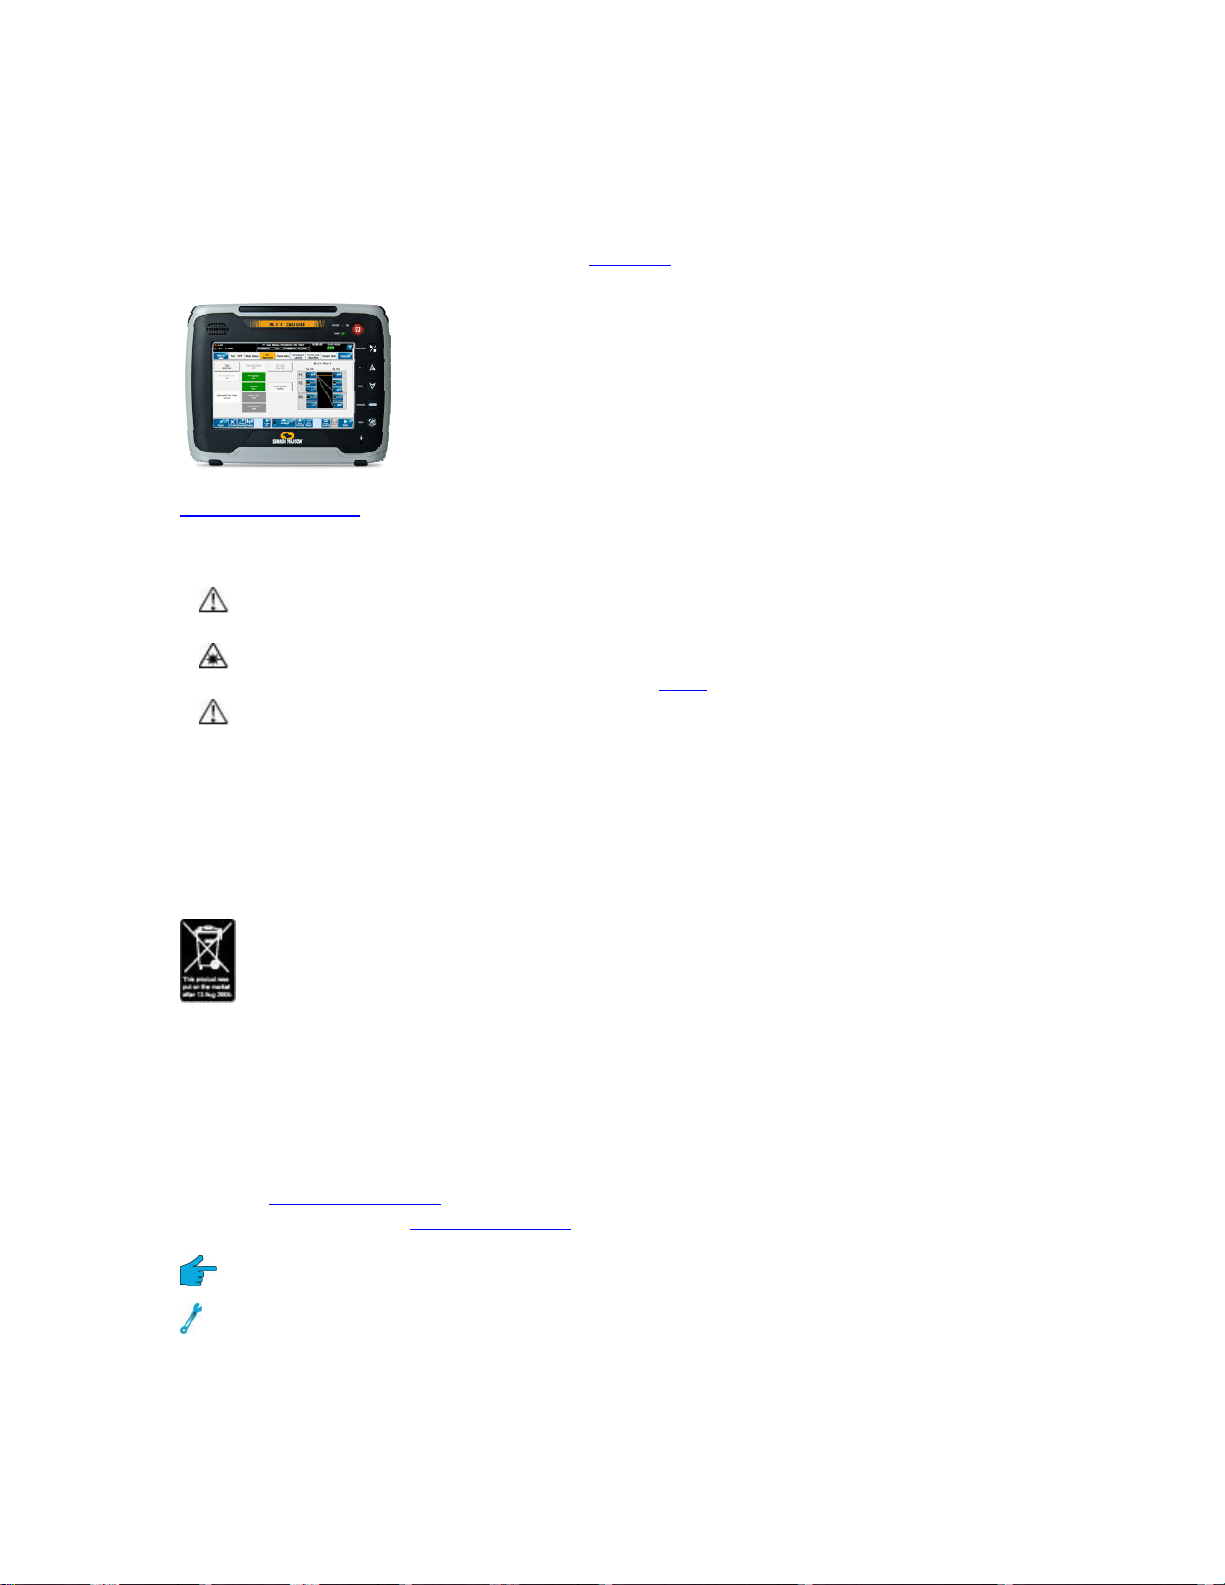
XTT 5000 User's Manual
Stream - Burst Traffic Shape Setup Home.....................................................66
Stream - Constant Traffic Shape Setup Home................................................68
Stream - Ramp Traffic Shape Setup Home....................................................69
Stream - VLAN Setup Home........................................................................71
Stream - TCP Setup Home..........................................................................72
Stream - UDP Setup Home .........................................................................73
Summary Results Home.............................................................................74
Summary Notes Home...............................................................................76
Aggregate Results Home ............................................................................78
Thoughput Stream Results Home ................................................................81
Throughput Non Test Stream Results Home ..................................................83
RFC2544/NE Testing......................................................................................85
RFC2544 Applications Home .......................................................................85
RFC2544 One Tester Application Diagram Home ............................................86
RFC2544 Test Notes Home .........................................................................87
RFC2544 Throughput Application Home........................................................89
RFC2544 Test Sequence Home...................................................................90
RFC2544 Throughput Latency Home ............................................................92
RFC2544 NE Test Configuration Home.........................................................94
RFC2544 Frame Sizes Thresholds Home .......................................................95
RFC2544 Back-to-Back Testing Notes Home..................................................96
RFC-2544 Frame Loss & Back to Back Setup Home .........................................97
Stream Table Setup Home..........................................................................99
RFC2544 Summary Results Home..............................................................101
RFC2544 Thruput Latency Results Home.....................................................103
RFC2544 Frame Loss Table Results Home...................................................104
RFC2544 Back-to-Back Table Results Home ................................................105
RFC2544 Thruput Chart Results Home........................................................106
Aggregate Results Home ..........................................................................107
IP Ping Testing ...........................................................................................111
IP Testing Home .....................................................................................111
IP Setup Tab Home .................................................................................113
Ping Setup Home ....................................................................................114
IP Summary Results Home .......................................................................116
IP Aggregate Results Home ......................................................................117
Ping Test Results Home...........................................................................121
Ping Trace Route Setup Home...................................................................122
Ping Trace Route Results Home.................................................................123
Ping Echo Log Home................................................................................124
Aggregate Results Home ..........................................................................125
Ping Test Results Home...........................................................................128
Loopback Features ......................................................................................129
Loopback Test Setup Home ......................................................................129
Loopback Diagram Home..........................................................................131
Loopback Ports Note Home.......................................................................132
Loop Control Home..................................................................................133
Loopback Responder Home.......................................................................135
Monitor......................................................................................................137
Monitor Applications Home .......................................................................137
Monitor Setup Home................................................................................138
Save Features ............................................................................................139
Save Features Home................................................................................139
Error Injection Home ...............................................................................143
iv