manuals.online logo
Brands
  1. Home
  2. •
  3. Brands
  4. •
  5. Super Flying Model
  6. •
  7. Toy
  8. •
  9. Super Flying Model P-51D Mustang User manual

Super Flying Model P-51D Mustang User manual

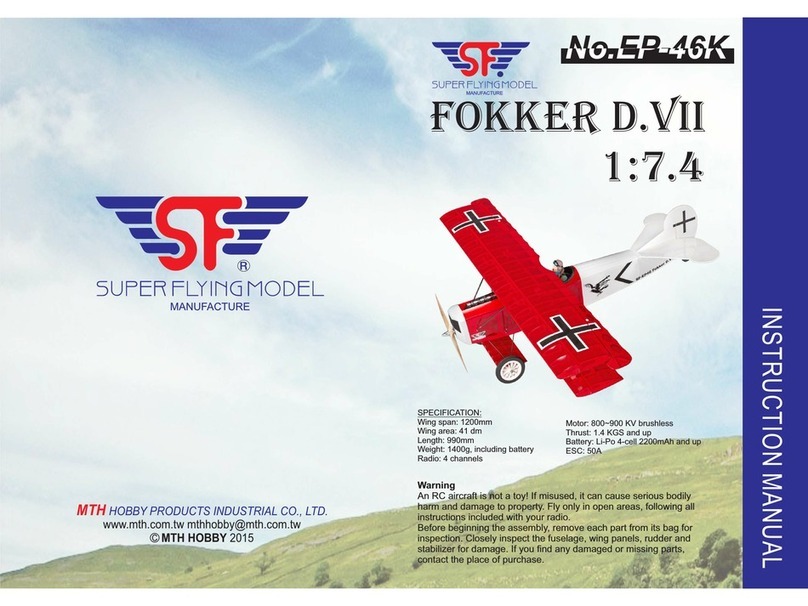
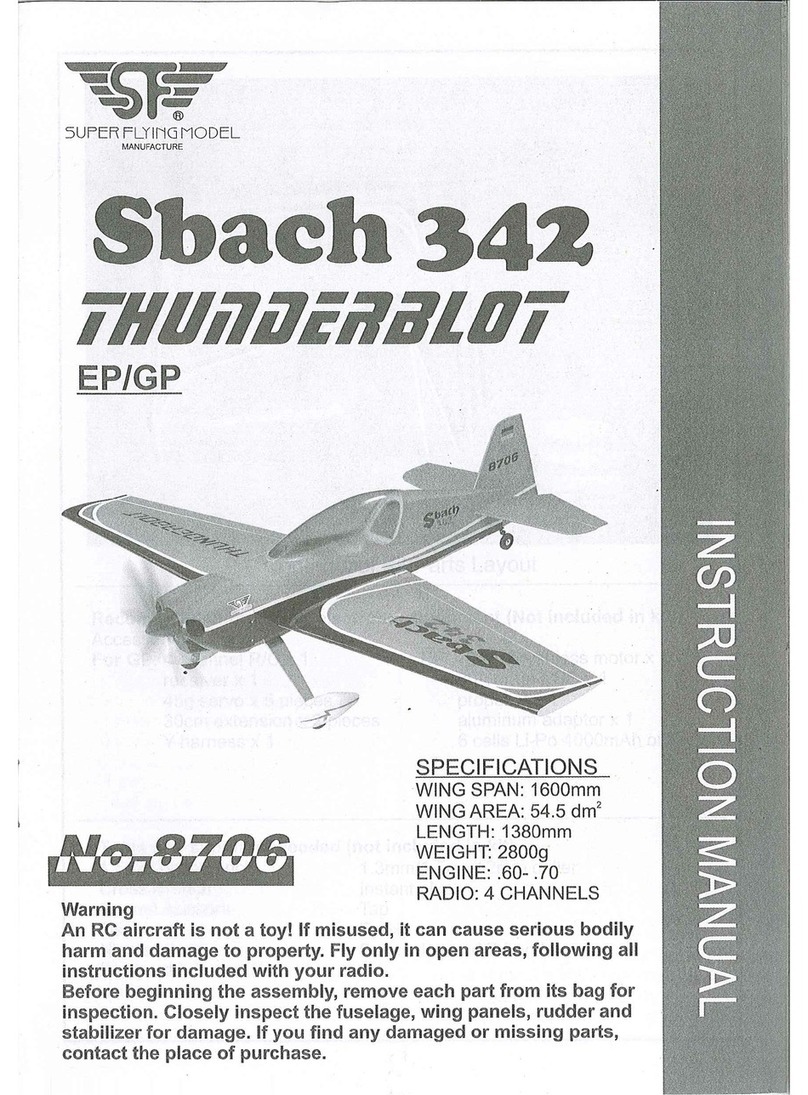
MUSTANG
P-51D GP/EP
No.8629K
SPECIFICATIONS
Wing Span: 1426mm
Wing Area: 34.7 dm²
Length: 1177mm
Total Weight: 2600g (with 4S battery 2600mAh)
Radio: 5 ~ 6(if use flap) channels
Motor: 4250-840KV brushless
Thrust: 3 KGS and up
Battery: Li-Po 4-cell 2600mAh and up
ESC: 70A
Engine: 10cc 2-stroke(Gas)
.46 2-stroke
.60 4-stroke
Propeller for EP: 12 x 8”
Propeller for GP: 12 x 6”(Gas)
Propeller for GP: 11 x 6”
Tools and suppliers needed (not included in kit):
1200mm x 400mm x 10mm flat surface planking, Triangle ruler, Straight aluminum ruler
1000mm Clips, Heavy object around 1 KG, Tissue, Double-side adhesive tape, Vernier
scale, 10-12mm thickness planking, Sanding paper #150 & #200, Planer tool, 2mm hand
driller, Iron, Phillips screws driver #0 & #1, Curved scissors, Hobby knife, Instant glue,
UHU glue , Epoxy 5-10 minutes, Marker, white glue, Driller 1.5mm/2.6mm/4.2mm,
Transparent tape, Masking tape, Brush, Painting , Z-bender pliers, Side-cut pliers, 1.5mm
hex wrech, Solder iron, Pin, Rubber band, Sharp-nose pliers, Super glue, Cross wrench
Recommended radio and equipment (Not included in kit):
5-6 or up channel radio
Receiver
Servos (45g) x 2 pieces + Servos (25g) x 4pieces
70Amp or up Brushless ESC x 1 piece
11x6 – 12x8 propeller x 1 piece
Aluminum nut x 1 piece
Y-harness x 2 piece
600mm extension x 4 pieces
At first join C8 then join C5.
Aach C3, C4, C6 to C1 with instant glue.
Aach C2 and C9 with instant glue.
Use instant glue to aach all parts and
finally join the second C8.
Aach C7, C10 and C15 with instant glue.
Aach C13 with instant glue.
ach C12 and C14 with instant glue.
Use instant glue aach C15.
1
Cover with C15 and secure with pins.
Use white glue to cover all edges.
Sand it unl smooth.
Secure with tape and pins and use weights
unl glue is dry.
Sand it unl smooth, then aach C24 with
instant glue.
Aach C25 with instant glue. Note: Be
careful of the direcon.
Sand C17 and C18 unl smooth,and aach
them with instant glue.
Aach C16, C17 and C18 with instant glue.
2
Sand it unl smooth.
Check 1:1 map and aach C19 ~ C23 with
instant glue.
Secure with 3x10mm screws.
Aach pilot with rubber cement (UHU).
Secure cabin with 2.6x8mm screws.
Aach F47 to F46’s lower edge and cut out
5x5mm balsa wood strips to aach to F46’s
upper edge with instant glue.
Check 1:1 map. Aach F50, F49, F48 to F46
set with instant glue.
Aach F47 on the other side with instant
glue.
3
Aach F35 to F52 with instant glue and
secure with pins.
Aach F52x2 and F51 with instant glue.
Aach F54 with instant glue.
Cut and sand F54’s upper edge and lower
edge to 45 degrees.
Sand it unl smooth.
Aach F55 with instant glue and secure
with pins.
Sand it unl smooth.
Sand and cut off extra pieces.
4
Refer to the drawing, Assemble those parts
before applying glue. Note: marks E and F.
Prepare F2R, F1R, F1L, F2L. Note: marks
A,B,C,D
Apply white glue on F2R. Be sure not to
apply the glue over the line you marked.
Refer to the drawing, Use a pen to mark
WF1R and F2R.
Aach F3 with instant glue.
Aach F4 balsa wood with instant glue.
Use the gauge provided to check that
enough has been trimmed to fit securely
under the wings.
5
Cut 5x5x247mm balsawood strip and apply
with instant glue.
Cut 4x8x207mm balsawood strip
and attach to F4 with i n s t a n t
glue.
Aer you aach F6 and F7, It should look
like this image.
Prepare F6, F7. Aach F6 to F7. Make sure
to line up the edges.
If you will use an electric motor, please
remove these small pieces.
Apply white glue on F8.
Apply white glue on F20.
Aach F8 to F9. It should look like the
image.
6
Apply white glue on F14 and put two F14
pieces together.
Aach F20 to F21. It should look like the
image.
Aer pung two F14 pieces together, It
should look like the image.
Take two clutch nails and use a hammer to
place the clutch nails into these holes.
Take two washers and use a hammer to
place the washers into the holes.
Place F15 and apply instant glue.
Place F15 into F9. Be sure it looks like the
image.
F8 should be facing toward the nose of the
plane.
7
Prepare F7, F11, and F12. F7. The recess
marking should be on the right hand side.
Join F7,F11,F12 to F5.
Prepare F10, F13, F18, F19 ,F16, F21, F22,
F25, F26, F30, F17, F14.
Join F5 set to F2R.
Check 1:1 map and join parts to F1R.
Join F1L and secure with weights, then use
instant glue aach all parts.
Secure with rubber bands.
Rear view of the tail fuselage. Make sure it
has bilateral symmetry.
8
Aach F30 with instant glue.
Aach F26 with instant glue.
Check that all connecng edges are
aached with instant glue.
Check that every joint is aached with
instant glue.
Aach F14 with instant glue.
Aach F17 with instant glue.
Aach F28 and two pieces F29 with instant
glue.
Cut two pieces 73mm triangle strips and
aach with epoxy.
9
Aach F27R on the right side, then aach
F27L on the le side.
Cut off 45 degrees to F33’s front edge and
sand it unl smooth.
Aach F25 with instant glue.
Aach F33 with instant glue.
Join F23.
Insert every slot and aach with instant
glue.
Aach F24 with instant glue.
.Put in ring-pull and aach to F24 with
instant glue. Note: This step is to be done
AFTER the plane has been coated with
film!!
10
According to the distance between slots,
cut 5x5 balsa wood strips and aach with
instant glue.
According to the distance between slots,
cut 5x5 balsa wood strips and aach with
instant glue.
According to the distance between slots,
cut 5x5 balsa wood strips and aach with
instant glue.
According to the distance between slots,
cut 5x5 balsa wood strips and aach with
instant glue.
Prepare F32x2, F31, F34, F35, F37, and
make them wet.
Cover fuselage and secure with rubber
bands and tape..
Allow wood to dry so that it will keep its
shape.
11
Cut off extra pieces..
Aach F31 and F32 secure with pins, and
cut off extra pieces.
Aach F31 and F32 and secure with tape.
Use white glue as in above image.
Sand it unl smooth.
Use white glue as in above image.
Secure with pins.
Cut off F36 upper edge and lower edge to
make them 45 degrees, and sand it unl
smooth.
12
Aach F36 with white glue and secure with
pins and tape.
When finished, it should look like this
picture.
Use white glue as above.
Cut off extra pieces.
Secure with pins and tape.
Sand it unl smooth like above picture.
13
Sand it unl smooth like above picture.
Join V2 help to align F38 set. Note: V2 will
be at a 90 degree angle to the fuselage.
Aach F38U and two pieces F38 to fuselage
with white glue and secure with pins.
Take out V2.
Sand it unl smooth.
Join F45 to test slot. Don't use glue.
Prepare F40, F41, F42, F39, F44 F43.
Aach F42, F41and F40 with instant glue.
14
Aach F39 and F43 to fuselage with
instant glue.
Make F44 wet.
Use a pipe or rounded object to make F44
rounded. Secure F44 to rounded object
unl dry.
When F44 is dry, aach to fuselage with
instant glue.
Use instant glue to aach F44 from the
inside.
Aach F39 with instant glue.
Cut off extra pieces and sand it unl
smooth.
FUSELAGE IS FINISHED!!
15
Cut and sand H1, V2 and V1 unl smooth.
Prepare H1 and V2. According to H1 and
V2’s slots size cut out 4x8mm balsa wood
strips and aach them with instant glue.
Aach V1 to V2 with instant glue.
Trim the front edge to a rounded shape and
sand.
Trim the front edge to a rounded shape and
sand.
According to V3’s slots size cut 4x8mm
balsa wood strips and aach them with
instant glue.
Check 1:1 map. Drill a 2mm hole, and this
hole must be longer 25mm.
Make a slot under the hole large enough to
fit the tail gear.
16
According to the “U” shaped part’s size,
find right place to make a mark on H2.
Cut the hinge holes and set the tail gear
into the slot.
According to the hole, cut a slot for the
parts to be put in.
According to the mark, drill a 3mm hole.
Set the hinges and metal part into
horizontal and elevator.
Take W12A to place on W12 and the gaps
should be aligned. Use white glue to glue
these two pieces. (W12A will be longer
than W12 2mm) Please repeat the step
again on W13 and W13A.
Note: Right wing and Le wing are
mirrored.
Prepare W12, W12A, W13,W13A.
17
Take W24 to place on W25 and the small
holes should be aligned. Use white glue to
glue them.
Note: Right wing and Le wing are
mirrored.
Prepare W23,W24,W25.
Use white glue to glue two pieces of W48
together.
Line up two pieces W48 and clip them.
Clean extra the white glue from the edges.
Prepare balsa wood W28,W29,W30,W28-1
and
follow the picture above to glue them with
instant glue.
Prepare balsa wood W31,W32,W34,W28-1
and follow the picture above to glue them
with instant glue.
Prepare balsa wood W40~W46.
18
W24
W24
W24
W24

Other manuals for P-51D Mustang

1

This manual suits for next models

1

Other Super Flying Model Toy manuals

Super Flying Model 8709 User manual

Super Flying Model

Super Flying Model 8709 User manual

Super Flying Model Fournier RF-4D User manual

Super Flying Model

Super Flying Model Fournier RF-4D User manual

Super Flying Model TRI-40 II GP/EP User manual

Super Flying Model

Super Flying Model TRI-40 II GP/EP User manual

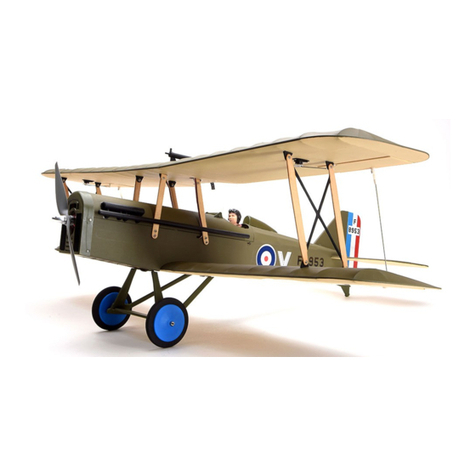
Super Flying Model SE5a User manual

Super Flying Model

Super Flying Model SE5a User manual
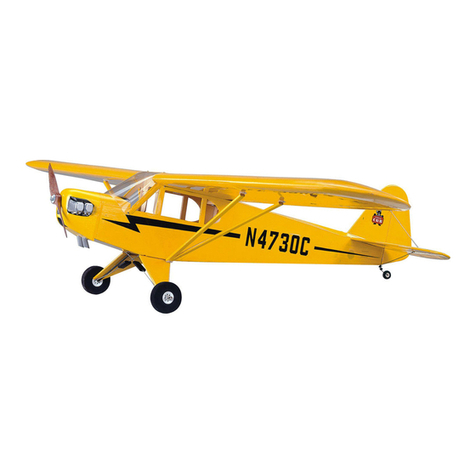
Super Flying Model PIPER CUB J-3 GP/EP User manual
Super Flying Model

Super Flying Model PIPER CUB J-3 GP/EP User manual

Super Flying Model Super Decathlon User manual
Super Flying Model

Super Flying Model Super Decathlon User manual

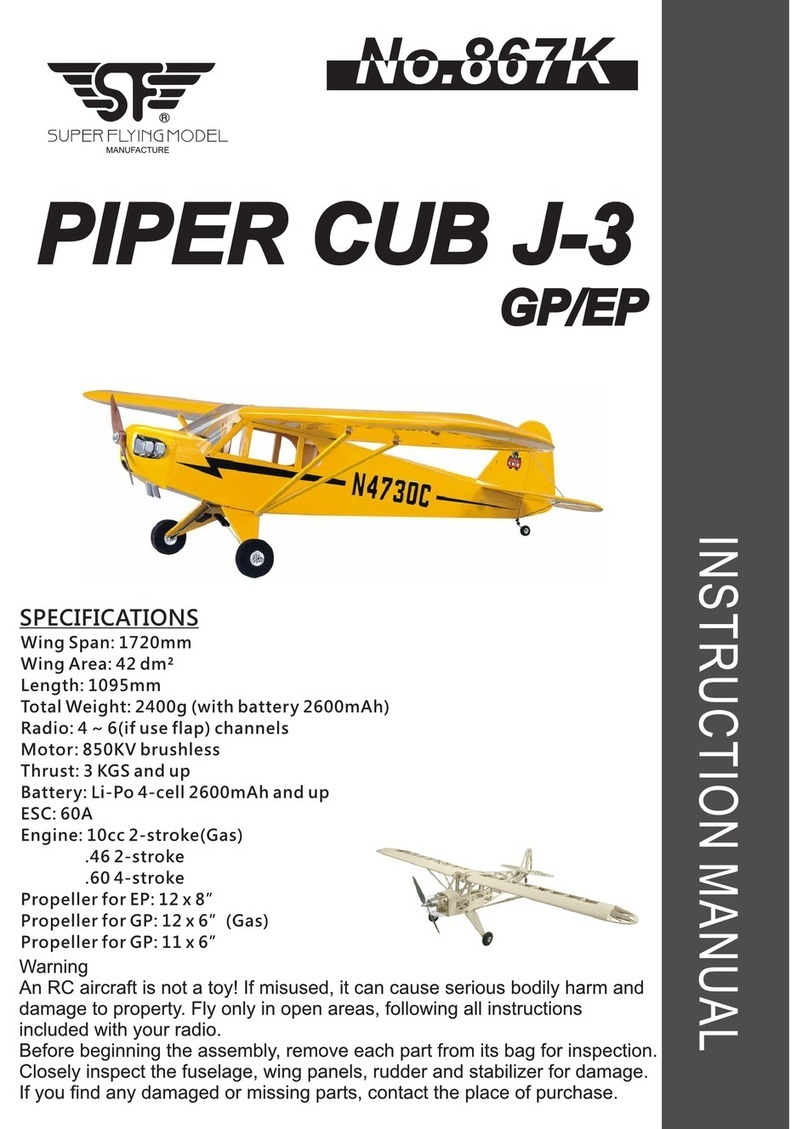
Super Flying Model Beagle B121 User manual

Super Flying Model

Super Flying Model Beagle B121 User manual

Super Flying Model P-51D Mustang User manual

Super Flying Model

Super Flying Model P-51D Mustang User manual

Super Flying Model Sbach 342 Thunderblot User manual

Super Flying Model

Super Flying Model Sbach 342 Thunderblot User manual

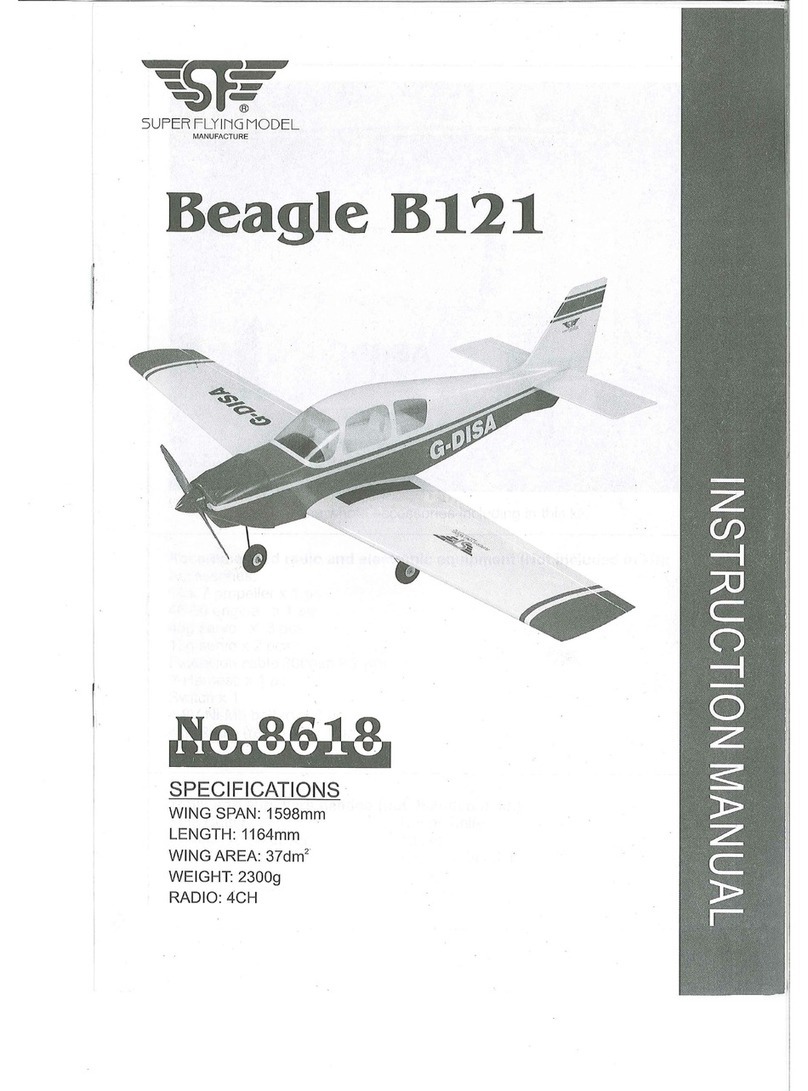
Super Flying Model PIPER CUB J-3 GP/EP User manual
Super Flying Model

Super Flying Model PIPER CUB J-3 GP/EP User manual

Super Flying Model Sbach 342 Thunderblot User manual

Super Flying Model

Super Flying Model Sbach 342 Thunderblot User manual

Super Flying Model EP-46K User manual

Super Flying Model

Super Flying Model EP-46K User manual

Popular Toy manuals by other brands

IMC Toys Mickey Emotions Instructions for use

IMC Toys

IMC Toys Mickey Emotions Instructions for use

REVELL T-34/76 model 1943 manual

REVELL

REVELL T-34/76 model 1943 manual

Mega Construx Destiny Fallen Walker DPJ13 manual

Mega Construx

Mega Construx Destiny Fallen Walker DPJ13 manual

Magnificent Flying Machines SE5A Assembly manual

Magnificent Flying Machines

Magnificent Flying Machines SE5A Assembly manual

Tower Hobbies P-51 MUSTANG MKII EP Rx-R instruction manual

Tower Hobbies

Tower Hobbies P-51 MUSTANG MKII EP Rx-R instruction manual

Samba Pike Precision 2 manual

Samba

Samba Pike Precision 2 manual

Hasbro G.I. JOE Midnight Drop Army Paratrooper... How to use

Hasbro

Hasbro G.I. JOE Midnight Drop Army Paratrooper... How to use

marklin baureihe V 36 user manual

marklin

marklin baureihe V 36 user manual

LEGO 8678 Assembly guide

LEGO

LEGO 8678 Assembly guide

Extreme Flight 91" Yak-54 ARF Assembly manual

Extreme Flight

Extreme Flight 91" Yak-54 ARF Assembly manual

Mattel DIVA STARZ 55200-0920 instructions

Mattel

Mattel DIVA STARZ 55200-0920 instructions

MODSTER Arrows F4U-4 Corsair operating manual

MODSTER

MODSTER Arrows F4U-4 Corsair operating manual

Seagull Models CHRISTEN HUSKY SEA180 Assembly manual

Seagull Models

Seagull Models CHRISTEN HUSKY SEA180 Assembly manual

Mattel Barbie GFR43 instructions

Mattel

Mattel Barbie GFR43 instructions

Pro Boat Miss Elam Plus owner's manual

Pro Boat

Pro Boat Miss Elam Plus owner's manual

LEGO Duplo 10604 Building instructions

LEGO

LEGO Duplo 10604 Building instructions

iKarus Dragstair user manual

iKarus

iKarus Dragstair user manual

WOOD HEROES Catapult II Assembly manual

WOOD HEROES

WOOD HEROES Catapult II Assembly manual

manuals.online logo
manuals.online logoBrands
  • About & Mission
  • Contact us
  • Privacy Policy
  • Terms and Conditions

Copyright 2025 Manuals.Online. All Rights Reserved.