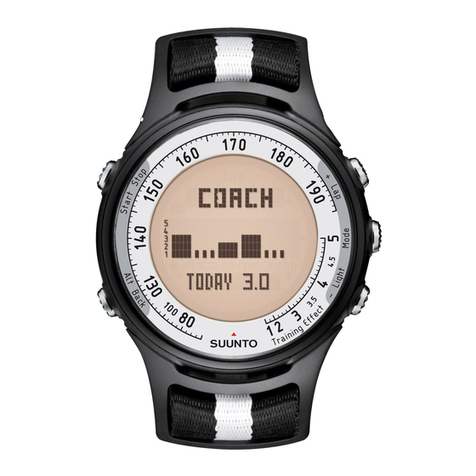
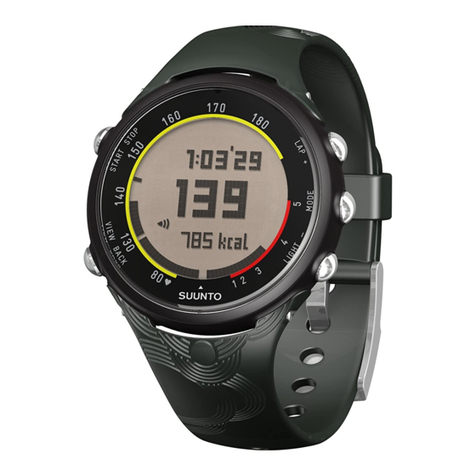
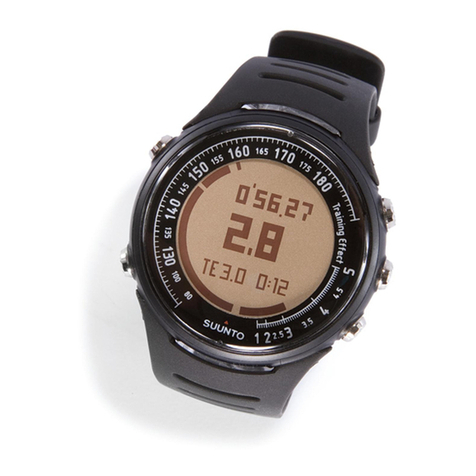
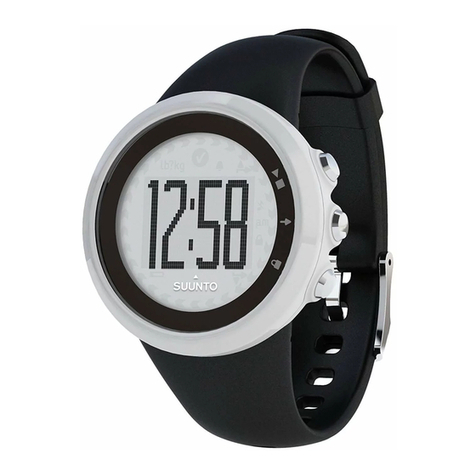
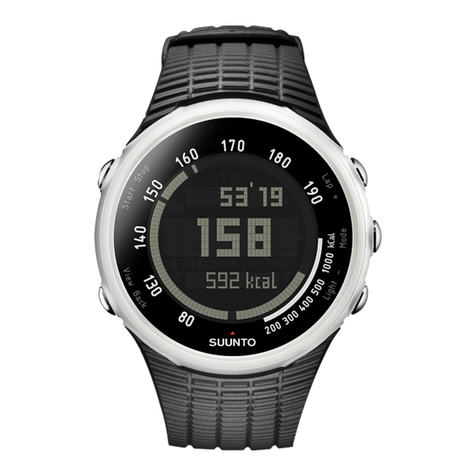
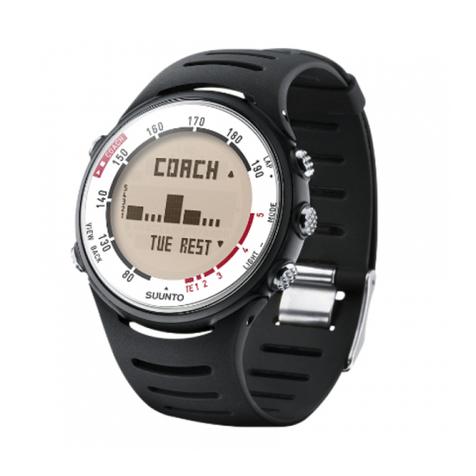
Suunto T6 User manual

C M Y CM MY CY CMY K
EN | FR | DE | ES | IT | NL | FI | SV


EN | FR | DE | ES | IT | NL | FI | SV
SUUNTO t6 QUICK GUIDE

START/STOP
ALT/BACK
UP/LAP
DOWN/LIGHT
ENTER
Mode indicators
Time
Alti/Baro
Training
SPD/DST
Batter level
indicator
Ke lock
HR/speed alarm
indicator
Time alarm
Training t pe
indicator
1
2
3
4
5
6
7
SUUNTO t6 QUICK GUIDE

3
EN
EN
1. INTRODUCTION
This is the Quick Guide for Suunto t6 wristop computer. It contains brief introductions
to all the modes, and guidelines on where and when to use their functions. It also
contains more detailed instructions on how to use the most important functions.
However, it does not include all the information on Suunto t6, and the information it
contains is not always given in full detail. In other words, the Quick Guide should be
used alongside the instruction manual. Therefore you should first read the instruction
manual carefully before using the Quick Guide. You can find the instruction manual
on the CD-ROM supplied with your Suunto t6.
Make sure the package contains the following items in addition to the Quick Guide:
• Suunto t6
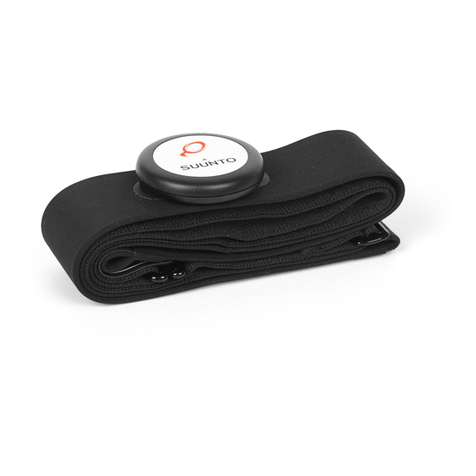
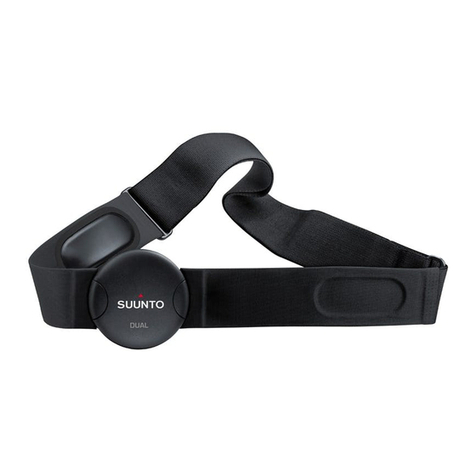
• Transmitter belt (Suunto ANT-transmission compatible)
• PC-interface cable
• CD containing the Suunto Training Manager, Suunto t6 User Manual
Should any of these be missing from the package, contact the representative who
sold you the package.
NOTE: This Quick Guide refers to speed and distance (Spd/Dst) functions.
These are only available with separate Spd/Dst accessories. The references to
these functions are in italics.
EN
4
2. BASIC MENU STRUCTURE

5
EN
EN
To navigate the menus:
1. Scroll from one mode to another with UP/DOWN buttons. The name of the new
mode is displayed for a short while before the main display opens. The indicator
bar on the left side of the display tells you which mode you are in.
2. Press ENTER to open the selected menu. Three menu items are displayed at the
same time. The menu item that is currently selected is highlighted in reversed
color.
3. To move deeper in the hierarchy, select (highlight) a menu item and press ENTER.
4. To return one step up in the hierarchy, press ALT/BACK. Remember that if you
only press ALT/BACK after making a change, the change will not be saved. To
save changes, you first have to accept your changes with ENTER.
5. If you want to return to the main display of the active mode, press either ENTER
(saves the changes) or ALT/BACK (discards the last change) for more than
2 seconds.

6
3. WATCH SETTINGS
Before starting to use your Suunto t6, you need to set the correct time and date.
You can also customize all the necessary units and settings.
These instructions show you how to set the time and date. The process to adjust
other settings and functions is similar, and begins from the main display of each
mode.
Setting the time
Setting the date

7
EN
EN
4. TIME MODE
The Time mode includes normal watch functions such as time, date and alarm. In
the Time menu, you can define the measuring units for the data displayed in the
other modes and adjust the general settings.
Functions:
• Alarm: Set the time alarms (e.g. wake up time).
•Time: Set the time and the dual time.
•Date: Set the date.
•General: Set the general settings (button tones, icons, backlight, sensor
calibration).
•Units: Set the units (time, date, Hr, temperature, pressure, elevation, asc/dsc
speed, distance, speed).

8
5. ALTI/BARO MODE
The Alti/Baro mode has to alternate displays: 1) Altitude and related parameters in
Alti use; and 2) weather data, such as barometric pressure and temperature, in
Baro use. The Alti/Baro mode also contains the weather memory and the reference
setting needed to relate the current barometric pressure to your current altitude.
When the Baro use is on, altitude reading remains constant. When the Alti use is on,
sealevel reading remains constant.
Alti use Baro use
Functions:
•Use: Define the Alti or Baro use for the mode.
•Refer: Set the reference altitude or sea level pressure.
•Memory: View the weather information (temp. and pressure) for the last 48
hours.

9
EN
EN
6. TRAINING MODE
The Training mode contains the functions you need during a training session. It
displays stopwatch and heart rate data; offers a number of control functions for
reaching ideal training intensity; and records your session for further analysis.
Each logbook gives an overview of your performance during individual training
sessions, while the history function sums up your training over a longer period of
time.
Functions:
•Connect: Connect your Suunto t6 to the transmitter belt or a wireless speed
and distance sensor. (You can also do this by long pressing ALT/BACK.)
•Logbook: View and erase logbook information. Logbook information is recorded
whenever the stopwatch is on.
•HR Limits: Set your high and low heart rate limits.
•Timers: Set timers for interval training, a warm-up period, or for countdown.

10
•History: View and reset cumulative training log history information.
•Pair: Pair your Suunto t6 with a new transmitter belt or a wireless speed and
distance sensor.
NOTE: If the altitude is not correct when the training starts, set it in the Alti/Baro
mode.
7. SPD/DST MODE
The Speed/Distance mode is available when you pair your Suunto t6 with an
external speed and distance sensor. These sensors are designed for running
and cycling and will be available at your Suunto dealer.
This mode displays the speed and distance information of your activity and offers
a combination of distance-based training tools. You can, for instance, set alarm
limits for your target speed or pace, record automatic lap times at regular distances,
and define by distance the work and recovery cycles of interval training.
The use of the stopwatch is identical and synchronized with the stopwatch used in
the Training mode.

11
EN
EN
Functions:
•Connect: Connect your Suunto t6 to the transmitter belt or a wireless speed
and distance sensor. (You can also do this by long pressing ALT/BACK.)
•Autolap: Set the lap lengths for automatic lap time recording.
• Interval: Set the stopwatch to record and alert lap times.
• Spd Lim: Set the high and low limit alarm tone for your speed.
• Calibrate: Calibrate the wireless speed and distance sensor.
•Pair: Pair your Suunto t6 with a new transmitter belt or a wireless speed and
distance sensor.

12
8. SUUNTO t6 DURING TRAINING
To use your Suunto t6 in training:
1. Put on your HR transmitter belt and ensure it fits snugly against your chest.
2. Ensure the electrodes of the transmitter belt are lightly wet.
1. 2.
3. Connect your Suunto t6 to the heart rate transmitter belt.

13
EN
EN
4. If you want to use timers or HR limits, set them in the Training mode.

14
5. Start your training.
When the stopwatch is on, UP/LAP is dedicated for taking lap times and DOWN/
LIGHT switches between modes.
A) Attach your Suunto t6 to the
USB port.
6. Download the information from your training to Suunto Training Manager PC
software for analysis.

15
EN
EN
B) Transfer the log files to Suunto Training Manager.

16
9. SUUNTO TRAINING MANAGER
9.1. Installing the software
To install Suunto Training Manager:
1. Insert the Suunto Training Manager CD-ROM into the drive.
2. Wait for the installation to begin and follow the installation instructions.
Note: If the installation does not automatically start, click Start --> Run, and type
D:\setup.exe.
During the installation process Suunto Training Manager asks for your personal
background data such as Age, Weight, Height, Gender, and Activity class. The
software uses these parameters to calculate your personal Training Effect levels
and for analyzing your training logs.
9.2. Installing the USB drivers
These instructions assume that you are installing Suunto Sports Instrument drivers
on a clean system, i.e. one that does not contain any Suunto Sports Instrument
drivers. If this is not the case, uninstall the previously installed drivers before
proceeding with the installation. See Suunto t6 User Manual for more information.
The installation is in two parts. First you install the drivers for the Suunto Sports
Instrument and then for the virtual USB serial port.

17
EN
EN
To install the Suunto Sports Instrument on Windows 98/2000/XP:
1. The drivers are located on your PC software installation CD-ROM. Insert the CD-
ROM into your computer.
2. Attach the Suunto Sports Instrument PC interface cable to your computer's USB
port. The Wizard activates automatically. Click Next.
3. Search for a suitable driver on your system and click Next. If you are using
Windows XP, select Install the software automatically in the Wizard and click
Next. If an Installation warning is displayed, click Continue anyway.
4. Browse for the driver folder on the installation CD-ROM and click Next.
5. Click Next to install the located driver.
6. Click Finish to end the first part of the installation.
To install the USB serial port:
This should follow automatically once the Suunto Sports Instrument installation is
complete and take a couple of seconds. For Windows 98 the installation will start
automatically. For Windows 2000 and XP, repeat steps 3- 6 to install the USB serial
port and click Finish to close the Wizard.
Do not interrupt the installation before both parts of the installation are finished.
Once the installation of the serial port is completed, check that it has been successful.
Select Start – Settings – Control panel – System – (Hardware) – Device Manager
and View – Devices by Connection. The device should have been installed as
Suunto USB Serial Port (COMx), attached to Suunto Sports Instrument.

18
9.3. Software and personal settings
To adjust the software settings or to update your personal data, click in the Tree
view.
• Settings: Select the units you want to use, for example m or ft, kg or lbs. Under
Activities create a list of all the sports you practice. From this list you can select
an activity for each of your training logs to more easily keep track of your training.
• Personal: To update your Activity class, weight and other personal data, enter
the new values here. Click Calculate to receive new Training Effect levels.
9.4. Downloading logs from Suunto t6
You can transfer single or multiple files from your wristop computer to Suunto
Training Manager by dragging and dropping the files to suitable folders or using the
icon.
9.5. Viewing log graphs
To view a log graph, select one or more logs in the My Training or Calendar window.
Double-click the selected log or click the Graph button in the graph window to open
the graph. To view and compare multiple logs, hold down the Ctrl button while
selecting the logs. The default view shows the heart rate graph and the EPOC
graph of your training session. The EPOC graph is related to your personal Training
Effect levels. The peak value of EPOC, indicated with a red dot, defines the effect
of the training session on your physical condition. To view the other graphs
Other manuals for T6
3
Table of contents
Languages:
Other Suunto Heart Rate Monitor manuals

Suunto
Suunto T4D User manual

Suunto
Suunto Memory Belt User manual

Suunto
Suunto T1 User manual

Suunto
Suunto Comfort Belt User manual

Suunto
Suunto T1 User manual

Suunto
Suunto Comfort Belt User manual

Suunto
Suunto VECTOR HR User manual

Suunto
Suunto T4C User manual

Suunto
Suunto M5 User manual

Suunto
Suunto M4 User manual

Suunto
Suunto T1 User manual

Suunto
Suunto t4 User manual

Suunto
Suunto t4 User manual

Suunto
Suunto t3c User manual

Suunto
Suunto Memory Belt User manual

Suunto
Suunto Heart Rate Transmitter Belts Comfort Belt User manual

Suunto
Suunto iQniter User manual

Suunto
Suunto t1c User manual

Suunto
Suunto t3d User manual

Suunto
Suunto Smart Belt User manual