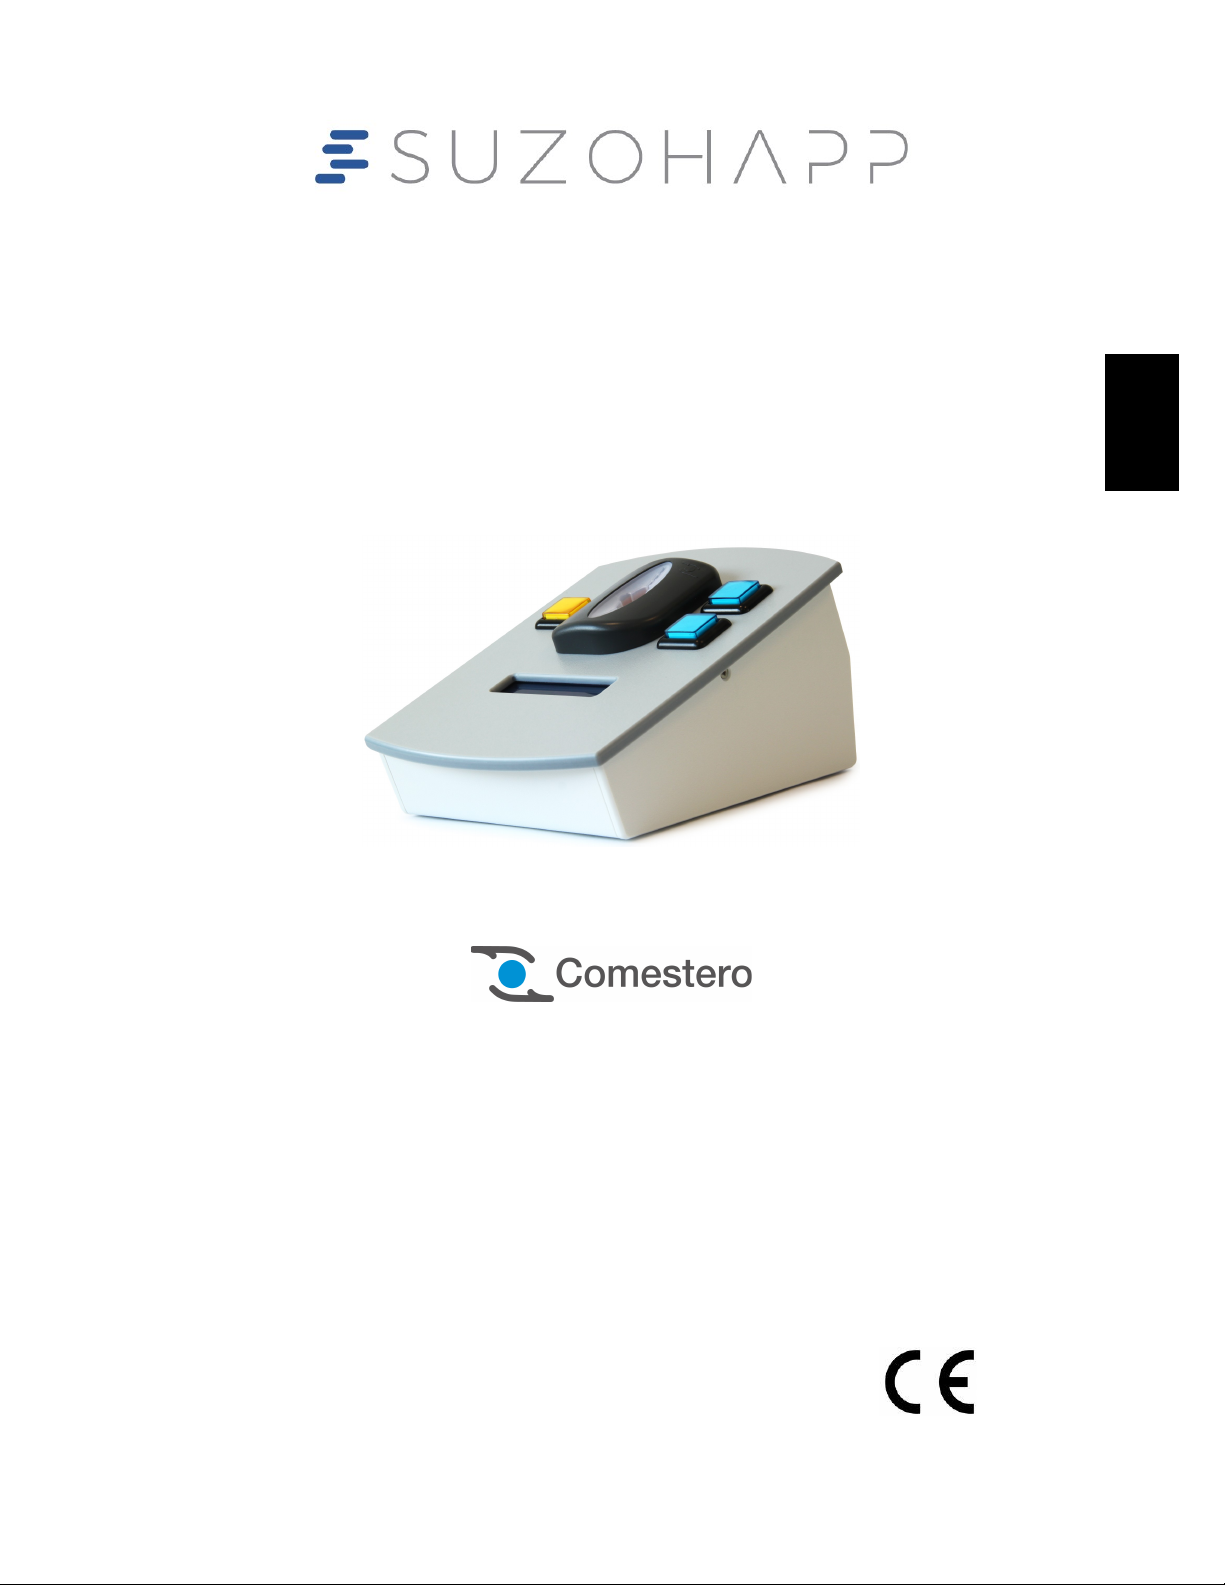
Technical document –Recharging Box’s User instruction
10
Into the Administrator old, Old location , Old level enter the old password.
Press the OK button to confirm changing.
4.6 Setting the recharging box’s yellow button
By means of the Price table, inside the VMC tab, you can program the decrease credit value
in Euro to assign to the Yellow button on the recharging box.
1. Choose Not Vending into the VMC green box
2. Select Price holding into the Price handling yellow box
3. Select Totalizer/Timer into the Not Vending blue box
4. Click on the Price table purple square
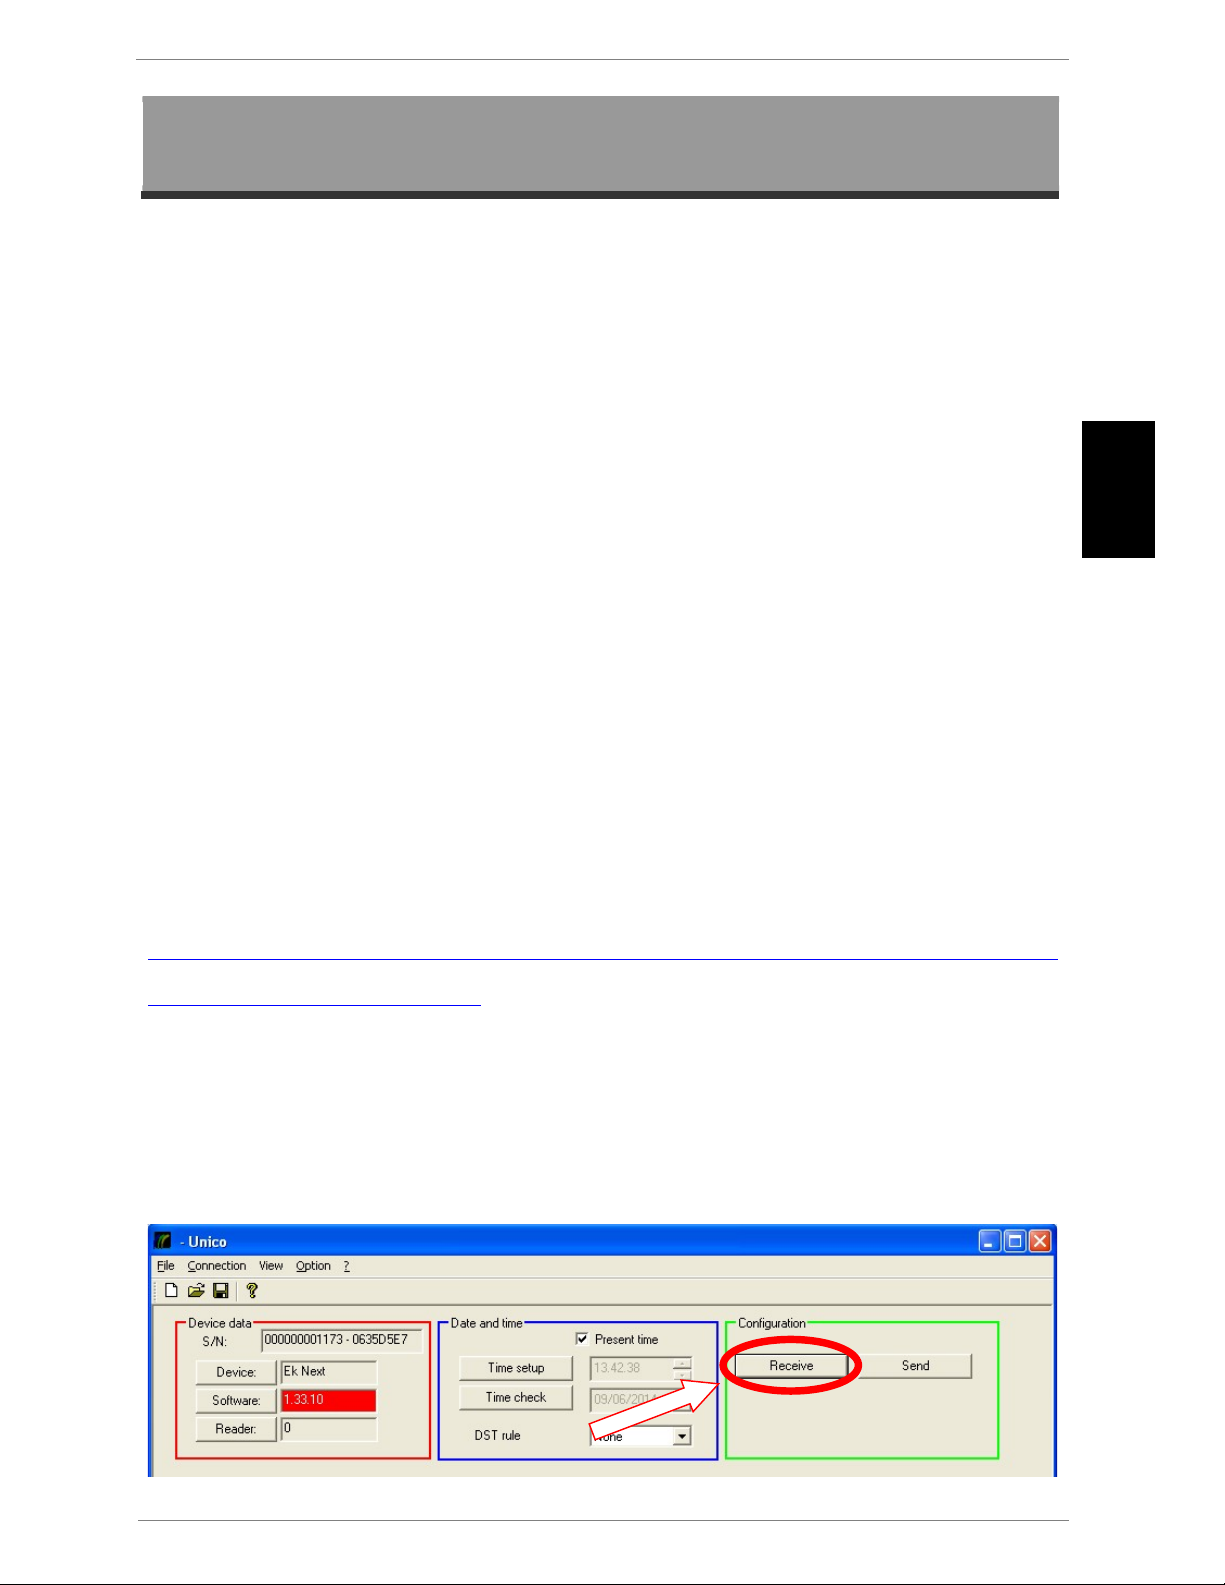
Fig. 9
Prices window will be display with the 4 boxes Price, Option, Controlled vends and
Selection. Price table allows you to assign the decrement value you need to the recharge
box’s yellow button. In this way, when you insert a key or a card into the cashless reader, you
can, by pressing the yellow button, decrement the credit of a predetermined value.
- Enter in the Price field inside the Price green box the value in Euros to decrease from the
credit (for instance in the picture below has been set the value of 1€)
- Tick on the item “All” and press on the buttons Std. Group, Group 1 and Group 2 to
assign this value to all of price groups