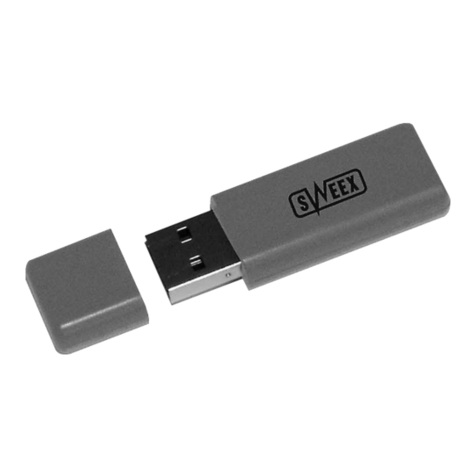
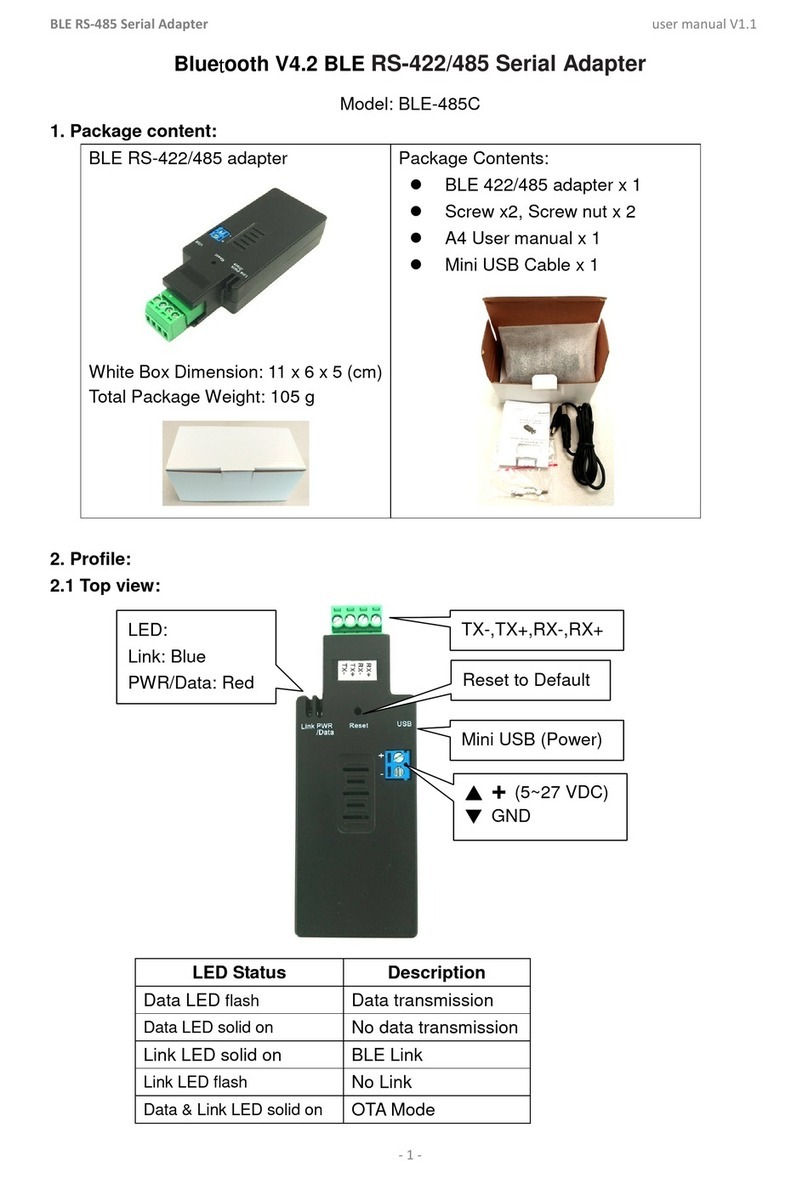
SWEEX LW311 User manual

English version
2
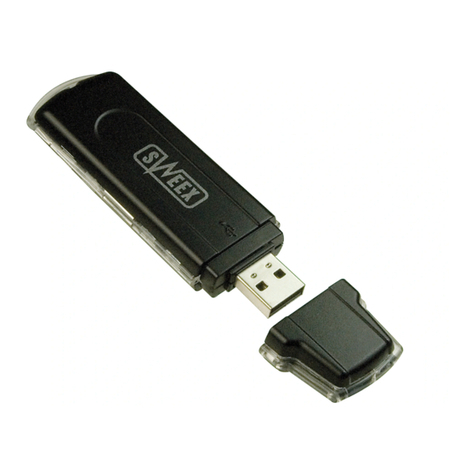
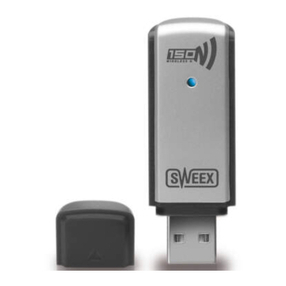
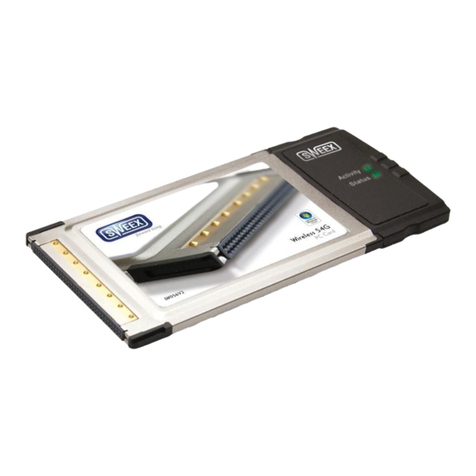
LW311 Sweex Wireless LAN Cardbus Adapter 300 Mbps
• Do not expose the Sweex Wireless LAN Cardbus Adapter 300 Mbps to extreme temperatures. Do not place the device
in direct sun light or close to heating elements.
• Do not use the Sweex Wireless LAN Cardbus Adapter 300 Mbps in extremely dusty or moist environments.
• Prevent hard shocks or impacts of the device, as this can cause damage to the internal electronics.
• Never try to open the device yourself, this voids the warranty.
Installation Windows XP and Vista
We recommend you install the software before connecting the Sweex Wireless LAN Cardbus Adapter 300 Mbps to the
computer or laptop.
Place the Sweex CD-ROM in the CD-ROM player and click “Drivers and Software”.
The following screen appears:
Click “Start” and follow the instructions on your screen.
LW311_manual_A6.indd 2 27-10-2008 10:58:22

English version
3
Connect the Sweex Wireless LAN Cardbus Adapter 300 Mbps to the computer and click “Yes”.
If this screen appears click “Cancel”.
Select “Driver Only”, click “Next” and follow the rest of the installation.
Select “Driver and Utility” if you want to use the WPS function and click “Next”.
LW311_manual_A6.indd 3 27-10-2008 10:58:22

English version
4
It is possible that Windows will notify you that the driver is not certified. This is not a problem for correctly functioning
of the Sweex Wireless LAN Cardbus Adapter 300 Mbps. All Sweex products and relevant drivers are tested thoroughly.
Choose the option "Continue Anyway".
Click “Finish” to complete the installation.
LW311_manual_A6.indd 4 27-10-2008 10:58:22

English version
5
Setting up the wireless network
How does it work?
To create a wireless network you need a wireless router, wireless modem or WiFi access point. The wireless router,
modem or access point distributes the wireless network. The name of this network, also called the SSID, is dependant on
your wireless router, modem or access point and is different per type or brand. You can often change the name, so you
can easily identify your own wireless network.
Security
A wireless network is comparable with radio signals. However, a wireless network at home does not have such a long
range. The range of a home network often has a range of 20 to 30 meters. This means that neighbours and passers-by
can also use your network. This way they can surf on your internet connection and possibly access your shared folders
and files on your network unpunished. That is why it is recommended to secure your wireless network. This security is
configured on the device that transmits the network. In most cases this is the wireless router, modem or access point.
By means of a WEP or WPA security code you can secure your network. This code is also called the network key. Enter
this code on every computer that wants to connect to the secured network. Only with this key you can be part of the
network. If you did not enter the network key yourself in the router or modem, ask the installer, manufacturer, supplier
or provider for this code.
WPS (Wi-Fi Protected Setup)
Securing the wireless network in the Sweex Wireless LAN Cardbus Adapter 300 Mbps can be done in two ways. The
trusted manual way (WEP, WPA and WPA2), where you determine and enter your own network key, or with the WPS
(WiFi Protected Setup) function, where the modem, router or access point and the computer “agree“ on a network key
and use it automatically with one push of a button to secure the network. This function only works with a modem, router
or access point that also supports WPS.
It is not possible to use both ways at the same time. Therefore, if you have computers that do not support WPS we
recommend you use the WPA security.
Connecting and securing with WPS
After activating the WPS function be pressing the WPS button on the router or via the WPS configuration, you have the
computer scan for the automatically generated network key. The network is secured automatically.
Ensure you have the Utility installed on your computer.
Start the WPS function on the modem, router or access point.
LW311_manual_A6.indd 5 27-10-2008 10:58:22

English version
6
Right-click the “Sweex Wireless Utility” icon and choose “Open Utility”.
Select the WPS Setting tab and click the “PCB” button. The Sweex Wireless LAN Cardbus Adapter 300 Mbps will now
search for the router, modem or access point that broadcasts a WPS signal and establishes a secured connection with it.
Select “PIN” if you want to use the number range under “Pin Code” as WPS network key. Then enter the code in the
router.
The found WPS routers, modems or access points will appear under WPS AP.
Under WPS profile the WPS router, modem or access point that you are connected to will appear.
LW311_manual_A6.indd 6 27-10-2008 10:58:22

English version
7
Connecting the computer to the wireless network
After installing the drivers of the Sweex Wireless LAN Cardbus Adapter 300 Mbps, you can connect your wireless
computer with the wireless network. We describe this procedure underneath.
Windows XP
At the bottom right of your screen right-click the wireless connection icon and choose “View Available Wireless
Networks”.
In this window you can see which wireless networks your computer has detected. In our example the networks
“RMA-test”, “Sweex” and “BLASTER” are found. In your situation the found network will be different than this image.
LW311_manual_A6.indd 7 27-10-2008 10:58:22

English version
8
To let the computer search again for available networks, press “Refresh network list” in the left column. This way you
can see the most current and recent situation.
The network named “Sweex” is an unsecured network. To connect your computer to it, you do not need a security code.
The network “BLASTER” does have security. To connect your computer to it you need a security code.
When you do not get a list, but a message that no wireless networks can be found, check if the wireless router, modem
or access point are turned on and that the distance to the wireless computer is not to far.
When a message appears that the wireless connection can not be configured because an other program is managing it,
turn off this software and start with the previous step.
To connect to one of the found networks, select it and click on the “Connect” button.
This message appears when you connect to an unsecured network. Click “Connect Anyway”.
This window appears when you connect to a secured network. Here you are asked for the security code. Also called
network key.
Enter the network key on both lines and click “Connect”.
When a successful connection has been established with the wireless network a message appears after a few moments
saying “Connected”. You now have a working wireless network.
LW311_manual_A6.indd 8 27-10-2008 10:58:23

English version
9
When the entered network key is incorrect a messages will pop up after a few moments telling “Limited or no
connection possibilities”. Now you do not have a good wireless connection. Check the network key. Check the wireless
router, modem or access point that has to give the computer an IP-address. A unique number that every computer has
to have when it is in a network. In most cases the computer will automatically receive an IP-address. Also check the
settings of the computer.
Windows Vista
At the bottom left of the screen go to “Start”‡. “Control Panel”
Select “View network status and tasks”.
In the left column select “Manage network connections”.
Right click “Wireless Network connection” and choose “Connect/ Disconnect”.
LW311_manual_A6.indd 9 27-10-2008 10:58:23

English version
10
Select your network and click “Connect”. When asked enter your security code to connect. You are now connected to
your network.
View the settings on your computer for Windows 2000 and XP
At the bottom left of the screen go to Start ‡“Control Panel“.
Then go to “Network and Internet Connections”. Open “Network Connections”.
Double click wireless network connections.
or when the classic view is being used;
Start ‡Settings→‡“Network connections”.
Double click “Wireless Network connection”.
A window appears that indicates the status of the wireless connection.
LW311_manual_A6.indd 10 27-10-2008 10:58:23

English version
11
Click the “Support” tab to view your IP-address. In most cases you will receive an IP-address from the wireless router or
modem when the connection has been established correctly. If it is needed to enter the IP-address settings or to change
them, go back to the “General” tab and click the “Properties” button.
Select that you want to obtain an IP-address automatically or enter the IP-address you want to use. Click “OK” to store
the settings.
View the settings on your computer in Windows Vista
At the bottom left of the screen go to “Start”‡. “Control Panel”
Select “View network status and tasks”.
In the left column select “Manage network connections”.
LW311_manual_A6.indd 11 27-10-2008 10:58:23

English version
12
Right click “Wireless Network connection” and choose “Status”.
A window appears that indicates the status of the wireless connection.
Click the “Support” tab to view your IP-address. In most cases you will receive an IP-address from the wireless router or
modem when the connection has been established correctly.
If you can not select “Status”, no connection has been made. In this case choose “Connect / Disconnect”. See chapter
“Connecting the computer to the wireless network“.
Configuring IP-address in Vista
If it is needed to enter the IP-address settings or to change them, go back to the “General” tab and click the
“Properties” button.
Select “Internet Protocol Version 4 (TCP/IPv4)” and select “Properties”.
LW311_manual_A6.indd 12 27-10-2008 10:58:23

English version
13
Select that you want to obtain an IP-address automatically or enter the IP-address you want to use. Click “OK” to store
the settings.
Warranty
For most Sweex products a warranty period of 3 years applies. On Graphics Cards and Consumer Electronics Sweex
offers 2 years of warranty. We do not give support or warranty on supplied software, rechargeable batteries and
batteries. Transaction of warranty only takes place at the sales point where the product is bought.
All brand names and associated rights mentioned in this manual are and stay property of the rightful owner.
LW311_manual_A6.indd 13 27-10-2008 10:58:23
Table of contents
Other SWEEX Adapter manuals

SWEEX
SWEEX LW153 User manual

SWEEX
SWEEX BT211 User manual

SWEEX
SWEEX LC086 User manual

SWEEX
SWEEX PA300 - QUICK_START_GUIDE User manual

SWEEX
SWEEX BT100 User manual

SWEEX
SWEEX LW056V2 User manual

SWEEX
SWEEX LD000020 User manual

SWEEX
SWEEX BT204 User manual

SWEEX
SWEEX BT203V2 User manual

SWEEX
SWEEX CR013 User manual