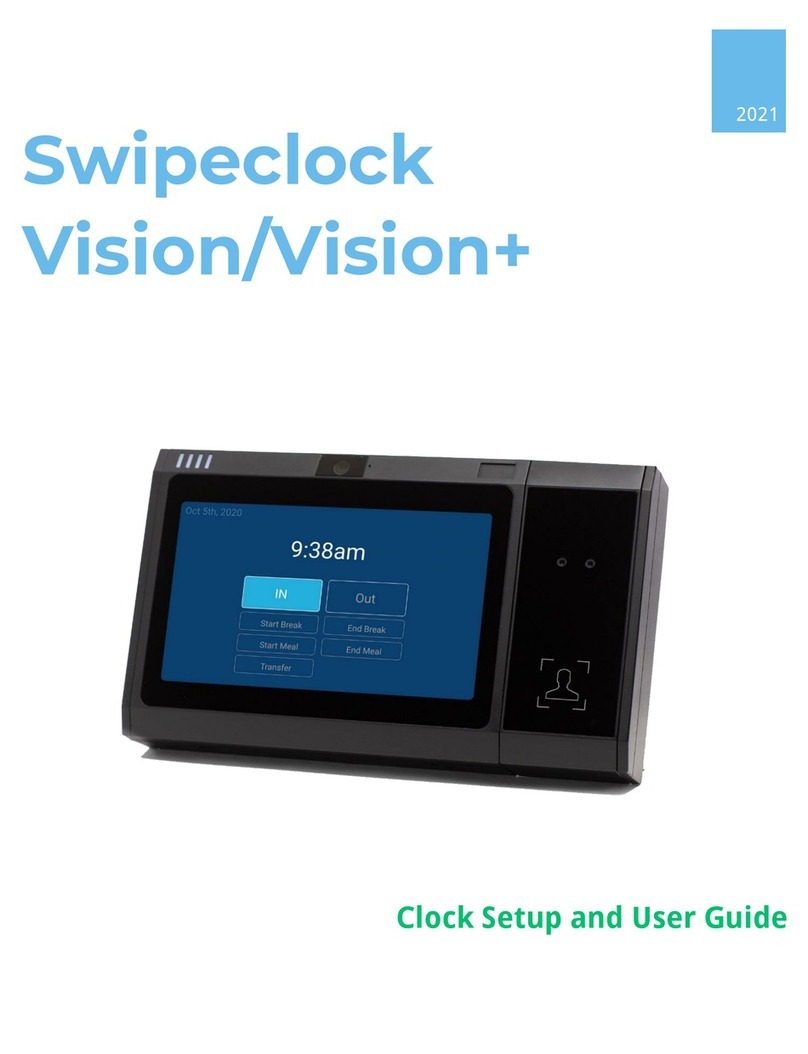
Swipeclock Touch User manual

Swipeclock Touch
Clock Setup and User Guide
2021

Swipeclock Touch Manual v2.2 1 June 28, 2021
Swipelock Touch Setup ............................................................................................ 2
1. Before You Start........................................................................................... 2
2. Connect to the Network .............................................................................. 3
3. Clock Registration ........................................................................................ 8
4. Set the Time Zone ........................................................................................ 9
5. Employee Sign-in Setup............................................................................. 11
Biometric Use ......................................................................................................... 13
6. Fingerprint Registration............................................................................. 13
7. Fingerprint Best Practices ......................................................................... 18
Additional Clock Settings........................................................................................ 20
8. "Never Sleep" Mode................................................................................... 20
9. Change Ethernet from Static IP to DHCP.................................................. 21
10. Offline Mode .............................................................................................. 21
11. Kiosk Mode................................................................................................. 21
Troubleshooting and Technical Info ..................................................................... 25

Swipeclock Touch Manual v2.2 2 June 28, 2021
Swipelock Touch Setup
Swipeclock Touch is designed to be wall mounted. Access to the mounting
screws and various device connections is gained by opening the front cover of
the clock. To help guide you through this process, a diagram of how to open the
clock is located at the end of this manual. The Swipeclock Touch Installation
Guide also includes full physical setup instructions. Once installed, connect the
clock to your network using the instructions in this guide. The following
Before
You Start
section is designed to self-document the required network and
account information needed to connect to the internet.
1. Before You Start
Before you can use Swipeclock Touch, it needs to connect to the internet and be
linked to your timekeeping account. Review and fill in the following items
needed for registration:
1. Connectivity Method (Ethernet or Wi-Fi) –The default connection type
for Swipeclock Touch is to use the Ethernet connection and acquire an IP
address through DHCP. If that applies to your network, then no additional
network configuration is required. However, if your network requires a
static IP
, or you are connecting via Wi-Fi, fill in the following fields for
reference:
•For Ethernet with a static IP, ask your network administrator for the
following information:
Static IP: _______________________________________________________
Gateway: _______________________________________________________
DNS: _______________________________________________________
•For Wi-Fi,have your network’s name and password:
Wi-Fi ID: _________________________________________________
Wi-Fi Password: _________________________________________________

Swipeclock Touch Manual v2.2 3 June 28, 2021
2. Timekeeping Login and Password –In addition to network information,
you also need your login and password to the timekeeping system.
Throughout this manual, when you are asked to enter your login and
password, it always refers to the timekeeping credentials. In most cases,
any user with Administrator-level (or higher) access to the timekeeping
system can register the clock. If you are unsure of your level of access or
have problems registering the clock, please contact your provider for
assistance.
3. Battery Installation - If you purchased a backup battery or your clock
came with a battery, follow the installation instructions in the Installation
Guide, which includes connecting the battery to the connector within the
clock housing.
2. Connect to the Network
To connect to your network, follow the instructions that correspond to your
network setup: Ethernet or Wi-Fi.
Ethernet Setup
If you are connecting the clock to your network via Ethernet, then registration
may be possible without any additional network configuration. It depends on
whether your network uses DHCP for assigning devices an IP address or
requires each device to have a static IP.
If your network uses DHCP, then once the clock has power and is connected
to you network with the supplied RJ-45 cable, it automatically connects to the
internet within moment of powering up. Proceed to
section 3,

Swipeclock Touch Manual v2.2 4 June 28, 2021
Clock
Registration.
If your network requires a static IP, then follow these configuration steps:
1. Tap the gear icon near the top right corner of the login screen.
2. Select UPDATE WIRED SETTINGS on the
CLOCK SETTINGS
tab.
3. Confirm you want to leave the Swipeclock Touch app.
2.1 Access CLOCK SETTINGS with the gear icon on the initial registration page
2.2 Configure a static IP with UPDATE WIRED SETTINGS

Swipeclock Touch Manual v2.2 5 June 28, 2021
4. Select Ethernet configuration on the Ethernet settings screen.
5. Under
Connection Type
, select Static IP.
6. Enter the IP, Gateway, and DNS information provided by your network
administrator. Netmask normally does not need to be changed, but if it is
needed, your network administrator can provide that information.
7. Select Save.
8. Press the Home button near the bottom of the screen.
Changes are saved upon exit and you will be returned to the initial login
screen.
You can proceed to section 3,
2.3 Select "Ethernet configuration" on the device's Ethernet Manager app screen to alter the network
configuration

Swipeclock Touch Manual v2.2 7 June 28, 2021
Wi-Fi Setup
To connect your clock to Wi-Fi, follow these configuration steps:
1. Tap the gear icon near the top right corner of the initial login screen to
access the Clock Settings page.
2. Select UPDATE WIFI SETTINGS on the
CLOCK SETTINGS
tab.
2.5 Configure the Wi-Fi with UPDATE WIFI SETTINGS
3. Confirm that you want to leave the Swipeclock Touch app.
2.4 Use the gear icon on the initial clock registration screen to set up Wi-Fi connectivity

Swipeclock Touch Manual v2.2 8 June 28, 2021
4. Set the Wi-Fi toggle to ON.
5. Select your network from the list.
6. Enter your Wi-Fi network password.
7. Press the Home button.
Changes are saved upon exit and you will be returned to the initial login
screen.
You can proceed to section 3,
2.6 Enable Wi-Fi for the device and select your network from the list

Swipeclock Touch Manual v2.2 9 June 28, 2021
Clock
Registration.
Wi-Fi Signal Strength
Wi-Fi networks are more susceptible to signal interruptions; an Ethernet
connection is generally more reliable than Wi-Fi. To check the strength of your
Wi-Fi, use the indicator. If it is 50% or less, we recommend you boost your Wi-Fi
signal or use an Ethernet connection.

Swipeclock Touch Manual v2.2 10 June 28, 2021
3. Clock Registration
Registration associates the clock with your timekeeping system. Before
registering the clock, make sure you have connected to your network and have
access to the internet. See section 2,
Connect to the Network
, for instructions
on this process.
1. From the clock's initial registration screen
(see figure 2.1),
enter your
login and password.
2. On the
Register clock
screen, tap the Assign Clock to dropdown and
select your timekeeping account by name (it may be preselected for you).
You do not need to enter the clock's serial number; it is filled in
automatically.
3. The following fields are optional when registering the clock and are visible
on the timekeeping system's Clock Status page:
a. Clock name labels the clock. This is helpful when you have
multiple clocks and are checking clock status in the timekeeping
system.
b. Clock location is used in conjunction with a Location Stamp which
automatically records the clock's location on the time card. Contact
your timekeeping provider for assistance with location stamps.
c. Note is for any additional data, like “Date in service”.
4. Tap Register Clock.
3.1 The clock registration screen is where you assign the clock to your timekeeping account

Swipeclock Touch Manual v2.2 11 June 28, 2021
The clock confirms registration with a green confirmation screen. You can either
press Got It or wait for the clock to advance on its own.
Once registration is complete, you will see the clock entry screen. You can
proceed to section 4,
Set the Time Zone
.
"Update Downloading"
After a few moments of inactivity, the clock checks for any updates to the
Swipeclock Touch app. If an update is available, it automatically downloads it
and "update downloading" appears on the screen. This process is followed by a
restart and should only take a few minutes. You can check the version of your
clock's software, as well as force it to check for an update, on the Clock Info tab.
4. Set the Time Zone
To set the time zone:
1. Tap the gear icon on the top right of the clock entry screen.
2. Enter your login and password.
3. Select the Clock Settings tab.
3.2 Confirmation that the clock is registered

Swipeclock Touch Manual v2.2 12 June 28, 2021
4. Tap UPDATE TIME AND TIMEZONE from the
CLOCK SETTINGS
tab.
5. Confirm that you want to leave the Swipeclock Touch app.
6. Automatic date & time does not actually affect the time zone of the clock;
instead, manually set the time zone by tapping Select time zone
1
.
1
Setting the time zone on Swipeclock Touch only affects the time
displayed
on the clock. Punches
collected and sent to our servers will use the time zone designated in the timekeeping application.
4.1 Set the clock's time zone from the CLOCK SETTINGS screen with UPDATE TIME AND
TIMEZONE

Swipeclock Touch Manual v2.2 13 June 28, 2021
7. Scroll through the list and select your time zone.
8. Exit the page with the Home button at the bottom of the screen.
Changes will be saved automatically upon exit.
5. Employee Sign-in Setup
How employees are identified at the clock is determined with these sign-in
methods:
•PIN –An employee identifies themselves with a number.
•Biometric scan –A fingerprint is scanned.
•Enforce biometrics w/ PIN backup –Similar to Biometric Scan, but after
two failed scans, the employee is asked to enter a PIN.
•Proximity Card –An employee scans a card in front of the clock's RFID
sensor.
PIN, Biometric scan, and Proximity card are all enabled by default.
To configure the clock's Sign-In Methods:
1. From the clock entry screen, click the gear icon in the top right corner.
2. Enter your login and password.

Swipeclock Touch Manual v2.2 14 June 28, 2021
3. Select the Clock Settings tab and configure the sign in methods with the
corresponding switches.
2
4. Any changes are saved upon exit. Tap the X at the top right of the screen
to return to the clock entry screen.
Once Sign-In Methods are set, the clock only accepts entries from employees
using the enabled methods.
2
You can configure any combination of these methods except for Enforce biometrics w/ PIN backup.
This option disables both PIN and Biometric scan.
5.1 Sign-in methods (how an employee is identified at the clock) are configured on the CLOCK
SETTTINGS screen

Swipeclock Touch Manual v2.2 15 June 28, 2021
Biometric Use
Swipeclock Touch comes with a biometric scanner that eliminates buddy
punching. An employee simply places their finger on the scanner and the clock
looks for a match from its database. If a match is found, the employee
completes their punch by selecting IN, OUT or another punch type.
This section explains the process of enrolling prints and other items related to
this feature.
6. Fingerprint Registration
An employee's print must be enrolled on Swipeclock Touch before they can
clock in and out. Registration is the process of recording landmarks (not the
actual print) from an employee’s finger onto the clock and subsequently, the
timekeeping system's servers.
Before enrolling an employee, they must be entered in the timekeeping system.
See your timekeeping system's online knowledge base for more information on
adding employees.
IMPORTANT:
The clock must be connected to the internet to enroll prints.
Access Print Registration and Select Employee
1. From the clock entry screen, access the Settings tabs by tapping the
gear icon.
2. Enter your username and password.
3. Choose the Fingerprints tab. This may be the only tab you see.

Swipeclock Touch Manual v2.2 16 June 28, 2021
4. Select Add Employee Fingerprint.
5. Search and select the employee by name. You can narrow the results by
typing the first or last name with the onscreen keyboard.
If the employee already has a print enrolled, it is indicated
underneath their name. Employees can only have one print enrolled on
Swipeclock Touch.
6.1 Fingerprint registration is done from the FINGERPRINTS tab
6.2 If an employee already has a print enrolled, it will be indicated on the selection screen

Swipeclock Touch Manual v2.2 17 June 28, 2021
If you see the message indicating the employee already has an enrolled
print, you can select Nevermind to keep the print and return to the clock
entry screen. If you would like to replace the enrolled print, continue to
the next step.
6. Select Continue and proceed with the Registration Process, which is
detailed in the next section.
Register the Fingerprint
During print registration, the clock takes three individual scans of the
fingerprint. Employees need to rest their finger on the sensor—not swipe,
stab, or press. It should rest on the sensor until the clock gets a good reading.
6
.
3
The clock prompts the employee to place their finger on the sensor
After each scan, the clock beeps and the employee should remove their finger
from the sensor and repeat, as instructed by the clock.

Swipeclock Touch Manual v2.2 18 June 28, 2021
After each scan, the screen displays an image of the fingerprint with a score
indicating the quality of the scan. The clock needs at least one scan with a score
of 65 or higher.
Once three scans are completed and the employee has at least one scan of 65
or higher, the clock stores the landmarks from the highest scored fingerprint.
6.4 After each scan, the quality is indicated with a Print Score
6.5 A successful registration requires at least one scan with a quality score greater than 65

Swipeclock Touch Manual v2.2 19 June 28, 2021
In this case, the screen will be green, and you have the option to Add Another
employee fingerprint or return to the clock entry screen by selecting Done.
If no fingerprint scored at least a 65, the screen turns red, and you should select
Try Again to attempt once more, perhaps with a different finger that may have
a more defined print.
6
.
6
If none of the three scans score above 65, you are prompted to try again
You may also want to check for tips in section 7,
Fingerprint Best Practices
.
If You Still Can't Get a Successful Scan
In some cases, an employee's fingerprints may be too worn to get an accurate
scan. If you feel like this is the case, and getting a successful registration is not
possible, click Done on the print registration failure page and consider adding a
Trusted PIN for the employee. Check your timekeeping system's online
knowledge base for more information on Trusted PINs.
Employee Instructions
Detailed instructions on how employees punch in and out can be found in your
timekeeping system's online knowledge base.
Table of contents
Other Swipeclock Clock manuals
Popular Clock manuals by other brands

La Crosse Technology
La Crosse Technology W85961 quick start guide

La Crosse Technology
La Crosse Technology WT-8002U instruction manual

La Crosse Technology
La Crosse Technology WT-3161BK quick start guide

LA CROSSE CLOCK
LA CROSSE CLOCK 404-4525 manual

Sharp
Sharp SPC906 instruction manual

Gira
Gira 1175112 operating instructions