manuals.online logo
Brands
  1. Home
  2. •
  3. Brands
  4. •
  5. American Time
  6. •
  7. Clock
  8. •
  9. American Time PGE441RFE-W Instruction Manual

American Time PGE441RFE-W Instruction Manual

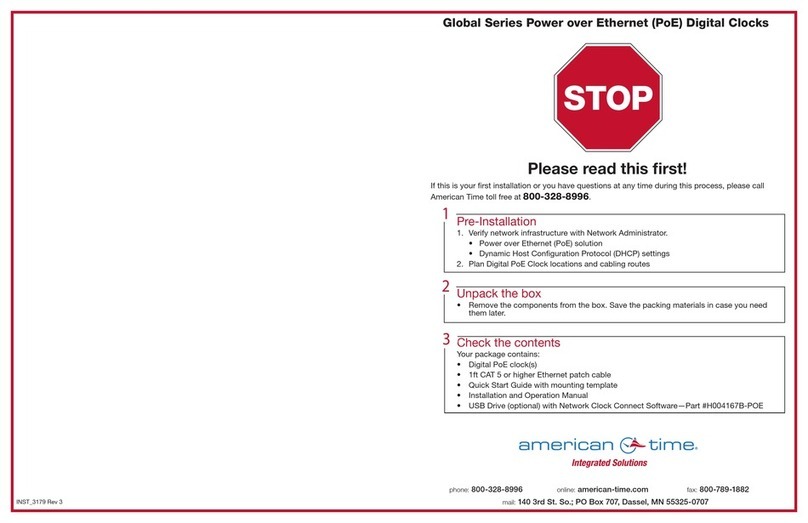
Flush-Mount PoE Digital Clock Quick Start Installation Guide
Please read this rst!
If this is your rst installation or you have questions at any time during this process,
please call American Time toll free at 800-328-8996.
phone: 800-328-8996 online: american-time.com fax: 800-789-1882
mail: 140 3rd St. So.; PO Box 707, Dassel, MN 55325-0707
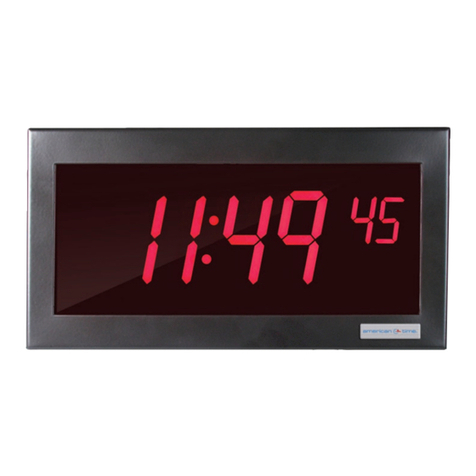
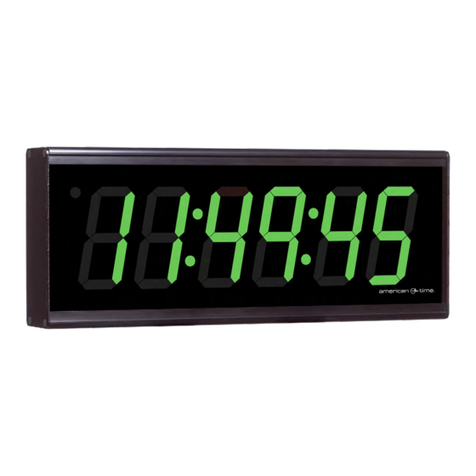
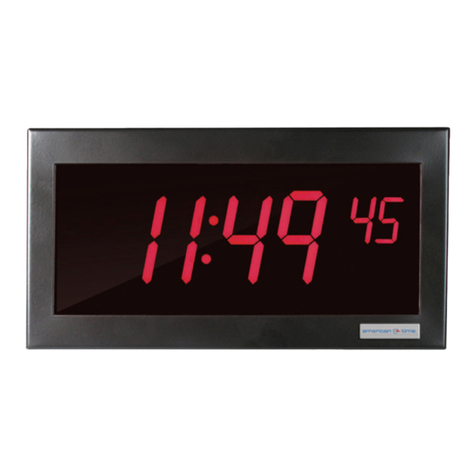
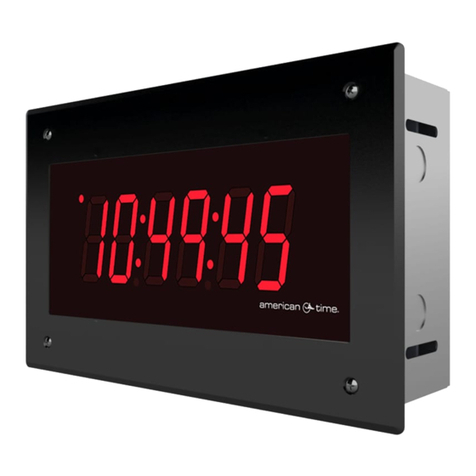
American Time flush-mount digital clocks are multi-function corrective clocks, using a Power
over Ethernet (PoE) connection to both power the clock and provide a network connection for
correcting the time via Simple Network Time Protocol (SNTP). These clocks use the correction
protocol to continuously update the time and perform adjustments for Daylight Saving Time.
6-digit flush mount clocks can be used with the optional Timer Control Station (TCS) to perform
Elapsed Time Indicator (ETI) and Code Blue functions. Instructions on controlling the ETI and
Code Blue features are covered in the TCS documentation.
Introduction
WARNING: Hazardous voltage in electrical equipment can cause severe personal injury or
death. Inspection, installation, and preventive maintenance should only be performed on
equipment to which power has been turned off, disconnected and electrically isolated so no
accidental contact can be made with energized parts.
CAUTION: This equipment contains electronic devices that are sensitive to static electric
charges. To guarantee protection for the circuitry of this unit, it is required that electrostatic
handling precautions be observed when installing or repairing this equipment. Any technician
or other personnel working on this unit must wear a static grounding wrist strap or similar
device to provide protection of sensitive components.
Safety
!
Configuration
Adjustments via Network Clock Connect
NOTE: All modications to settings should be performed on the inCloud Management Portal.
Network Clock Connect should only be used for ush clock customers who are not using inCloud.
1. Download Network Clock Connect. Find it online: american-time.com
Navigate to: SUPPORT > PRODUCT DOCUMENTATION > select FIRMWARE > SEARCH
Click on Network Clock Connect.
The software will automatically download. It is also available from the optional USB
Drive (H004167B-POE, purchased separately).
2. Install Network Clock Connect application – Password = clock4u (default)
3. Network Clock Connect will allow you to congure:
• Network address settings
• Time Synchronization settings
• Daylight Saving Time settings
For more details, reference the PoE Analog and Global Series Digital Manual.
H005137 Rev 2 Dec 2020
Conguring Clocks to the inCloud Portal - Browser Method
1. Navigate to the inCloud portal: incloud.american-time.com
Log in using the credentials supplied in the welcome e-mail from American Time.
2. Click on the green "Setup New" button in the PoE Devices bar on the Device List page.
This will open the Setup Network Device List, which will list all the clocks assigned to your
site by American Time.
3. Find the clock's MAC address and provide a Title and (if desired) description for the clock.
Repeat this for each clock in the list.
• The MAC address can be searched using the last ve characters of the address including
the colon (for example, AA:11) in the search bar.
4. Once this is complete, all clocks will be listed under the Device List. To access this,
click on Devices in the site menu.
5. The clocks will remain in a semi-provisioned state until they report in to the portal. As
long as the clocks have not yet been powered up, this should occur once power is
connected. Otherwise, this may take up to 15 minutes to occur.
The inCloud Management Portal is a fast and intuitive tool for setting up, monitoring and
managing American Time products. Get your devices up and running more quickly, efficiently
manage their status, and easily make changes. inCloud includes features such as:
• Indicators for clock status and time sync
• Time server management
• Brightness, 12/24-hour display, and other settings and controls
• Default and custom configuration setups, to maintain consistent settings across all clocks
With the inCloud management portal you can set up, monitor and manage your American Time
network clocks easily and from anywhere.
incloud.american-time.com
The flush-mount digital clock is designed to be mounted into a wall cavity, similar to a single
or double gang box. Ensure that installation conforms to the National Electrical Code and
local wiring codes.
NOTE: If installing the clock to be used with a Timer Control Station, the clock and TCS
must be no more than 30-ft apart.
CAUTION: Electric Shock Hazard!
Ensure that NO electrical power is
present on any wire before installation.
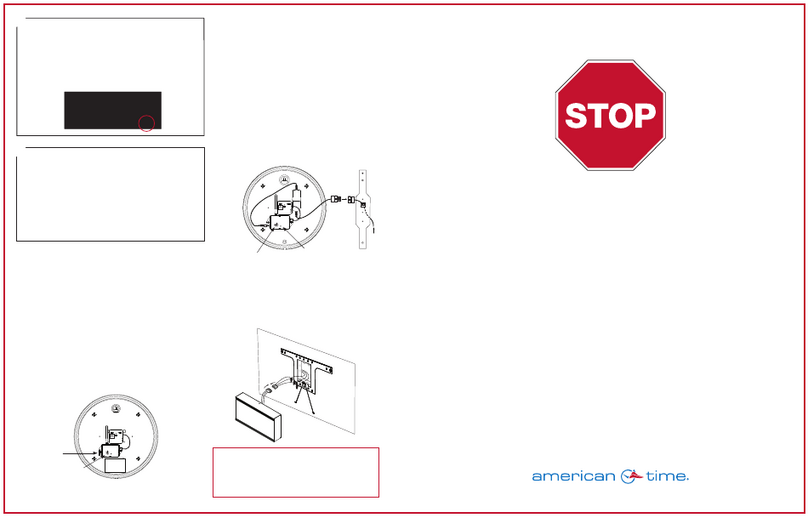
1. Remove the four sheet metal screws
(C) that hold the cover assembly (B)
and enclosure base (A) together. Be
sure to keep the sheet metal screws for
reassembly.
2. Mount the enclosure base (A) into the
wall by attaching the side of the back box
to a stud. Opening is 12.75" x 7.75" x
3.625".
If you are installing a Timer Control Station, proceed to Step 3. To finish clock installation
without a Timer Control Station, proceed to Step 6.
3. Pull the wiring from the Timer Control Station through the knockouts in the enclosure.
4. Connect the Timer Control Station wiring to the provided terminal plugs. See wiring detail
in the ATSTCS documentation for detailed wiring information.
5. Connect the terminal plug(s) to the terminal blocks on the clock as described in the
ATSTCS documentation.
6. Pull the CAT 5 or higher Ethernet cable (D) through a knockout in the enclosure.
7. Connect the Ethernet cable to the RJ45 jack on the clock's circuit board. The clock should
power on and obtain a connection, displaying a time within 45 seconds.
8. Re-attach the cover assembly (B) to the enclosure base (A) using the sheet metal screws
(C) removed in Step 1.
Specifications
PoE
Weight 6.5 lbs (3 kg)
Box Dimensions 12.625" x 7.325" x 3.5" WxHxD (32 x
18.6 x 8.9 cm)
Faceplate Dimensions 13.5" x 8.5" WxH (34.3 x 21.6 cm)
Code Blue Current 3.0mA maximum at 12-30VAC/VDC
Operating Temperature 30°-104°F (0°-40°C)
Humidity 95% relative humidity at 86°F (30° C)
maximum, non-condensing
Display Modes 12-hour or 24-hour, user-configurable
Accuracy ±1 second
Certifications
Electromagnetic Emissions
EN 55032:2012/AC:2013 Class B
FCC 15.107:2018 Class B
FCC 15.109:2018 Class B
ICES-003:2016 Class B
Power Consumption (red digits)
Average Max
2.5" 6-digit 6.5W 8.0W
4" 4-digit 5.5W 7.0W
General Maintenance
American Time digital clocks require minimal maintenance. Cleaning should be done with
nothing more than a microber towel, moistened with water or a mild alcohol solution. No
abrasive materials should be used to clean the clock, as it will result in scratching of the
case or lens.
Avoid contact with the internal components of the clock when unpacking or preparing
for installation, or if the clock is disconnected after installation. Contact with the internal
components when the clock is not grounded can result in electrostatic discharge, which
could damage the clock.
Installation
A
B
C
D

This manual suits for next models

3

Other American Time Clock manuals

American Time SQA461RSxE User manual

American Time

American Time SQA461RSxE User manual

American Time SiteSync IQ Instruction Manual

American Time

American Time SiteSync IQ Instruction Manual

American Time DSY261RSAE User manual

American Time

American Time DSY261RSAE User manual

American Time SQA261RSAEA User manual

American Time

American Time SQA261RSAEA User manual

American Time ALLSYNC IQ MASTER Instruction Manual

American Time

American Time ALLSYNC IQ MASTER Instruction Manual

American Time SiteSync IQ Instruction Manual

American Time

American Time SiteSync IQ Instruction Manual

American Time Global Series Instruction Manual

American Time

American Time Global Series Instruction Manual

American Time DSY261RSxE User manual

American Time

American Time DSY261RSxE User manual

American Time SSIQ Instruction Manual

American Time

American Time SSIQ Instruction Manual

American Time AllSync IQ ASQMSTR-00X8E User manual

American Time

American Time AllSync IQ ASQMSTR-00X8E User manual

American Time SiteSync IQ Instruction Manual

American Time

American Time SiteSync IQ Instruction Manual

American Time SiteSync IQ User manual

American Time

American Time SiteSync IQ User manual

American Time Wi-Fi Battery Analog Clock Instruction Manual

American Time

American Time Wi-Fi Battery Analog Clock Instruction Manual

American Time SiteSync IQ Instruction Manual

American Time

American Time SiteSync IQ Instruction Manual

American Time SiteSync IQ Operating instructions

American Time

American Time SiteSync IQ Operating instructions

American Time SiteSynq IQ User manual

American Time

American Time SiteSynq IQ User manual

American Time SiteSync IQ User manual

American Time

American Time SiteSync IQ User manual

American Time SiteSync IQ Instruction Manual

American Time

American Time SiteSync IQ Instruction Manual

American Time SiteSync IQ Instruction Manual

American Time

American Time SiteSync IQ Instruction Manual

American Time AllSync Plus User manual

American Time

American Time AllSync Plus User manual

American Time ALLSYNC IQ Instruction Manual

American Time

American Time ALLSYNC IQ Instruction Manual

American Time H004595 Setup guide

American Time

American Time H004595 Setup guide

American Time H004817 User manual

American Time

American Time H004817 User manual

American Time WN261RSxE User manual

American Time

American Time WN261RSxE User manual

Popular Clock manuals by other brands

Bodet SIGMA H Installation and start-up instructions

Bodet

Bodet SIGMA H Installation and start-up instructions

La Crosse Technology KWS-8140-BK instruction manual

La Crosse Technology

La Crosse Technology KWS-8140-BK instruction manual

Pyramid TTEZEK TIMETRAX EZ ek quick start guide

Pyramid

Pyramid TTEZEK TIMETRAX EZ ek quick start guide

La Crosse Technology 83193-BHG quick start guide

La Crosse Technology

La Crosse Technology 83193-BHG quick start guide

Muji MJ-DBC2 user manual

Muji

Muji MJ-DBC2 user manual

La Crosse Technology WT-3181 user manual

La Crosse Technology

La Crosse Technology WT-3181 user manual

Geevon T208614C-1 user manual

Geevon

Geevon T208614C-1 user manual

Bering 90162-22R instruction manual

Bering

Bering 90162-22R instruction manual

KARE design 36194 quick start guide

KARE design

KARE design 36194 quick start guide

Meinberg GPS169PCI operating instructions

Meinberg

Meinberg GPS169PCI operating instructions

Pyramid 4000 Installation and operation instructions

Pyramid

Pyramid 4000 Installation and operation instructions

Studio Technologies Dante 5402 user guide

Studio Technologies

Studio Technologies Dante 5402 user guide

Oregon Scientific IWA-80055 User instructions

Oregon Scientific

Oregon Scientific IWA-80055 User instructions

Frank Techniek IN14-6-V2 user manual

Frank Techniek

Frank Techniek IN14-6-V2 user manual

GREENHURST 4372 quick start guide

GREENHURST

GREENHURST 4372 quick start guide

Ambient Weather TIDECLOCK-25 user manual

Ambient Weather

Ambient Weather TIDECLOCK-25 user manual

Geevon 22116 user manual

Geevon

Geevon 22116 user manual

Dakota Digital VLK-57C Installation

Dakota Digital

Dakota Digital VLK-57C Installation

manuals.online logo
manuals.online logoBrands
  • About & Mission
  • Contact us
  • Privacy Policy
  • Terms and Conditions

Copyright 2025 Manuals.Online. All Rights Reserved.