Biking
5.4. Starting off
It is very easy to ride the swizzbee. Get on
the bike choose a medium speed transfor-
mation (e.g. front large chainring, rear
sixth gear). Pedal easily but firm and the
rest happens automatically.
The engine will reach its full performance
by a cadence of 60 revolutions per minute
(1 revolution per second). This default set-
ting can be altered by the function keys
(see chapter “function keys”).
The sensor measures the cadence and
the electronic unit controls the engine. The
engine will enforce each of your pedal
movements automatically.
5.5. 3x9 derailleur
All swizzbee models are equipped with a
state of art 3x9 derailleur of Sram. The
offered gear range can be easily controlled
by functional twist shifters.
5.5.1. Front derailleur threefold
· H (high) large chainring: level areas,
downhill grade, slight slopes, run up at
level areas.
· Middle: medium chainring: medium
slopes, run up at an uphill grade.
· L (low) small chainring: steep slopes,
run up at a steep uphill grade.
10
Use the left twist shifter, like riding a moun-
tain-bike, to choose a speed transforma-
tion ratio for the front derailleur.
The settings correspond to the following
biking conditions:
It is recommended to pre-set the derailleur
according to one of the above-mentioned
conditions. Also use the ninefold derailleur
to select a gradation that you prefer.
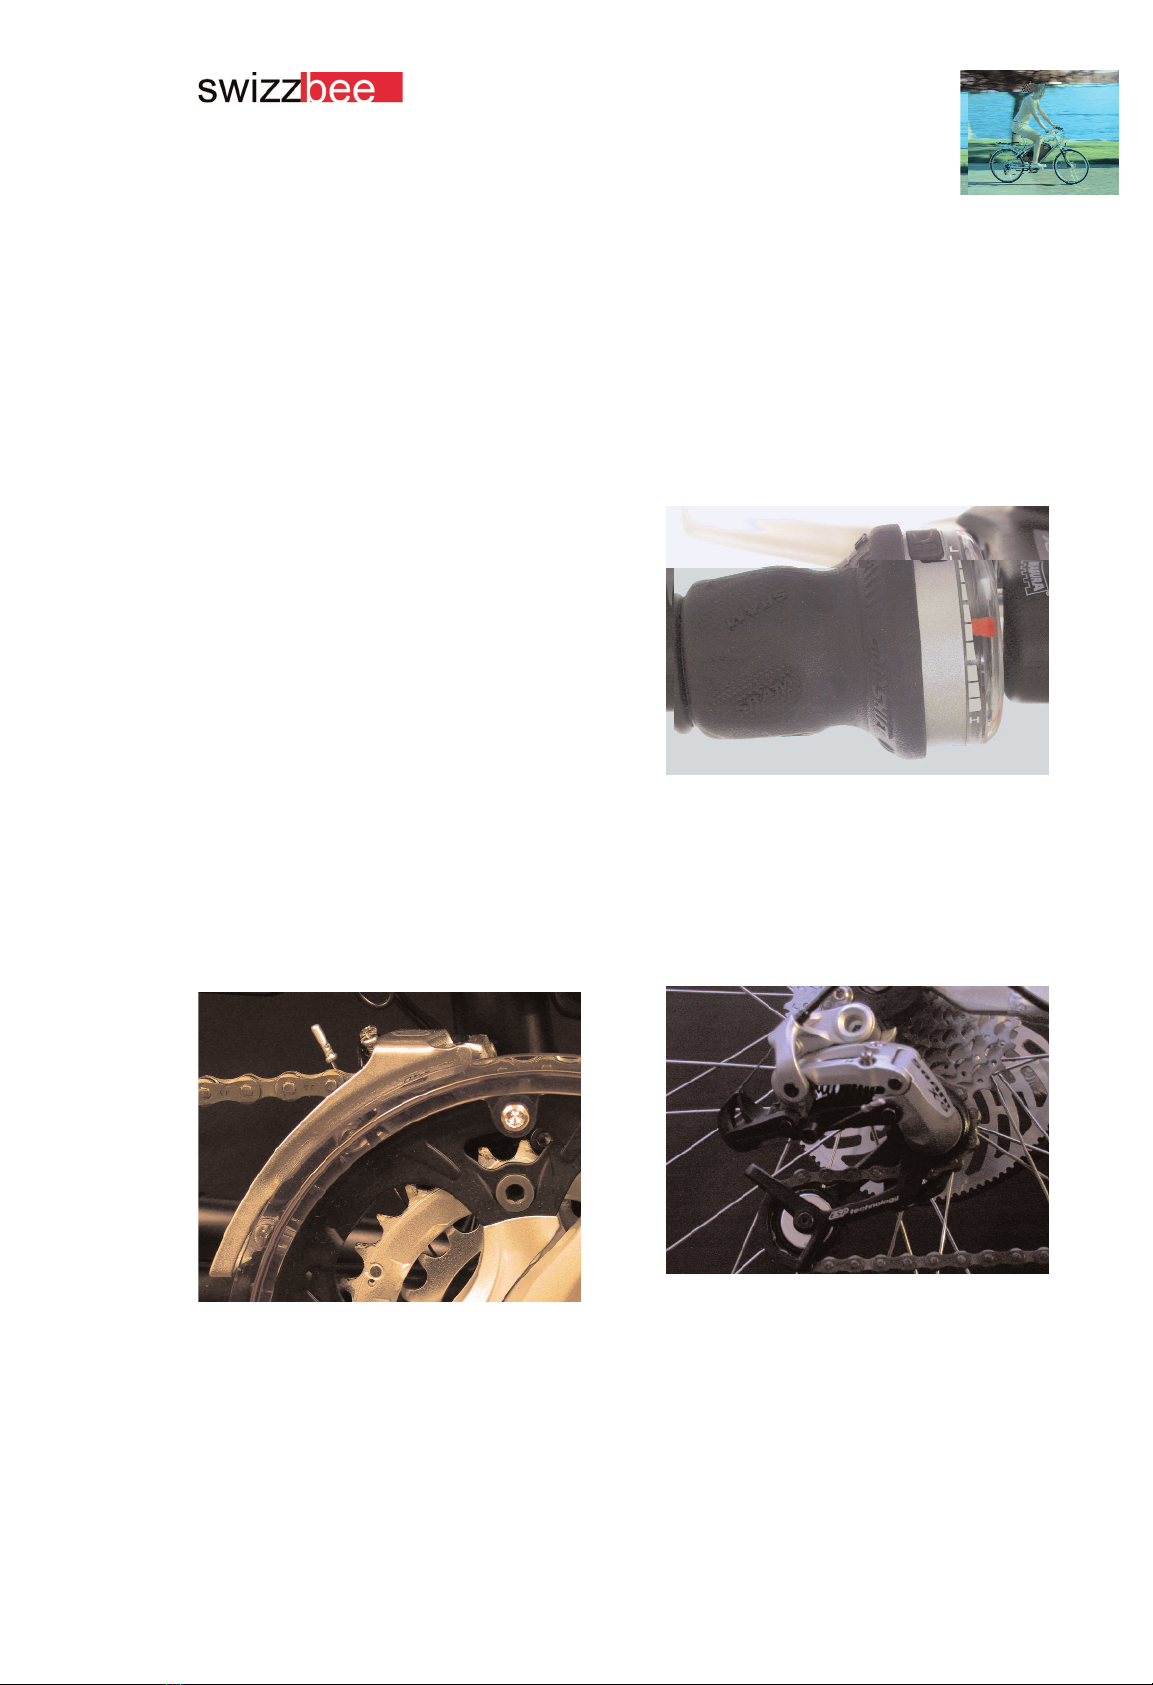
5.5.2. Rear derailleur ninefold
Use the right twist shifter to control the
ninefold rear derailleur to select a comfor-
table speed transformation ratio. Try to
choose a speed transformation ratio that
allows you to reach a cadence of 60 revo-
lutions per minute (1 revolution per
second) in a comfortable way. At this
cadence you will gain the optimal support
by the "swizzbee Intellimatic".