4Chapter 1: Before You Start
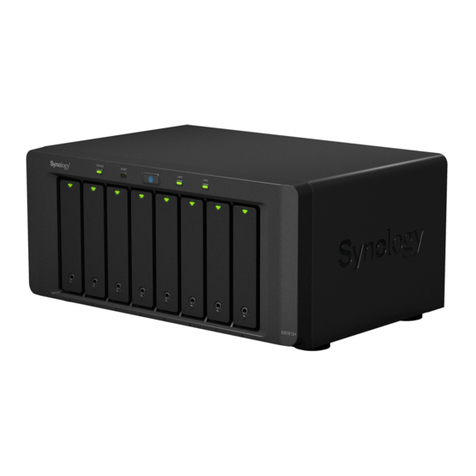
Synology RXD1219sas at a Glance
No. Article Name Location Description
1Power Indicator
Front
Displays the power status.1
2 ALERT Indicator Displays warnings regarding fan or temperature status. For more
information, please see "LED Indicator Table".
3Beep O Button Press to deactivate the beeping sound that is emitted when a malfunction
occurs.
4Drive Status Indicators Displays the status of drives. For more information, please see "LED
Indicator Table".
5Drive Tray Install drives (hard disk drives or solid state drives) here.
6Rail Kit Release Tab Push in and hold to release the Synology server from the rail kit lock.2
7 Power Port
Back
Connect power cords here.
8PSU Indicator and
Beep O Button
Displays the status of the power supply unit (PSU). Press to deactivate
the beeping sound that is emitted when a malfunction occurs. For more
information, please see "LED Indicator Table".
9PSU Fan Disposes of excess heat and cools the PSU.
10 STATUS Indicator Displays the status of the system. For more information, please see "LED
Indicator Table".
11 ALERT Indicator Displays warnings regarding fan or temperature. For more information,
please see "LED Indicator Table".
12 Expansion Unit ID Indicator Indicates the ID number of the expansion unit.
13 SAS IN Port and Indicator Connects to the SAS OUT port of a Synology server or another expansion
unit. For more information, please see "Connect with Synology Server".
14 SAS OUT Port and Indicator Connects to the SAS IN port of another expansion unit. For more
information, please see "Connect with Synology Server".
15 SAS Module Connects to a Synology server or the SAS module of another expansion
unit. For more information, please see "Connect with Synology Server".
1RXD1219sas automatically powers on when the power cord is plugged into the power source. For more information, please see "Connect with Synology
Server".
2For more information about the rail kit installation, please refer to the Quick Installation Guide that comes with the rail kit.


