Syntace GmbH · Dammweg1 · 83342 Tacherting · Germany · Tel. +49 (0)8634-66666 · Fax: -6365 · syntace@syntace.de · www.syntace.de
• Remove tire levers an insert greased (threads and head contact
area) clamping screws.
• Before you tighten the clamping screws of the connector clamps,
adjust bar to desired position.
• Tighten the bolts of the connection clamps with a maximum torque
as specified on the clamps.
• Now align shifter pods and brake levers and tighten with the re-
quired torque.
TIP: Old motocross trick: only tighten brake levers enough so
that they can still get twisted in case of a crash. You will save a
lot of time and money from bent or broken levers.
• Now install grips, computers or other accessories onto bar.
TIP: Problems mounting/removing grips? The Syntace
Screw-on Gripz slide easily onto the bar. Tighten slightly (3Nm)
with a 5mm Allen wrench – done!
Pic. 2
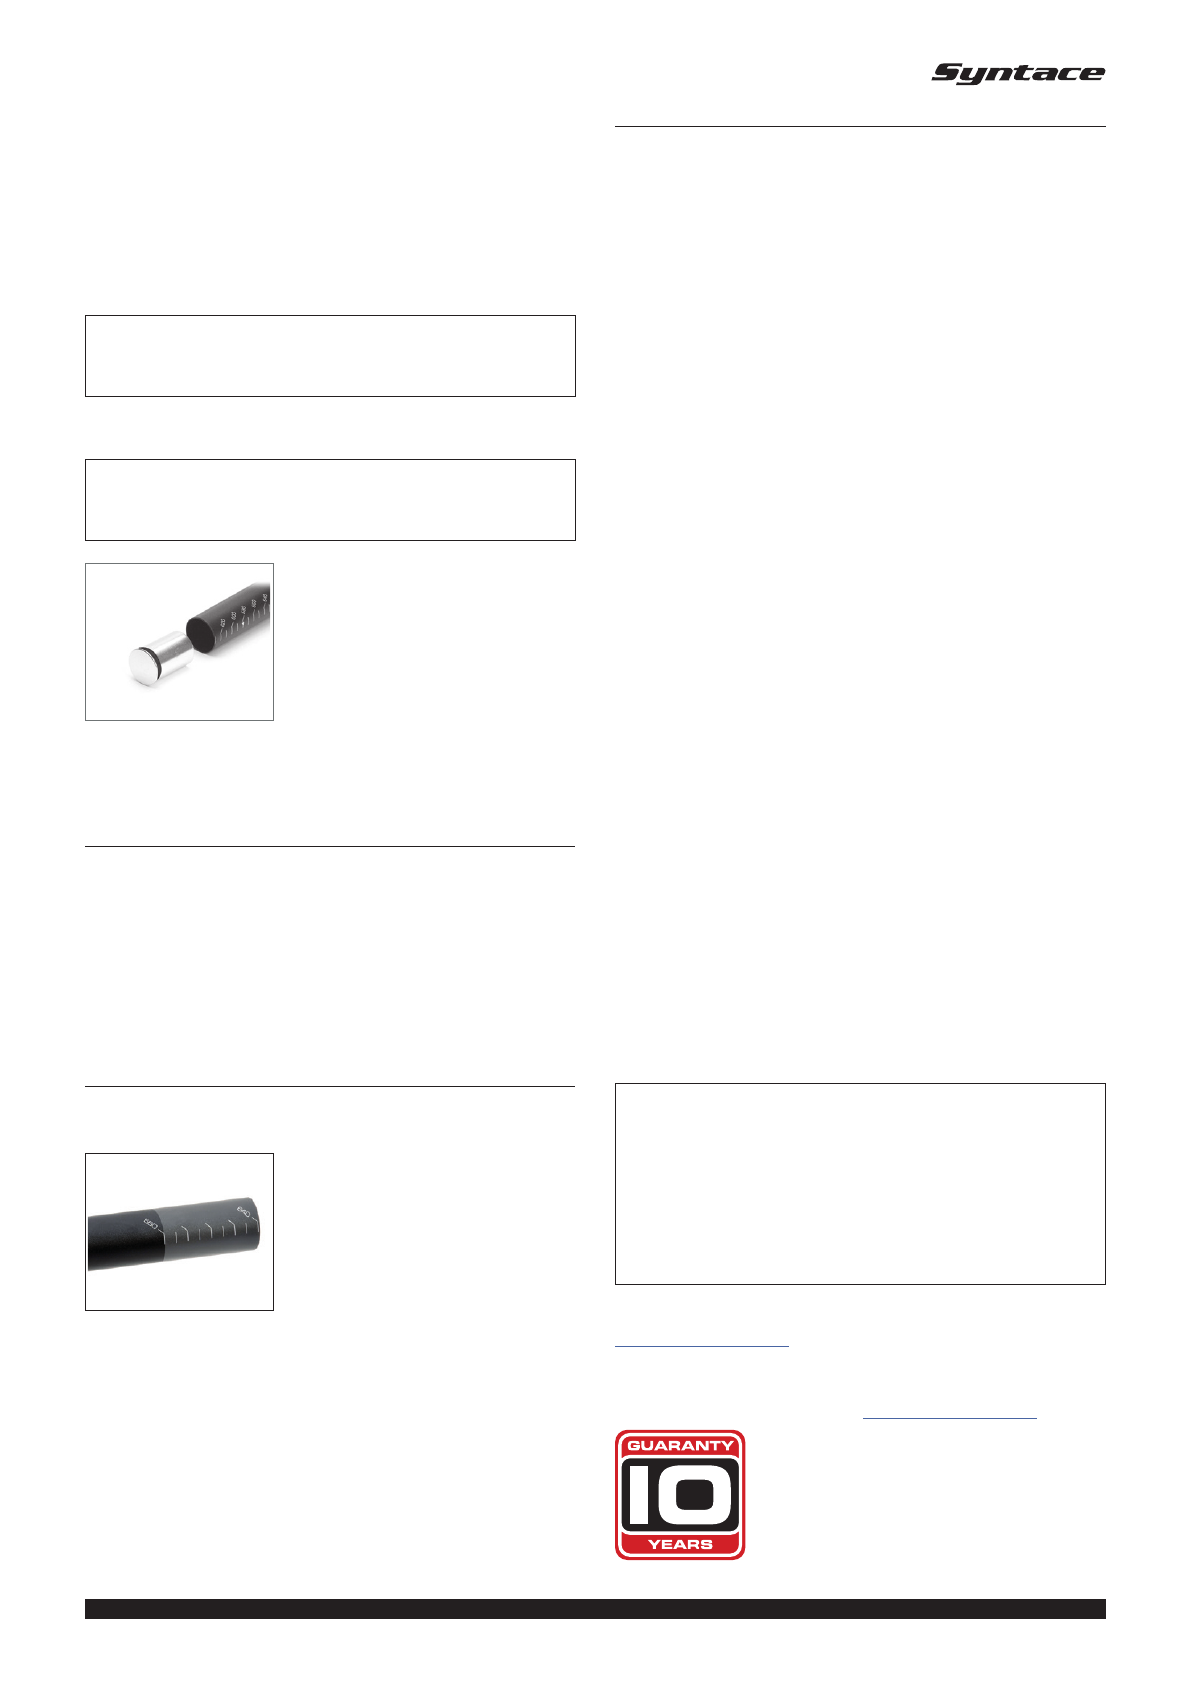
Attention: if you use bar ends, now is the
time to install them, but never without
Syntace Bar Plugs (optional, model 09,
see Pic. 2).
Please do not install bar ends with a
closed clamp (like Tune, Roox). There
is a much higher danger for the bar to
break on case of a crash even if using
Bar Plugs.
Bar width
Only shorten your handle bar after you have taken the “wide” bar
out for a spin. With a wider bar you will have more control and
better handling, especially in difficult terrain. Should you still want a
narrower bar, don’t cut it right away. Mount all control levers and the
grips further inside and go for another ride with the bar still uncut to
test if everything feels right before you cut. You would not be the first
to use a wider bar after all.
Cutting of aluminum bars:
For best results use a pipe cutter! You can use a metal saw as well
but in either case do not forget to deburr the edges.
Pic. 3
Attention: Syntace Alu Bars can only be
cut down to the required minimum width
(or acute danger of bar failure will arise)!
Care, maintenance and safety
Proper maintenance and care will ensure a long life and reliable
function of your Syntace products. Please follow these simple steps
to maintain your system:
• Check the inside of your Syntace stem regularly for moisture and
remove if found.
• Check screws for proper torque regularly.
• Check bar regularly for signs of fatigue (discoloration, cracks and
dents, for example). In pure and professional trials applications, we
recommend replacing the handle bar every 1 - 1.5 years.
• Warning: Upon longer exposure, brake fluid may attack epoxies and
resins as well as other coatings used in carbon components (Brake
fluid is highly deliquescent). Therefore, if brought into contact with
any carbon component such as handle bars please ensure that the
affected area is thoroughly cleaned with water to avoid any damage.
• Warning: Using porous (penetrable) bar tape, can lead to perma-
nent accumulation of especially sweat or gritty moisture, between
grip and your aluminium bar. As sweat (but also acidic cleaning
chemicals) attacks anodized surfaces, the bar is to be checked
regularly and changed upon any signs of corrosion, otherwise the
bar will be increasingly prone to failure upon further use.
• Should the Syntace bar be bent because of a crash: Never attempt
to straighten it! Contact your dealer or Syntace to arrange for
replacement.
WARRANTY
Instead of the legally required 2 year warranty, Syntace gives 10 years
warranty from date of purchase on all material and manufacturing
defects. Only condition: All components are to be installed and used
as outlined in the owner’s manual.
Within the warranty period faulty components will be assessed by
Syntace Germany and accordingly either repaired or replaced.
The exchange of a Liteville frame within the warranty period occurs
free of charge within the first 5 years warranty, in the 5 -10th year
a 50% discount on the respective current retail price is offered. For
the Liteville 901 frame we give 3+7 years warranty, downhill use
included.
If you would like to report a warranty case please send the
component with a written explanation to:
Syntace GmbH
Stefan-Flötzl-Str. 6
83342 Tacherting / Germany
Tel. +49 (0)8634-66 666
Fax: +49 (0)8634-6365
Email: syntace@syntace.de
Further Information at:
www.syntace.de/support
Please note: The latest installation and operating instructions are
always binding for your product at: www.syntace.de/support


