3. Display
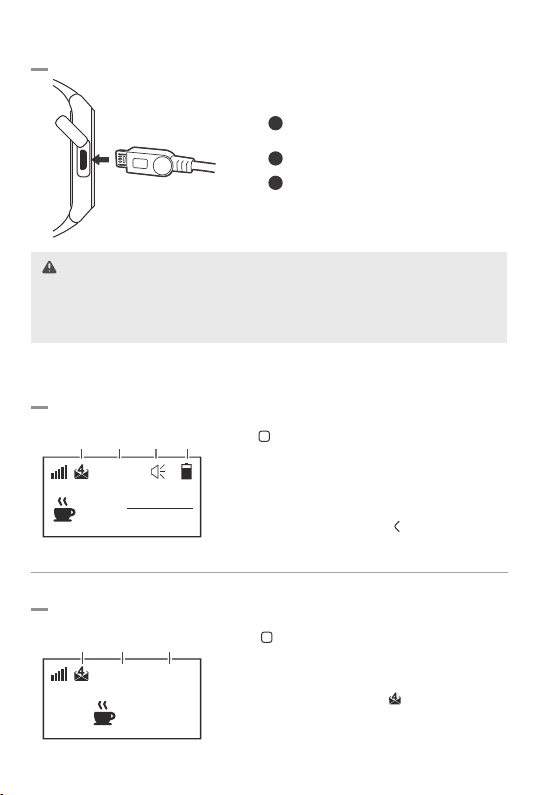
Charging the Battery
Home Screen Display
MICRO
U S B
1Open the micro USB cover at the left side
of the pager.
2
Connect the USB cable to the power adaptor.
3Insert the Micro-USB jack into the pager.
·
Please use the device only with the power AC adapter (5V/1A) provided by manufacturer.
· If you use high-speed charger (9V), it causes the damage of charging circuit.
· It should be connected to a power source with AC110~240V.
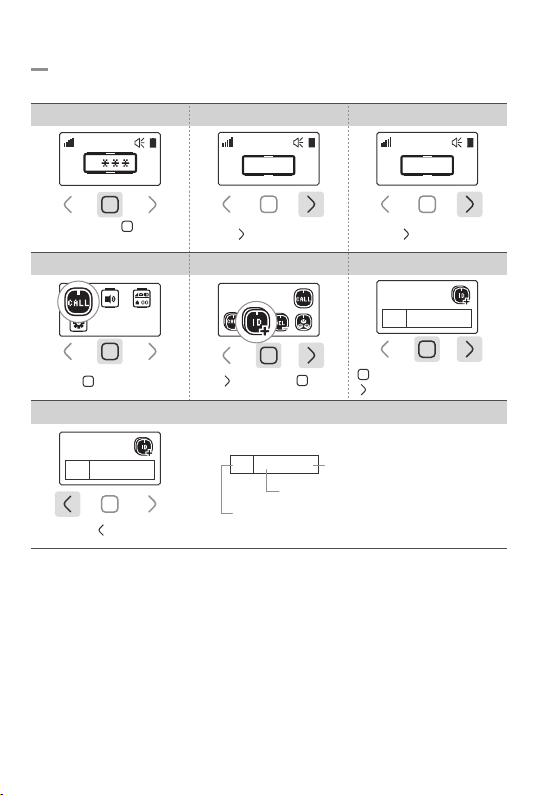
Message Display
29 216
31
13:37
29
13:30 1/4C
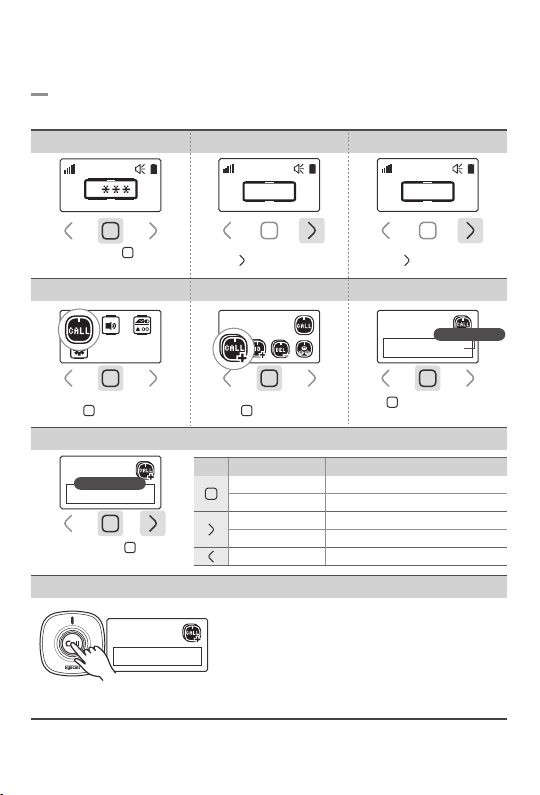
· The pager goes to the sleep mode if not in use for 15sec
Tap button to wake it up.
· When message received,it will be displayed on the screen
with sound and/or vibration.
· You can check more than 2 messages depending on the
display type.
· You can check the battery level on the top right corner.
If there are received messages, tap button to check.
· The pager can be programmable through the bundled
software.
Unread
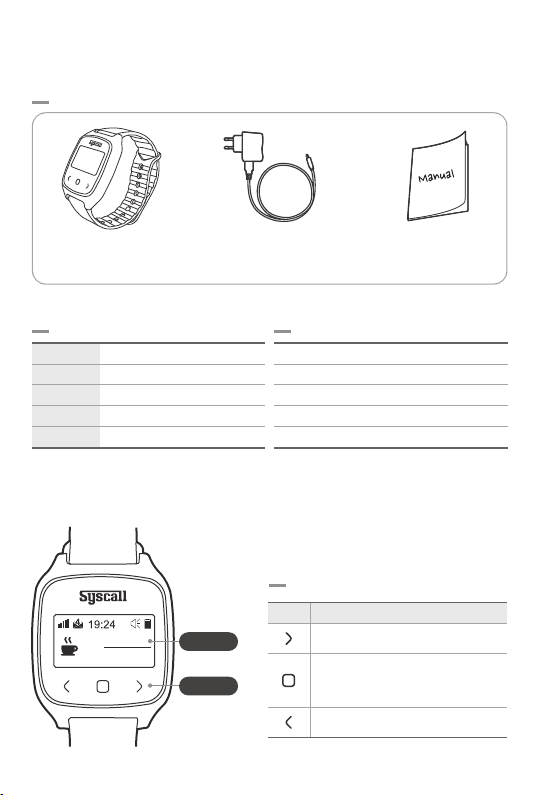
message Time Alarm Battery
indicator
Unread
message
Message
received
time
Total
received call
Battery Life: Approx. 26Hours/ 20Hours (100-call)
· Tap button to read a new message.
· The Bell ID can be created up to 10 digits using the
combination of alphanumeric, special characters and icons.
· The messages can be stored up to 20, and you can check
the number of unread messages
· Touch and hold ㅁbutton for 1 sec to delete each message,
and tap > button once more to delete all messages.
Caution
-5-