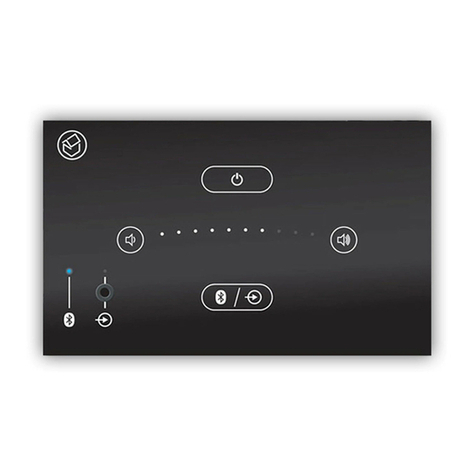
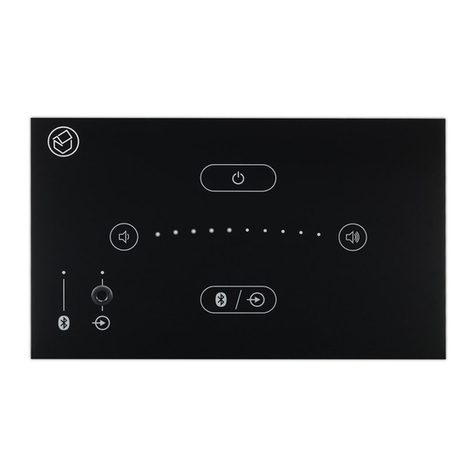
Systemline E50w User manual

E50/E50w Installation Guide
Built-in Bluetooth®Hi-Fi amplifier / touch panel
SE0510
SE0550

2
Important Safety Instructions
CAUTION: To reduce the risk of electric shock, do not remove the cover. No user-serviceable parts
inside. Refer to qualified personnel.
WARNING: To reduce the risk of fire or electric shock, do not expose this appliance to rain or moisture.
Read Instructions: All the safety and operating
instructions should be read before the unit is operated.
Retain Instructions: The safety and operating instructions
should be retained for future reference.
Heed Warnings: All warnings on the unit and in the
operating instructions should be followed.
Follow Instructions: All operating instructions should be
followed.
Cleaning: Unplug the unit from the wall outlet before
cleaning. The unit should be cleaned only with a lint free
dry cloth.
Attachments: Only use attachments recommended by
the manufacturer as non-recommended attachments may
cause hazards.
Water and Moisture: Do not use the unit near water–for
example, near a bath tub, wash bowl, kitchen sink, or
laundry tub; in a wet basement; or near a swimming pool.
Accessories: Do not place the unit on an unstable surface,
stand, tripod, bracket, or table. The unit may fall, causing
serious injury to yourself or others, and serious damage
to the unit.
Ventilation: Do not place in a location or position that will
interfere with the unit’s ventilation. Do not operate on a
bed, sofa, rug, or other similar surface.
Power Sources: The unit should be operated only from
the type of power source indicated on the marking label.
If you are not sure of the type of power supplied to your
home, consult your local power company.
Power-Cord Protection: Power-supply cords should
be routed so that they are not likely to be walked on or
pinched by items placed upon or against them, paying
particular attention to cords where they enter a plug, or
exit from the unit.
Lightning: For added protection for the unit during a
lightning storm, or when it is left unattended and unused
for long periods of time, unplug it from the wall outlet and
disconnect from other devices. This will prevent damage
to the unit due to lightning and power-line surges.
Overloading: Do not overload wall outlets, extension
cords, or integral convenience receptacles as this can
result in a risk of fire or electric shock.
Object and Liquid Entry: Never push objects of any
kind into the unit through openings as they may touch
dangerous voltage points or short-out parts that could
result in a fire or electric shock. Never spill liquid of any
kind on the unit.
Servicing: Do not attempt to service the unit yourself
as opening or removing covers may expose you to
dangerous voltage or other hazards. Refer all servicing to
qualified service personnel.
Damage Requiring Service: Unplug the unit from the wall
outlet and refer servicing to qualified personnel under the
following conditions:
• When the power-supply cord or plug is damaged,
• If liquid has been spilled, or objects have fallen into
the unit,
• If the unit has been exposed to rain or water,
• If the unit does not operate normally by following the
operating instructions,
• If the unit has been dropped or damaged in any way.
• When the unit exhibits a distinct change in
performance– this indicates a need for service.
Replacement Parts: When replacement parts are
required, be sure the service technician uses replacement
parts specified by the manufacturer or which have the
same characteristics as the original parts. Unauthorized
substitutions may result in fire, electric shock, or other
hazards.
Heat: The unit should be situated away from heat sources
such as radiators, heat registers, stoves, or other units
(including amplifiers) that produce heat.
The lightning flash with arrowhead within an equilateral triangle is intended to alert the user to the presence
of an uninsulated “dangerous voltage” within the product’s enclosure, that may be of sufficient magnitude to
constitute a risk of electrical shock to persons.
The exclamation mark within an equilateral triangle is intended to alert the user to the presence of important
operating maintenance (servicing) instructions in the guide accompanying this device.
This product complies with the Radio
Equipment Directive (2014/53/EU) when
used and installed according to the
instruction manual.
3
NOTE: This equipment has been tested and found to comply with the limits for a Class B digital device, pursuant to
part 15 of the FCC Rules. These limits are designed to provide reasonable protection against harmful interference in a
residential installation. This equipment generates, uses and can radiate radio frequency energy and, if not installed and
used in accordance with the instructions, may cause harmful interference to radio communications. However, there is no
guarantee that interference will not occur in a particular installation. If this equipment does cause harmful interference to
radio or television reception, which can be determined by turning the equipment off and on, the user is encouraged to try
to correct the interference by one or more of the following measures:
• Reorient or relocate the receiving antenna.
• Increase the separation between the equipment and receiver.
• Connect the equipment into an outlet on a circuit different from that to which the receiver is connected.
• Consult the dealer or an experienced radio/TV technician for help.
The user is cautioned that changes or modifications not expressly approved by Armour Home Electronics could void the
user’s authority to operate the equipment.
Contains FCC ID: OC3BM1856
The Bluetooth® word mark and logos are registered trademarks owned by Bluetooth SIG, Inc. and any use of such marks
by Armour Home Electronics Limited is under licence. Qualcomm® aptX™ is a product of Qualcomm Technologies
International, Ltd. Qualcomm® and aptX™ are registered trademarks of Qualcomm Incorporated, registered in the United
States and other countries, used with permission. Systemline and Q Acoustics are registered trademarks of Armour Home
Electronics Limited. All other product names are trademarks or registered trademarks of their respective owners.

E50/E50w touch panel x 1
Pre-fitted with IMO plugs
for speaker cables
M3.5 x 30mm screws x 2
*Q Acoustics Qi 65CB
in-ceiling speakers x 2
Included with Stereo
Speaker Pack only (SE0520/SE0560)
*Alternative speakers may be used if desired. Check against E50 amplifer specification to ensure compatibility.
3.5mm jack cable x 1
Not supplied
Mounting frame x 1
M3 x 7mm screw x 1 Dust cap x 1
Fits into front jack socket
Speaker cables x 2
7m length
Dry lining back box x 1
47mm deep double gang
Power supply x 1
UK / EU / AUS / NZ
Power extension cable x 1
5m length
4
Pack Contents

5
Introduction
Systemline E50 is an installed Bluetooth Hi-Fi system that is easy to fit into your room.
It is particularly suited to kitchens or bedrooms but could equally be used in any other
room in the house including bathrooms*.
The following instructions assume that you are competent in general electrical
installation skills. You will need to mount a touch panel into a double gang back box
and route cables from this box to the speakers and mains. If you are not confident in
doing this you should seek professional assistance from a qualified electrician.
It is possible to connect TV sound or another device into the rear line input. This is
shown on the system schematic.
* The E50w (white) touch panel is IP54 rated when installed and sealed in accordance with the E50w
bathroom installation guide (Appendix 1). The touch panel must be located outside zone 2 of the electrical
safety zones. If in doubt, you are advised to seek assistance from a qualified electrician.

LINE IN DC IN SPEAKERS
- L + - R +
6
E50 System Schematic
The system is designed to be connected together as shown below:

7
Planning E50 Positioning and Back Box Locations
Use the guidelines below to plan the positioning of the back boxes, speakers and
cabling. Dimensions should be checked prior to installation to ensure the layout works
correctly with the supplied lengths of cable.

8
First Fix Wiring
Cut holes for required back boxes and speakers. Run speaker cables and power cable as
shown, leaving the tails accessible for second fix. Optional line-in cable may be run at
this point.
Notes
1. Switched mains socket required next to cable break-out box.
2. Single gang back-box required next to TV aerial point for optional TV sound / AUX
input.

9
Second Fix
Connect cable tails to touch panel, speakers and PSU. Fix items in place, using the
instructions supplied with the speakers to ensure correct speaker installation.
Notes
1. Blanking plate required to cover break-out box - requires a single hole to exit DC
cable.
2. Optional TV sound / Aux input requires a 25 x 50mm twin phono Euro module e.g.
Philex EMSPK2W or similar.

10
Appendix 1: E50w Bathroom Installation Guide
E50w is designed to be fitted into a bathroom environment, which is clearly different
to most other rooms in the home. The nature of this wet environment is recognised by
the respective standards authorities, who test products in terms of their suitability to
be installed in such areas.
E50w complies with IP54, subject to the following conditions:
1. Wiring
This is defined as an Extra Low Voltage Installation, but the wiring needs to be installed
in accordance with ‘Part P’ of the Design and Installation of Electrical Installations. If in
doubt, you are advised to seek assistance from a qualified electrician.
2. Location
Please refer to the diagram below. The E50w should be installed outside of areas
designated as zone 1 & 2.

11
3. Installation
Step 1
Apply silicone sealant on the back of the
frame.
Step 3
Plug cables into keypad and fit into the
frame.
Step 4
Secure the front using the screw provided
and smooth out the edges using a sealant
smoother.
Step 2
Fit the frame onto the back box and
secure using 2 screws.
All other instructions for the connection and fitting of E50w apply, except in this instance
the left & right speaker wires are connected to a single stereo Q Install speaker
(Qi-65 CW-ST). See also instructions supplied with this speaker.

Stortford Hall Industrial Park
Dunmow Road
Bishops Stortford
Hertfordshire
CM23 5GZ
United Kingdom
www.systemline.co.uk
©2018 Armour Home Electronics, all rights reserved.
Our policy is one of continuous improvement and we reserve the right to
change the designs and specifications without notice.
All information is given in good faith. The manufacturer accepts no
responsibility for errors, omissions or incorrect assumptions.
Designed and engineered in the United Kingdom. Made in China (P.R.C.) Q16007-IS_r6
This manual suits for next models
13
Table of contents
Other Systemline Amplifier manuals

Systemline
Systemline SE0512 User manual

Systemline
Systemline S7 NetAmp User manual

Systemline
Systemline ZAM40 Installation and operating instructions

Systemline
Systemline MRA-2 User manual

Systemline
Systemline SN1210 Programming manual

Systemline
Systemline S7 User manual

Systemline
Systemline S7 NetConnect Programming manual

Systemline
Systemline S7 User manual

Systemline
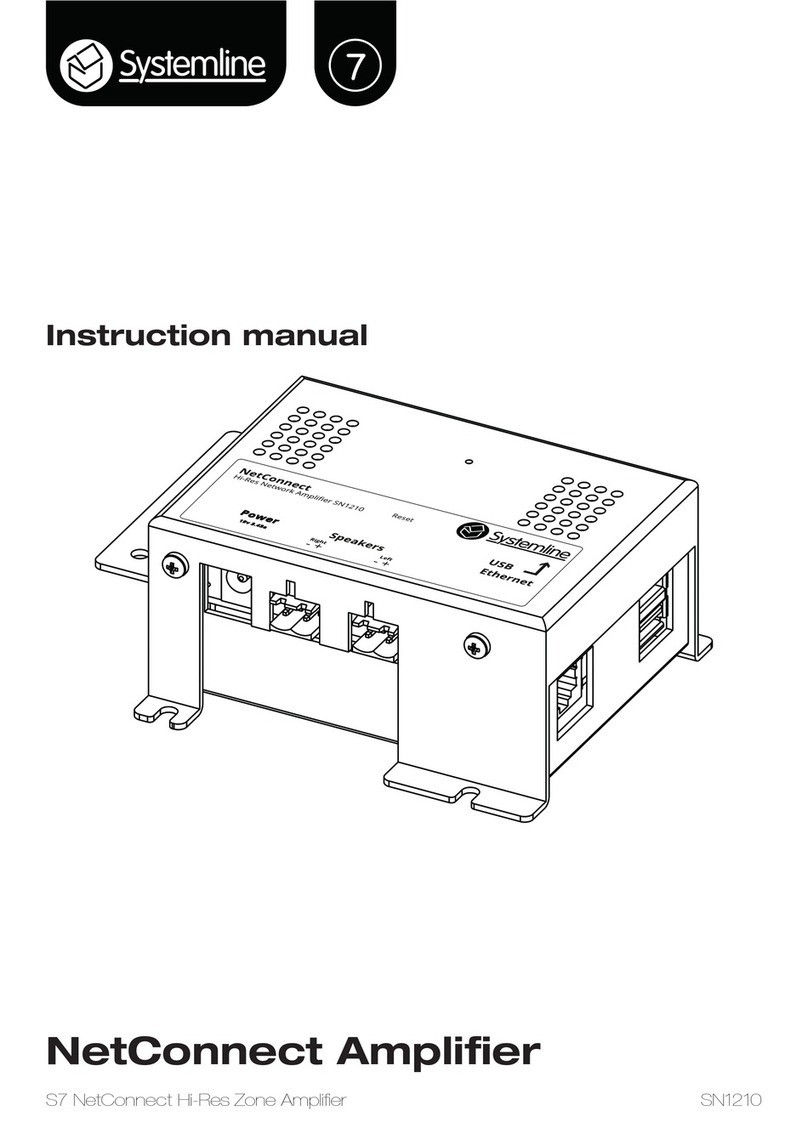
Systemline E50 User manual

Systemline
Systemline SN1210 User manual