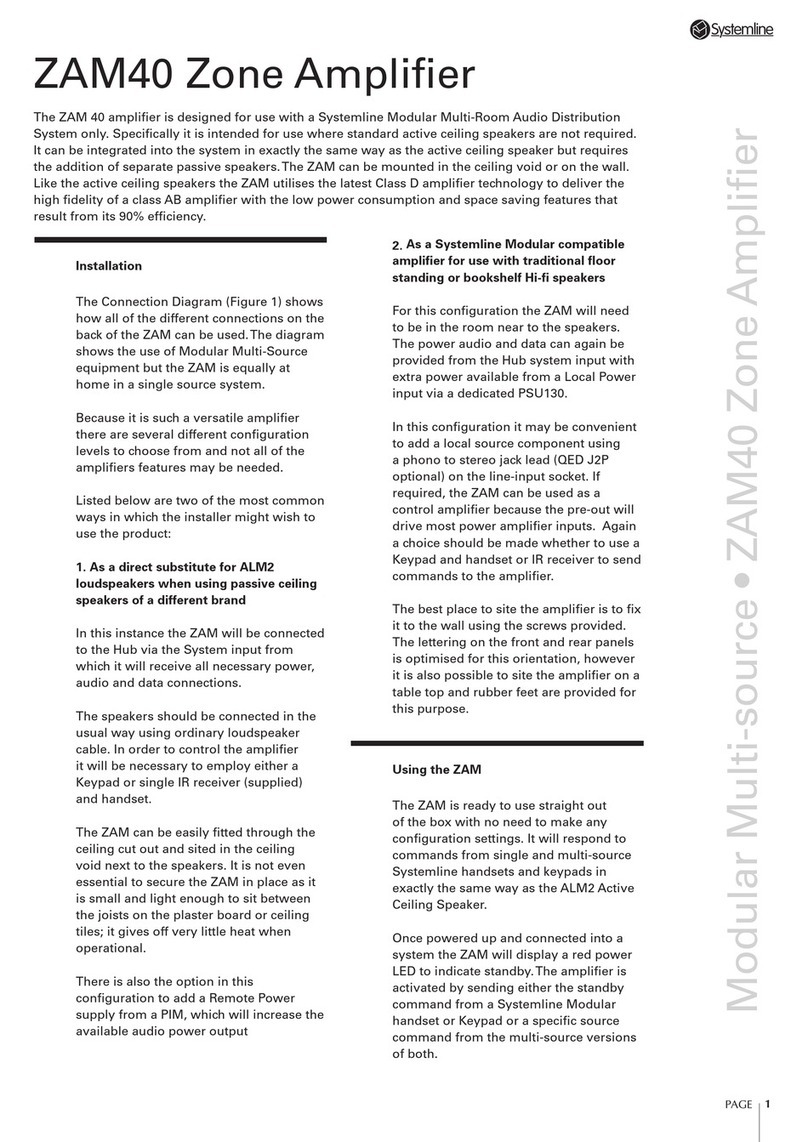
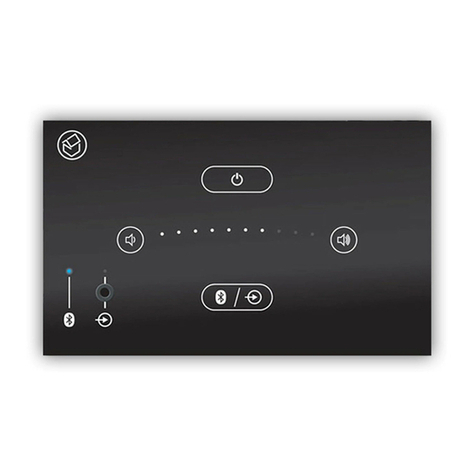
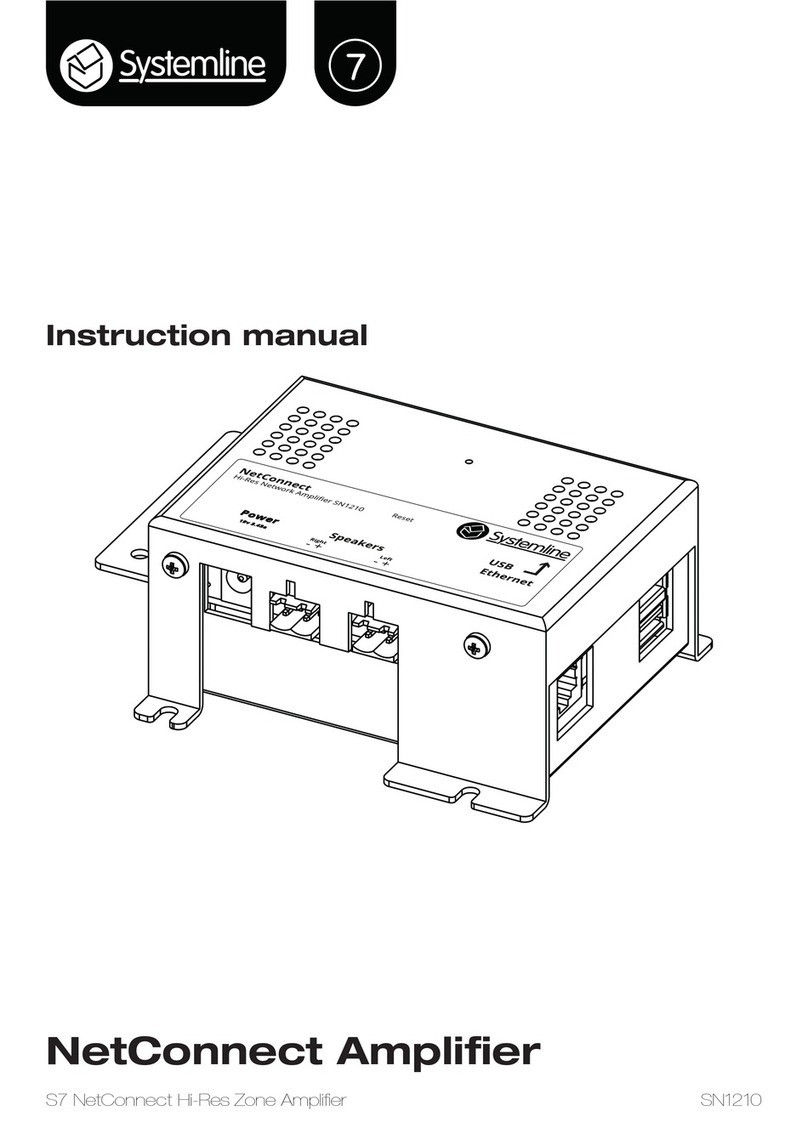
Systemline S7 User manual

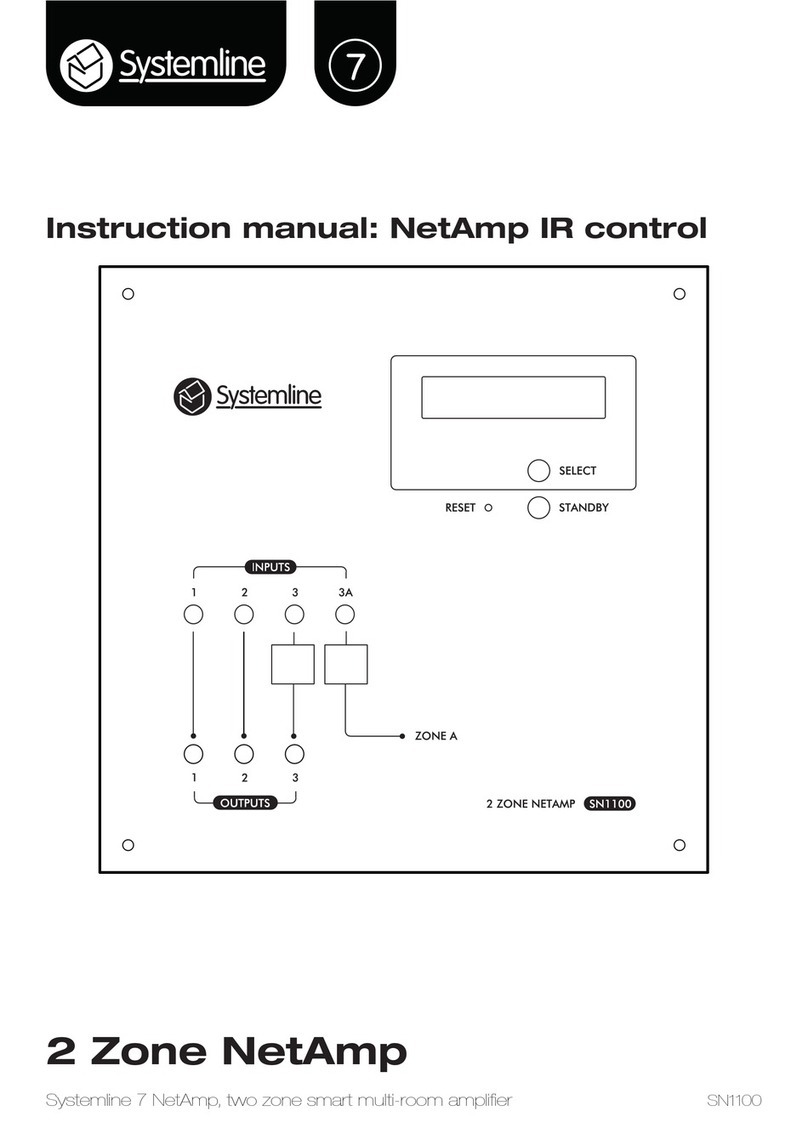
2 Zone NetAmp
Systemline 7 NetAmp, two zone smart multi-room amplifier
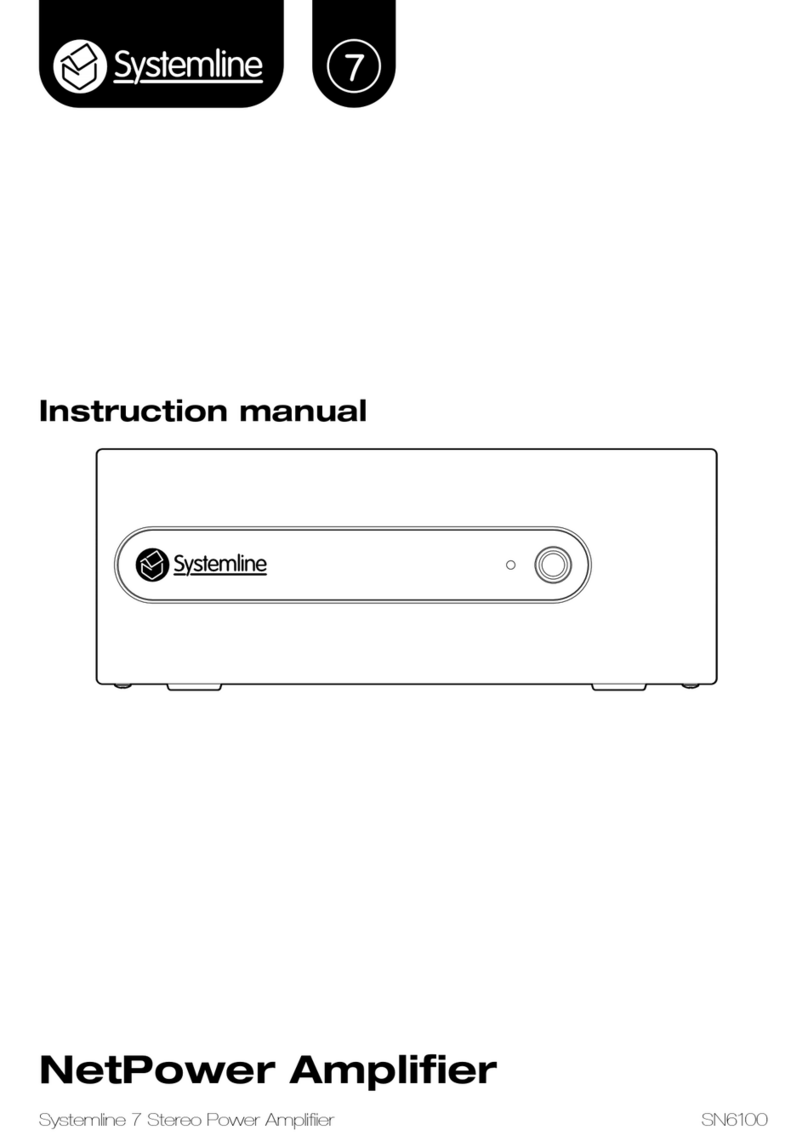
Instruction manual
SN1100

Important safety instructions
1. Read these instructions.
2. Keep these instructions.
3. Heed all warnings.
4. Follow all instructions.
5. Do not use this apparatus near water.
6. Clean only with dry cloth.
7. Do not block any ventilation openings. Install in accordance with the manufacturer’s
instructions.
8. Do not install near any heat sources such as radiators, heat registers, stoves, or other apparatus
(including ampliers) that produce heat.
9. Do not defeat the safety purpose of the polarised or grounding-type plug. A polarised plug
has two blades with one wider than the other. A grounding type plug has two blades and a third
grounding prong. The wide blade or the third prong are provided for your safety. If the provided
plug does not t into your outlet, consult an electrician for replacement of the obsolete outlet.
10. Protect the power cord from being walked on or pinched particularly at plugs, convenience
receptacles, and the point where they exit from the apparatus.
11. Only use attachments/accessories specied by the manufacturer
12. Use only with the cart, stand, tripod, bracket or table specied by the manufacturer, or
sold with the apparatus. When a cart is used, use caution when moving the cart/apparatus
combination to avoid injury from tip-over.
13. Unplug this apparatus during lightning storms or when unused for long periods of time.
14. Refer all servicing to qualied service personnel. Servicing is required when the apparatus has
been damaged in any way, such as power-supply cord or plug is damaged, liquid has been spilled
or objects have fallen into the apparatus, the apparatus has been exposed to rain or moisture,
does not operate normally or has been dropped.
WARNINGS
To reduce the risk of re or electric shock, do not expose this apparatus to rain or moisture.
This apparatus shall not be exposed to dripping or splashing and no objects lled with liquids,
such as vases, shall be placed on the apparatus.
Apparatus with CLASS1 construction shall be connected to a MAINS socket outlet with a
protective earthing connection.

Instructions de sécurité importantes
1. Veuillez lire ces instructions.
2. Veuillez conserver ces instructions.
3. Veuillez prendre connaissance de tous les avertissements.
4. Veuillez suivre toutes les instructions.
5. N’utilisez pas cet appareil a proximite de l’eau.
6. Nettoyez uniquement avec un chion sec.
7. N’obstruez pas les grilles de ventilation. Suivez attentivement les instructions du fabricant lors
de l’installation.
8. N’installez pas cet appareil a proximite d’une source de chaleur telle que des radiateurs, des
bouches d’air chaud, des fours, ou tout autre appareil (y compris des amplicateurs) produisant
de la chaleur.
9. Ne supprimez pas la securite apportee par la prise polarisee ou de type B. Une prise polarisee
possede deux broches, dont une plus large que l’autre. Une prise de type B possede deux broches
et une che terre. La broche la plus large ou la che terre sont la pour votre securite. Si la prise
fournie ne convient pas, adressez-vous a un electricien pour une mise aux normes de votre
installation electrique.
10. Evitez de marcher sur le cordon d’alimentation ou de le pincer, en particulier, a l’extremite du
cordon, de la prise et a la sortie de l’appareil.
11. Utilisez uniquement des accessoires species par le fabricant.
12. Utilisez uniquement les chariots, pieds, tripodes, supports ou les tables recommandes par
le fabricant ou vendus avec l’appareil. Si vous utilisez un chariot, faites tres attention lors du
transport de l’appareil et evitez de le faire tomber pour ne pas vous blesser.
13. Debranchez cet appareil en cas d’orage ou lorsque vous ne vous en servez pas pendant une
periode prolongee.
14. Pour toute reparation, adressez-vous a un professionnel. Faites reparer cet appareil pour des
dommages de n’importe quelle nature : cordon d’alimentation abime, liquide ou objet introduit
dans l’appareil, exposition a la pluie ou a l’humidite, fonctionnement inhabituel, chutes diverses.
AVERTISSEMENT
An de diminuer les risques d’incendie ou de choc electrique, conservez cet appareil a l’abri de la
pluie et de l’humidite.
Evitez toute eclaboussure et ne posez pas d’objets contenant des liquides, comme des vases, sur
cet appareil.
L’appareil de construction de CLASS1 doit être connecté à une prise secteur dotée d’une
protection par mise à la terre.
Contents
1.0 Pack contents 5
2.0 NetAmp mounting 5
2.1 HomeNet cabinet 5
2.2 Standard cabinet 5
2.3 Wall 5
2.4 19” rack adaptor 5
3.0 NetAmp connections 6
3.1 Top face 6
3.2 Front face 7
3.3 Bottom face 7
4.0 NetAmp room connectivity 8
4.1 Connecting a standard zone 8
5.0 Using a separate power amplier 9
6.0 NetAmp source connectivity 10
6.1 Connecting the S7 NetServer 10
6.2 Connecting analogue or optical digital inputs 1 & 2 11
6.3 Connecting analogue or optical digital inputs 3 & 3A 11
7.0 NetAmp conguration 12
7.1 Overview 13
7.2 Factory Setup 13
7.3 Network Setup 13
7.4 Source Setup 13
7.4.1 Source 1 & 2 conguration 13
7.4.2 Source 3 and 3A conguration 14
7.5 Zone 1 Setup 16
7.6 Zone 2 Setup 17
8.0 KPS-11 keypad installation and conguration 18
8.1 Connecting and installing the keypads 18
8.2 Addressing keypads 18
8.3 Conguring keypads 19
8.3.1 Default conguration 19
8.3.2 NetMusic 1 conguration 20
8.3.3 NetMusic 2 conguration 20
9.0 Local Input Module (LIM) installation and conguration 21
9.1 LIM Connections 21
9.2 IR receiver and IR codes 21
9.3 LIM conguration and switching options 22
9.4 Manual or auto-switching of analogue and digital sources 22

5
1.0 Pack contents
1.1 NetAmp x 1
1.2 Mounting brackets x 2
1.3 Bracket xing screws x 4
1.4 IMO speaker connectors x 4
1.5 HomeNet cabinet xing screws x 4
1.6 Right angled mains cable
1.7 USB A-B cables (0.5m) x 2
1.8 Quick start instruction manual x 1
2.0 NetAmp mounting
NetAmp can be mounted in an S7 HomeNet cabinet, an S7 standard cabinet, on a 19” rack
adaptor, on a shelf or on a wall.
2.1 HomeNet cabinet
Place the NetAmp on the swing frame in the correct location and use the four large diameter
xing screws (1.5) to mount the NetAmp onto the frame, using the threaded holes on the front
face of the NetAmp.
2.2 Standard cabinet
Fix the mounting brackets (1.2) onto the sides of the NetAmp using the four smaller diameter
bracket xing screws (1.3).
Fix the NetAmp to the back panel of the cabinet, using the screws supplied with the cabinet to
secure the NetAmp brackets in place.
2.3 Wall
Fix the mounting brackets (1.2) onto the sides of the NetAmp using the four smaller diameter
bracket xing screws (1.3).
Fix the NetAmp to the wall using suitable xing screws and solid plugs if needed. These are not
supplied.
2.4 19” rack adaptor
Fix the mounting brackets (1.2) onto the sides of the NetAmp using the four smaller diameter
bracket xing screws (1.3).
Fix the NetAmp to the rack adaptor using the screws provided.

46 556
12 2 33
6
3.0 NetAmp connections
3.1 Top face
1. Ethernet RJ45 for Local Area Network
2. Keypad RJ45 for KPS-11 or KPS-3 S7 keypads
3. Local RJ45 for S7 Local Input Modules (LIM)
4. 12V trigger mono 3.5 jack for auto switching power ampliers
5. Stereo speaker outputs
6. Pre-amp outputs, stereo phono

1
6
7
2
3
4
5
1
7
3.2 Front face
1. Status display
2. Select button – changes display information
3. Standby button
4. Reset button
5. USB inputs from S7 server
6. Analogue 3.5mm stereo or Digital mini TOSLINK inputs
7. Analogue 3.5mm stereo or Digital mini TOSLINK outputs
3.3 Bottom face
1. Mains input, 110-240V AC

8
4.0 NetAmp room connectivity
4.1 Connecting a standard zone
Run speaker cable from the NetAmp to the stereo speakers in the zone. QED 79 strand or QED Pro
16/2 or 16/4 is recommended.
Use Cat5 or Cat6 from the NetAmp to a KPS-11 or KPS-3 keypad.
Use Cat5 or Cat6 from the NetAmp to an RJ45 data socket for the local input audio.
Use a standard Cat5 or Cat6 data patch cable to connect the NetAmp ethernet socket to a suitable
network switch or broadband router.

9
5.0 Using a separate power amplier
If you wish to use a separate power amplier for a zone, then use a quality audio interconnect
cable such as the QED Performance Audio (phono to phono) to connect the Pre-Output from the
NetAmp into the power amplier input. NetAmp also supports 12V trigger, which can switch on a
power amp when the zone becomes active. Use a mono or stereo jack to jack cable to connect the
12V trigger if your power amplier supports this.
The Systemline 7 NetPower supports 12V trigger and delivers 100 Watts per channel.

10
6.0 NetAmp source connectivity
6.1 Connecting the S7 NetServer
Each NetAmp requires two USB connections from the server in order for both zones to receive
independent music. Use a USB A to B type cable to connect the NetAmp USB input to the server.
This is often done via a USB hub as shown which allows the server to connect up to 24 S7 zones.
If both USB inputs are used then they are allocated as follows:
USB input 3 – Zone B
USB input 3A – Zone A
If zone B is used as a sub-zone, then a single USB connection to the server can be used to share
this input across both zones. This is allocated as follows:
USB input 3 – Zone A and B shared
USB input 3A – Not used
NetAmp will present an optical output for USB input 3, allowing you to share this across more
zones by linking into more NetAmps. This is only available for USB 3. Use a mini Toslink to mini
Toslink cable.

11
6.2 Connecting analogue or optical digital inputs 1 & 2
NetAmp supports both analogue and optical inputs via a combined 3.5mm stereo jack socket and
mini Toslink connector.
Inputs 1 and 2 are common to both zones A and B. Use a Toslink (or mini Toslink if required) to
mini Toslink to connect a digital audio source into NetAmp. Use a phono (or jack) to 3.5mm stereo
jack to connect an analogue audio source into NetAmp.
NetAmp will present inputs 1,2 and 3 as outputs allowing you to connect and share these across
more NetAmps. Up to 11 additional NetAmps are supported. Use a stereo 3.5mm jack to jack
cable to loop analogue sources, and a mini Toslink to mini Toslink cable to loop digital sources.
6.3 Connecting analogue or optical digital inputs 3 & 3A
If a Systemline 7 NetServer is not being used, then intputs 3 and 3A also support analogue or
digital inputs. Separate sources can be used for zone A and B
Input 3 – Zone B
Input 3A – Zone A
If a source is to be shared across both zones then just plug one source into input 3, leaving 3A not
used.
NetAmp will present input 3 as either an optical or analogue output, depending on what has
been plugged in. You can use a suitable cable to connect this output to more NetAmps.

12
7.0 NetAmp conguration
When you plug the NetAmp into a network switch with a broadband router with DHCP server,
then the NetAmp will obtain a network IP address automatically.
Plug the NetAmp LAN into the network, then plug in the mains cable and it will boot up.
The display can be used to display the IP address of the NetAmp by pressing the SELECT button
once.
You can now open a web browser, type in the IP address of the NetAmp and proceed with the
rest of the conguration. You will need to enter a valid user name and password to enter any
conguration web pages. By default these are set as follows:
User Name: admin
Password: password
These can now be changed.

13
7.1 Overview
The overview page shows current software versions and the serial number, and is also used to
check if new software is available from the internet.
Bootloader Version: This will usually remain the same even after updates.
Firmware version: This is the current version running on the NetAmp, and may change if an
update is carried out.
You can press Check for Update to check if new software is available, and then go through the
prompts to complete the process.
7.2 Factory Setup
This shows the MAC address of the Ethernet socket on the NetAmp and cannot be changed.
The TCP control port is set to 9760 as default and can be changed if needed, although the S7 App
only works with port 9760.
7.3 Network Setup
NetAmp is set to DHCP mode so will obtain an IP address automatically. If you wish to give it a
xed IP address then un-check the Enable DHCP check box and ll in the IP address settings that
you require.
Press Save.
7.4 Source Setup
7.4.1 Source 1 & 2 conguration
You can disable a source by un-checking the Source Enabled box. This will remove the source
button from the S7 App and will prevent it from being selected by any device.

14
You can rename the source by entering the required text.
If the source has its own volume control, you can tick the High Volume Mode check box. This
will instruct NetAmp to go to maximum volume when this source is selected. Use the source to
control the volume. If a normal source is then selected, NetAmp will apply the turn on volume.
Press Save.
7.4.2 Source 3 and 3A conguration
Sources 3 and 3A are used with the NetServer with USB connections. Each USB socket on the
NetAmp has a unique 6 digit serial number which is shown on the web page. The server generates
a virtual unique MAC address for each USB connection and this must be obtained from the
connected server.

15
Firstly make sure that the NetAmp is on and connected to the server via USB A-B cables. Turn on
the server and wait for it to boot up. Use a web browser and enter the server IP address which can
be discovered using a free App called Fing. It will be identied as NetMusic. Enter the IP address of
the server, and the web page should appear. Press Congure Player.
The list of connected NetAmp USBs should be listed in the Name column together with their
associated MAC addresses. Make sure the numbers of your NetAmp are shown, in this case
000095 and 000096 are being congured.
On the NetAmp web page type in the IP address of the server, then press Get MAC for sources 3
and 3A. The relevant boxes should populate with the MAC addresses from the server.
You can rename the sources. High volume mode should not be used when connecting to the
server, as the App will alter the NetAmp volume directly.
Press Save.

16
7.5 Zone 1 Setup
You can rename the zone and congure volume, EQ, keypads and local inputs here.
You can disable a zone by un-checking the Enabled box.
You can rename the zone by entering the desired text.
You can operate the NetAmp from the webpage by pressing + or – next to the source select box,
and you can also adjust the volume.
You can adjust the maximum volume, turn on volume, pre-amp output gain, treble, bass and
balance from this page. Press Save to store any changes.
You can add a keypad conguration; up to 4 keypads are supported. See section 8.0 for keypad
conguration.
You can enable or disable a local input and name it. High Volume Mode will instruct NetAmp to
switch to maximum volume when local is selected. You must then control the volume using the
source remote control, for example by adjusting the headphone output of a TV. Auto-Switch Local
will instruct NetAmp to automatically switch to the local input on the presence of audio in the
Local Input Module. For example, switching a TV on will automatically turn on the NetAmp to
local input.
You can use the LIM in manual switching mode by un-ticking Auto-Switch Local. Now the user will
have to manually select the local intput by pressing the input button on the App or selecting via a

17
KPS-11 keypad or remote control.
See section 9.0 for more LIM options.
Press Save to store any changes.
7.6 Zone 2 Setup
Zone 2 setup is the same as zone 1 but has an additional check box which puts it into sub zone
mode.
If this is selected, zone 2 will automatically follow the same source selection as zone 1. You should
use a KPS-3 if a keypad is being used in zone 2 sub zone mode. Zone 2 retains its independent
on/o and volume, but can also listen to the local input from zone 1 if that is selected, as well as
having its own independent local source.

Flashes address number
Increase or decrease address
Press together to
set address
Press to exit
18
8.0 KPS-11 keypad installation and conguration
Up to 4 keypads can be added to any zone. Each keypad can be readdressed from 1-4 so that it
gives the correct function congured by the NetAmp. You can daisy chain a Cat5 cable from one
keypad to the next, punching down one cable over the other on the connector.
8.1 Connecting and installing the keypads
You should use Cat5e cable from the NetAmp to the KPS-11 keypad, which should be no more
than 100 meters in length. You should put the cable into a standard UK single gang back box of
35mm depth.
Terminate the Cat5e cable at the NetAmp using a punch down patch panel or RJ45 plug which
conforms to TIA/EIA-568B.
Fit the 50x50 Euro data frame onto the KPS-11, and then slot into the face plate of choice. This
face plate is not supplied with the KPS-11, please purchase the correct colour and nish 50x50
plate for the project. A plain white plate is available from Systemline with part number SM3970.
Strip back and terminate the brown, blue and green pair on the back of the KPS-11 using a
suitable data termination punch down tool, following the colours marked on the punch down
connector.
Screw the keypad and fascia into the wall using the mounting screws supplied with the face plate.
8.2 Addressing keypads
Once the keypads are connected you can readdress keypads in the zone to give dierent button
functions. All keypads are set to address 1 in the factory.
Press the Standby and Skip > buttons together to enter address mode. The local green LED will
ash to indicate its current address.
Increase the address by pressing Volume +. The green LED will indicate the address with the
corresponding number of ashes.
Decrease the address by pressing Volume -.
When the desired address is set, press the Local button to exit.

Input 1 Standby
Input 2 Local input
Input 3
Volume down Volume up
IR receiver
Mute
19
8.3 Conguring keypads
Select Zone Setup on the NetAmp web page. You can add up to 4 keypad addresses to the zone by
pressing +.
Press the desired keypad address to congure.
The KPS-11 can be congured to operate in three dierent modes:
8.3.1 Default conguration
Selects sources 1, 2 & 3 and local, operates volume.

Standby
Favourite
selections Local input
Volume down
Play / pause
Volume up
IR receiver
Skip
Standby
Favourite
selections
Input 1
Local input
Volume down
Play / pause
Volume up
IR receiver
Skip
20
8.3.2 NetMusic 1 conguration
Selects 5 favourites, play/pause, skip, local input, volume and standby. You can select which bank
of favourites are selected, 1-5 through to 26-30:
8.3.3 NetMusic 2 conguration
Selects 4 favourites, input 1, skip, play/pause, volume, local and standby. You can select which
bank of favourites the keypad selects.
Other manuals for S7
1
Table of contents
Other Systemline Amplifier manuals

Systemline
Systemline SN1210 Programming manual

Systemline
Systemline S7 NetConnect Programming manual

Systemline
Systemline E50w User manual

Systemline
Systemline E50 User manual

Systemline
Systemline ZAM40 Installation and operating instructions

Systemline
Systemline S7 NetAmp User manual

Systemline
Systemline S7 User manual

Systemline
Systemline SE0512 User manual

Systemline
Systemline MRA-2 User manual

Systemline
Systemline SN1210 User manual