Taco Marine Grand Slam 900 Datasheet

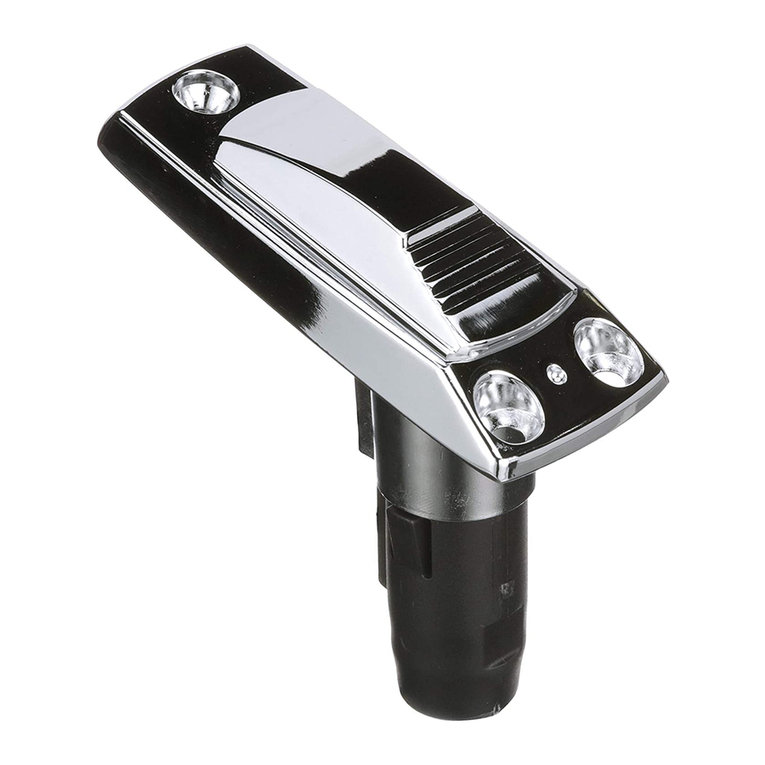
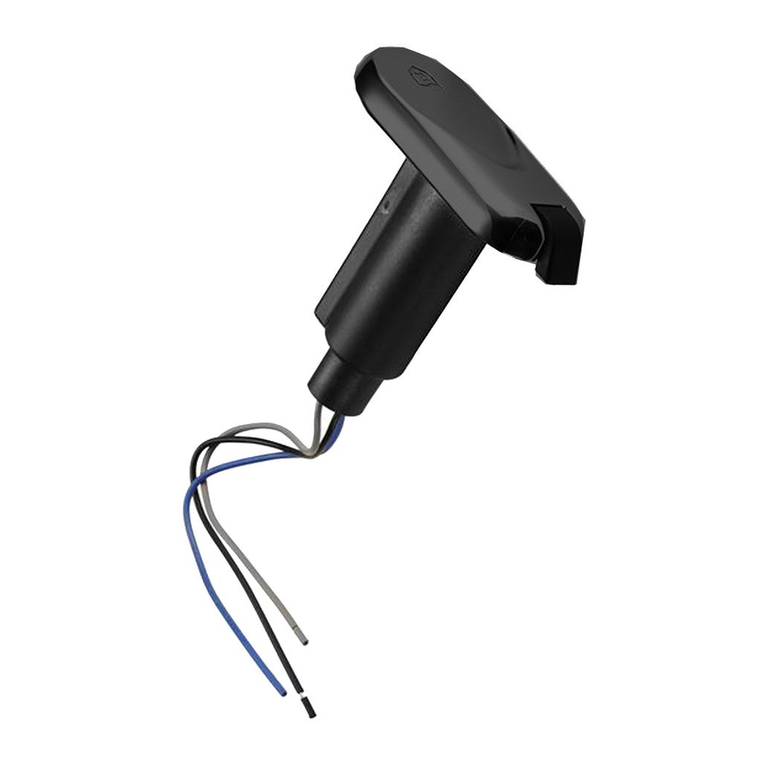
GS-900 Anchor & Stern Light
INSTALLATION INSTRUCTION GUIDE
TACO Marine® Grand Slam Outrigger Mounts
®

2 / GS-900 ANCHOR & STERN LIGHT
Grand Slam 900 mount
• Prepare for installation by ensuring the
mounting surface is clean of any grease
and/or dirt.
• Ensure your hardtop is suitably constructed
to provide a strong mounting surface area
for your anchor and stern light mount. The
GS-900 was designed specifically to prevent
climbing on the boat gunnel to raise and lower
an anchor and stern light.
• If the top is arched, wedge plates can be used
to maintain proper alignment.
KIT CONTENTS
GS-900
Handy Tips
Light assembly
1
1
1
•SAFETY GLASSES
•POWER DRILL
•SCREW GUN (OPTIONAL)
•MASKING TAPE
•1/4" DRILL BIT
•2-1/2" HOLE SAW
•THREE 1/4-20 FLAT, PHILLIPS HEAD SCREWS*
•THREE 1/4-20 NYLON LOCKING NUTS
•MARINE-GRADE SEALANT
•PENCIL
•THREE MARINE-GRADE #18 GUAGE WIRE
(LENGTH BASED ON APPLICATION)
Required*
*not included
32.75" tube
®
1Aluminum backing plate
1Drill template
* Fastener length may be dierent, depending
on the application. For assistance, please contact
TACO Technical Support on tacomarine.com.

GS-900 ANCHOR & STERN LIGHT / 3
GS-900
• The supplied template is only a guide to help
align the base for true hole positioning. Make sure
nothing is rubbing in the 2-1/2" hole. There should
be a small gap all the way around.
• Always use good quality stainless-steel hardware
when mounting the base.
• The best way to determine proper placement of
the mount is to (1) identify the location of all the
other components on the top and (2) ensure its
location will be good for operating the mount from
under the top when cranking the handle while
standing on the deck of the boat. Because anchor
and stern lights vary in length, the right location
may vary based on your preferred length of the
anchor and stern light.
• Once you have determined the location and the
position of the mount, then determine the length
of the anchor and stern light tube that will be
attached to the mount.
• Before drilling into the top, ensure the mount
position and the light will not interfere with other
top-mounted accessories when it is in full up and
full down positions.
• The Anchor & Stern Light must be the highest
point of the boat when deployed.
• The maximum hardtop thickness allowable is 2”.
• A backing plate is included for extra strength during your installation and is
recommended to use when mounting through a hardtop.
• When installing the GS-900, designate the location for the mount at least 9” from
the hardtop frame, vertical post or any other object that might hinder the rotation
of the crank handle.
• Turning the crank assembly handle will allow the anchor and stern light to adjust to
the full up position when rotating it counter-clockwise.
• Turning the handle clockwise will adjust the anchor and stern light to the full down
position.
• Ensure the canvas T-top, arch or hardtop is of suitable construction to provide a
strong mounting surface area.
• When installing on a hardtop, verify the top is foam or core filled.
• The GS-900 incorporates a folding crank handle that securely locks flush within
the rotator base.
Important notes:
Thank you for purchasing the TACO Marine Grand Slam 900 Anchor & Stern
Light! As a family-owned and operated business since 1959, we take pride in
oering the highest-quality, innovative products with excellent customer service.
We stand behind our products 100 percent. If you have any questions about this
mount or installation, please contact us by visiting tacomarine.com/contactus.

4 / GS-900 ANCHOR & STERN LIGHT
1. Verify the Anchor & Stern Light does not interfere with other top-mounted
accessories.
2. Using the drill template provided, cut out a 2-1/2" diameter center hole on the top.
3. Position the base centered in the 2-1/2" hole.
4. Use the drill template to mark and then drill the three (3) bolt holes with a 1/4" bit.
5. Place a bead of marine-grade sealant on the underside edge of the backing plate.
This will prevent water intrusion.
6. With the assistance of a helper, position the backing plate around the base from
under the top, align the holes in the base with the backing plate and insert the bolts
through the base, top and backing plate.
7. Hold the bolts securely with a screwdriver or socket wrench while the nuts are
threaded onto the bolts.
8. Tighten the nuts, being careful not to over-tighten and deform the top surface.
9. Clean any excess marine-grade sealant from the surface.
10. Operate unit to full up and down position and check for proper operation.
INSTALLATION
Always use high-quality, stainless-steel hardware when mounting
the base. Do not attempt to weld the base to any surface.
NOTE: This product is intended for mounting on Fiberglass Hardtops or Pilot
House enclosures. All of these styles of tops oer various mounting options.
The desired location in all cases is one that allows the mount to raise and
lower completely with no obstructions to other components on the top.
The best way to determine proper placement of the mount is
to (1) identify the location of all the other components on the
BASE
The light assembly is composed of two parts – one (1) Lamp
Assembly and one (1) Stanchion.
LIGHT
1. For the light to comply with USCG, it must be mounted at the highest point on the
boat, unobstructed by any other hardware.
2. Remove the light assembly by loosening the setscrews on the light head.
3. The stanchion provided is 32.75” long. The tube can be cut to required length.
4. Attach the 18-Gauge 3-wire harness (not provided) to the light assembly.
5. Feed wire down the tube and out through the grommet at the bottom of the
stanchion.
6. Connect switch to manufactures' recommendations.

GS-900 ANCHOR & STERN LIGHT / 5
When boating with the Grand Slam 900 Anchor & Stern Light mount, easily raise and
lower the light by turning the crank handle – either clockwise to lift or counterclockwise
to lower. For going under bridges, trailering or storage, we recommend lowering
the light to ensure it doesn't get damaged. When the light reaches its desired
upright or fully lowered position, you can fold the crank handle flush into the base.
How to use
How to clean
Mild dish washing liquid, specialty marine cleaners:
Sea Safe Boat Wash, Boat Wash Concentrate
and Super Suds.
Safe marine lubricants:
CRC Corrosion Inhibitor, Corrosion Block
and Get Some Extreme.
Bleach (Clorox, etc.) and mild abrasive cleaners:
Ajax, Comet, Soft Scrub, Rubbing Compounds, etc.
Strong cleaners:
409, Engine Degreasers, etc.
Acids of any type:
Such as Muriatic, naval jelly or aluminum acid.
Always use a mild, non-abrasive soap and fresh water. Thoroughly wash the aluminum
with a soft towel or sponge to remove dried salt crystals and other contaminants.
Rinse completely with fresh water.
Safe Cleaners Harmful Cleaners
top and (2) ensure its location will be good for operating the mount from under
the top when cranking the handle while standing on the deck of the boat.
Once you have determined the location and the position of the mount, determine if you want
the anchor and stern light to be visible from under the top when in its fully lowered position.

6 / GS-900 ANCHOR & STERN LIGHT
TECHNICAL SPECS
ANCHOR & STERN LIGHT
GS-900
Bow
Stern
Port
Starboard
Blinds are
to the rear
of centerline
C
L
Black
Ground
Red
Stern
Light
Red
Bow
Light
Bow
Stern
Port
Starboard
Blinds are
to the rear
of centerline
C
L
Black
Ground
Red
Stern
Light
Red
Bow
Light

GS-900 ANCHOR & STERN LIGHT / 7
4 9
16
"
9 1
8
"
Backing Plate
21
2
"
41
4
"
11"
5 7
8
"
Range 0"-2"
4 5
8
"
PRODUCT DIMENSIONS
GS-900
41
4
"
5
7
8
"
35"
.252 THRU
.452 X 82°
111°
137°
4.25
7
8
"
39
1/2”
39
1/2”
4
1
4
"
5
7
8
"
35"
.252 THRU
.452 X 82°
111°
137°
4.25
7
8
"
39
1/2”
39
1/2”

LEFT BLANK INTENTIONALLY
8 / GS-900 ANCHOR & STERN LIGHT

GS-900 ANCHOR & STERN LIGHT / 9
Need Support?
1.800.653.8568
support@tacomarine.com
tacomarine.com
50 NE 179th ST
Miami, FL. 33162
@tacomarine
@taco_marine
TACO Marine®
Contact Us
We’re here to help.

LEFT BLANK INTENTIONALLY
10 / GS-900 ANCHOR & STERN LIGHT

Please print at 100 percent for accurate sizing. Slight scaling may still
occur. Therefore, before drilling, it is recommended that all template
dimensions be measured for accuracy.
1/4" Drill
1/4" Drill
1/4" DRILL
2-1/2" Diameter
GS-900 ANCHOR & STERN LIGHT / 11
GS-900
Drill Template

INST-GS-900
®
Other manuals for Grand Slam 900
1
This manual suits for next models
1
Table of contents