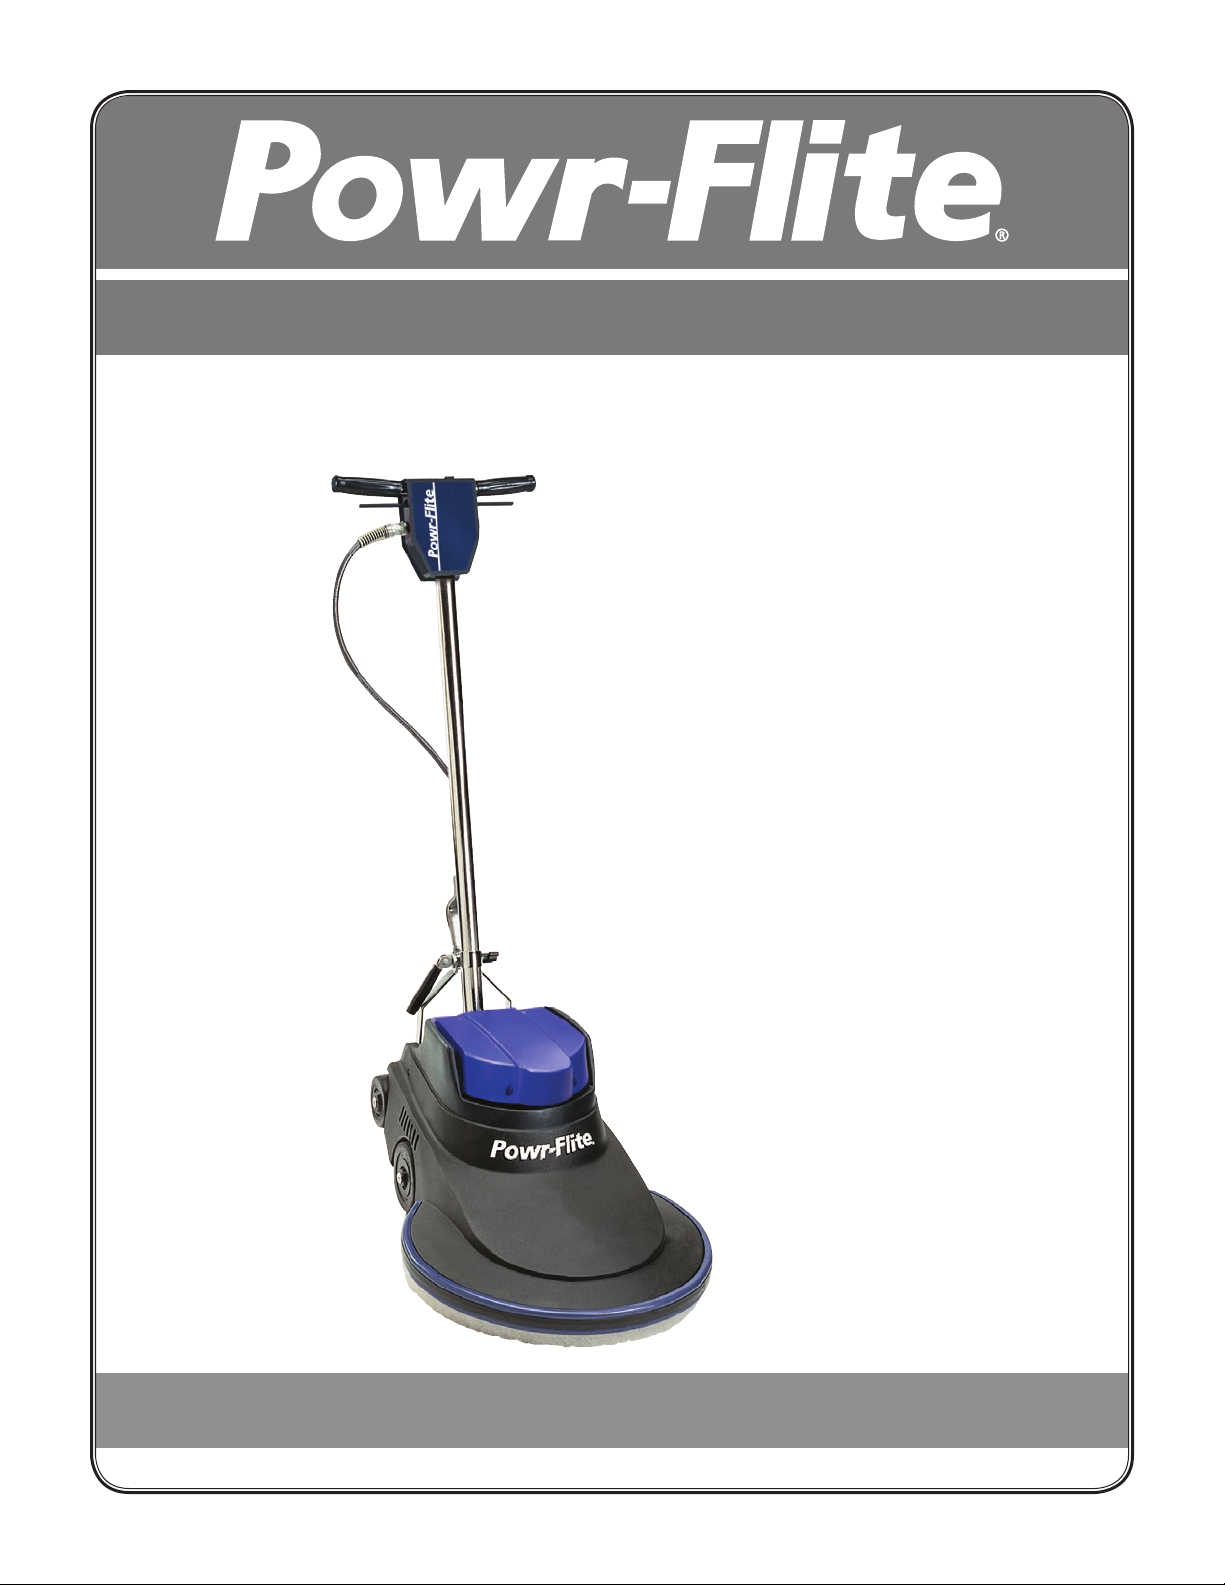
Tacony Power-Flite NM1600 Installation and operation manual

OPERATOR’S MANUAL & PARTS LIST
WARNING: OPERATOR MUST READ AND UNDERSTAND THIS MANUAL
COMPLETELY BEFORE OPERATING THIS EQUIPMENT.
©Tacony, Inc., All rights reserved
Save These Instructions
1600 RPM
Model NM1600
2000 RPM
Model NM2000
2000 RPM
Model NM2000DC
Ultra High Speed Burnishers
X8442A 12-2016

2
Your new Powr-Flite®Ultra High Speed Burnisher will afford you many years of trouble-free operating satisfaction provided it is given
proper care. Prior to packaging, your Powr-Flite®Ultra High Speed Burnisher was inspected by a Quality Control Technician.
SAFETY INSTRUCTIONS
This Floor Machine should be grounded while in use to protect the
operator from electric shock. This machine is equipped with a 3-conductor
cord and a 3-prong grounded type attachment cap plug to fit the proper
grounding type receptacle. The green (or green and yellow) conductor in
the cord is the grounding wire. Never connect this wire to anything other
than the grounding blade.
The Floor machine is provided with an attachment cap plug, as shown in
Sketch A, and is intended for use on a nominal 120 volt circuit. If a properly
grounded receptacle, as shown in Sketch A, is unavailable, an adaptor, as
shown in Sketch C, is available and should be installed, as shown in Sketch
B, if the outlet box that houses the receptacle is grounded. Be sure to fasten
the grounding tap to the faceplate screw.
These guidelines are presented for your protection and convenience.
Please read them carefully, since a failure to heed these precautions could
result in discomfort or injury. When using an electrical appliance, basic
safety precautions should always be followed.
ONE LAST REMINDER!
Read All Instructions, Warnings and Cautions Before Using!
WARNING
TO AVOID FIRE, DO NOT USE WITH A FLAMMABLE OR
COMBUSTIBLE LIQUID TO CLEAN FLOOR.
METAL SCREW
COVER OF GROUNDED
OUTLET BOX
( B )
( A )
GROUNDING PIN
GROUNDING
MEANS
ADAPTER
( C )
WARNINGS
READ THIS OPERATOR’S MANUAL!
WARNING: You must have training in the operation of this machine before using.
WARNING: Machines can burn flammable materials and vapors. Do not use this machine with or near fuels, grain dust, solvents, thinners or other
flammable materials.
WARNING: Do not operate this machine unless it is completely assembled.
WARNING: Do not use this machine as a step or to move furniture.
WARNING: When disconnecting power cord from electrical outlet, grasp the plug. Pulling it out by the cord itself can damage cord insulation and internal
connection to plug. To prevent electric shock, always remove the electrical plug from the electrical outlet before doing any repairs or maintenance to
this machine.
WARNING: To prevent injury, always remove the electrical plug from the electrical outlet before changing the polishing pad and before leaving the machine.
WARNING: To prevent injury, keep hands, feet and loose clothing away from the rotating pad.
WARNING: Maintenance and repairs must be done by authorized personnel only.
WARNING: Keep all fasteners tight. Keep adjustments according to specifications.
WARNING: Keep the electrical parts of the machine dry. For storage, keep the machine in a building.
WARNING: Always use a three-wire electrical system connected to the electrical ground. For maximum protection against electric shock, use a circuit that is protected
by a ground fault circuit interrupter. Consult with your electrical contractor.
WARNING: To prevent damage to the power cord, do not let the pad, pad driver or wheels touch the power cord when the machine is running. Always lift the power
cord over the machine.
WARNING: Make sure all labels, decals, warning, cautions and instructions are fastened to the machine.

3
UNCRATING
Your Powr-Flite Ultra High Speed Burnisher was protectively packed to prevent damage
in shipment. We suggest that upon removing the unit from its carton, you carefully inspect it for
any possible damage in transit. If damage is discovered, immediately notify the transportation
company who delivered your machine. As a manufacturer, we are unable to act upon any claim
for concealed damage; you must originate the claim.
IMPORTANT SAFEGUARDS
This machine is designed to be safe when used to perform the functions specified in this
Operator’s Manual. Should damage occur to electrical or mechanical parts, the machine
should be repaired by the manufacturer or competent service station before using in order
to avoid further damage to the machine or physical injury to user. Your floor machine is
equipped with a safety switch lockout device designed for your safety. Do not attempt to
bypass or defeat the safety lockout device. Never use any device to lock the power switch
triggers in the ON position.
INSTRUCTIONS
Application
The NM1600, NM2000 and NM2000DC Ultra High Speed Burnishers are used to achieve and/
or maintain a high gloss appearance on an established floor finish. The high pad revolution
of the floor burnisher combined with a good polishing pad will turn properly established
cleaned floor finish into a high gloss, hardened finish known as the “wet look shine”. The
pads recommended with the NM1600, NM2000 and NM2000DC are the Powr-HD beige or
white synthetic pads or the natural hogs hair blended pads.
Preparation of Surface
Before each use of this machine, the floor must be dust mopped with a treated mop and if
necessary clean the floor with a damp mop, using a solution of water and neutral cleaner.
PREPARE THE MACHINE FOR OPERATION
WARNING: To prevent injury, always remove the electrical plug from the electrical outlet
before changing the polishing pad and before leaving the machine.
• With the handle locked, tip the machine back until the handle is lying flat on the floor.
• To remove the pad-lock pad holder from the flexible pad driver, grasp the center support
with your thumb and forefinger and turn the collar counter-clockwise. (Fig 1)
• Place a clean or new 20” buffing pad over the alignment ring on the pad holder.
• Replace the collar by turning clockwise until snug. (Fig 2)
• Step back and lift the burnisher to the upright position.
• Connect the power cord into a grounded, 3-wire outlet.
• The NM1600 Burnishers should be operated with the handle in the unlocked “floating”
position to provide excellent maneuverability and automatic
pad contact.
The NM2000 and NM2000DC are designed for maintenance of large, open areas.
To prevent excessive pad drag or uneven burnishing where tight, repetitive turns are
necessary, lock the handle for manual control of pad contact.
NOTE: The hardened steel cam release lever does not require extreme tightening to
effectively hold the handle in position. Over-tightening will shorten the functional life of
the lever. (Fig 3)
CAUTION: Do NOT operate the Millennium dust-control
burnisher (Item# NM2000DC) without a dust skirt.
Fig 1
Fig 2
Fig 3

4
HOW TO OPERATE THE MACHINE
• Plug the machine in as directed and lower the handle to the desired operating height and
leave the cam lever unlocked. Push the safety switch forward (Fig 4) and squeeze the switch
triggers beneath the handle grips. This activates the motor and starts the block, brush or
attachment in operation. Each time you release the triggers the safety switch will reset. You
will need to follow the direction above to restart the machine. CAUTION: When leaving the
machine unattended, disconnect the wall plug and return the handle to the “locked”
upright position to prevent accidental starting.
• Push the machine forward in a straight line, at a slow walking speed. Overlap each pass by
about 1 inch (25 mm).
AFTER USING THE MACHINE
• Upon completion, dust mop with treated mop to pick up all burnishing residue.
• The condition of the floor pad has direct affect on the performance of your burnisher. When
the pad becomes dirty, turn it over and use the other side. When finished, wash the pad out
and allow it to dry completely before using again.
• Unplug the power cord and wrap it under the cord hook and over the right handle grip.
• Tip the machine back and remove floor pad.
• Wipe off the machine housing and the cord. This will prevent build-up of unnecessary
residue.
TRANSPORTING
Use the rear wheels for transporting the NM1600, NM2000 and NM2000DC. This
will insure that the operating wheels remain clean and smooth for use on clean floor
surfaces. (Fig 5)
MAINTENANCE
• Once a month, remove the motor cover of the unplugged NM1600, NM2000 and
NM2000DC by removing the motor cover screws.
• Vacuum out any dust or debris which has accumulated in the motor. (Fig 6)
• Replace motor cover and replace the motor cover screws.
• Check and maintain tightness of all fasteners.
WARNING: do not over-tighten switch housing screws.
• Keep the burnisher clean, especially at the handle tube and collar so the
handle tube will move freely through the collar.
• Inspect cord and plug for cuts, gashes or loose prongs; replace as needed.
• For the NM2000DC dust-control burnisher, periodic cleaning and filter/filter tube inspection
for clogs, debris, and/or obstructions is recommended. If the filter is no longer serviceable,
contact Powr-Flite for a replacement filter, P/N 19069.
• The length of the carbon brushes should be inspected annually. If they are no longer
extended past the holder window, they should be replaced.
• Replacement of carbon brushes should be done only by a qualified service technician.
• Disassembly of this motor voids the warranty.
• Improper disassembly and assembly of this motor can permanently damage the armature.
Fig 5
Fig 6
Switch
Trigger
Safety
Switch
Fig 4

5
Drive Belt Adjustment
See picture Fig 7
1. Remove three (3) phillips head screws holding the pad center grip.
2. Remove four (4) large, slot head screws holding drive pad.
3. Loosen pulley mount bolts (A) with 9/16” deep socket wrench.
Do not remove the bolts.
4. Using a 1/2 box wrench, turn adjustment nut (B) until it touches the adjustment bolt head.
Turn the adjustment bolt to tighten or loosen the belt tension.
5. Correct belt tension allows belt (C) no more than 1/4” of side movement.
6. Tighten the four (4) pulley mount bolts with the 9/16” socket wrench.
7. Loosen the adjusting bolt (D) until it is snug against adjustment stop molded in housing
and turn adjustment nut against pulley mount bracket.
8. Replace pad driver and pad center grip.
TROUBLESHOOTING
Burnisher tends to move to the right.
• Do not lift up on handle while operating the burnisher.
• Do not operate with handle set too high. Recommended handle height is from your waist
with your arms extended forward.
Burnisher does not run.
• Circuit breaker has tripped. Allow circuit breaker to cool two minutes before resetting
(NM2000 and NM2000DC only).
Prevent circuit overload.
• Do not spray buff with the NM1600, NM2000 and NM2000DC. Apply a restorer, such as
Powr-Gloss®, allow to dry, then burnish.
• Check pad and change if dirty or rough.
• Check area being burnished for cleanliness, area should be damp mopped, scrubbed or
swept with treated broom.
• Operator should not continually force the machine with handle pressure.
• Operator should not try to operate burnisher in a side-to-side motion.
• Eliminate any extension cord that is smaller than 12/3 wire or greater than 25 feet in length.
Burnisher will not start.
• Plug is broken or has loose contact. Replace.
• Switch is defective. Replace switch.
• Rectifier is defective. Replace.
Fig 7
A
B
D
C
This manual suits for next models
2
Table of contents
Other Tacony Floor Machine manuals

Tacony
Tacony Powr-Flite 1600 RPM C1600-3 User manual

Tacony
Tacony Truvox Multiwash Owner's manual

Tacony
Tacony Powr-Flite M1200-3 User manual

Tacony
Tacony Standard And High Speed Floor Machine P201 User manual

Tacony
Tacony Truvox Multiwash II Series User manual

Tacony
Tacony TRUVOX Hydromist Compact User manual

Tacony
Tacony Powr-Flite C1600 User manual

Tacony
Tacony Powr-Flite PB2817 User manual

Tacony
Tacony Truvox International Orbis UHS User manual

Tacony
Tacony Powr-Flite NM1600 User manual