The SIRE is powered by an internal rechargable 11.1V Lithium Polymer battery. The SIRE Hand Controller is powered by
two 1.5-Volt Alkaline (AA) batteries.
The diagrams on the following pages demonstrate proper battery installation and power-up for the SIRE and SIRE Controller.
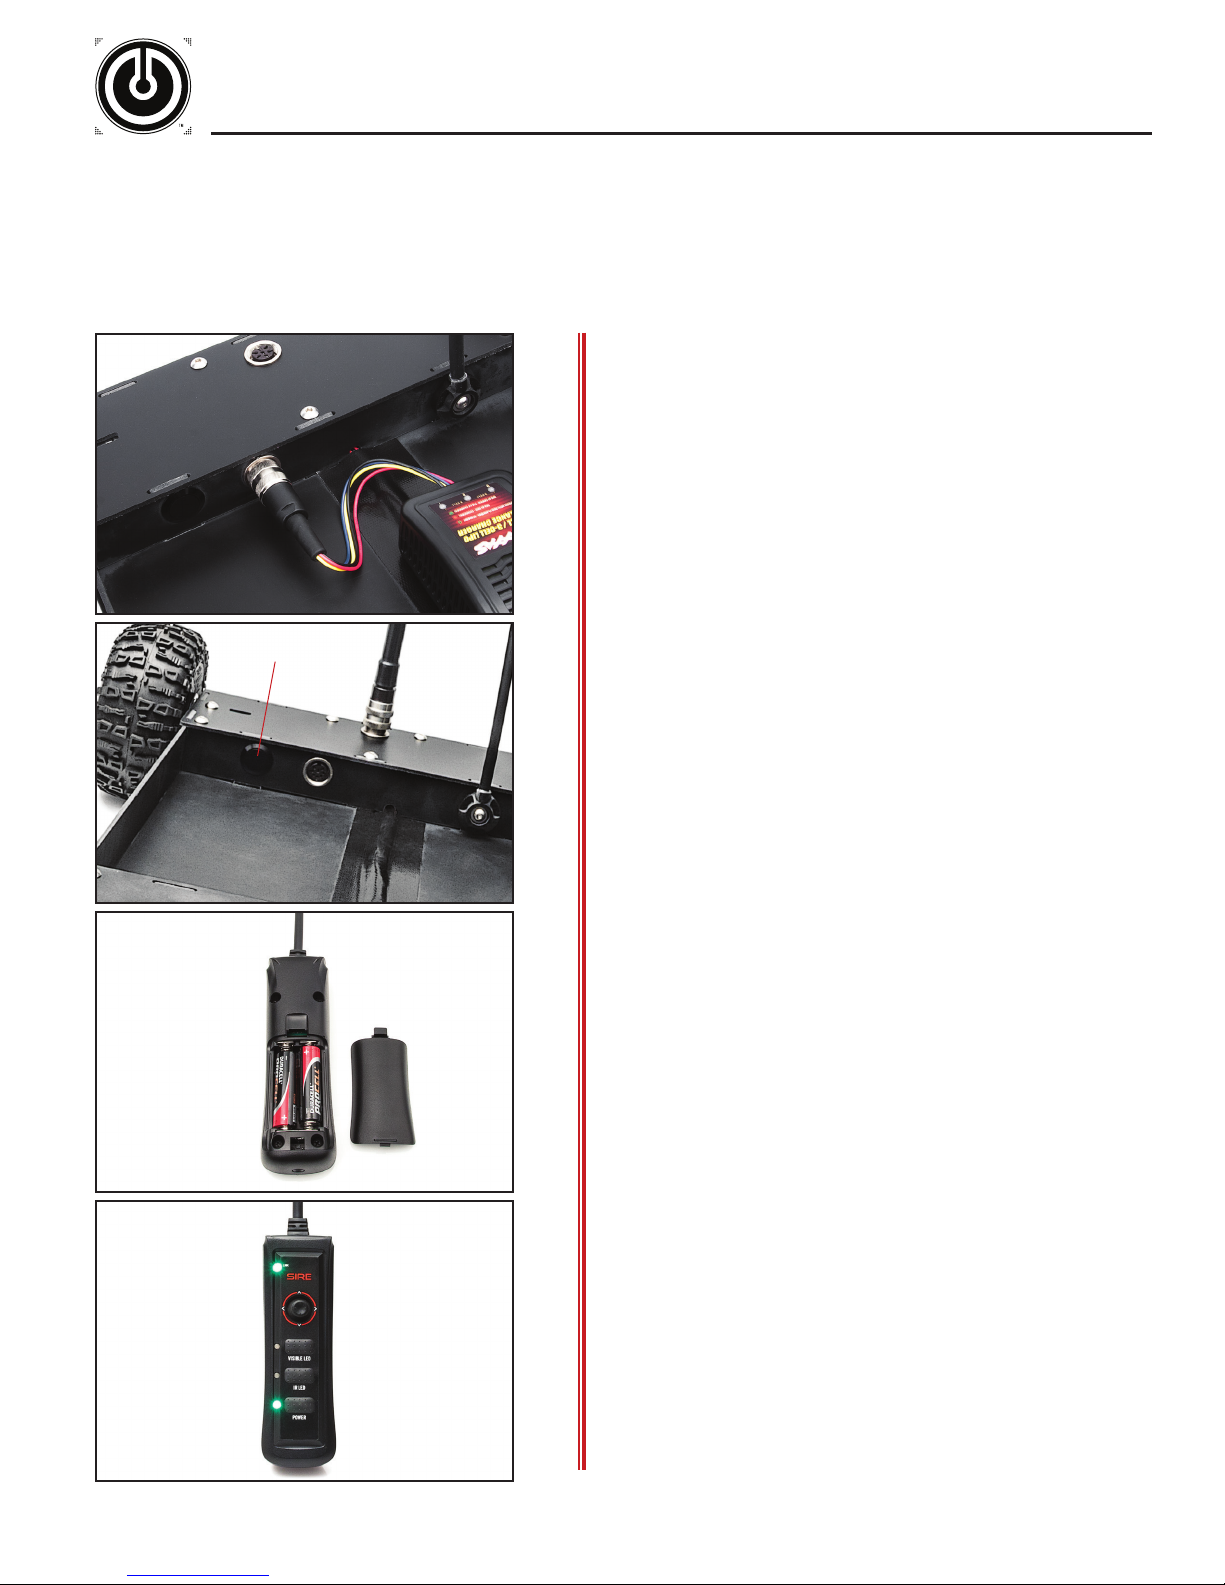
»SIRE Battery:
The SIRE is powered by an internal rechargable 11.1V Lithium
Polymer battery.
»SIRE Power-Up Procedure:
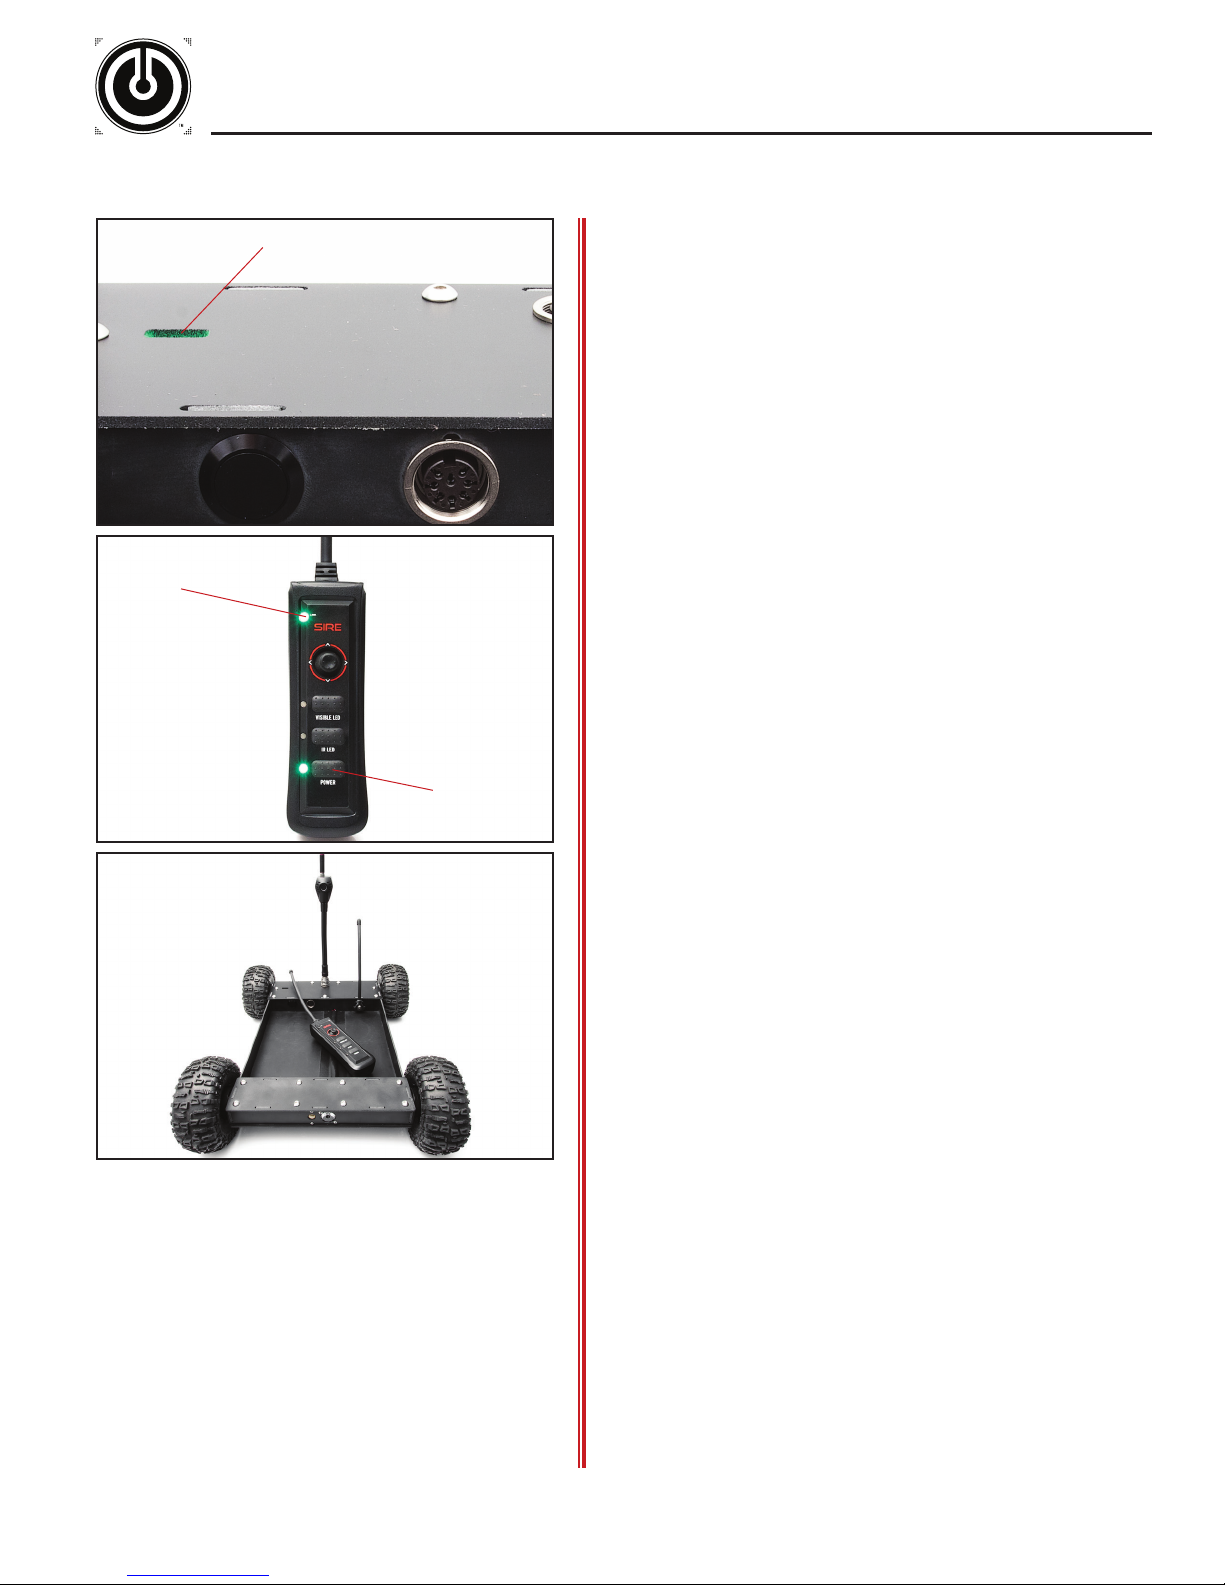
The power switch for the SIRE is a push button located on
the inside face of the unit (located to the left of the battery
charging port). Fully depress the power switch to power the unit
ON. Depress to power the unit OFF.
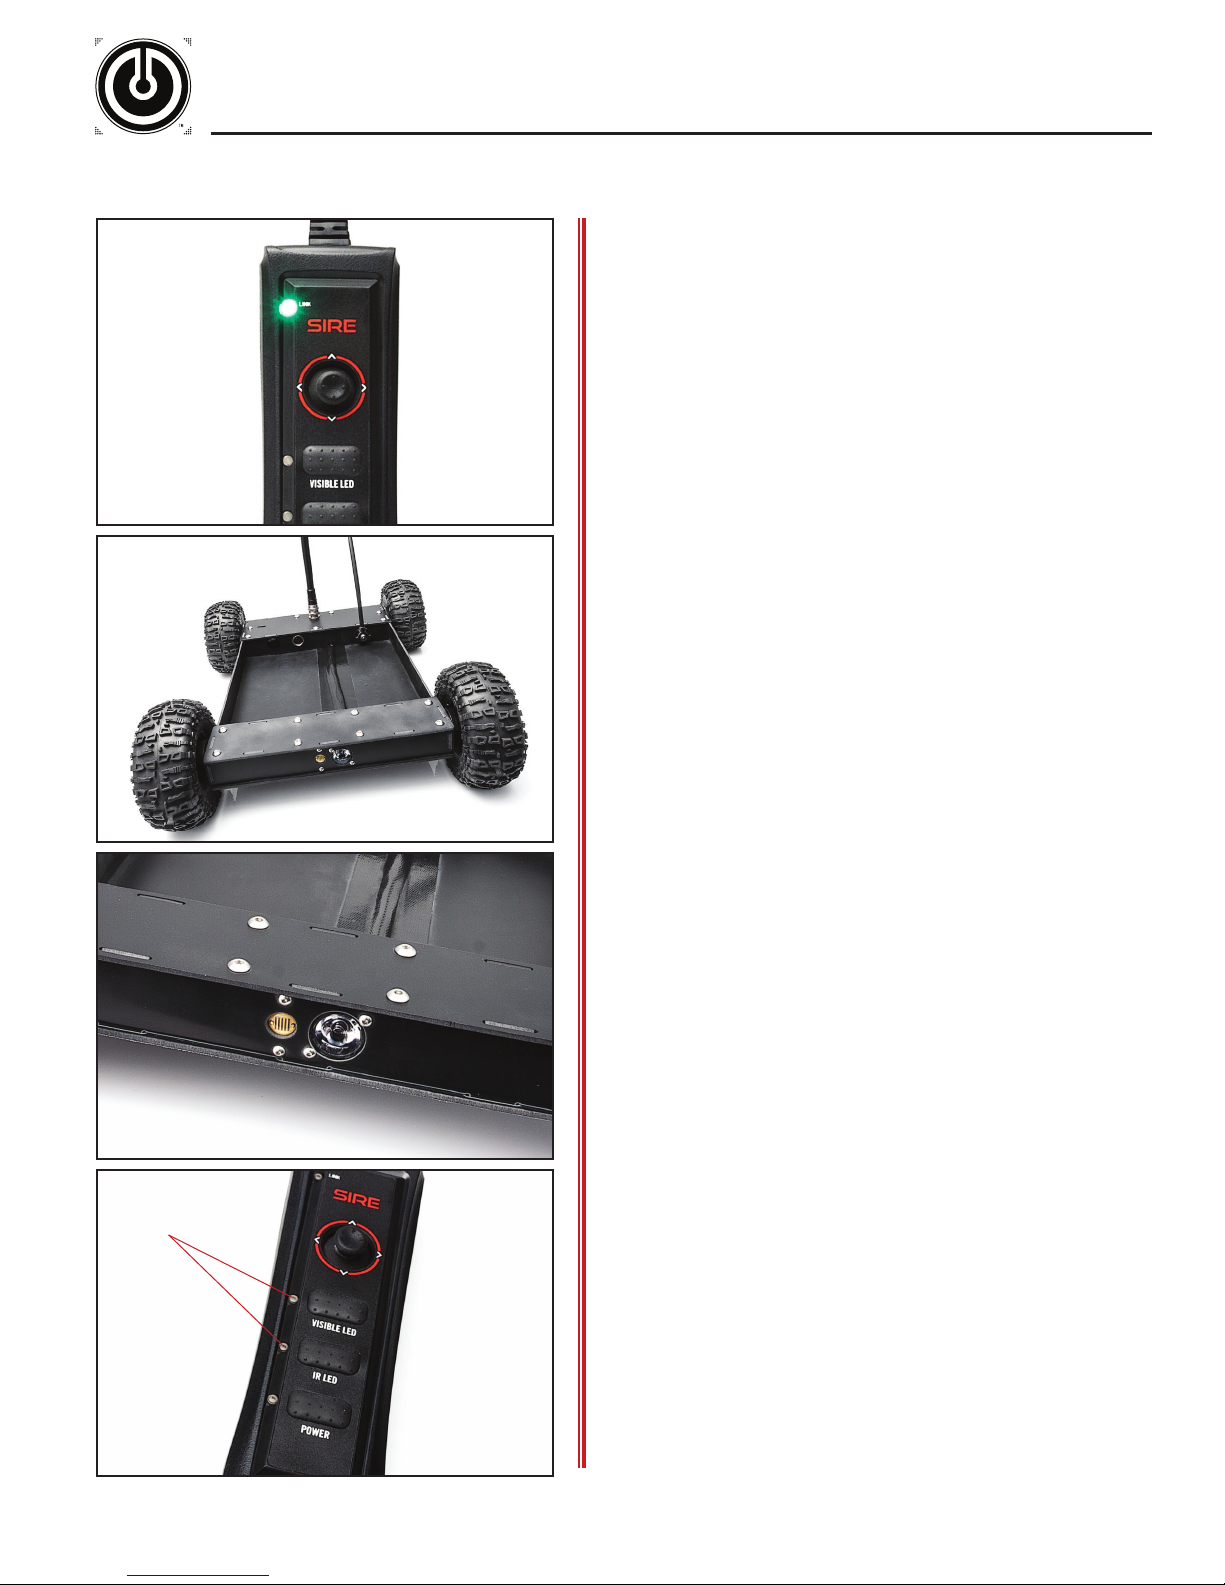
Once the SIRE is powered ON, the Link LED will flash rapidly,
indicating the SIRE is ready to be paired to the Hand Controller.
»Hand Controller Battery Compartment:
The SIRE Hand Controller is powered by two 1.5-Volt Alkaline
(AA) batteries. To insert the batteries remove the back panel
of the unit and insert the batteries taking note of proper
orientation.
The image on the left depicts the proper orientation for the
batteries. In addition, the battery holder indicates the proper
orientation as well.
Always remove batteries when unit is not in use.
»Hand Contoller Power-Up Procedure:
To power on the SIRE Hand Controller press the power button
located at the bottom of the unit. When the contoller is powered
ON, the status LED initially lights red. Once the status LED
lights green, the unit is fully operational.
To power OFF the Hand Controller, press and hold the power
button for 2 seconds and then release.
NOTE: When the battery becomes low, the status LED will
change from green to red and stay red.
OPERATION AND SUPPORT PUBLICATION
SIRE POWER UP 6
Tactical Electronics & Military Supply
POWER