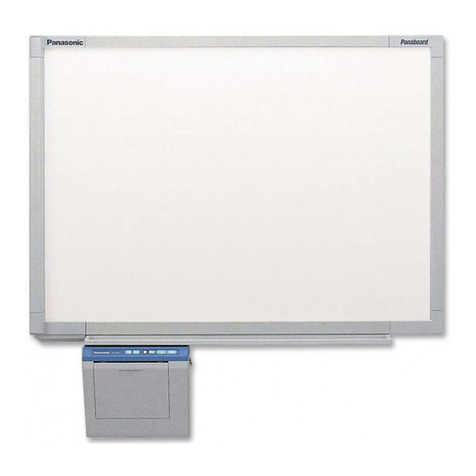
TAG Tesclate User manual

TAG TECSLATE™
User Manual
TAG Global Systems

COPYRIGHT
©2016 TAG Global Systems. All rights reserved. TRADEMARKS
The documentation and the software included with this product are copyrighted 2016
by TAG Global Systems, LLC. All rights are reserved. TAG Global Systems, LLC. reserves the right
to make improvements in the products described in this manual at any time without notice. No part of
this manual may be reproduced, copied, translated or transmitted
in any form or by any means without the prior written permission of TAG Global Systems, LLC.
Information provided in this manual is intended to be accurate and reliable. However, TAG Global
Systems, LLC. assumes no responsibility for its use, nor for any infringements of the rights of third
parties, which may result from its use.
ACKNOWLEDGEMENTS
All other product names or trademarks are properties of their respective owners.
i

TABLE OF CONTENTS
DECLARATION OF CONFORMITY 1
CE Conformity Statement 1
FCC Compliance Statement 1
Safety Instructions 2
Important information about the touch screen display 2-3
CHAPTER 1: PRODUCT FEATURES & CONTENTS 4
Product Features 4
Package Contents 5
Optional Accessories 6
External speakers or sound bar 6
Custom stand or mounting solutions 6
Safety Tips / Front Panel Keys 7
Port Descriptions 8
Optional Modules 9
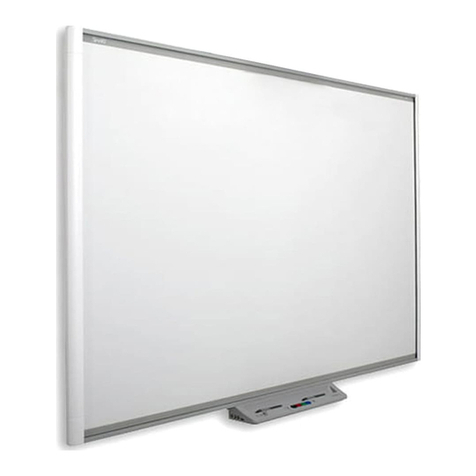
TAG TECSLATE™Front View 10
TAG TECSLATE™Side/Bottom View 11
TAG TECSLATE™Rear View 12
Remote Control/Battery Installation 13
Remote Control 14
CHAPTER 2: GETTING STARTED 15
Getting started/ Connections and hookups 15-17
Adjust Touch Settings & Calibrating the Touch Screen 18
TAG TECSLATE™Tools 19
CHAPTER 3: GETTING TO KNOW THE TAG TECSLATE™SOFTWARE 20
Writing or Drawing/Entering Text 20
Manipulating Objects 21-23
Browsing & Displaying Previous Page 24
Zooming in & Out on an Object 25
ii

TABLE OF CONTENTS CONT.
CHAPTER 4: MAINTENANCE & TECHNICAL SPECIFICATIONS 26
Maintenance 26-27
Maintaining the TAG TECSLATE™26
Cleaning the TAG TECSLATE™26
Maintaing ventilation 26
Preventing condensation 27
Troubleshooting 27
Technical Specications 28-29
TAG TECSLATE™65” 28
TAG TECSLATE™84” 29
iii

Declaration of Conformity
CE Conformity Statement
Radio products with the CE alert marking comply with the R&TTE Directive (1999/5/ EC) issued by
the Commission of the European Community. Compliance with this directive implies conformity to the
following European Norms (in brackets are the equivalent international standards)
■ EN 60950-1 (IEC60950-1) - Product Safety
Products that contain the radio transmitter are labeled with CE alert marking and may also
carry the CE logo.
FCC Compliance Statement
This device complies with part 15 of the FCC Rules. Operation is subject to the following two
conditions:
1. This device may not cause harmful interference;
2. This device must accept any interference received, including interference that may cause
undesired operation.
Caution! Exposure to Radio Frequency Radiation.
The radiated output of this device is far below the FCC radio frequency exposure limits.
Nevertheless, the device shall be used in such a manner that the potential for human
contact during normal operation is minimized.When connecting an external antenna to
the device, the antenna shall be placed in such a manner to minimize the potential for
human contact during normal operation. In order to avoid the possibility of exceeding
the FCC radio frequency exposure limits, human proximity to the antenna shall not be
less than 20cm (8inches) during normal operation.
This equipment has been tested and found to comply with the limits for a Class B digital device,
pursuant to part 15 of the FCC Rules. These limits are designed to provide reasonable protection
against harmful interference in a residential installation. This equipment generates, uses and
can radiate radio frequency energy. If this equipment does cause harmful interference to radio
or television reception, which can be determined by turning the equipment off and on, the user is
encouraged to try and correct the interference by one or more of the following measures: However,
there is no guarantee that interference will not occur in a particular installation. If this equipment does
cause harmful interference to radio or television reception, which can be determined by turning the
equipment off and on, the user is encouraged to try to correct the interference by one or more of the
following measures:
■ Reorient or relocate the receiving antenna
■ Increase the separation between the equipment and receiver
■ Connect the equipment into an outlet on a circuit different from that to which the receiver is
connected
■ Consult the dealer or an experienced computer technician for help
TAG TECSLATE Page 1 of 30

Technical Support and Assistance
1. Visit the TAG Global Systems website at www.tagglobalsystems.com where you can nd the latest
information about the product.
2. Contact your distributor, or sales representative for technical support if you need additional
assistance. Please have the following information ready before you call:
■ Product name and serial number
■ Description of your peripheral attachments
■ Description of your software (operating system, version, application software, etc.)
■ A complete description of the problem
■ The exact wording of any error messages
Safety Instructions
Use the following safety guidelines to help protect yourself and TAG TECSLATE™.
• Before you clean your TAG TECSLATE™product, shut down or disconnect the computer.
Otherwise, you may scramble the desktop icons or inadvertently activate applications when you
wipe the screen.
• Avoid setting up and using the TAG TECSLATE™product in an area with excessive levels of dust,
humidity and smoke.
• Make sure an electrical socket is near your TAG TECSLATE™product and remains easily
accessible during use.
• For SMART Board 8055ie-SMP interactive at panel only: The external power supply needs to
meet the Limited Power Source (LPS) requirements of CSA/UL/IEC/EN 60950-1, when required.
• This TAG TECSLATE™product should be used only with European TN and TT power distribution
systems.
It is not suitable for older, IT-type power distribution systems found in some European countries. “This
system (IT-type) is widely used isolated from earth, in some installations in France, with impedance
to earth, at 230/400V, and in Norway, with voltage limiter, neutral not distributed, at 230V line-to-line.”
(IEC 60950:1999)
Contact qualied personnel if you’re uncertain of the type of power system available where you’re
installing your SMART™product.
IMPORTANT INFORMATION ABOUT YOUR TOUCH SCREEN DISPLAY
You must connect the USB cable that came with your TAG TECSLATE™ interactive at panel to a
computer that has a USB compliant interface and that bears the USB logo. In addition, the USB
source computer must be compliant with CSA/UL/EN 60950 and bear the CE mark and CSA and/
or UL Mark(s) for CSA/UL 60950. This is for operating safety and to avoid damage to the TAG
TECSLATE™.
TAG TECSLATE Page 2 of 30

IMPORTANT INFORMATION FOR YOUR TAG TECSLATE™DISPLAY:
WARNING
■ Failure to follow the installation instructions shipped with your TAG TECSLATE™product could
result in personal injury and product damage which may not be covered by your warranty.
■ Do not open or disassemble the TAG TECSLATE™product. You risk electrical shock from the high
voltage inside the casing. Opening the casing also voids your warranty.
■ Do not stand (or allow children to stand) on a chair to touch the surface of your TAG TECSLATE™
product. Rather, mount the product at the appropriate height.
■ To reduce the risk of re or electric shock, do not expose the TAG TECSLATE™product to rain or
moisture.
■ If your TAG TECSLATE™product requires replacement parts, make sure the service technician
uses replacement parts specied by TAG or parts with the same characteristics as the original.
■ Ensure that any cables extending across the oor to your TAG TECSLATE™product are properly
bundled and marked to avoid a trip hazard.
■ Do not insert objects inside the cabinet ventilation holes, because they could touch dangerous
voltage points and cause electric shock, re or product damage which may not be covered by your
warranty.
■ Do not place any heavy objects on the power cable. Damage to the cable could cause shock, re
or product damage which may not be covered by your warranty.
■ Use only extension cords and outlets into which this product’s polarized plug can be fully inserted.
■ Use the power cable provided with this product. If a power cable is not supplied with this product,
please contact your supplier. Use only power cables that match the AC voltage of the power outlet
and that comply with your country’s safety standards.
■ If the glass is broken, do not touch the liquid crystal. To prevent injury, handle glass fragments with
care when disposing of them.
■ Do not move or mount the interactive at panel by connecting rope or wire to its handles. Because
the interactive at panel is heavy, rope, wire or handle failure could lead to personal injury.
■ Use only mounting hardware included in your packaging.
■ Disconnect all power cables for your interactive at panel from the wall outlet and seek assistance
from qualied service personnel when any of the following occurs:
• The power cable or plug is damaged.
• Liquid is spilled into the interactive at panel.
• Objects fall into the interactive at panel.
• The interactive at panel is dropped.
• Structural damage such as cracking occurs.
• The interactive at panel behaves unexpectedly when you follow operating instructions.
TAG TECSLATE Page 3 of 30
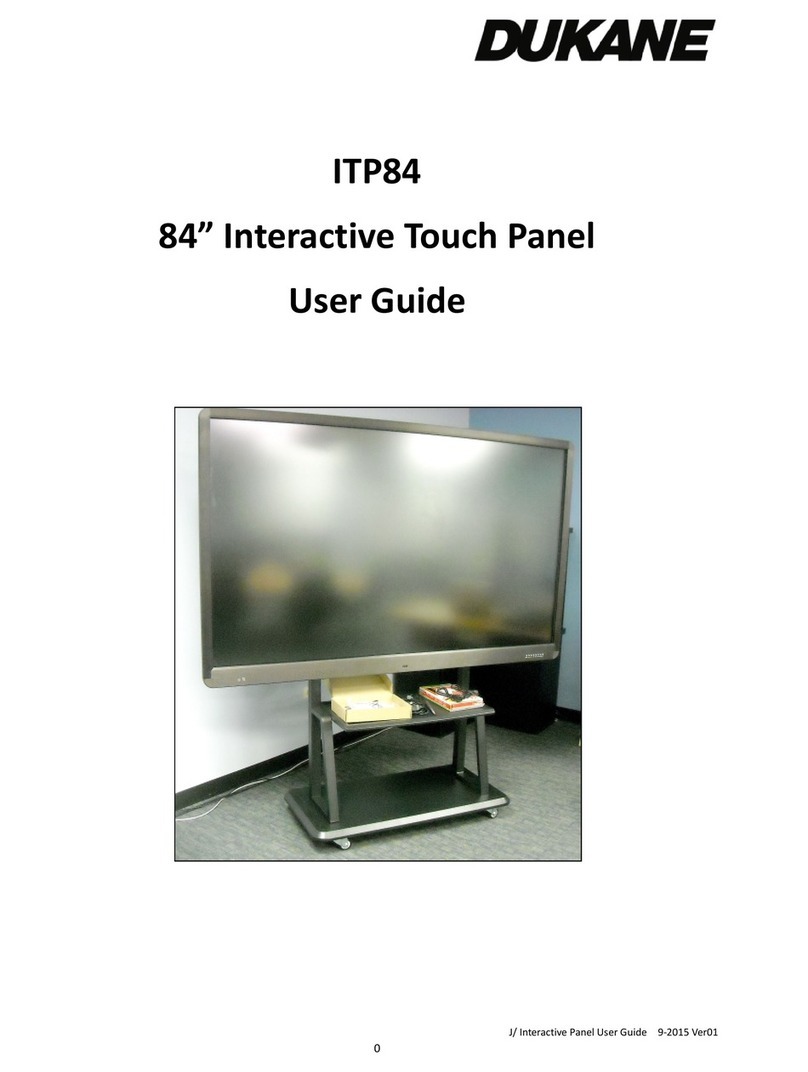
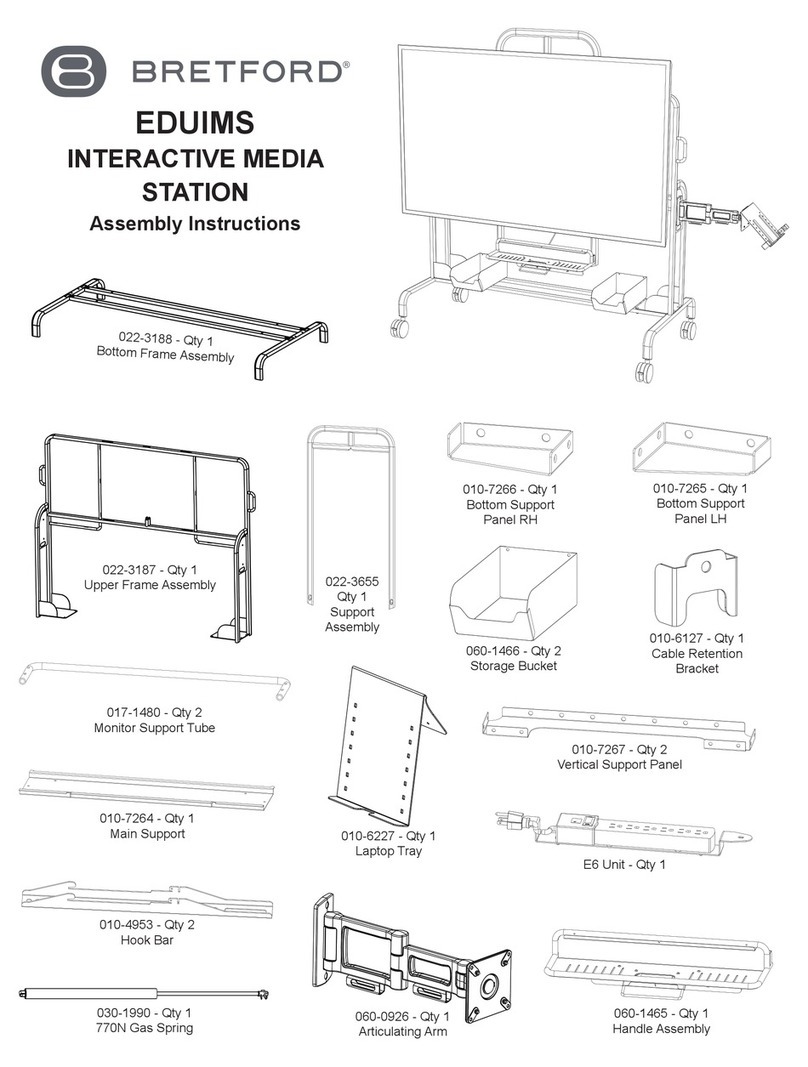
CHAPTER 1: Product Features & Contents
The TAG TECSLATE™is loaded with features to make your presentations shine.
Brilliant 1080P LED Touchscreen Display
4000:1 Contrast Ratio makes blacks blacker and colors brighter 65” screen makes for easy
viewing even from the back of the room
60 Hz refresh rate for smooth video play back
Anti-Glare Glass
Low Power Consumption
Finger or Stylus Input
Available in 65” & 84”
On board PC
1TB Hard Drive
Intel®i7 Core™processor Intel Video Card
Multiple inputs for connectivity
Software
Preloaded with the latest Microsoft Windows™64bit OS Easy to use and intuitive Whiteboard
software Adobe Acrobat Reader
Can be preloaded with the software of your choice Input Devices
Wireless IR Remote Control Wireless Mouse
Wireless Keyboard
Stylus Starter Package included
Network Connectivity
Built In Wi for Plug and Play Connectivity
Ethernet port
Blu-Ray/DVD
TAG TECSLATE Page 4 of 30

Congratulations on your purchase of the TAG TECSLATE™! Please keep packaging, box and all
related materials in a safe place for future transport needs.
TAG TECSLATE Page 5 of 30
1. 1920 x 1080 TAG TECSLATE™Monitor 7. Remote control (batteries not included)
2. Wireless keyboard (batteries not included) 8. Ethernet cable
3. Four Stylus pens 9. Wall mounting xture
4. Wireless keyboard & mouse dongle 10. Digital antenna
5. Wireless mouse (batteries not included) 11. VGA to USB touch cable
6. HD Webcam 720p 12. Power adapter
PACKAGE CONTENTS

TAG TECSLATE Page 6 of 30
Custom Stands or Mounting Solutions
External Speakers or Sound Bars
OPTIONAL ACCESSORIES
*Available in black or white

TAG TECSLATE Page 7 of 30
SAFETY TIPS
■ Do not touch screen without using a screen protector, as it can leave hard to remove oils from
your skin.
■ Never remove back cover or serious damage/injury may occur due to high voltage parts.
■ Avoid exposing LCD display to direct sunlight or any other heat sources.
■ Exercise sufcient caution when moving or hanging the LCD display.
■ Only set on TAG TECSLATE™stand (sold separately) or hang on wall in a well-ventilated
area.
■ Do not set any objects on top of LCD display, make sure all cords are free as well.
■ If anything unusual occurs while using the TAG TECSLATE™display, unplug immediately and
call your dealer. It is not safe to continue to use if not in perfect running condition.
■ Do not apply too much pressure to LCD screen or unrepairable damage could occur.
FRONT PANEL KEYS
Switching key between monitor standby and on mode.
If menu is hidden, press this key to display OSD menu; if
menu displays, press this key to exit current menu.
Switch among all available input signal sources (AV1, S-VID-
EO, COMPONENT1, COMPONENT2, HDMI2, VGA, USB,
TECSLATE™)
Adjust sound output level of speaker (same function as volume key
on remote control). In OSD menu, it is used to move cursor left/right
or change settings (same function as cursor left/right key on remote
control).
In OSD menu, it is used to move cursor up/down (same function
as cursor up/down on remote control).
A red light indicates display is in standby mode;
A green light indicates display is in working mode.
1)
2)
3)
4)
5)
6)

TAG TECSLATE Page 8 of 30
NO NAME DESCRIPTION
1 TOUCH Connect to USB jack on the PC for Touch function
2 YPBPR Connect every terminal to component video
3 AV IN AUDIO L R Video and Audio signal input
4 VGA IN Input terminal for PC
5PC AUDIO PC Audio input
6 FIBER OUT Fiber connection
7 RF TV Antenna connection
8 AV OUT AUDIO L R Video and Audio signal input
9 HDMI 1 Connect to digital audio/video output terminal of signal source
equipment
10 HDMI 2 Connect to digital audio/video output terminal of signal source
equipment
11 USB Multimedia USB, music, pictures, and video
12 EARPHONE JACK Earphone connection
13 AC IN JACK AC input
14 SPEAKER SWITCH External speaker sound
15 SOUND BOX R L Left/Right speaker and output connection
PORT DESCRIPTIONS

TAG TECSLATE Page 9 of 30
NO NAME DESCRIPTION
1 SOUND BOX L R Connect the left/right speaker output
2 SW INSIDE OUTSIDE Switch = for the outer speaker, switch for built in speakers,
swith O off
3 TOUCH Touch interface connection to computer USB for touch
function
4 MULTI-MEDIA USB2 Multi Media USB, music, pictures, and video support
5 AV2 IN AUDIO L R Video and Audio signal input
6 RS232 RS232 control interface
7TOUCH1 TOUCH2 TOUCH3 Connect computer VGA to USB for touch function
8 VGA1 Connect to PC D-Sub terminal
9 VGA2 Connect to PC D-Sub terminal
10 VGA3 Connect to PC D-Sub terminal
11 GA OUT Link to rest of display device
12 CD-ROM INDICATOR Green light indicates opening/closing tray
13 CD-ROM BUTTON Press this button to open tray
OPTIONAL MODULES

TAG TECSLATE Page 10 of 30
FRONT VIEW

TAG TECSLATE Page 11 of 30
SIDE & BOTTOM VIEW

REAR VIEW
TAG TECSLATE Page 12 of 30

REMOTE CONTROL
TAG TECSLATE Page 13 of 30
CAUTION
■ Do not subject the remote control to strong shock.
■ Keep the remote control away from liquids. If it gets wet, wipe it dry immediately.
■ Do not expose the remote control to heat or steam.
■ Do not open any part of the remote control other than the battery compartment .
■ The remote control system does not function when strong light strikes the remote control
sensor or when there is an object between the remote control and its sensor.
WARNING
To reduce the risk associated with leaking batteries:
■ Use only AA type batteries
■ Do not mix used and new batteries
■ Orient the battery’s positive (+) and negative (-) terminals according to the markings found on
the remote control.
■ Do not leave the batteries in the remote control for an extended period
■ Do not heat, disassemble, short or recharge the batteries, or expose them to re or high
temperature.
■ Avoid eye and skin contact if batteries have leaked
■ Dispose of exhausted batteries and product components in accordance with applicable
regulations.
Remote Control Battery Installation
1. Press the tab on the underside of the remote control, and then open the cover.
2. Remove the batteries if they are present.
3. Insert two new 1.5V AA batteries in the remote control. Ensure the + and - markings on the
batteries align with the markings in the remote control.
4. Replace the cover.

REMOTE CONTROL
TAG TECSLATE Page 14 of 30
POWER: Turn the MONITOR on/Standby
MUTE: Press to mute the sound, press again or press VOL + to
unmute
NUMBER Choose channel directly. Press number buttons
BUTTONS: and press OK button to play the channel
: Return to previous channel viewed
P.MODE: Select the picture mode
S.MODE: Select the sound mode
NICAM: Press this key to select simple tone, stereo or bilingual
mode/ only when it’s supported by broadcasting system
SOURCE: Press to display the input source menu
MENU: System setup menu
INFO: Display current mode information
OK: Conrm button for menu
EXIT: Exit the OSD menu
Cursor/ Cursor buttons used in menus. VOL +/- : Press to see top half
~/ : of page double size. Press again for normal size
ASPECT: Press to see top half of page double size, Press again
to see the bottom half of page double size, Press again
for normal size
SLEEP: Standby timer
FREEZE: Holds the current picture
USB: Press to change the auto reduction mode
FAV: Display favorite program list
EPG: Press to display EPG information (Electronic Program
Guide)
TEXT: Turn off/on the Teletext display
MIX: Press to display the picture and the teletext at the same
time
HOLD: Hold on or off the current page display
INDEX: Press to return to the index/initial page
SIZE: Change the size of display in Teletext mode
REVEAL: Reveal or Hide the hidden words
SUBPAGE: Display a sub-page of upper options
: Open/Close program
: Play/Pause program
n: Stop program
: Fast reverse
: Fast forward
: Previous chapter
: Next chapter
AUDIO: In DVD source voice switching
GOTO: In DVD source press to cycle a desired position
REPEAT: Press to change the playing mode
A-B: Repeat the segment between A and B
Color Short cuts - follow the colored links
Buttons:

TAG TECSLATE Page 15 of 30
CHAPTER 2: Getting Started
1. Connect wireless keyboard and
mouse dongle to USB Port.
2. Connect 15 pin touch cable to
TOUCH port and existing end to
USB port.
3. Connect Ethernet cable to Ethernet
port and existing end to wall.
4. Mount digital TV antenna and plug
into coaxial port.

TAG TECSLATE Page 16 of 30
5. Connect power adapter to bottom
POWER socket.
6. Connect Blu-ray™DVD cord to
HDMI port underneath monitor.
7. Mount webcam and connect to USB
port.
8. Locate main power on front right
panel and switch to “ON” position.
GETTING STARTED CONT.
Table of contents