manuals.online logo
Brands
  1. Home
  2. •
  3. Brands
  4. •
  5. Takegawa
  6. •
  7. Lawn And Garden Equipment
  8. •
  9. Takegawa D-Style User manual

Takegawa D-Style User manual

COPY
‑1‑ Oct./07/08
◎The following show the envisioned possibility of injuries and damages to human bodies, and physical loss or damage as a result of disregarding the
 following cautions.
◎We shall be held free from any kind of warranty whatsoever of products other than this product if the glitch takes place on the other products than
 this one after the installation and use of this product.
◎This product is designed for exclusive use in the above-mentioned types of motorcycles and frame numbers only. Please take note that this product
 cannot be mounted on other types of motorcycles.
◎Please refrain from combined use of this kit with any other part than the specified parts.
◎This product is designed for exclusive use in a stock kick starter arm. (In case of TAKEGAWA’s kick starter arm, the arm will interfere with the genuine
 muffler guard.)
◎This product should be used with a stock muffler protector. Or, no-installation of the protector may cause scalding. So, be sure to install the muffler
 protector.
◎This product is designed for absolute use with a genuine rear shock absorber. If other rear shock absorber is installed, please install this product with
 washers so the rear shock absorber and the muffler do not interfere with each other.
D-Style Muffler Instruction Manual
Item No.
Applicable to
Frame No.
:04−02−0431
:DAX 50 (12V)
:AB26-1000001〜
Thank you for purchasing one of our TAKEGAWA’s products. Please strictly follow the following instructions in installing and using the products. Before
fitting the products, please be sure to check the contents of the kit. Should you have any questions about the products, please kindly contact your dealer.
Before installation, please read this instruction manual carefully and understand the instructions fully.
Enjoy the sound and performance of this muffler distinct from a stock muffler.
◎Please note that, in some cases, the illustrations and photos may vary from the actual hardware.
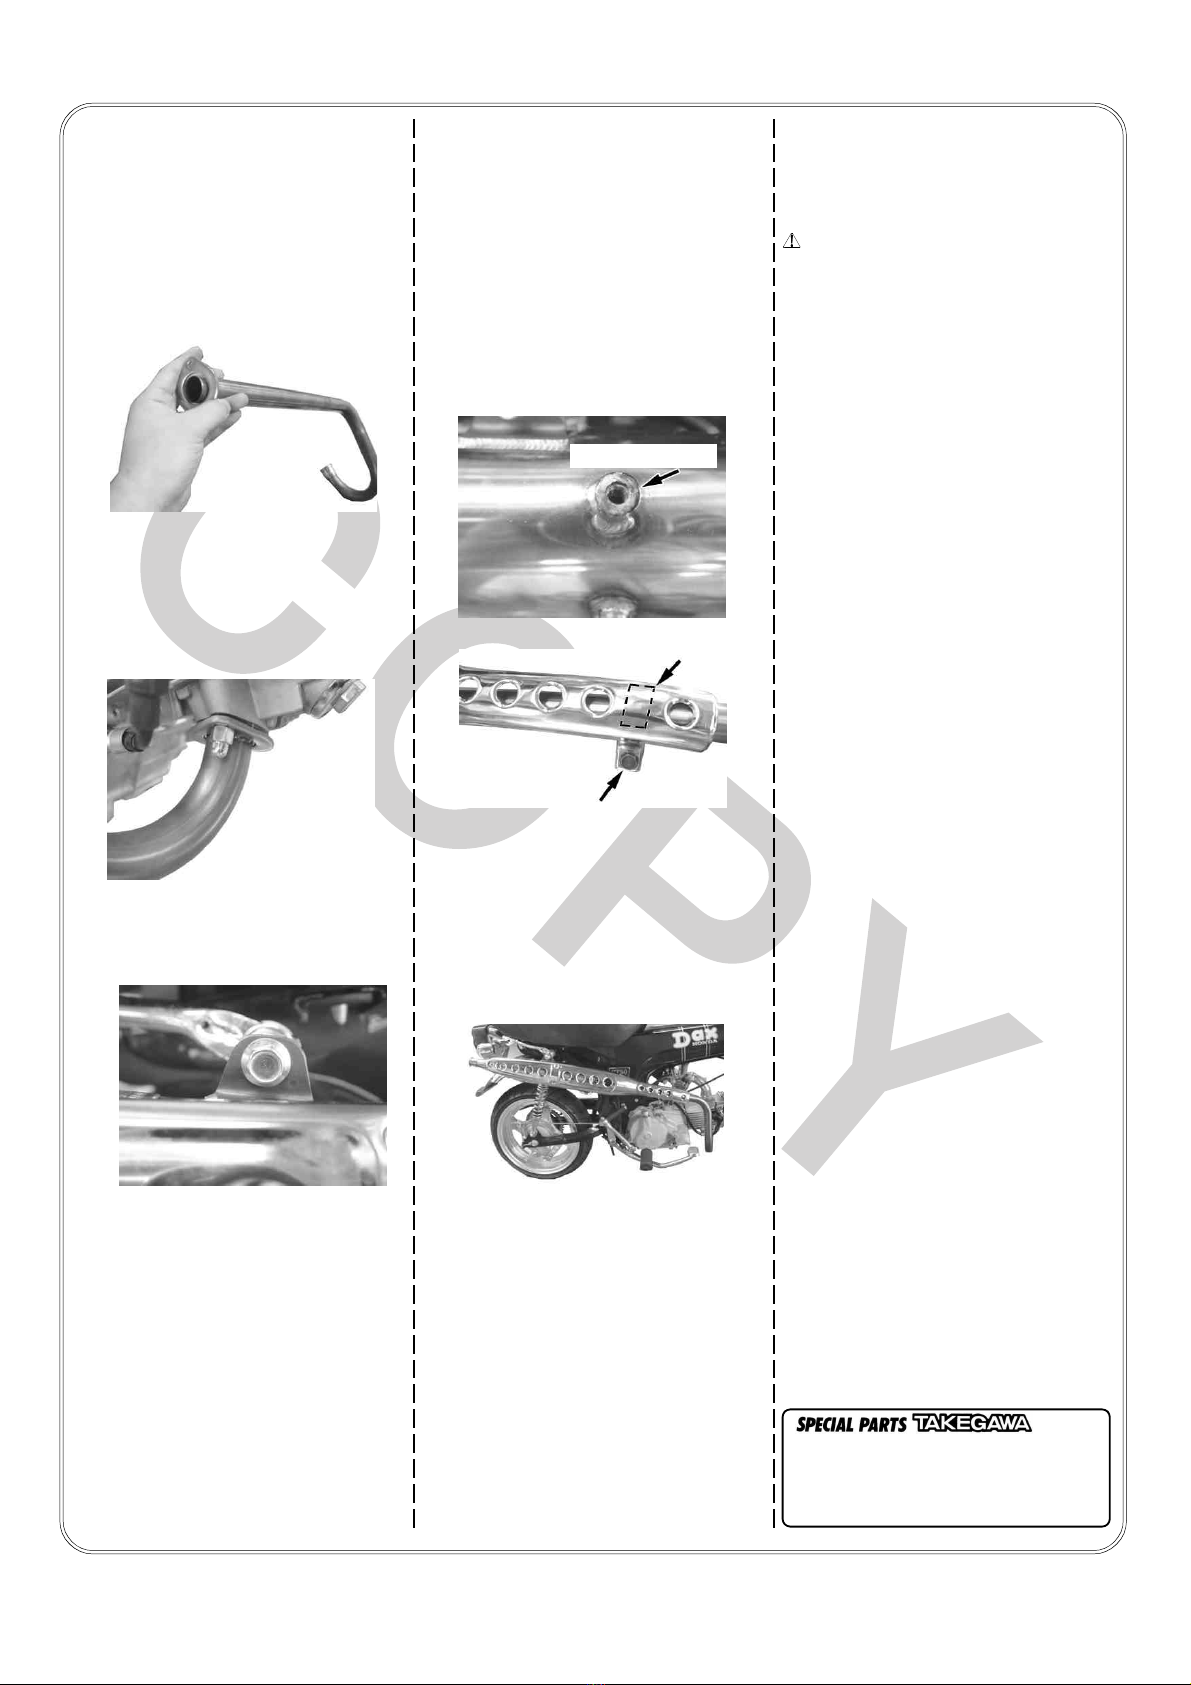
○This is a genuine-like up-muffler for the DAX 50, to which a genuine muffler guard can be installed.
 It improves the performance without altering the original look of the DAX 50.
○We have adopted a silencer body and exhaust pipe, both made of stainless, to improve the appearance and durability.
〜Features〜
Please read the following instructions before installation.
・Always try to drive your motorcycle at a legal speed, abiding by the laws.
・Work only when the engine and the muffler are cool. (Otherwise, you will burn yourself.)
・Prepare right tools for the work, and do the work in the proper and right way.
 (Otherwise, improper work could cause breakage of parts or injuries to yourself.)
・Always use a torque wrench to screw bolts and nuts tight and securely to the specified torque.
 (Improper torque could cause these parts to get damaged or fall off.)
・As some products and frames have sharp-pointed or protruding portions, please work with your hands protected.
 (Otherwise, you will suffer injuries.)
・Do water washing of a muffler only when it is cool. (Otherwise, the muffler may be cracked.)
・Park your mortorcycle in a place where pedestrians will not touch the muffler accidentally. Besides, please always be considerate enough not
 to park it in the way of pedestrians or moving vehicles.
 (If you park your motorcycle on the sidewalk with its muffler on the pedestrians’ side, the pedestrians may touch the muffler and get burned or
 suffer property loss.)
・Before riding, always check every section for slack in parts like screws. If you find slack ones, screw them securely up to the specified torque.
 (Or improper torque may cause parts to come off.)
・This muffler is designed for exclusive use in a stock kick starter arm. TAKEGAWA’s kick starter arm will interfere with the genuine muffler guard.
The following show the envisioned possibility of injuries and damages to human bodies, and property loss as a result of
disregarding the following cautions.
CAUTION
COPY
‑2‑ Oct./07/08
No. Parts Name Qty Repair Part Item No. In packs of
1Silencer assembly 1
2Exhaust pipe COMP. 1
3Pivot nut 104-00-014 1
4Flange bolt, 8 x 16 1BW-00-0109 4
5Exhaust gasket 1000-13-016 1
6Protector gasket 204-00-026 5
7Exhaust pipe flange 118352-181-T00 1
1
2
34756
・Always drive the engine in a well-ventilated place, and do not switch the engine on in an airtight place.
 (Otherwise, you will suffer from carbon monoxide poisoning.)
・Never look into the muffler outlet when the engine is revolving. (Otherwise, you will suffer from carbon monoxide posoning or lose your sight.)
・When you notice something abnormal with your motorcycle while riding down a road, stop riding immediately and park your motorcyle in a
 safe place. (Otherwise, the abnormaility could lead to an accident.)
・Before riding, be sure to always check the bank angle, and run with care not to bank the vehicle more steeply than the bank angle.
 (Otherwise, there will be a danger of the motorcycle overturning.)
・The engine and the muffler are at high temperatures when the engine is revolving or for some time after the engine stopped. Therefore, never
 place flammable or hazardous materials such as gasoline near them. (Otherwise, there will be a danger of causing fires.)
・Before doing work, place the motorcycle on level ground to stablize the position of your motorcycle for safety's sake.
 (Otherwise, your motorcycle could overturn and injure you while you are working.)
・Check or perform maintenance of parts correctly according to the procedures in the instruction manual or a service manual.
 (Improper checking or maintence could lead to an accident.)
・If you find damaged parts when checking and performing maintenance, do not use these parts any longer, and replace them with new ones.  
 The continued use of these damaged parts as they are could lead to an accident.)
・Keep plastic bags for packing products out of children’s reach, or discard them.
 (If children get them on, there will be a danger of their suffocating. )
・Basically, you can install this muffler in almost the same way as installing a stock muffler. Although a genuine muffler can be fixed, a guard for
 an exhaust pipe (right behind the engine exhaust) cannot be installed. So, please do be careful not to let your right leg touch the exhaust pipe
 when pressing down on the rear brake pedal.
 Besides, do not ride the vehicle in an exposed style, such as in sandals. (It could lead to burn or accidents.)
The following show the envisioned possibility of human death or serious injuries to human bodies as a result of disregarding the
following cautions.
WARNING
◎Please be informed that, mainly because of improvement in performance, design changes, and cost increase, the product specifications and   
 prices are subject to change without prior notice.
◎This manual should be retained for future reference.
◎You are kindly requested not to contact us about the combination of our products with other manufacturers'.
◎You are requested to keep this instruction manual until you discard this product.
〜Kit Contents〜
∴Please order repair parts by indicating the Repair Part Item No. as listed above.
 As you see from the list, there are some parts for which we are not in a position to accept your order in the quantity of one.
 In this case, please order the required parts as a set part unit.
COPY
‑3‑ Oct./07/08
2.Remove two hex bolts which are holding the
  muffler.
3.In case the protector band packing is badly  
  damaged, please prepare new one separately.
2.Fix a pivot nut onto the upper part of the   
  right-side rear shock absorber.
  Torque : 35 N・m (3.5 kgf・m)
3.Install for now the silencer assembly with a
  supplied flange bolt.
A
〜Installation Procedures〜
Stabilize the vehicle with a maintenance stand or the like in a safe and level place during work.
●Stock Muffler Removal
1.Unfasten two nuts on the exhaust pipe flange.
  Keep them for re-use.
  If the nuts are worn or damaged severely,  
  replace them with new ones.
3.Remove the old exhaust pipe gasket
  remaining in the exhaust port.
●Stock Muffler Guard Removal
  CAUTION: Plus screws may be very tightly  
       screwed, so unscrew them with
       enough care not to damage their
       heads.
●D-Style Muffler Installation
1.Insert and install a kit’s exhaust pipe gasket
  to the exhaust port.
4.After inserting the exhaust pipe into the joint
  on the silencer assembly, insert its flange  
  into the engine.
 ※ It is advisable to apply heat-resistant liquid
  gasket to the inserting portion.
  (ThreeBond 1207B or the equivalent.)
1.Remove the screws and bolts from the just- 
  now-removed stock muffler, as shown by
  arrows in the below-mentioned photo, to
  remove the muffler guard.
2.Remove all the plus screws holding the muffler
  and muffler guard.
  Retain the screws and protector band packing
  for reuse. The screw and hole indicated by an
  arrow A will not be used.
  And in case the screws are badly damaged,  
  please prepare new ones separately.
COPY
‑4‑ Oct./07/08
1.Start the engine in a safe and well-ventilated
  place, and check for exhaust leak or    
  intereference.
8.Install the stock muffler guard. The stock plus
  screw will be reused. Place the supplied
  protector gaskets between silencer and
  muffler guard, and tighten the screw.
  As this screw is apt to come off from the
  vibrations of the vehicle, it is advisable to apply
  screw locking agent to it like a Lock tight 241, or
  the equivalent. Fix the front part of the muffler
  guard to the muffler by installing the protector
  band packing.
  Flange bolt
  Torque : 10 N・m (1.0 kgf・m)
5.Install the exhaust pipe flange onto the
  exhaust pipe COMP.
  Pass the installed exhaust pipe flange through
  the stud bolt of the cylinder head, and fix the
  flange with the nuts which were used to fix
  the stock muffler, and install the pipe for now.
  Install the exhaust pipe flange onto the
  exhaust pipe COMP. , directing its edged and
  lusterless surface to the cylinder head.
WARNING : Otherwise, you will suffer from  
      carbon monoxide poisoning.
2.After stopping the engine and after each part
  has cooled down to the normal temperatures,
  re-tighten all screws and nuts to the
  specified torque.
6.Tighten the exhaust pipe flange nuts evenly
  to the specified torque with care not to let the
  silencer and the exhaust pipe get out of the
  adjusted places.
  Torque : 10 〜12 N・m
            (1.0 〜1.2 kgf・m)
7.Next, tighten the flange bolt on the
  silencer stay to the specified torque.
  Torque : 27 N・m (2.7 kgf・m)
9.Check for intereference among the muffler  
  guard, the muffler, and the frame. If need be,  
  loosen the screws and nuts on each section to
  adjust the positions to the extent that the
  adjusting does not place too much strain on the
  muffler. Then fix them.
●Final Checking
3-5-16 Nishikiorihigashi Tondabayashi
Osaka Japan
TEL : 81-721-25-1357 FAX:81-721-24-5059
URL : http://www.takegawa.co.jp
Co.,Ltd.
Protector gasket
Flange bolt
(Stock) protector band packing

Popular Lawn And Garden Equipment manuals by other brands

Blue Mountain Rain Harvesting TMTG01 quick start guide

Blue Mountain

Blue Mountain Rain Harvesting TMTG01 quick start guide

Toro Bullseye NuSurface 790 Operator's manual

Toro

Toro Bullseye NuSurface 790 Operator's manual

Echo HC-1500 TYPE 2E - SERVICE  10-99 parts catalog

Echo

Echo HC-1500 TYPE 2E - SERVICE 10-99 parts catalog

Stihl BT 121 instruction manual

Stihl

Stihl BT 121 instruction manual

Gardigo 66654 instruction manual

Gardigo

Gardigo 66654 instruction manual

Stihl BF-KM instruction manual

Stihl

Stihl BF-KM instruction manual

Harbor Freight Tools 97736 user manual

Harbor Freight Tools

Harbor Freight Tools 97736 user manual

Bush Hog TOUGH RFM-60 Specification sheet

Bush Hog

Bush Hog TOUGH RFM-60 Specification sheet

Milwaukee M18 FUEL FOPH-EA Operator's manual

Milwaukee

Milwaukee M18 FUEL FOPH-EA Operator's manual

Prem-I-Air EH1340 user manual

Prem-I-Air

Prem-I-Air EH1340 user manual

Hozelock Sensor Controller 2212 manual

Hozelock

Hozelock Sensor Controller 2212 manual

Stihl HSA 26 instruction manual

Stihl

Stihl HSA 26 instruction manual

Epic Gardening Birdies OVB160608 installation instructions

Epic Gardening

Epic Gardening Birdies OVB160608 installation instructions

Kasco 8400A Operation & maintenance manual

Kasco

Kasco 8400A Operation & maintenance manual

OPCOM Grow Wall 3 manual

OPCOM

OPCOM Grow Wall 3 manual

Shindaiwa T2510 Operator's manual

Shindaiwa

Shindaiwa T2510 Operator's manual

Spear & Jackson S1432ESC Original instructions

Spear & Jackson

Spear & Jackson S1432ESC Original instructions

Amadas 2110 user manual

Amadas

Amadas 2110 user manual

manuals.online logo
manuals.online logoBrands
  • About & Mission
  • Contact us
  • Privacy Policy
  • Terms and Conditions

Copyright 2025 Manuals.Online. All Rights Reserved.