Targus Charge-Sync Cable 5
1To access HotSync Manager, right-click the
HotSync icon in the lower-right corner of
the screen or click Start, then Programs, Palm
Desktop, and HotSync Manager.
2To match the COM port settings, click
HotSync, then Setup,Local, and Serial Port.
Select the COM port that matches the COM
port number you recorded during
installation.
3Click OK to save your changes and close
HotSync Setup.
NOTE: Palm Desktop HotSync Manager supports COM1 to
COM4 only. If your desktop or notebook computer uses
more than 4 COM ports, release COM1, 2,3 or 4 for the
Targus Charge-Sync Cable to use.
After setting the COM port, you can synchronize
your data or charge your Palm V.
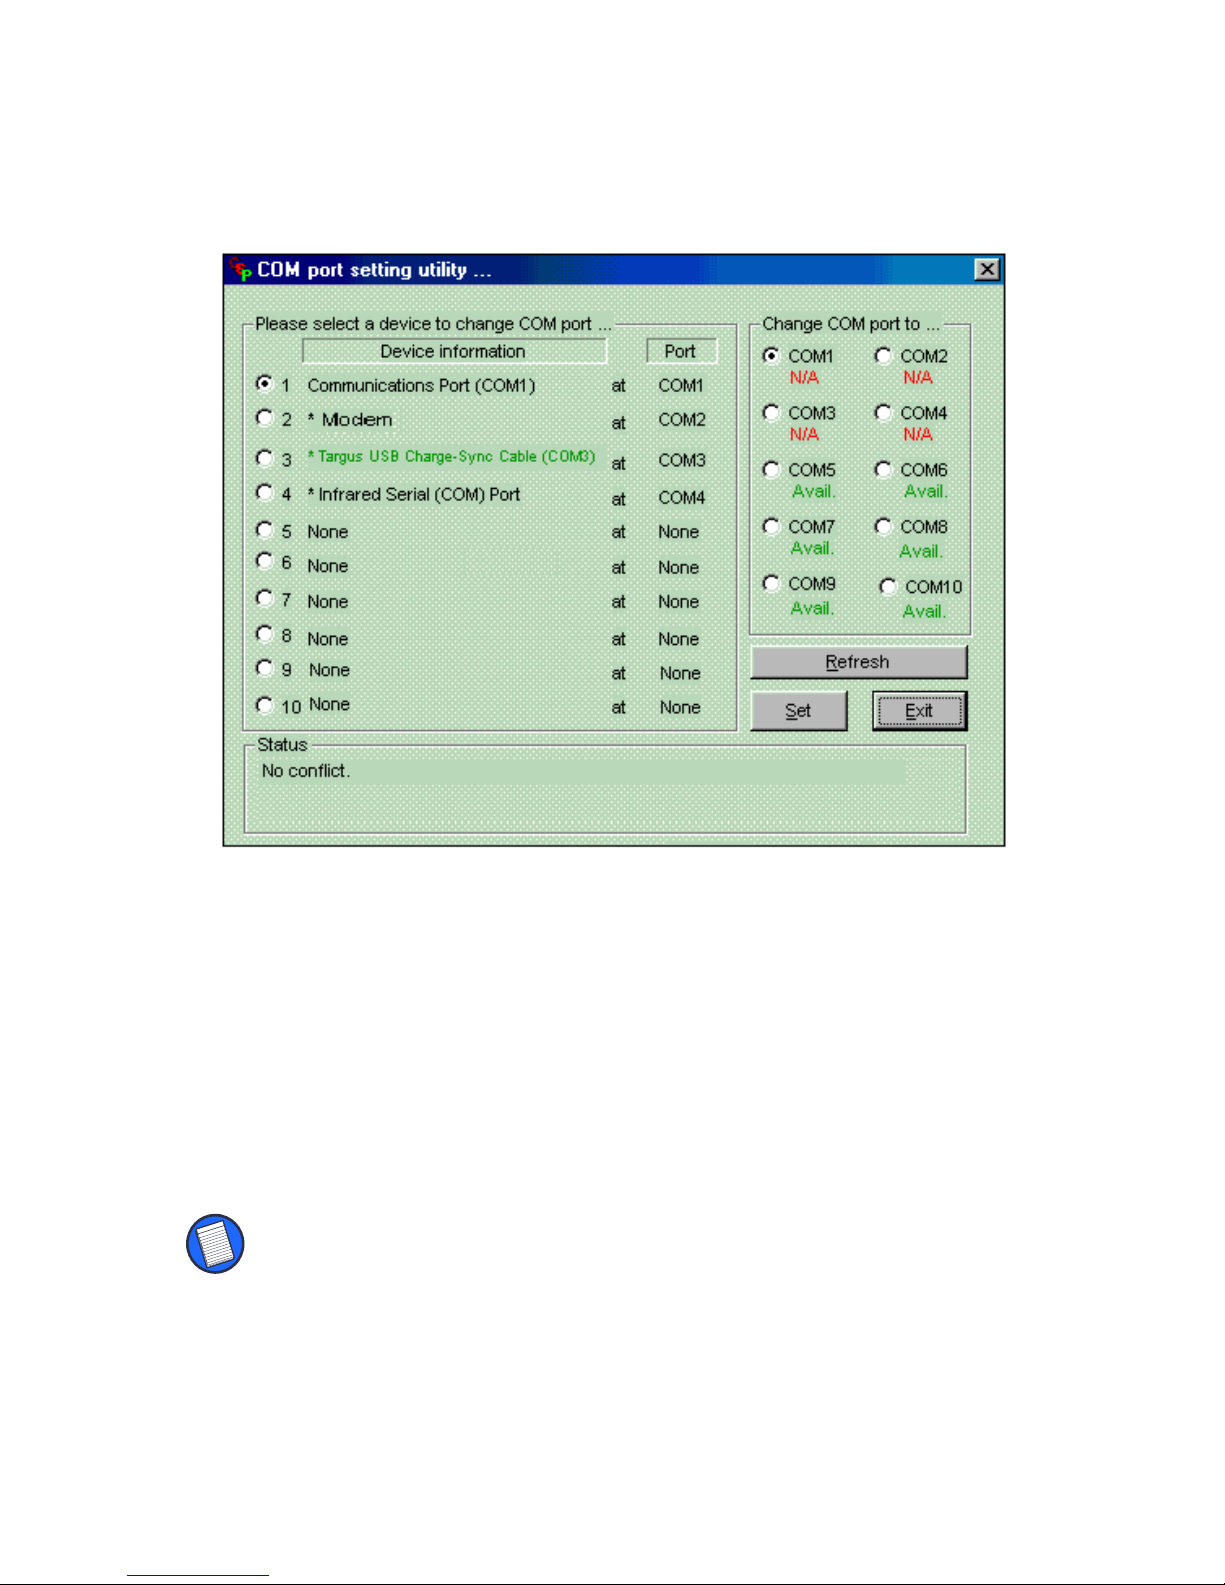
Changing the COM Port Setting
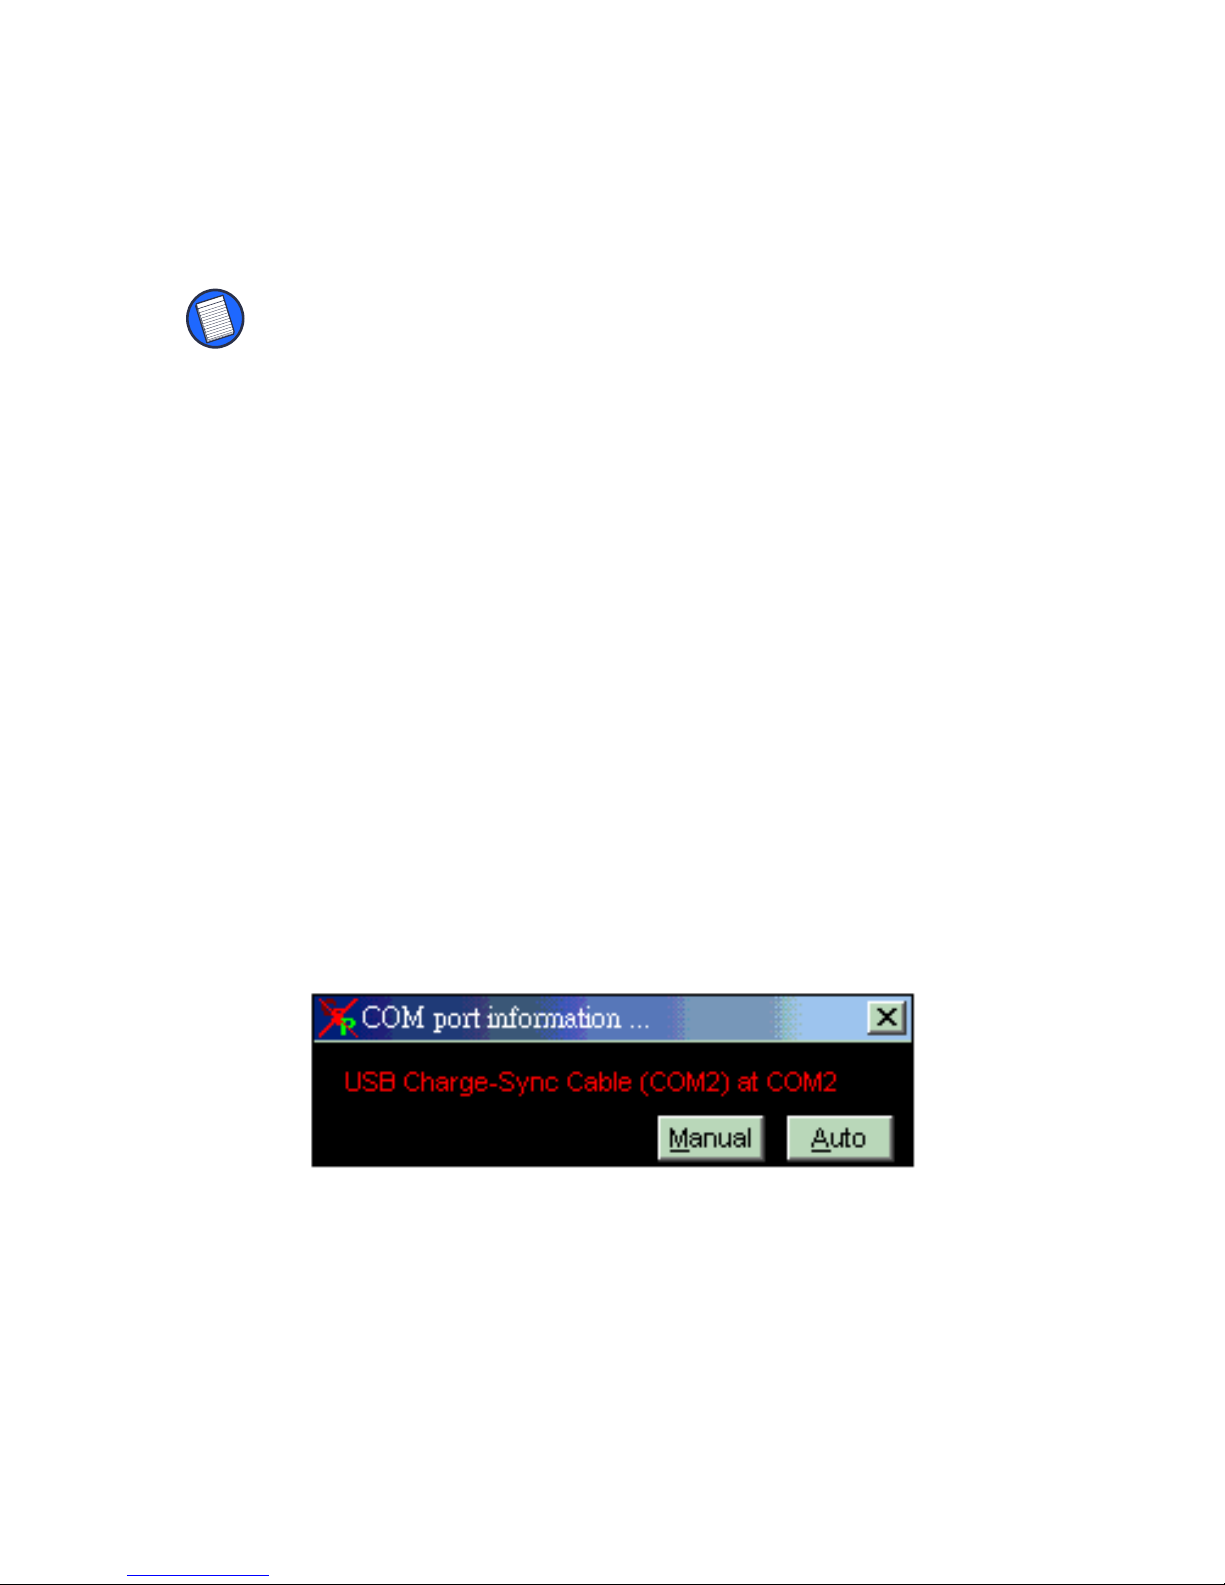
After installing the Sync-Cable software, your
computer automatically assigns a COM port to
the cable. If there is a conflict (the COM port is
already in use) or if the COM port is not set to
COM1, 2, 3 or 4, you must change the COM port