manuals.online logo
Brands
  1. Home
  2. •
  3. Brands
  4. •
  5. Tarptent
  6. •
  7. Tent
  8. •
  9. Tarptent Scarp 1 User manual

Tarptent Scarp 1 User manual

Tarptent Scarp 1
Basic Setup
Basic setup is very easy. It will take about 2 minutes once you get the hang of
it. For additional photos, see http://www.tarptent.com/scarp1.html
1. Spread canopy on ground, black oor side down. Remove stakes from stake
bag and have ready.
2 Assemble 7-segment, main arch pole. Pole length is just over 10 ft / 3 m.
3. Insert pole tip into yellow pole sleeve, push pole through sleeve, and insert
both pole tips into grommets.
4. Pull out one corner of the canopy, spread strut ends apart, loop guyline over
stake and stake to ground. Repeat with adjoining corner so that one end of
the canopy is secured. Leave center edge strut guyline loose for now.
5. Now walk to the other end of the stucture, lift and pull both corners to
center the central arch, and stake one of the corners as shown.
6. Now pull the remaining corner guyline out and stake.
7. Adjust corner positions, center arch, and restake as necessary to ensure
canopy is taut.
8. Set center edge strut to a vertical postion, pull out center edge guyline, and
stake. Repeat other side.
10. Use line tighteners at each corner to ne-tune tension. Line tighteners (pull
cord end to tighten; lift lever to loosen) adjust tension.
Pull to tighten
Pull to tighten
Pull to tighten Pull to tighten
1 Assemble 8-segment crossing poles. Pole length is just over 12 ft / 3.7 m.
2. Insert pole tips through loop at top of arch sleeve and push poles so that tips
reach opposite corners. Push pole tips through loops at corners.
2. Continue to push pole tips until tips are
about 3 ft / 1 m past the loops so that it
makes it easy to feed the other pole tips
through respective loops at the other
corners. Then walk to the other end of
the Scarp 1 and insert the remaining
pole tips through the loops.
3. Now slide and center each pole so that
pole tips extend about 17 inches / 43
cm past each corner. Insert pole tips
into grommets and use line tighteners to
secure pole as necessary. For free-
standing setup, detach line from stake
and tighten lower cord.
4. Pole clips attached to the canopy loop over poles and secure to the straps.
Use the strap and buckle to adjust tension. Straps can be detached from
canopy to eliminate apping if you are not using the crossing pole setup.
Venting
Apex vents can be adjusted to suit conditions using the interior and exterior
loops and clips. For milder conditions and maximum ventilation, clip the
elastic to the lower ring of the inner canopy clip. For more severe conditions,
clip the elastic to the high point of the canopy and connect outside vent stiffener
loops through the connector loop and onto the clips as shown.
In addition to the apex ventilation, each canopy door has a tie-back for full open
venting and a buckle at the lower zipper opening to keep the door ap mostly
closed when the zipper is open. The buckle also helps take stress off the zipper.
Crossing Poles Setup
Install optional crossing poles for additional fabric support in high winds and
snowfall and for free-standing pitch. Crossing poles feed through loops at each
corner and at the apex. Pole tips feed into corner guyline grommet.
Maximum ventilation Minimum ventilation
Seam-sealing and Repair
Seams must be sealed with a silicone-based sealer such as GE Silicone II clear
sealer. In a well-ventilated location, mix about three tablespoons into a tuna
can with about 6 tablespoons mineral spirits (paint thinner) or Coleman fuel/
white gas. Stir to dissolve and form a semi-viscous solution. Set up the tent
and seal the outside/topside seams over your living space. Paint the solution
on with a small foam brush for easy, smooth application. It’s also a good idea
to paint thicker swaths of silicone on the compartment oor in the area of your
sleeping pad to help reduce sliding, especially if you use an inatable pad.
Small fabric tears can be patched with pure silicone and scrap fabric (included).
Condensation and Sag
Ventilation and fabric warmth are your best defenses against condensation.
Keep doors open as much possible and try to set up where it’s breezy. Look for
warmer and drier microclimates under trees and out of valleys and lake basins.
Nylon stretches (and sags) when the humidity goes up, night is falling, and/or
when it starts to rain. Use the line tighteners to tighten the fabric.
Key points to consider
• Push the arch poles out of sleeves and loops. Pulling the pole will result in
pole segment separation.
• The fabric will resist much stress but neither ame nor abrasion. Treat it
accordingly.
Thank you for your purchase and we sincerely hope that you enjoy your
Tarptent. Feedback is always welcome.
Tarptent
12213 Koswyn Ct.
Nevada City, CA 95959 USA
e-mail: [email protected]
ph: 650-587-1548
Snowfall and Wind
A snow shovel is a necessity for any journey during snow season. Use it to
build snow walls and dig yourself out of heavy snow. Seek natural windbreaks
in trees and behind rock outcroppings to limit wind exposure.
Snowfall is best handled by ensuring that it slides off the shelter. Any residual
snow must then be supported by the structural integrity of the shelter. The
Scarp 1 is strong but not intended for areas with extreme snowfall, especially
heavy, wet snowfall which readily sticks to the canopy instead of sloughing
off. The angle of the at part of the canopy is relatively shallow and you will
want to reach up and punch the underside of the interior, as often as necessary,
to prevent snow from accumulating on the canopy. Get out and shovel
periodically to clear snow from the canopy and perimeter. If snow is getting
hung up along the rear edge, it may be useful to drop or angle the center edge
strut to allow for easier sloughing.
Additional canopy support can be added using the pullouts as shown.
Inner Compartment
The inner compartment attaches to the outer y structure via clips and rings.
The compartment is completely detachable and the outer y can be used
standalone.
Other Tarptent Tent manuals

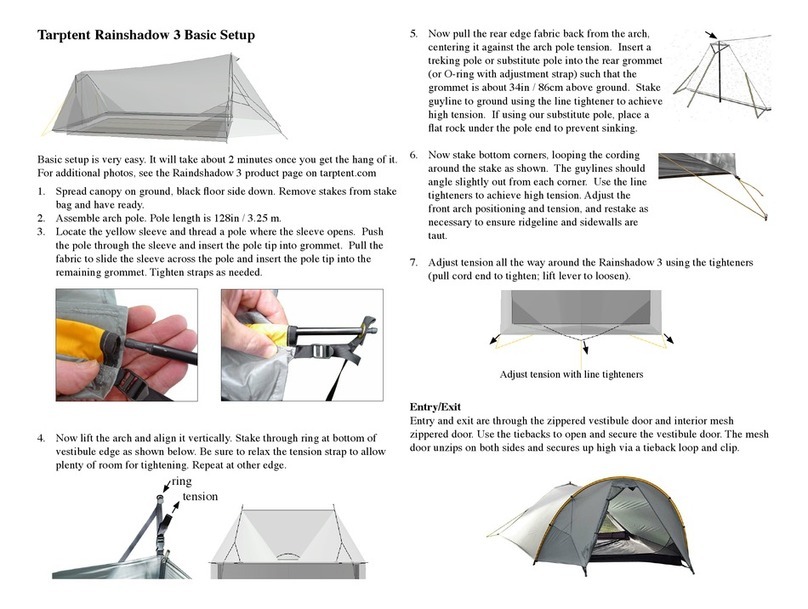
Tarptent Cloudburst 3 Manual

Tarptent

Tarptent Cloudburst 3 Manual

Tarptent Notch Li User manual

Tarptent

Tarptent Notch Li User manual

Tarptent Saddle 2 Manual

Tarptent

Tarptent Saddle 2 Manual

Tarptent ProTrail Manual

Tarptent

Tarptent ProTrail Manual

Tarptent Rainbow Manual

Tarptent

Tarptent Rainbow Manual

Tarptent Bowfin 2 User manual

Tarptent

Tarptent Bowfin 2 User manual

Tarptent Cloudburst 3 Manual

Tarptent

Tarptent Cloudburst 3 Manual

Tarptent StratoSpire Li User manual

Tarptent

Tarptent StratoSpire Li User manual

Tarptent Aeon Li User manual

Tarptent

Tarptent Aeon Li User manual

Tarptent Double Rainbow Manual

Tarptent

Tarptent Double Rainbow Manual

Tarptent Rainshadow 3 Manual

Tarptent

Tarptent Rainshadow 3 Manual

Tarptent MoTrail Manual

Tarptent

Tarptent MoTrail Manual

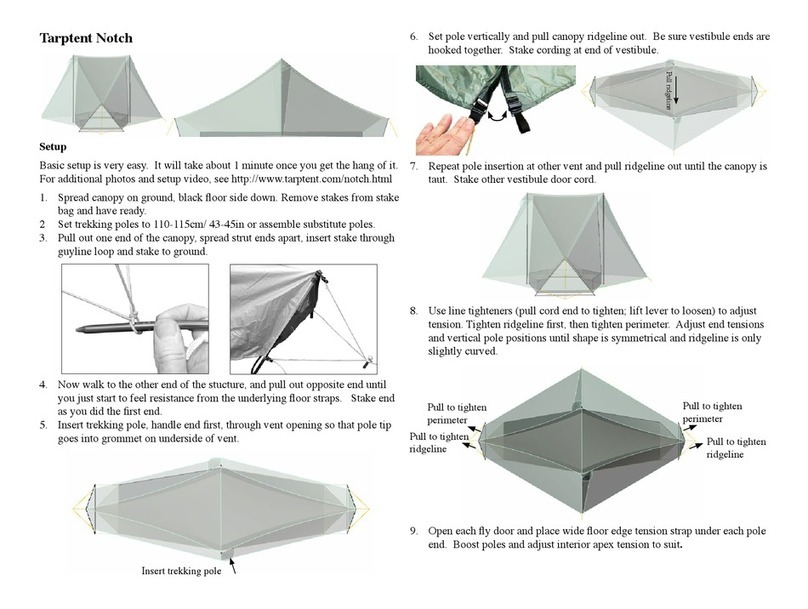
Tarptent Notch User manual

Tarptent

Tarptent Notch User manual

Popular Tent manuals by other brands

VEVOR HCP1220-S user manual

VEVOR

VEVOR HCP1220-S user manual

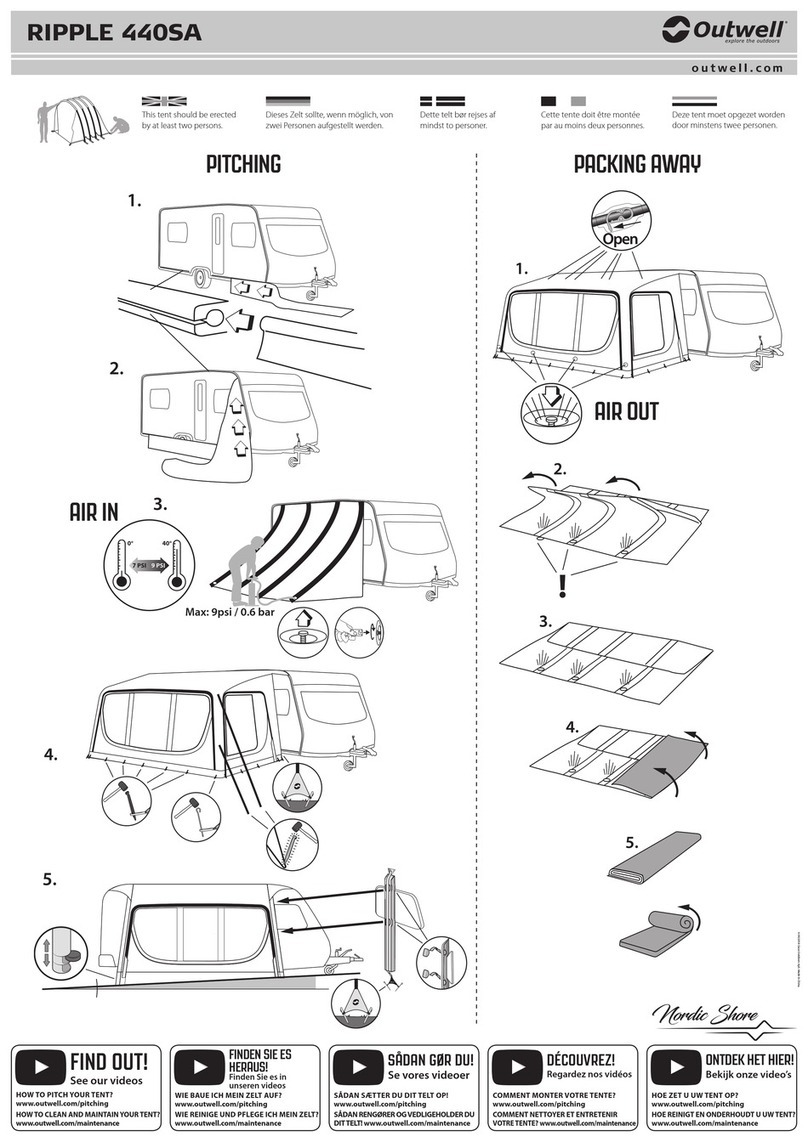
Outwell RIPPLE 440SA quick start guide

Outwell

Outwell RIPPLE 440SA quick start guide

Palram Aquila 2050 manual

Palram

Palram Aquila 2050 manual

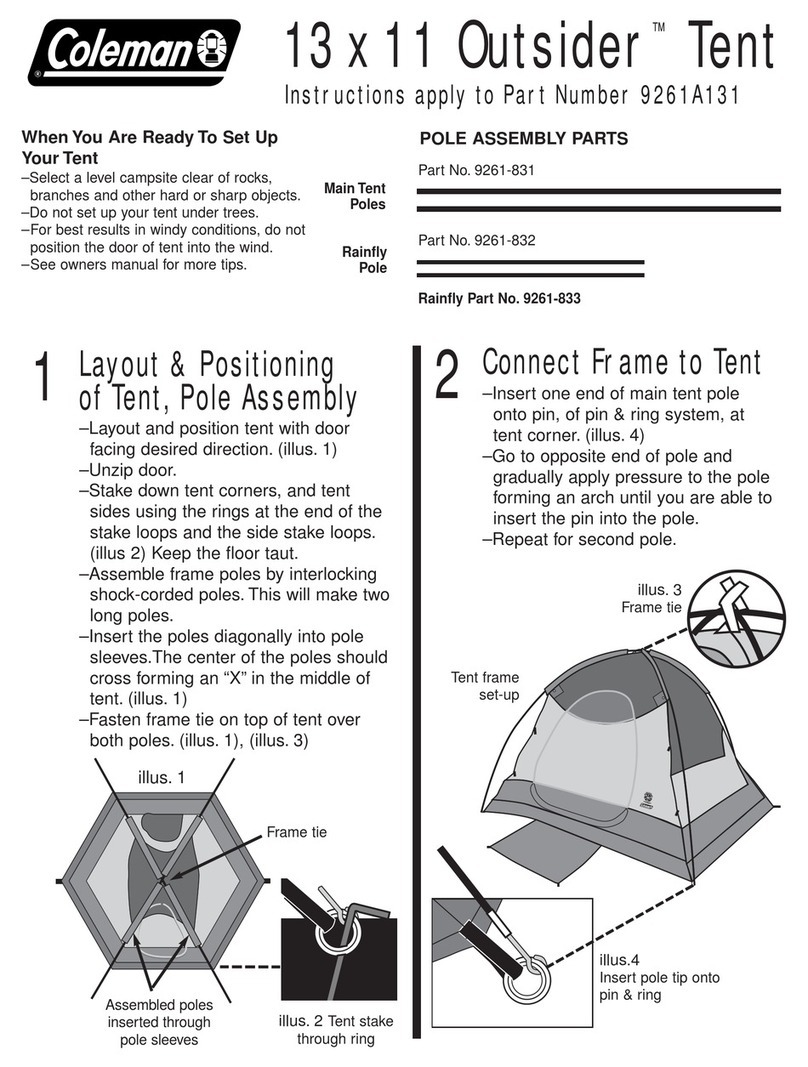
Coleman Outsider 13 x 11 installation manual

Coleman

Coleman Outsider 13 x 11 installation manual

Coleman 2000010319 Setup instructions

Coleman

Coleman 2000010319 Setup instructions

Gala Tent PVC Assembly, and care manual

Gala Tent

Gala Tent PVC Assembly, and care manual

Coleman Outdoorsman 9280-108 instructions

Coleman

Coleman Outdoorsman 9280-108 instructions

Gorilla 10x10 Grow Tent instructions

Gorilla

Gorilla 10x10 Grow Tent instructions

Outwell BLOSSBURG 380 AIR instruction manual

Outwell

Outwell BLOSSBURG 380 AIR instruction manual

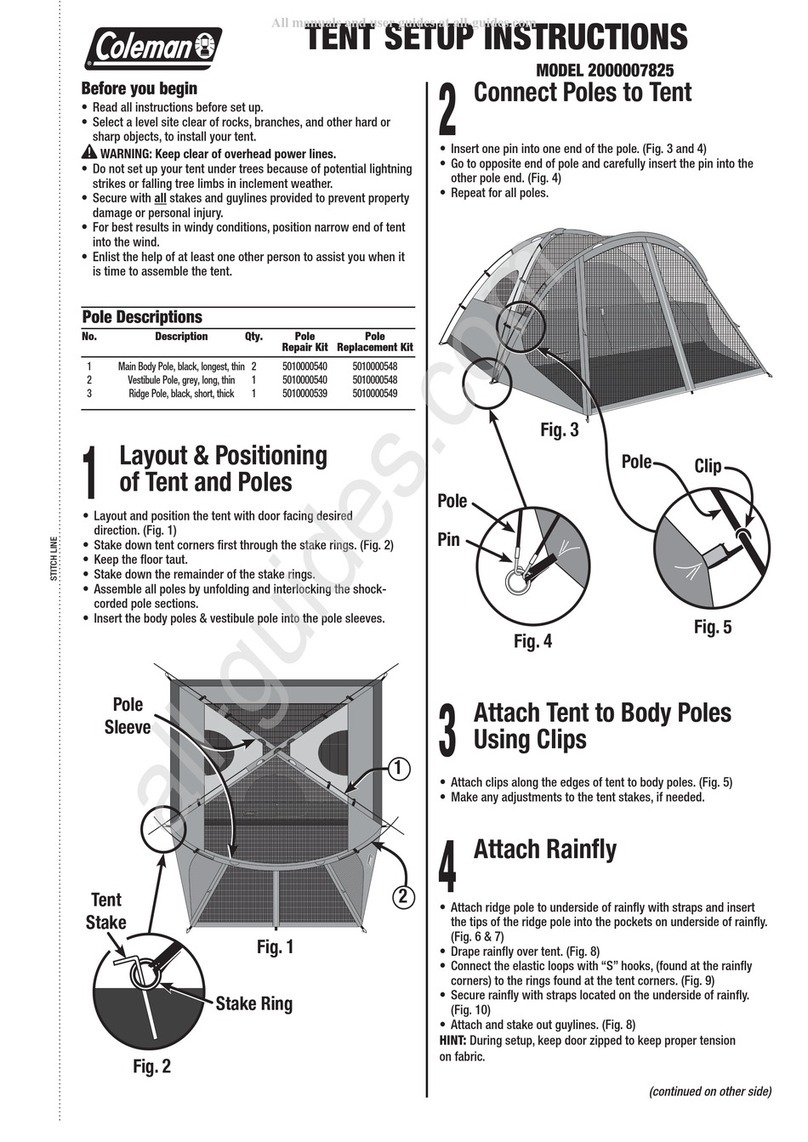
Coleman 2000007825 Setup instructions

Coleman

Coleman 2000007825 Setup instructions

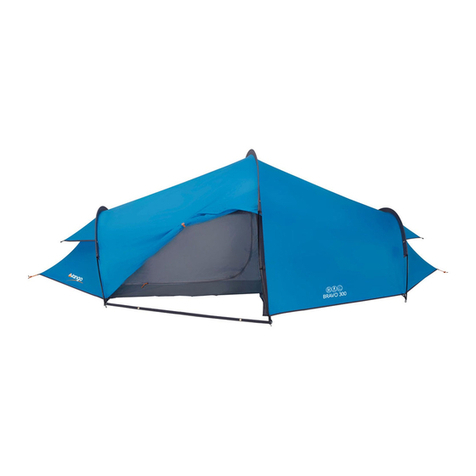
Vango BRAVO Pitching instructions

Vango

Vango BRAVO Pitching instructions

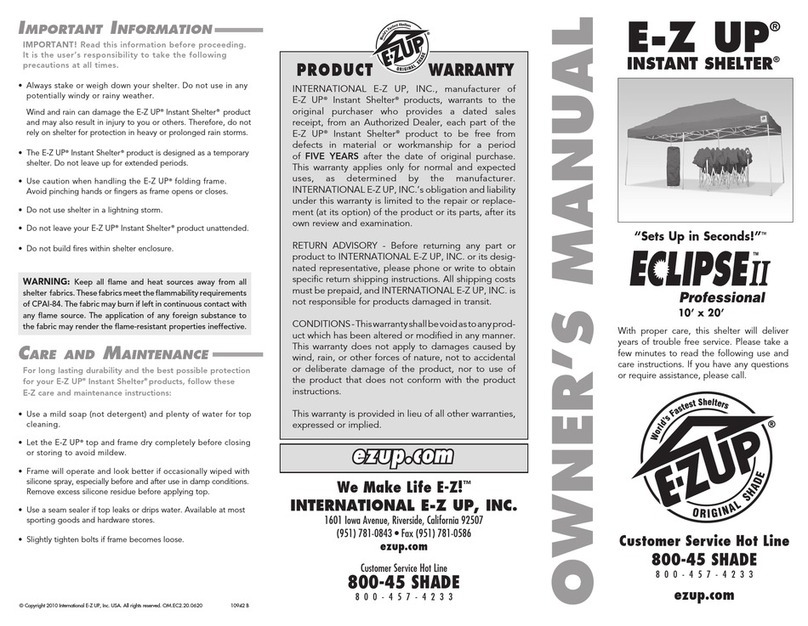
E-Z UP Eclipse II Professional owner's manual

E-Z UP

E-Z UP Eclipse II Professional owner's manual

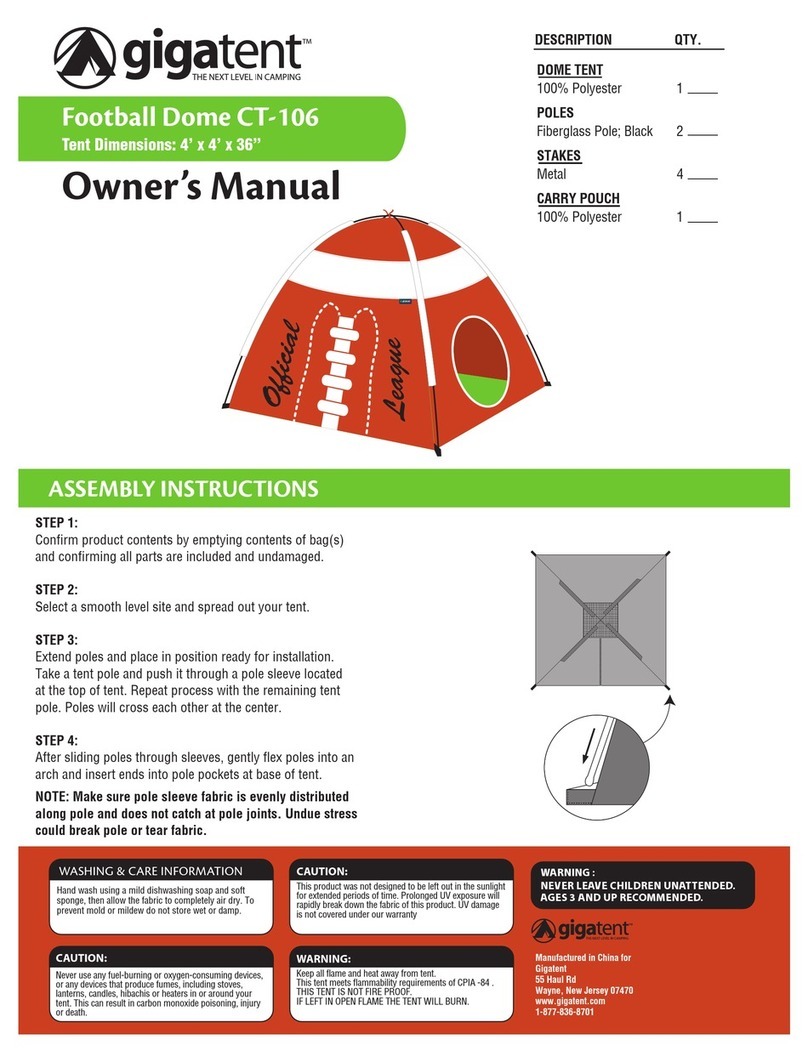
GigaTent CT-106 owner's manual

GigaTent

GigaTent CT-106 owner's manual

SUKKAHMART RapidRoof Assembly instructions

SUKKAHMART

SUKKAHMART RapidRoof Assembly instructions

Dancover B788 manual

Dancover

Dancover B788 manual

Wechsel EXOGEN 2 quick start guide

Wechsel

Wechsel EXOGEN 2 quick start guide

Coleman PUP Tent 9556-406K installation instructions

Coleman

Coleman PUP Tent 9556-406K installation instructions

Tarasola Elegancy Use and maintenance manual

Tarasola

Tarasola Elegancy Use and maintenance manual

manuals.online logo
manuals.online logoBrands
  • About & Mission
  • Contact us
  • Privacy Policy
  • Terms and Conditions

Copyright 2025 Manuals.Online. All Rights Reserved.