manuals.online logo
Brands
  1. Home
  2. •
  3. Brands
  4. •
  5. Tascam
  6. •
  7. Voice Recorder
  8. •
  9. Tascam DR-680 How to use

Tascam DR-680 How to use

TASCAM DR-680 1
DR-680 Release Notes
D01123320B
Updates
Always use the most recent rmware for this device. Please
visit the TASCAM web site at http://www.tascam.com to
check for the latest rmware.
Owner's Manual addendum
When using a folder that contains a large number
•
of files, starting recording can take time and the
beginnings of recordings might be cut off. To prevent
this, use a folder that contains as few takes as possible
or put the unit in recording standby before recording.
Moreover, if a folder contains a large number of files,
the same issues can occur when starting a new take
while continuing to record. (This occurs when you
press the REC key during recording and automatically
if the maximum file size is exceeded. For details, see
“Starting a new take and continuing to record” on page
32 of the Owner’s Manual.)
NOTE
You should use a folder that contains as few takes
•
as possible when planning to create new takes while
recording.
To avoid these problems, the maximum number of
•
takes in a folder is about 100.
Folders created directly inside the MUSIC folder
•
using a computer can be given names with 16 or more
characters without interfering with the operation of the
unit, but only the first 15 characters will be shown on its
display.
New function
V1.10 addition
MP3 recording and playback functions
ª
MP3 format les can now be recorded and played back. A
maximum of four MP3 format tracks can be used.
Changes to operating procedures
ª
Some operating procedures have been changed to improve
functionality.
The recording armed (on/off) status of each track is now
•
shown when stopped and during playback.
NOTE
When stopped and during playback, recording armed
status cannot be changed using the 1–6 keys when the
Home Screen is open. Change the status using the MENU
screen as described in the following section.
The recording armed status of tracks can now be
•
changed using the
MENU
screen.
When the recording source for the stereo track is set
•
to the digital input (
ST
REC
is set to
DIN
on the
REC
screen) and the unit is recording or in recording standby,
if you press and hold the MIX (LOCK) key, the lock
function is now turned on/off in the same way as in
other operating states.
The function that was executed before this change
(selecting the stereo mix or the digital input signal for
monitoring) can now be accessed from the Functions
Screen, as described in the next section.
When the recording source for the stereo track is set
•
to the digital input (
ST
REC
is set to
DIN
on the
REC
screen), you can now set whether to monitor the digital
input (
DIN
MON
) or the stereo mix (
MIX
MON
) on the
Function Screen.
NOTE
When the recording source for the stereo track is set to
the stereo mix (ST REC is set to MIX on the REC screen),
this setting is always set to MIX MON and cannot be
changed.
When the recording source for the stereo track is a
digital input (ST REC is set to DIN on the REC screen), this
setting can be changed.
You can now open the Function Screen even during
•
recording or when in recording standby by pressing
the HOME/FUNC key on the front panel. However,
REPEAT
is the only item that can be changed during
recording or when in recording standby.
You can now open the
•
MENU
screen by pressing and
holding the HOME/FUNC key on the front panel.
Pressing and holding the HOME/FUNC key on the front
panel now has the same function that pressing the MENU
key on the top panel has.
You can now use the
•VALUE knob on the front panel to
select items on the
MENU
screen.
The VALUE knob on the front panel can now be used in
the same way as the DATA wheel on the top panel.
On the
•
MENU
screen, pressing the front panel VALUE
knob now functions to confirm selections, advance
levels, and answer “yes” to pop-up confirmation
messages and menu screens, for example.
Operations that had been conducted using the top panel
ENTER key can now also be conducted by pressing the
front panel VALUE knob.
NOTE
As described above, MENU screen operations can now be
executed using only the front panel controls by pressing
and holding the front panel HOME/FUNC key and using
the VALUE knob.
During stereo track playback, output had been limited to
•
LINE OUT jacks 1/2, but now output from jacks 3/4 and
5/6 is also possible.
2 TASCAM DR-680
DR-680 Release Notes
When take names are added beyond the number 999, the
•
unit now searches for open numbers starting at 000 and
assigns the open numbers.
The battery monitoring method has been changed. Now,
•
if the level momentarily goes below that which could
cause misoperation (for example, when the level could
cause power to analog circuits to fail), the unit now
immediately executes shutdown procedures.
Maintenance items
V1.11 changes
A problem in which the limiter might not function
•
properly depending on the input level has been fixed.
V1.10 changes
After erasing the current take, “
•
File
Error
”
appeared if a take that did not contain any files became
current. This issue has been corrected.
When connected to a computer by USB, operation of
•
the STANDBY/ON key will not put the unit into standby
anymore.
When moving to the previous mark during playback
•
(by pressing the Â/Ô key on the top panel while
pressing and holding the MARK key), movement was
possible only to near the current mark. This issue has
been corrected, and it is now possible to move to the
previous mark.
Even when the lock function had been enabled and set
•
to “
FRONT
,” the MARK key on the front panel and the
¯/ key on the top panel could still be used. This
issue has been corrected.
After jumping repeatedly using marks or the
•DATA dial,
the counter would stop even during playback. This issue
has been corrected.
When the lock function had been enabled and set to
•
“
TOP
,” the “
UNLOCK
” pop-up message that would
appear after touching a key on the top panel during
recording could not be dismissed making operation
impossible. This issue has been corrected. Pop-up
messages can be dismissed by pressing the ENTER key
on the top panel or the VALUE dial on the front panel.
When the
•
ST
REC
item was set to
DIN
on the
REC
screen and the
A.OUT
SEL
item was set to
MIX
on
the
I/O
screen, the stereo mix could not be monitored.
This issue has been corrected.
If the pre-record start time exceeded 2 seconds, the
•
fade-in processing, which prevents the occurrence of
noise by gently starting the recording, did not work in
some cases. This issue has been corrected.
After rebuilding a folder besides the current folder, takes
•
stopped being displayed on the
BROWSE
screen. This
issue has been corrected.
When erasing a take on the
•
BROWSE
screen, takes
stopped being displayed on the
BROWSE
screen. This
issue has been corrected.
Previously, the unit started up ordinarily when
•
connected to a computer by USB. This behavior has
been corrected so that the unit changes to USB mode
immediately after startup.
Previously, when moving to the next take during
•
playback, the addition and erasure of marks was not
reflected in the file. Now, however, these changes will
be reflected in the file for any movement other than
skipping.
Confirmation of firmware version
Conrm the rmware version of your DR-680 before
conducting a rmware update.
1 Turn the unit’s power ON.
2 Press the MENU key to open the
MENU
screen.
3 Use the DATA wheel on the top panel to select the
SYSTEM
menu item, and press the ENTER key on
the top panel to open the
SYSTEM
screen.
4 Use the DATA wheel to select "
INFORMATION
"
item, and press the ENTER key. When “
Exec
”
appears selected, press the ENTER key again.
5 Check the “
Version
” in the “
SYSTEM
INFO
”
pop-up that is shown.
You do not need to update the unit’s rmware if the
version shown is the same as or newer than the version
that you intend to use for the update.
Firmware update procedures
CAUTION
When you update the firmware, use the AC Adaptor
(PS-1225L) supplied with the unit. The program has
been set so that the update will not be conducted if AA
batteries are used.
1 Download the most recent firmware from the
TASCAM web site (http://www.tascam.com).
2 Turn the unit’s power ON and use the included USB
cable to connect it with a computer. This unit will
be recognized as an external drive (external storage
device) by the computer.
3 Copy the downloaded firmware to the
UTILITY
folder on the DR-680.
4 After copying has completed, disconnect the unit
from the computer following the correct proce-
dures, remove the USB cable. The unit automatically
restarts. Then, turn its power OFF.
5 While pressing and holding both the MENU and
PL AY/PAUSE keys, turn the unit power ON.
TASCAM DR-680 3
DR-680 Release Notes
The unit starts up in update mode, and the update le
appears on the screen.
CAUTION
If this screen does not appear, turn the power OFF.
•
Then while pressing and holding both the MENU and
PLAY/PAUSE keys, turn the unit’s power ON again.
Continue to press and hold the MENU and PLAY/
PAUSE keys firmly until this screen appears.
When firmware has been copied to this unit’s UTILITY
•
folder from a Mac, in addition to the firmware file
itself, another file with “._” added to the beginning of
the firmware name is also shown. Use the file without
the “._” at the beginning of the name.
NOTE
This screen shows a list of the firmware update files
•
inside the UTILITY folder of the unit. Also, the screen
shows the firmware copied at Step 3 above. “No
Update File” appears if there is no update file in the
UTILITY folder.
The screen shown is an example. The actual display
•
differs.
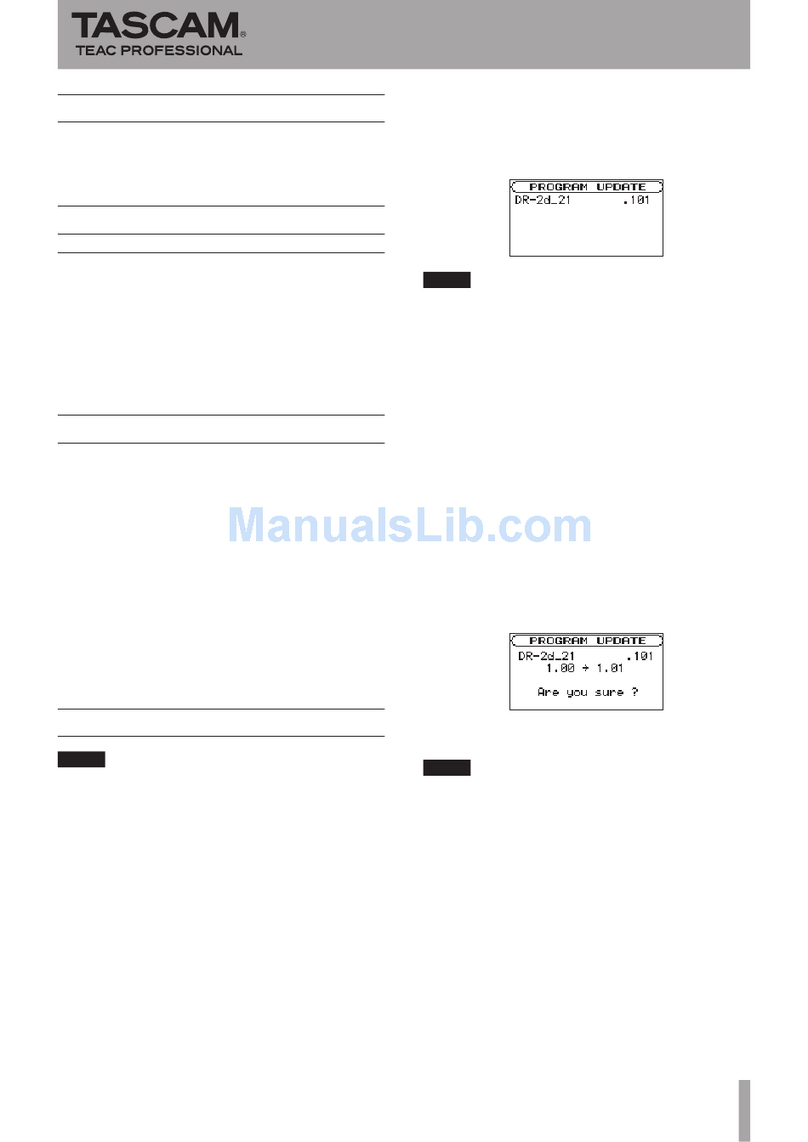
6 Select the firmware (highlight the item) then press
ENTER. The following screen appears.
The current version appears on the left and the updated
version appears on the right.
NOTE
The screen shown is an example. The actual display
differs.
7 Press the ENTER key to start the update.
8 When the update is complete, the power turns OFF
automatically. Turn the power ON again.
9 Follow the “Confirmation of firmware version”
instructions above to check that the “
Version
” is
now the most recent version of the firmware.
This completes the procedure for updating this unit.
10 Connect to a computer with USB and delete the
firmware update from the unit’s
UTILITY
folder.

Other manuals for DR-680

4

Other Tascam Voice Recorder manuals

Tascam DR-05 User manual

Tascam

Tascam DR-05 User manual

Tascam DR-680 Operation and maintenance manual

Tascam

Tascam DR-680 Operation and maintenance manual

Tascam DR-40 User manual

Tascam

Tascam DR-40 User manual

Tascam DR-07 Manual

Tascam

Tascam DR-07 Manual

Tascam Mixcast 4 User manual

Tascam

Tascam Mixcast 4 User manual

Tascam DR-05 User manual

Tascam

Tascam DR-05 User manual

Tascam DR-05 User manual

Tascam

Tascam DR-05 User manual

Tascam DR-22WL User manual

Tascam

Tascam DR-22WL User manual

Tascam DV-RA1000HD User manual

Tascam

Tascam DV-RA1000HD User manual

Tascam DA-60MKII Assembly instructions

Tascam

Tascam DA-60MKII Assembly instructions

Tascam HS-P82 Instruction Manual

Tascam

Tascam HS-P82 Instruction Manual

Tascam DR-05 Guide

Tascam

Tascam DR-05 Guide

Tascam DR-1 User manual

Tascam

Tascam DR-1 User manual

Tascam DR-100 MKIII User manual

Tascam

Tascam DR-100 MKIII User manual

Tascam DP-32SD User manual

Tascam

Tascam DP-32SD User manual

Tascam PR-10 User manual

Tascam

Tascam PR-10 User manual

Tascam HS-P82 Operation and maintenance manual

Tascam

Tascam HS-P82 Operation and maintenance manual

Tascam MMR-8 User manual

Tascam

Tascam MMR-8 User manual

Tascam DR-07 User manual

Tascam

Tascam DR-07 User manual

Tascam DR-22WL User manual

Tascam

Tascam DR-22WL User manual

Tascam DR-07mk II User manual

Tascam

Tascam DR-07mk II User manual

Tascam DR-07 User manual

Tascam

Tascam DR-07 User manual

Tascam HS-P82 User manual

Tascam

Tascam HS-P82 User manual

Tascam DA-98HR User manual

Tascam

Tascam DA-98HR User manual

Popular Voice Recorder manuals by other brands

Safety Vision OBSERVER 4112 HVR Hardware user's guide

Safety Vision

Safety Vision OBSERVER 4112 HVR Hardware user's guide

MadgeTech TransiTempII-RH Product Information Card

MadgeTech

MadgeTech TransiTempII-RH Product Information Card

ABB SmartMedia SM2000 User guide supplement

ABB

ABB SmartMedia SM2000 User guide supplement

Fostex D-108 owner's manual

Fostex

Fostex D-108 owner's manual

dallmeier DVS 600 Supplement to the manual

dallmeier

dallmeier DVS 600 Supplement to the manual

Philips VoiceTracer VTR5166 user manual

Philips

Philips VoiceTracer VTR5166 user manual

VoiceTrak AVM VER 6 Series Installation and maintenance manual

VoiceTrak

VoiceTrak AVM VER 6 Series Installation and maintenance manual

Aiworth E36 user manual

Aiworth

Aiworth E36 user manual

Logicube SCSI-NG user manual

Logicube

Logicube SCSI-NG user manual

Concertone TR-100 manual

Concertone

Concertone TR-100 manual

Sony HDR-AS30V operating guide

Sony

Sony HDR-AS30V operating guide

Belkin T7419ZM user guide

Belkin

Belkin T7419ZM user guide

Philips Voice Tracer user manual

Philips

Philips Voice Tracer user manual

Yamaha POCKETRAK Pocketrak CX owner's manual

Yamaha

Yamaha POCKETRAK Pocketrak CX owner's manual

Panasonic RRUS551 - IC RECORDER operating instructions

Panasonic

Panasonic RRUS551 - IC RECORDER operating instructions

Sony ICDBM1 - Memory Stick Media Digital Voice... operating instructions

Sony

Sony ICDBM1 - Memory Stick Media Digital Voice... operating instructions

Steren REC-825 user manual

Steren

Steren REC-825 user manual

JiGMO JVR-31 user manual

JiGMO

JiGMO JVR-31 user manual

manuals.online logo
manuals.online logoBrands
  • About & Mission
  • Contact us
  • Privacy Policy
  • Terms and Conditions

Copyright 2025 Manuals.Online. All Rights Reserved.