tattered lace Crossover User manual

www.taeredlace.co.uk
Instrucon Manual
Crossover™by
Tattered Lace®
Congratulaons on owning the The Crossover™, the latest development in Die Cung and
Embossing Systems for both paper and fabric craing. The Crossover™ is the result of many
months of development with every consideraon given to Paper and Fabric Craers.
The Crossover™ is not only a sturdy, reliable and easy to use craing tool, it is also portable
and compact, yet very robust.
The Crossover™ is designed to work with the majority of dies manufactured today for the
Paper and Fabric Industries. This ingenious feature renders mulple shims obsolete! The
Crossover™, together with Linen & Lace dies, oers the opportunity to cut mulple layers
of paper, card or fabric and is the perfect machine.
www.taeredlace.co.uk
Visit www.taeredlace.co.uk or www.quiltandfabricdies.com for instruconal videos and
other helpful workshops using the Crossover™ and Linen & Lace dies.
Don’t forget to register your machine to acvate a two-year warranty for your machine.
INSTRUCTIONS
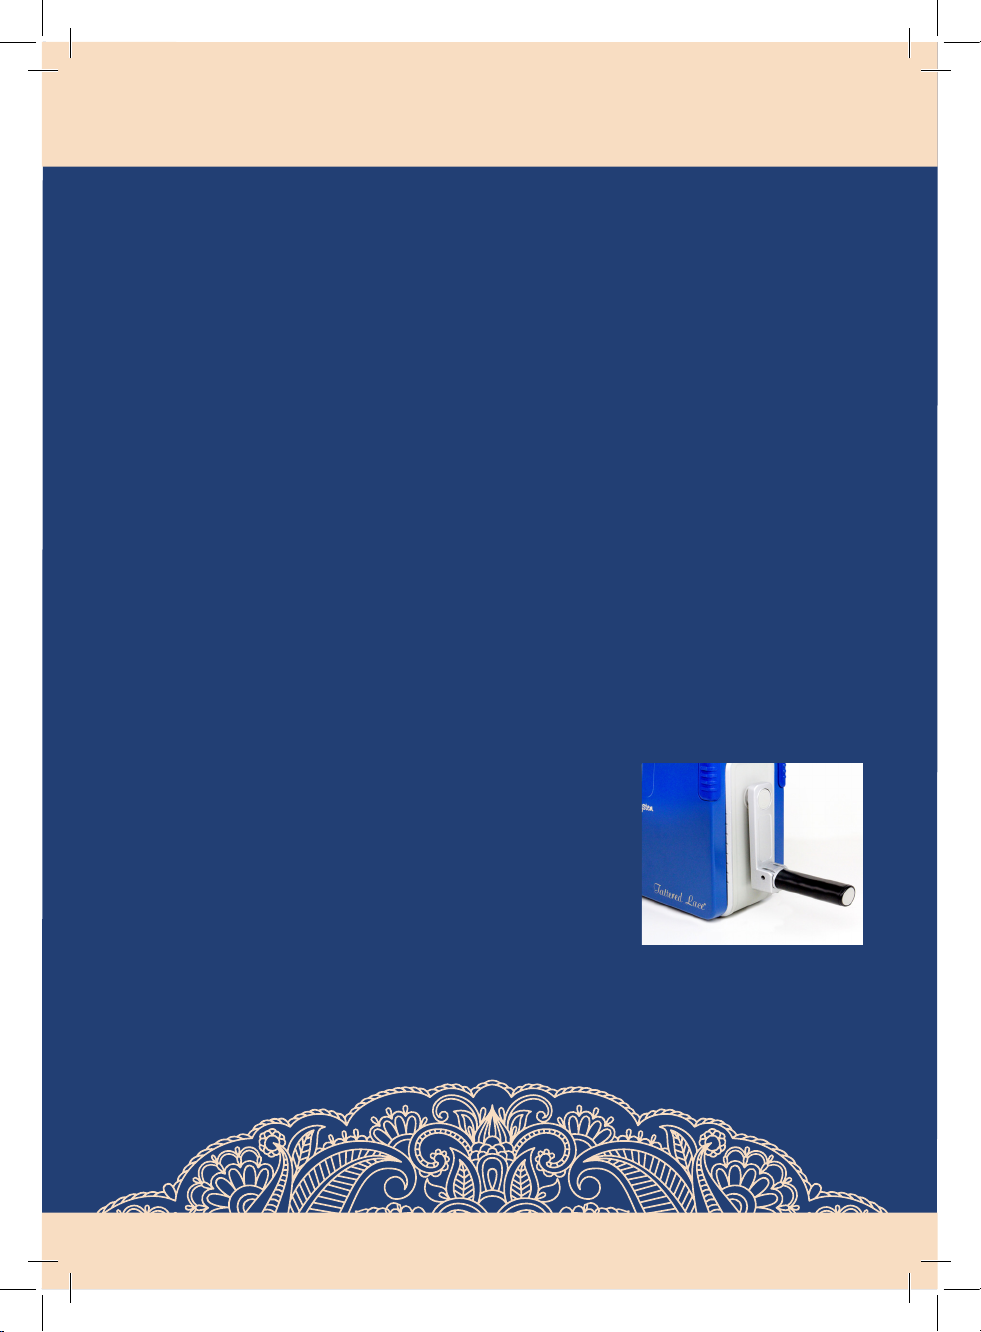
HANDLE SIDE OF THE MACHINE
With the handle on the right side of the machine facing you, the
metal handle will drop down and lock in place. To close, turn
the handle up and move the locking mechanism to release, this
will store the handle at to the side of the machine. The handle
is kept in place with a magnet.

www.taeredlace.co.uk
To ghten, move the wheel towards you. This adjuster allows you to ne tune the pressure
of the rollers. Below the thumbwheel is a slider with numbers. Numbered “0” to “18”,
the lower numbers are a general seng for thinner dies and materials, while the larger
numbers open up the rollers for thicker materials and dies. We suggest you “make friends”
with your Crossover™ and you will quickly adjust to using the thumbwheel and will
ancipate the correct sengs for your projects.
PRESSURE ADJUSTMENTS
The Crossover™ oers the unique capability to
adjust the space between the rollers, negang the
need to use shims and mulple layers of plasc to
get a good result. The adjustment “thumbwheel”
is conveniently placed between two arrows on
the centre top of the machine. If le-handed, turn
the machine around, however ensure you turn
the handle counter-clockwise when operang the
machine.
To lessen pressure, move the wheel away from you.
INSTRUCTIONS
THE CUTTING PLATFORM
The basic plaorm consists of two layers. A
thick white base and a thick clear plasc cung
plate for viewing. The Crossover™ cung plate
is almost twice as thick as smaller machines
available, and will last much longer without
“bowing”. Included in your package is a stainless
steel adapter plate for detailed die cuts or mul-
layer fabric cuts.
The gears on the Crossover™ have been sized so that the plaorm rolls through the
machine quickly. If you nd that the handle is too hard to turn, it’s likely you have set
the rollers too ghtly. Simply move the thumbwheel away from you aer removing the
plaorm. This feature was designed to avoid breaking your machine by over-shimming.
CUTTING ACTIVITY

www.taeredlace.co.uk
When the plaorm exits the rollers, you may hear a loud noise or a “clunking” sound. This
is created by the release of pressure on the die cung sandwich. This machine is capable of
creang a great deal of pressure the heavy metal components are designed for this acvity.
For most cung acvies you will need only the basic two plasc pieces. For both detailed
paper designs as well as mul-layer fabric cung, you may nd the stainless steel adapter
plate to be helpful.
CUTTING ACTIVITY
INSTRUCTIONS
SUGGESTED SETTINGS
There are numerous materials that can be die cut or embossed Use Deep Dish Die, up to
3 layers up to 6-7 on simple designs with the Crossover™ machine. The “+” symbol on the
thumbwheel closes the rollers ghter while the “-” symbol opens up the rollers. It is best
to place the sandwich between the rollers and adjust the thumbwheel unl the assembly
is ght. Remove the plaorm assembly and turn the thumbwheel ghter by one seng. If
the handle turns too easily, ghten slightly; if the handle is dicult to turn, open slightly.
Forcing the handle causes the handle to spring back if turned too hard. Open up the rollers
with a small turn to nd the correct seng.
Use of the metal adaptor plate is oponal. Generally mulple layers of paper or fabric are
cut beer with the metal adaptor plate. Simple designs in paper do not require the metal
plate. For fabric, fewer threads will hang up on fabric when the metal adaptor plate is
placed on the fabric but inside the “sandwich.”

www.taeredlace.co.uk
PAPERCRAFT SETTINGS:
White base plate, metal die or embossing folder using Deep Dish Die, up to 3 layers or up to
6-7 on simple designs, material (paper/fabric), top clear cung plate.
EMBOSSING SETTINGS:
MATERIAL SETTINGS
Etched metal embossing plates with rubber pads 5-6
Thin laser cut stencils with rubber pads 6
Plasc folders (No pads required) 12-13
INSTRUCTIONS
MATERIAL SETTINGS NOTES
THIN METAL/ DEEP DISH DIES
Cra Paper (Thin) 3
Burlap with Liner 3-5
Cork with Liner 4
Poly Felt 4
Glier Paper 4
Wool Felt 4
Cra Paper (Mul Layers) 5-6 Use Deep Dish Die, up to 3 layers or
up to 6-7 on simple designs
Chipboard 5-6
OTHER TYPES OF DIES
Thin Foam Topped Die 11-13
Thick Foam Topped Die 16-17 Face down on clear cung plate only.

:
www.taeredlace.co.uk
FABRIC CUTTING SETTINGS:
MATERIAL SETTINGS NOTES
Applique Dies w/ adhesive liner 3-4 Die is purple in colour - Single cuts.
Fabric Deep Dish w/ adhesive liner 3-4 Up to 3 layers.
Fold & Cut Deep Dish Dies 5Up to 2 layers with adhesive.
Single Die cuts Applique Deep Dish
Dies w/ liner
5-6 Die is silver in colour.
Geometric Deep Dish Dies 5-6 Up to 6 layers no adhesive.
Odd Shapes Deep Dish Dies 6 3-5 layers no adhesive.
Thick Wool Felt 8 No adhesive.
Go Fabric Dies 9Die is the base then fabric, adapter
plate, top clear plate.
SPECIAL INSTRUCTIONS:
Adjust your seng to 0-4 on the pressure scale. Turn the handle. If the plaorm has no
resistance in turning, move the thumbwheel toward you (+ for more pressure). If the
handle does not turn without signicant pressure, the plaorm is too ght and you will
need to turn the thumbwheel away from you slightly. As you become more used to the
Crossover™ you will recognise when you have the right pressure for the parcular type of
die you are using.
For detailed dies, we recommend the stainless steel metal adaptor. You may place the
adaptor plate under the die so that you can sll see the cung acvity without taking the
plaorm assembly apart. Pass the plaorm through and then back. Observe the die cung
success. If the die cut is not complete, back the plaorm out, adjust the thumbwheel and
then pass the plaorm through again.
PAPER CRAFTING
INSTRUCTIONS

www.taeredlace.co.uk
With the adjustable feature of the Crossover™, embossing folders and embossing metal
plates can be used for dierent depths of embossing or debossing. Test a strip of scrap
paper rst using a rubber embossing pad for metal plates or even an open face of a plasc
embossing folder to determine your desired eect. You have complete control over the
pressure exerted on the embossing media.
PAPER CRAFTING EMBOSSING
For most adhesive backed designs, a metal adaptor plate helps for more complicated
designs. Place the adaptor plate on top of the fabric and inside the “sandwich”. The metal
plate is stainless steel, it will get marked up but the strength of the steel gives a beer cut
and few, if any, hanging threads.
FABRIC CRAFTING
INSTRUCTIONS

www.taeredlace.co.uk
Please also refer to our online videos specic to your use.
Congratulaons on owning this advanced die cut and
embossing system!
Copyright © 2015 Craft Channel Productions Ltd. All rights reserved.
Craft Channel Productions Ltd, S45 9HX, UK.
Crossover™
by
Tattered Lace®
Other manuals for Crossover
1
Table of contents
Other tattered lace Cutter manuals

Popular Cutter manuals by other brands

Cembre
Cembre B35M-TC025 Operation and maintenance manual

Martor
Martor SECUNORM PROFI40 quick start guide

Broco
Broco Prime-Cut operating instructions

BN Products
BN Products DC Series Instructions and parts

Ryobi
Ryobi FVH64 Operator's manual

WOLFF
WOLFF FRASMASTER 230 V Translation of the original instruction


