Advanced Functions
Attention and Frequently Questions
1.Some non-standard mobile storage devices maybe
cannot be recognized. Please change to use the
standard device.
2.This system supports the following file formats:
Picture format: JPEG, BMP, PNG.
Video format: H.264, MPEG4, MPEG2, MPEG1, etc..
Audio Format: MP3.
Note: for coding files, there are many kinds non-standard
coding method, so this system can not be guaranteed to
support the file formats using any coding method.
Attention
Game
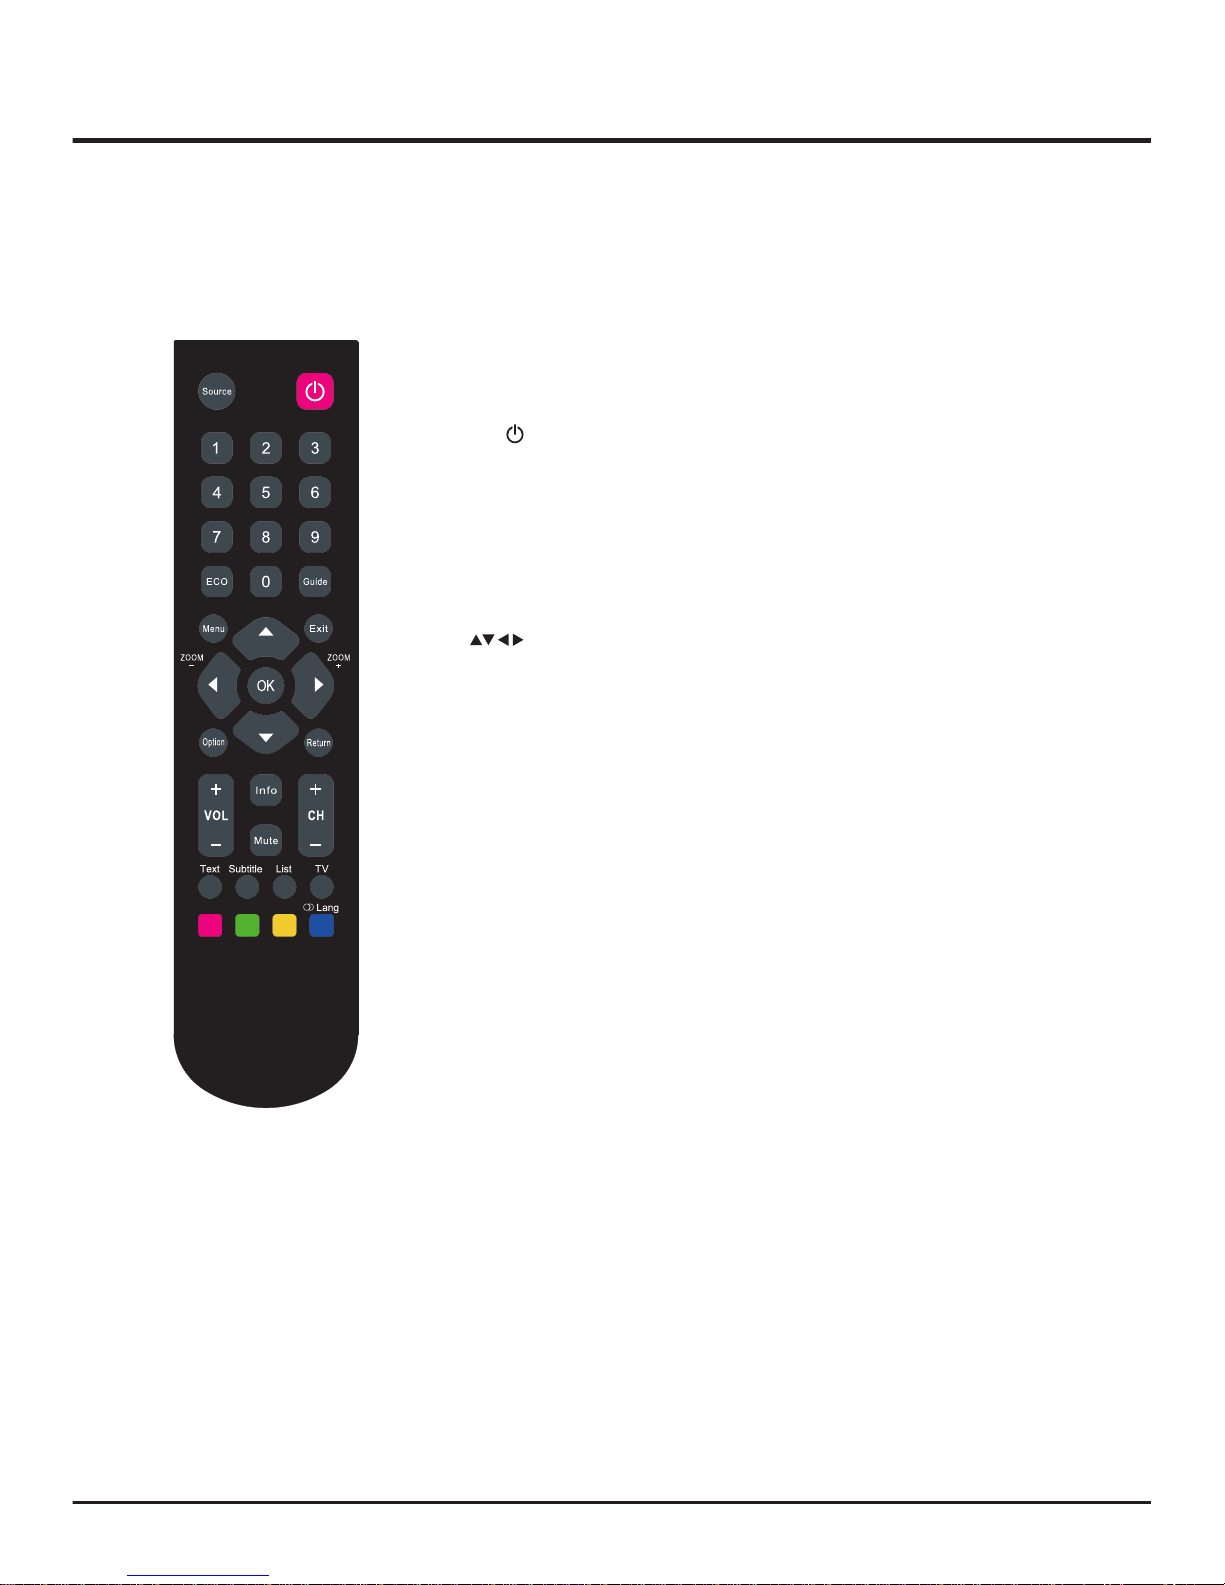
Presses the OK button to enter.
Multimedia
1. Press LEFT/RIGHT buttons to select PHOTO and
press OK button to enter the USB content browser.
2. Use th UP/DOWN/LEFT/RIGHT buttons to select a
subfolder. Press OK button to enter. Use the UP/
DOWN/LEFT/RIGHT buttons to select a photo and
press OK button may mark the photo, then press
button to circularly play all the photos you marked.
Photo Show
3. Press MENU button to display the control
menu. The menu options include Pause/Play, Prev.,
Next, Stop, Rotate, Music On/Off, Music list, Zoom In,
Zoom Out, Repeat mode, Brightness, Contrast,Info..
4. Press OK button to confirm your setting. Press MENU
or EXIT button to exit the control menu.
Movie Show
1. Press LEFT/RIGHT buttons to select MOVIE and
press OK button to enter the USB content browser.
2. Use th UP/DOWN/LEFT/RIGHT buttons to select a
subfolder. Press OK button to enter. Use the UP/
DOW//LEFT/RIGHT buttons to select a movie and
press OK button may mark it, then press button
to circularly play all the movies you marked.
3. Press MENU button to display the control
menu. The menu options include Pause/Play, FB, FF,
Prev., Next, Stop, Repeat mode, Set A~B, Playlist,
Info., Brightness, Contrast, Slow Forward, Step Forward,
Goto Time.
4. Press OK button to confirm your setting. Press MENU
or EXIT button to exit the control menu.
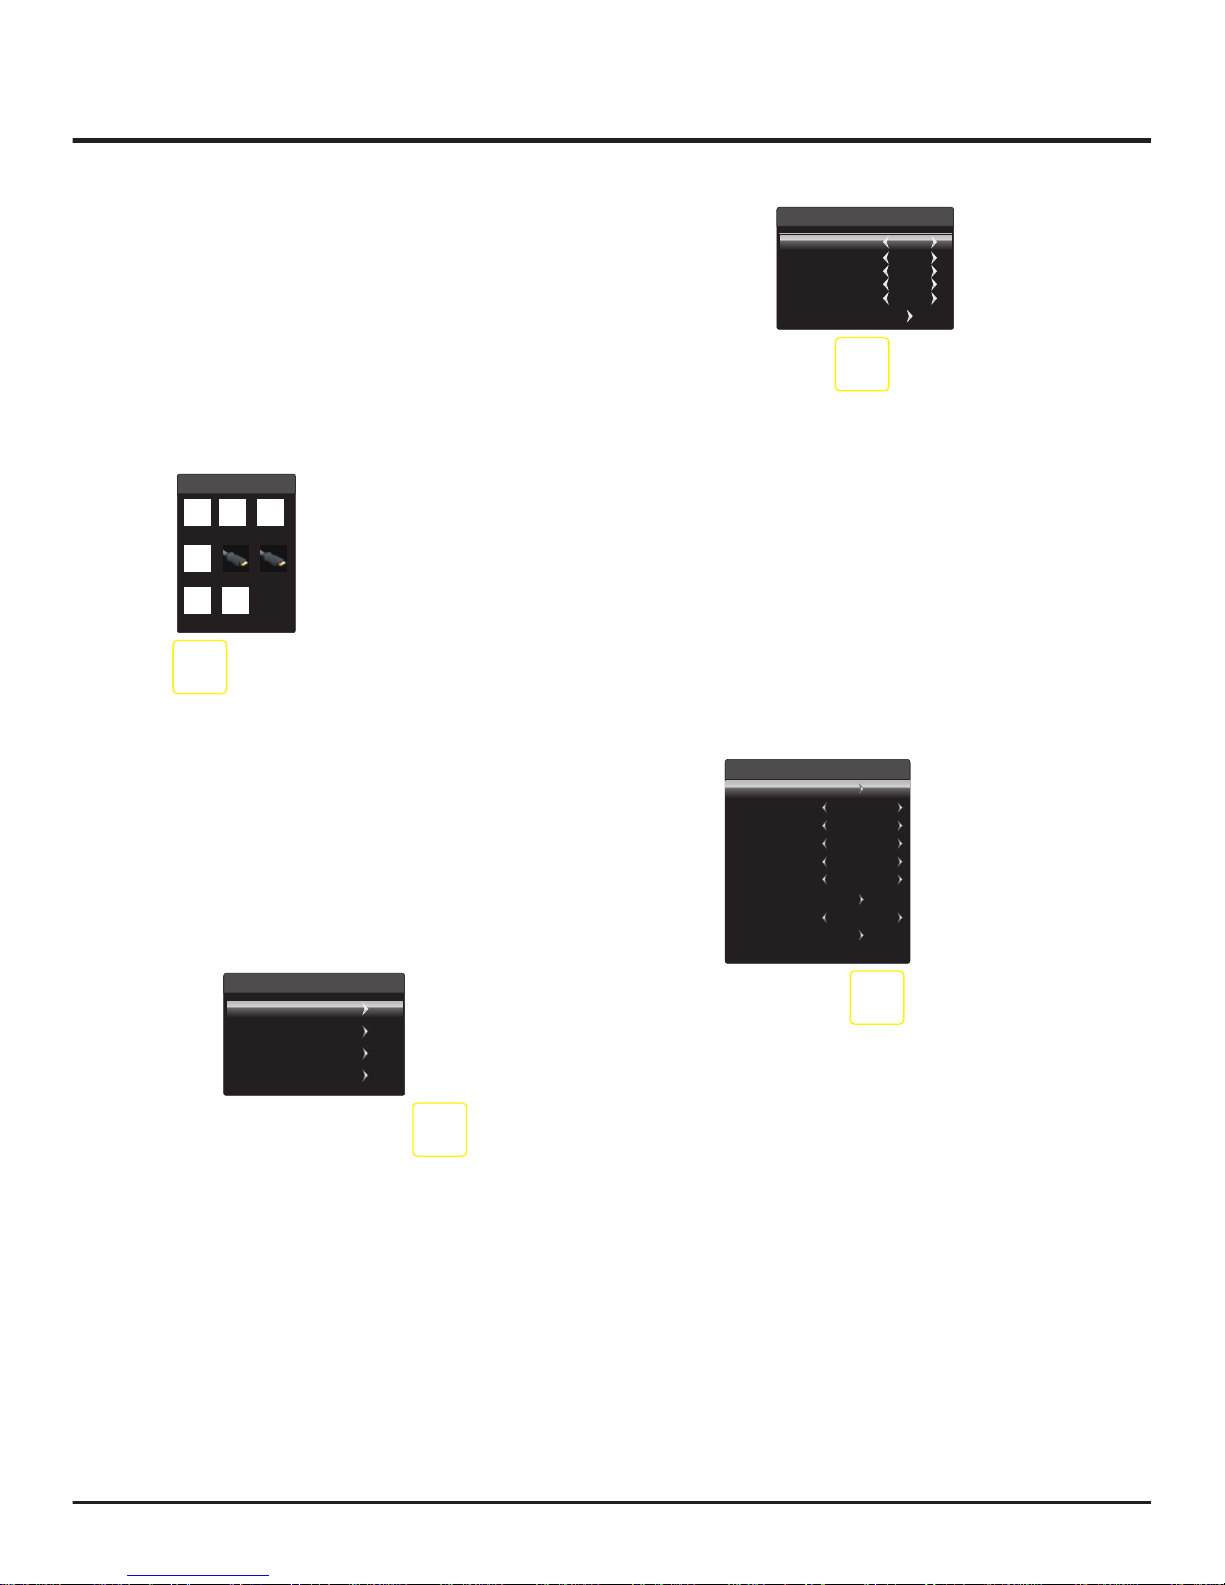
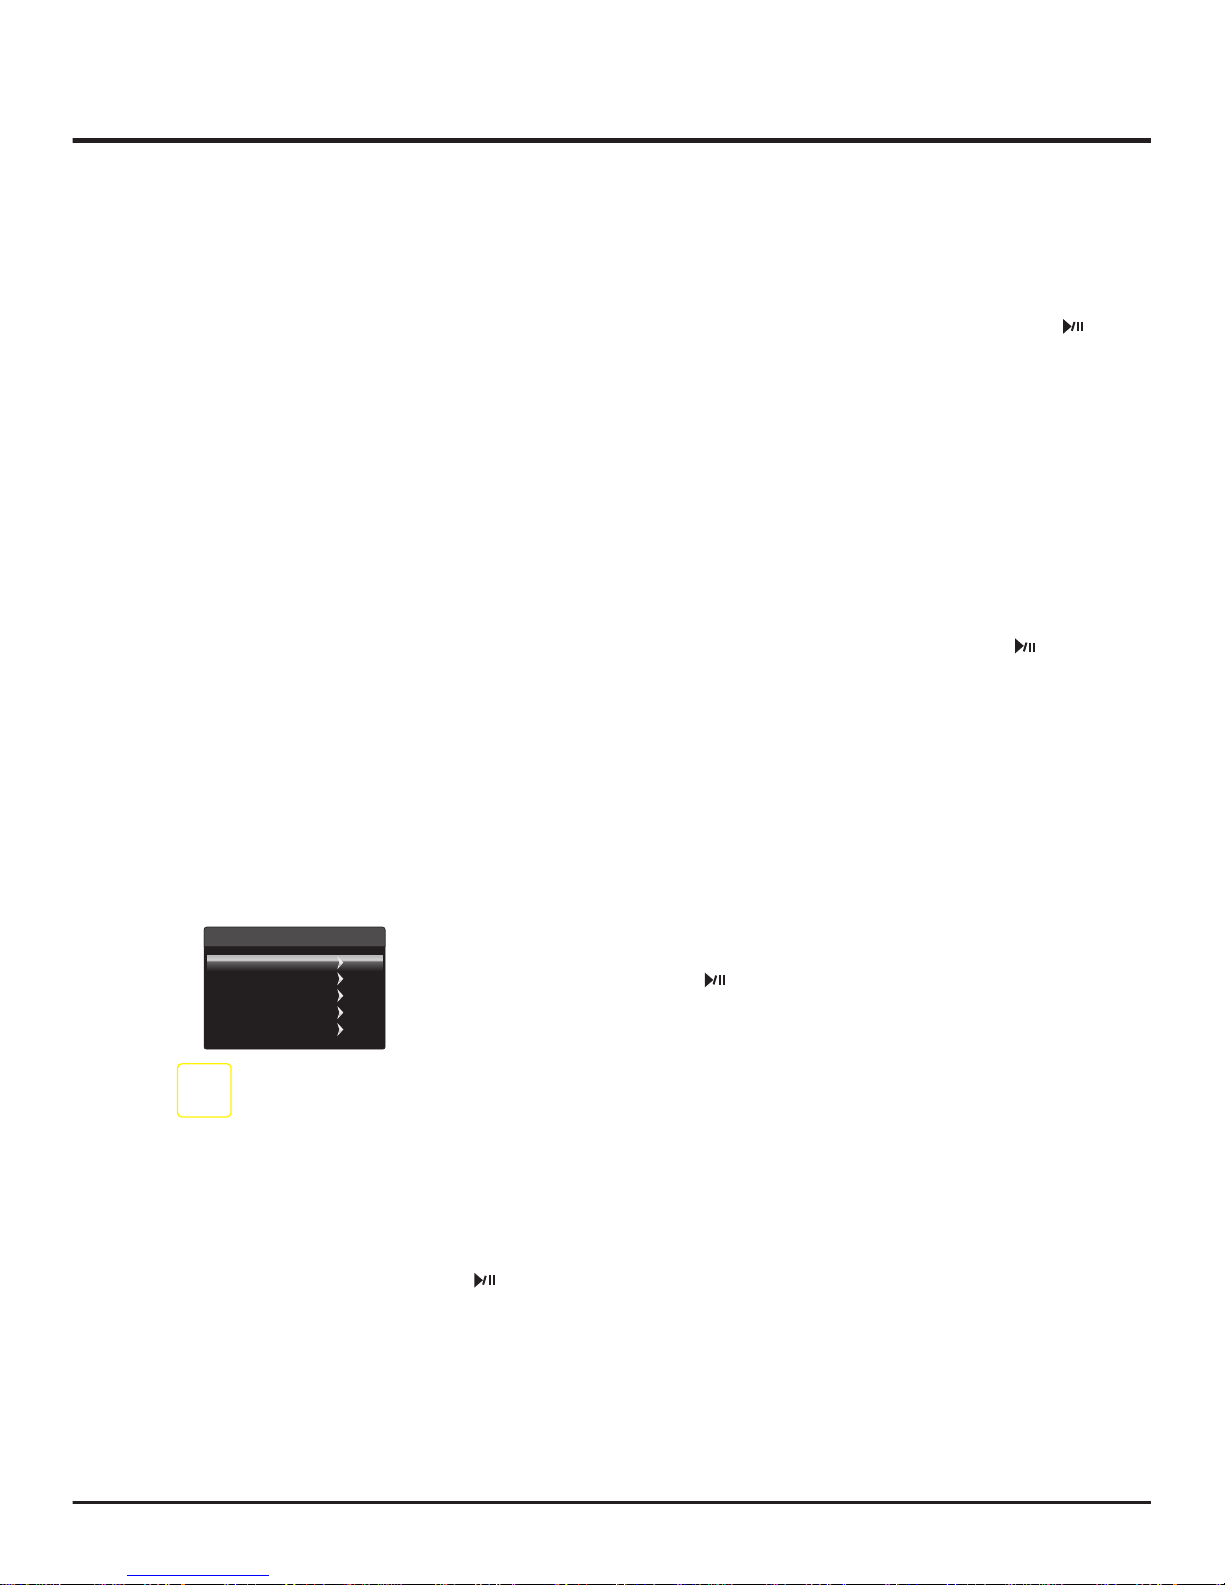
Multimedia
Movie Show
Photo Show
Music Show
Text Show
Game
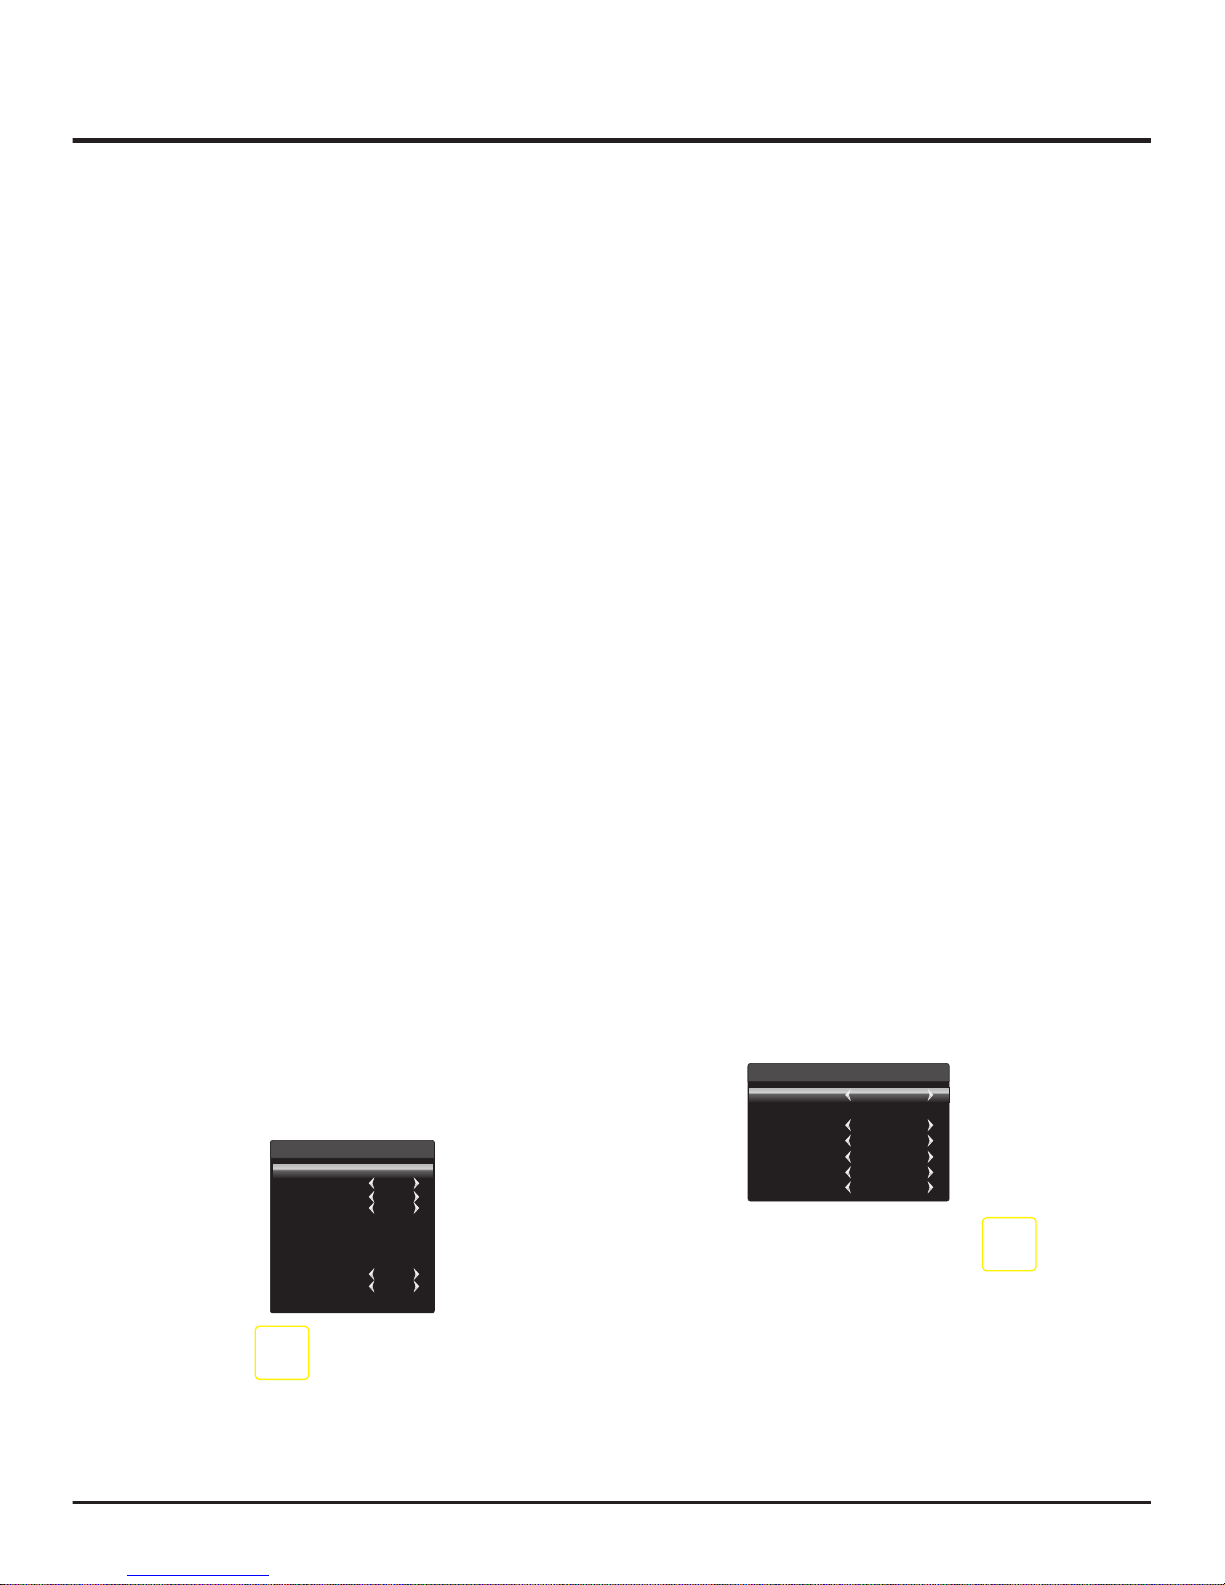
Connect a USB device to a USB socket and display the
main menu by pressing the Menu button, then select the
Multimedia icon and press the up or down direction or OK
button to display the menu.
Notes:
In USB disk catalog, pressing Menu can display
Multimedia menu and you can press the up or down
direction button to toggle among Movie Show, Photo
Show ,Music Show and Game, then press
the right direction or OK button to confirm.
The short keys of USB include: the up, down, left, right
direction buttons and OK buttons.
In USB state, if no USB device connected, the USB
interface will be displayed.
,Text Show
Music Show
1. Press LEFT/RIGHT buttons to select MUSIC and
press OK button to enter the USB content browser.
2. Use the UP/DOWN/LEFT/RIGHT buttons to select a
subfolder. Press OK button to enter. Use the UP/
/LEFT/RIGHT buttons to select a music and press
OK button may mark the song, then press
button to circularly play all the songs you marked.
3. Press MENU button to display the control
menu. The menu options include Pause/Play, FB, FF,
Prev., Next, Stop, Repeat mode, Mute, Playlist, Info.,
Goto Time.
4. Press OK button to confirm your setting. Press
MENU or EXIT button to exit the control menu.
Text Show
1. Press LEFT/RIGHT buttons to select TXT and
press OK button to enter the USB content browser.
2. Use the UP/DOWN/LEFT/RIGHT buttons to select a
subfolder. Press OK button to enter. Use the UP/
DOW//LEFT/RIGHT buttons to select a file, then
press button to display all the content.
3. Press MENU button to display the control
menu. The menu options include Prev. Page, Next
Page, Prev., Next, Stop, Music, Music list, Info..
4. Press OK button to confirm your setting. Press
MENU or EXIT button to exit the control menu.
Auto Sleep: options include On, Off. Select On, the TV
will enter standby mode at the specific time that you set.
Note: it turns off automatically without signal in 10 minute.
Time Zone: selects the time zone you stay.
Note: only sets the clock mode as Auto, it can be selected.
On Time: selects a time to turn on the TV at a specific time.
Options include Hour, Minute, Source mode, Volume, Once.
If the source mode is ATV or DTV, Channel item will appear.
If you select Off, Channel, Volume, Hour, Minute and
DTV will not display.
Sleep Timer: sets a period of time after which the TV
set goes into standby mode, use the left or right
direction button to set the period. To disable this function,
select Off.
10