manuals.online logo
Brands
  1. Home
  2. •
  3. Brands
  4. •
  5. TDC USA
  6. •
  7. Indoor Furnishing
  8. •
  9. TDC USA 3 Piece Wicker Set with Chaise User manual

TDC USA 3 Piece Wicker Set with Chaise User manual

Made in Vietnam
The owner’s manual contains important safety information as well as assembly, use and
maintenance instructions. Keep the packaging and bags away from children and dispose
of all packaging properly before use. Keep this manual for future reference.
3 Piece Wicker Set
with Chaise
Assembly Instructions
Steel Frame with powder coating
PLEASE DO NOT
RETURN THIS
PRODUCT
TO THE STORE
We will be happy to correct any problems that you may
have, or answer any of your questions regarding the
purchase of this product. Please contact us at our Toll
Free customer service number 1-800-599-8898 for any
assistance and replacement parts. Thank You.
Dist. by TDC USA, Inc. Faireld, NJ 07004
©2020 All Rights Reserved.
Made in Vietnam
Item 21955
www.tdcusainc.com
3
Warnings
· CHOKING HAZARD - Small parts. Not suitable for children under 36 months. The
product contains small parts, keep children away when assembling.
· ADULT ASSEMBLY REQUIRED.
Always remove protective material and poly bags and dispose before assembly.
WARNING!
• Keep all children and pets away from assembly area.
Children and pets should be supervised when they
are in the area of the product construction.
• Some parts may contain sharp edges. When
assembling and using this product, basic safety
precautions should always be.
• Please read all the instructions and warnings before
assembling. In order to make the whole product
adjust to the best, please install all the screws on
the product and tighten all the screws after adjusting
the product which can stand on the oor even. Not
intended for commercial use.
• Check all bolts for tightness before use.
• IMPORTANT - check and tighten bolts often to keep
them secure
4
Parts
Left Chair Back Chair Seat Left Chair Panel
Right Chair Panel
Sofa Panel
Chaise Seat
Support
Corner Foot
M6x30 Bolt
Foot
M6x55 Bolt
Clamp
Washer
Hex Key M6x35 Bolt
Chaise Long Panel Chaise Short Panel Chaise Panel
Support Right Chaise Back Left Chaise Back
Sofa Back Sofa Seat Sofa Front Panel
Right Chair Back A2 (x1) A3 (x1) A4 (x1)
A5 (x1)
B4 (x2)
C3 (x1)
C7 (x2) 1 (x62)
4 (x13) 5 (x6) 6 (x4) 7 (x2) 8 (x2)
2 (x1) 3 (x39)
C4 (x1) C5 (x1) C6 (x1)
B5 (x1) C1 (x1) C2 (x1)
B1 (x1) B2 (x1) B3 (x1)
A1 (x1)
5
A3A3
Step 1:
Bring Right Chair Back (A1) and
Left Chair Back (A2) together as
illustrated here. Insert one M6x30
Bolt (1) with Washer (3) through
the bottom of Right Chair Back
(A1) and into screw-threading
found on Left Chair Back (A2).
Insert one M6x35 Bolt (8) with
Washer (3) through the top of Right
Chair Back (A1) and into screw-
threading found on Left Chair
Back (A2). Use the Hex Key (7)
to tighten the bolts securing these
parts together; see Figure 1.
Step 2:
Insert two M6x30 Bolts (1) with
Washers (3) through the bottom
of Chair Seat (A3) and into
screw-threading found at the
bottom of the chair back of A1.
Insert two M6x30 Bolts (1) with
Washers (3) through the bottom
of Chair Seat (A3) and into
screw-threading found at the
bottom of the chair back of A2.
Tighten bolts using Hex Key (7).
Fig. 1
Corner Chair Instructions
1
1
3
7
A2A2
A1A1
1
8
1
6
Step 3:
Place Left Chair Panel (A4)
underneath the side of Chair
Seat (A3) and against Left Chair
Back (A2) as illustrated here.
Insert two M6x30 Bolts (1) with
Washers (3) through the top
of Left Chair Panel (A4) and
into the screw-threading found
underneath Chair Seat (A3).
Insert one M6x30 Bolt (1) with
Washer (3) through the side of
Left Chair Panel (A4) and into
the screw-threading found at the
bottom of Left Chair Back (A2).
Tighten bolts using Hex Key (7).
Step 4:
Insert pegs found at the top of
Right Chair Panel (A5) into holes
found underneath the side of
Chair Seat (A3); see Figure 2.
Insert one M6x30 Bolt (1) with
Washer (3) through the side of
Right Chair Panel (A5) and into
the screw-threading found at the
bottom of Right Chair Back (A1).
Insert one M6x30 Bolt (1) with
Washer (3) through the side of
Right Chair Panel (A5) and into
the screw-threading found on
the side of Left Chair Panel (A4).
Tighten bolts using Hex Key (7).
A4A4
A5A5
Corner Chair Instructions
Fig. 2
1
1
1
1
7
DD
Step 5:
Turn the chair upside down. Place Corner Feet (4) at either corner of chair bottom. Insert
two M6x30 Bolts (1) through each Corner Foot (4) and into screw-threading found at the
bottoms of all previously assembled parts; see Figure 3. Tighten bolts using Hex Key (7).
Turn the chair right-side up when nished.
Corner Chair
Complete
AA
Corner Chair Instructions
Fig. 3
1
8
Step 1:
Bring Sofa Seat (B2) and Sofa Front Panel (B3)
together as illustrated above. Insert two M6x30
Bolts (1) with Washers (3) through the top of Sofa
Front Panel (B3) and into the screw-threading found
underneath Sofa Seat (B2). Use the Hex Key (7) to
tighten the bolts securing these parts together; see
Figure 1.
Step 2:
Turn previously assembled parts
right-side up. Place Sofa Back
(B1) against Sofa Seat (B2) as
illustrated above. Insert two
M6x30 Bolts (1) with Washers
(3) through holes found
underneath Sofa Seat (B2)
and into screw-threading
found at the bottom of the
sofa back of B1. Tighten
bolts using Hex Key (7).
Sofa Instructions
Fig. 1
B1B1
1
1
1
3
7
B2
B3
1
1
9
Sofa Instructions
Step 3:
Place Sofa Panels (B4) on either side of sofa so that they are underneath Sofa Seat
(B2). Insert pegs found at the tops of the panels into the holes found underneath Sofa
Seat (B2); see Fig. 2. Insert one M6x30 Bolt (1) with Washer (3) through the side of Sofa
Panels (B4) and into screw-threading of Sofa Front Panel (B3). Insert one M6x30 Bolt (1)
with Washer (3) through the side Sofa Panels (B4) and into the screw-threading at the
bottom Sofa Back (B1).
Place Support (B5) underneath sofa so that pegs at the top of this part t into intended
holes underneath Sofa Seat (B2). Insert one M6x30 Bolt (1) with Washer (3) through the
side of Support (B5) and into screw-threading found at the center of Sofa Front Panel
(B3). Insert one M6x30 Bolt (1) with Washer (3) through the side of Support (B5) and into
screw-threading found at the center of Sofa Back (B1). Tighten bolts using Hex Key (7).
B4
B4
B5
1
1
1
1
1
1
Fig. 2
10
Sofa Instructions
Step 4:
Turn the sofa upside down. Place Corner Feet (4) at either corner of sofa bottom. Insert two
M6x30 Bolts (1) through each Corner Foot (4) and into screw-threading found at the bottoms
of all previously assembled parts; see Figure 3. Tighten bolts using Hex Key (7). Screw in
two Feet (5) into screw threading on the bottom Support Panel (B5). Turn the sofa right-side
up when nished.
Sofa
Complete
BB
Fig. 3
1
4
5
5
11
Chaise Instructions
C1C1 C2C2 Step 1:
Bring Right Chaise Back (C1)
and Left Chaise Back (C2)
together as illustrated here.
Insert one M6x30 Bolt (1) with
Washer (3) through the bottom
of Right Chaise Back (C1) and
into screw-threading found
on Left Chaise Back (C2).
Insert one M6x35 Bolt (8) with
Washer (3) through the top of
Right Chaise Back (C1) and
into screw-threading found on
Left Chaise Back (C2). Use the
Hex Key (7) to tighten the bolts
securing these parts together;
see Figure 1.
Step 2:
Insert two M6x30 Bolts (1) with Washers
(3) through the bottom of Chaise Seat
(C3) and into screw-threading found at the
bottom of the chaise back of C1. Insert two
M6x30 Bolts (1) with Washers (3) through
the bottom of Chaise Seat (C3) and into
screw-threading found at the bottom of the
chaise back of C2. Tighten bolts using Hex
Key (7).
Fig. 1
C3C3
8
1
1
11
3
7
12
Chaise Instructions
1
1
1
1
1
C4
C5
Step 3:
Place Chaise Short Panel (C5) underneath the side of Chaise Seat (C3) and
against Left Chaise Back (C2) as illustrated above. Insert two M6x30 Bolts (1)
with Washers (3) through the top of Chaise Short Panel (C5) and into the screw-
threading found underneath Chaise Seat (C3).
Place Chaise Long Panel (C4) underneath the side of Chaise Seat (C3) and
against Right Chaise Back (C1). Insert three M6x30 Bolts (1) with Washers (3)
through the top of Chaise Long Panel (C4) and into the screw-threading found
underneath Chaise Seat (C3). Insert one M6x30 Bolt (1) with Washer (3) through
the side of Chaise Long Panel (C4) and into the screw-threading found at the
bottom of Right Chair Back (C1). Tighten bolts using Hex Key (7).
13
C6
C7
C7
1
1
1
2
1
1
Chaise Instructions
Step 4:
Place two Supports (C7) underneath chaise so that pegs at the top of these parts
t into intended holes underneath Chaise Seat (C3). Insert one M6x30 Bolt (1) with
Washer (3) through the side of each Support (C7) and into screw-threading found at
the center of Chaise Long Panel (C4).
Insert M6x55 Bolt (2) with Washer (3) through the side of Support (C7), through
Chaise Short Panel (C5), and into screw-threading found at the bottom of Left
Chaise Back (C2). Insert one M6x30 Bolt (1) with Washer (3) through the right-side
of the second Support (C7) and into screw-threading found at the center of Chaise
Short Panel (C5).
Insert one M6x30 Bolt (1) with Washer (3) through the side of each Support (C7)
and into screw-threading found at the center of Chaise Long Panel (C4). Insert one
M6x30 Bolt (1) with Washer (3) through the both sides of Chaise Panel (C6) and into
screw-threading found at the ends of both the Chaise Long Panel (C4) and Chaise
Short Panel (C5). Tighten bolts using Hex Key (7).
Fig. 2
14
Chaise Instructions
Step 5:
Turn the chaise upside down. Place Corner Feet (4) at all corners illustrated above. Insert
two M6x30 Bolts (1) through each Corner Foot (4) and into screw-threading found at the
bottoms of all previously assembled parts; see Figure 3. Tighten bolts using Hex Key (7).
Screw in two Feet (5) into screw threading on the bottoms of both Support (C7). Turn the
chaise right-side up when nished.
C
Chaise
Complete
Fig. 3
1
5
5
5
5
4
15
Instructions
ABC
Finish:
Use two Clamps (6) to lock the chair to the sofa by placing them over the frames of both
seats. Use remaining two Clamps (6) to lock the opposite side of the sofa to the chaise.
6
Dist. by TDC USA, Inc. Faireld, NJ 07004
©2020 All Rights Reserved. Made in Vietnam.
Item #21955
Questions and Comments
1-800-599-8898 (9 am - 5 pm EST)
www.tdcusainc.com
3 Piece Wicker Set
with Chaise
Steel Frame with powder coating

Other TDC USA Indoor Furnishing manuals

TDC USA 21946 User manual

TDC USA

TDC USA 21946 User manual

TDC USA 21957 User manual

TDC USA

TDC USA 21957 User manual

TDC USA 21242 User manual

TDC USA

TDC USA 21242 User manual

Popular Indoor Furnishing manuals by other brands
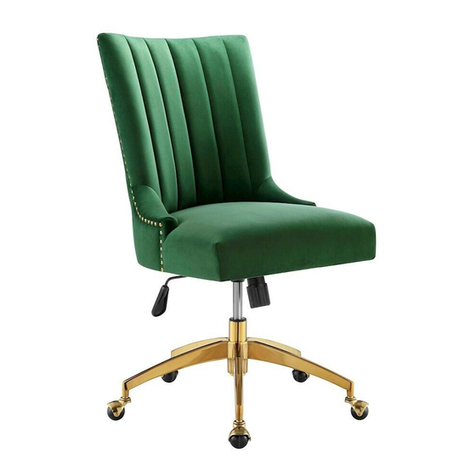
modway EEI-4575 Assembly instructions

modway

modway EEI-4575 Assembly instructions

Night & Day Furniture Murphy Cube Cabinet Bed Assembly instructions

Night & Day Furniture

Night & Day Furniture Murphy Cube Cabinet Bed Assembly instructions

Seconique Furniture Charles 100-103-029 Assembly instructions

Seconique Furniture

Seconique Furniture Charles 100-103-029 Assembly instructions
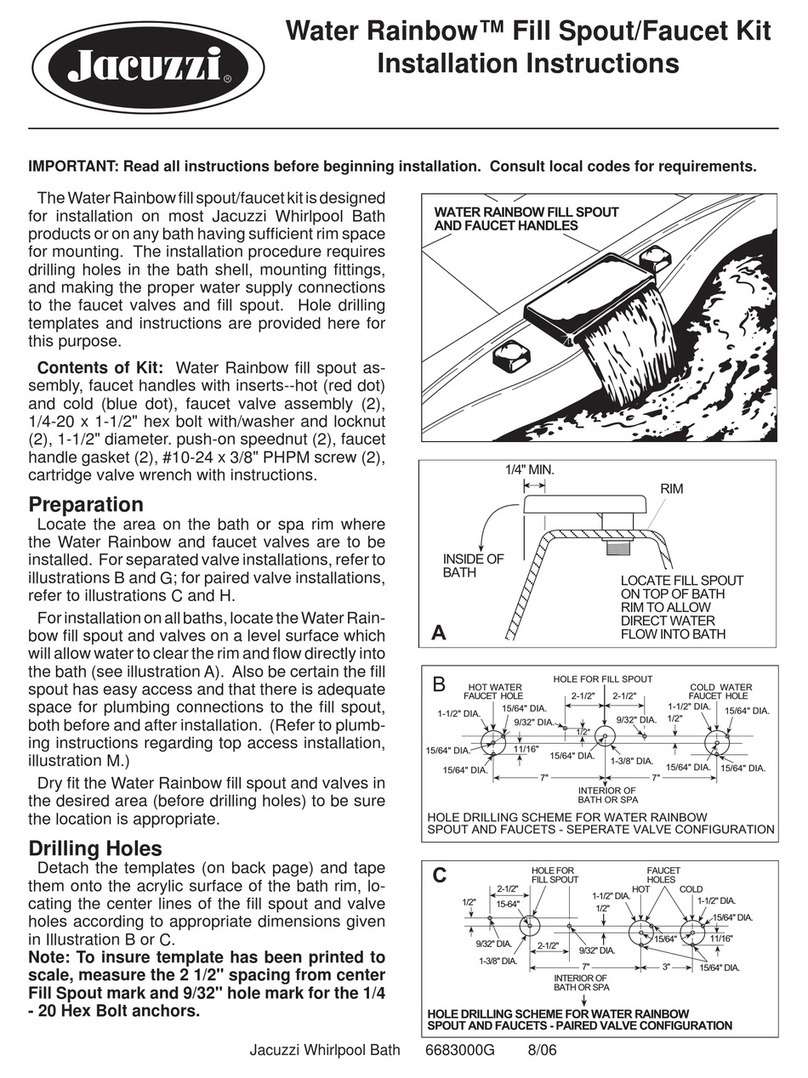
Jacuzzi Faucet Kit installation instructions
Jacuzzi

Jacuzzi Faucet Kit installation instructions

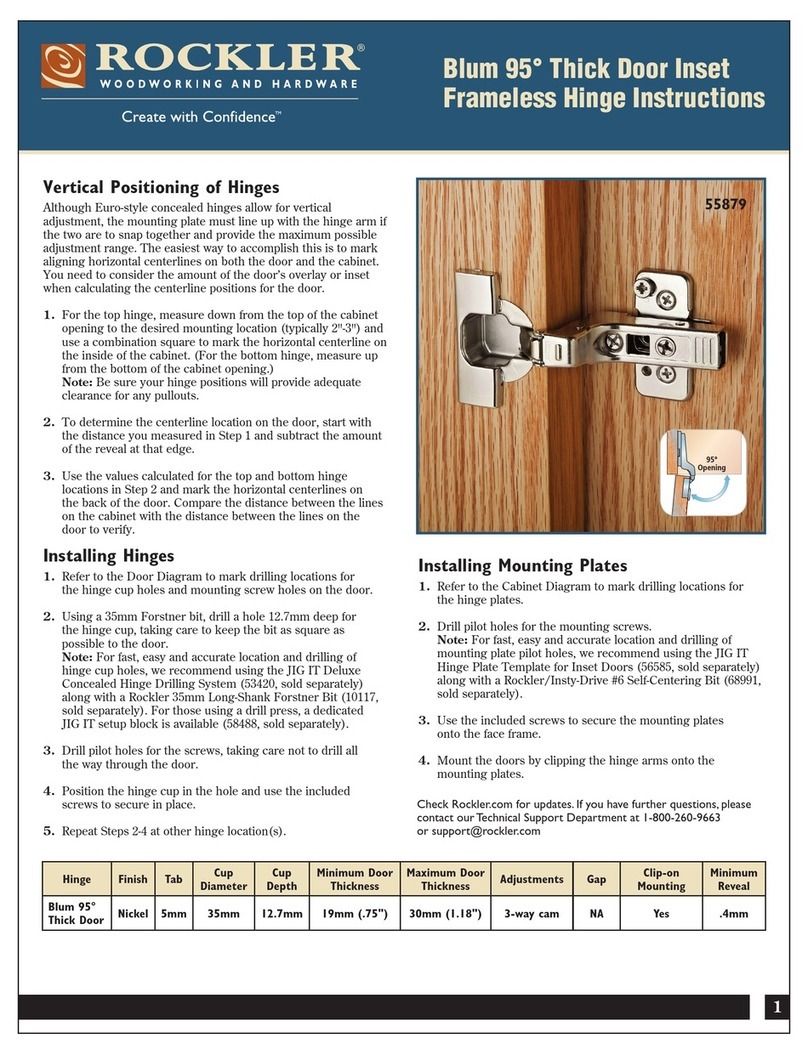
Rockler Blum 55879 instructions

Rockler

Rockler Blum 55879 instructions
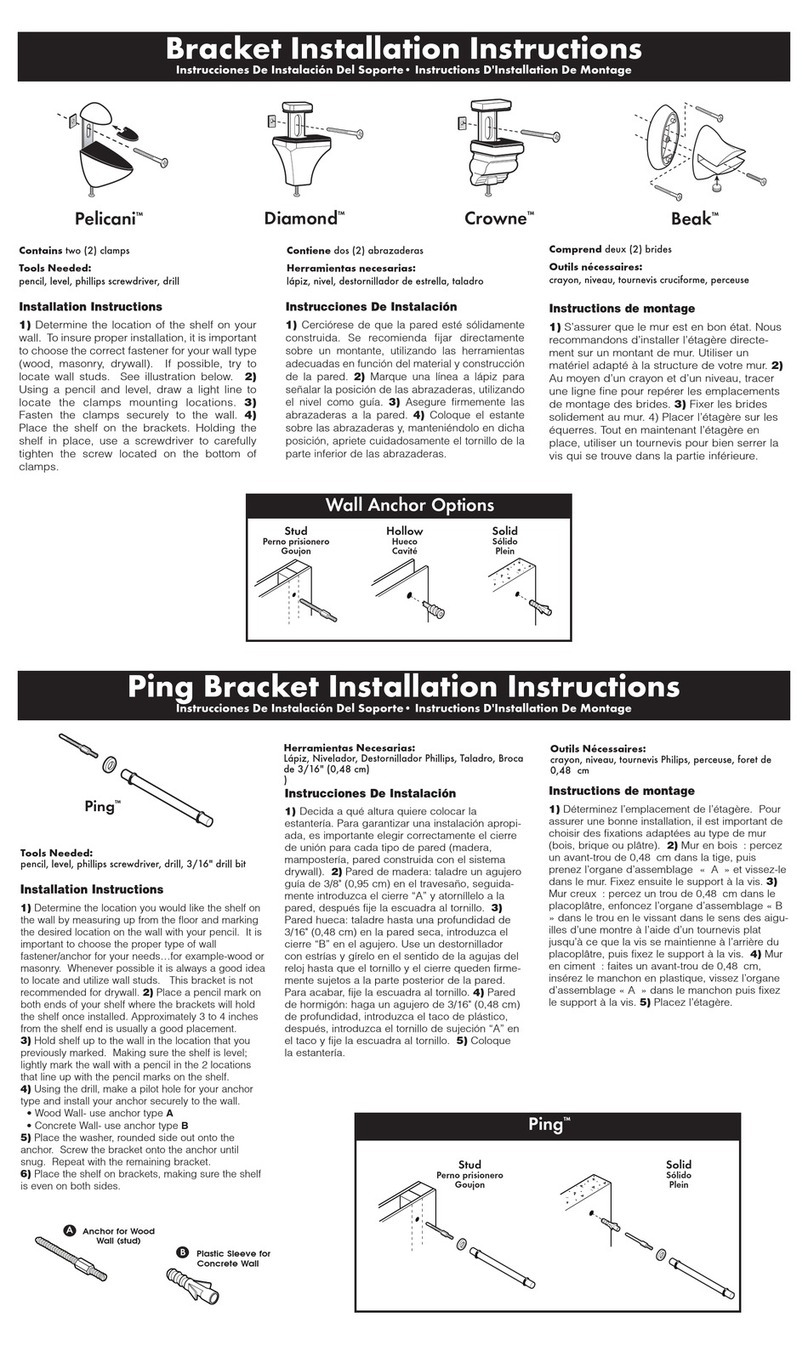
LTL AMORE Glace Series installation instructions
LTL

LTL AMORE Glace Series installation instructions

InterMetro Ind. FWT212737 Assembly instructions
InterMetro Ind.

InterMetro Ind. FWT212737 Assembly instructions

Argos SEAGRASS CHEST 424/3801 Assembly instructions
Argos

Argos SEAGRASS CHEST 424/3801 Assembly instructions

Little Folks Furniture Classic Bunk Bed BBD010 Assembly instructions

Little Folks Furniture

Little Folks Furniture Classic Bunk Bed BBD010 Assembly instructions
Birlea ISLINGTON MIDI SLEEPER Assembly instructions
Birlea

Birlea ISLINGTON MIDI SLEEPER Assembly instructions

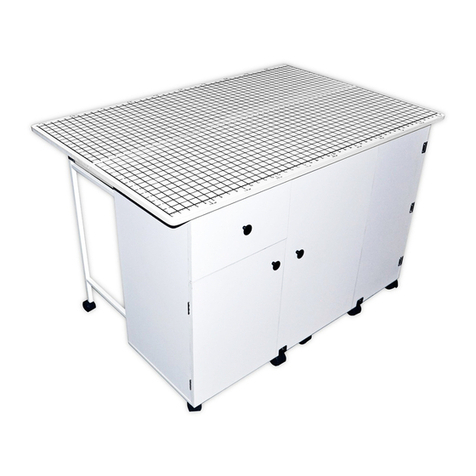
Sullivans QUILTER'S DESIGN TABLE 38434 instructions
Sullivans

Sullivans QUILTER'S DESIGN TABLE 38434 instructions

Next JARVIS 106577 Assembly instructions
Next

Next JARVIS 106577 Assembly instructions

Summer 27990 instruction manual

Summer

Summer 27990 instruction manual
Onespace JNFF Assembly instructions

Onespace

Onespace JNFF Assembly instructions
Ameriwood HOME Colebrook 5964503COM Assembly manual

Ameriwood HOME

Ameriwood HOME Colebrook 5964503COM Assembly manual

BIG FURNITURE WAREHOUSE Dorset KY011 Assembly instruction
BIG FURNITURE WAREHOUSE

BIG FURNITURE WAREHOUSE Dorset KY011 Assembly instruction

Hausted ViC329 operating manual

Hausted

Hausted ViC329 operating manual
Walker Edison Hans HANB4C Assembly instructions
Walker Edison

Walker Edison Hans HANB4C Assembly instructions
manuals.online logo
manuals.online logoBrands
  • About & Mission
  • Contact us
  • Privacy Policy
  • Terms and Conditions

Copyright 2025 Manuals.Online. All Rights Reserved.