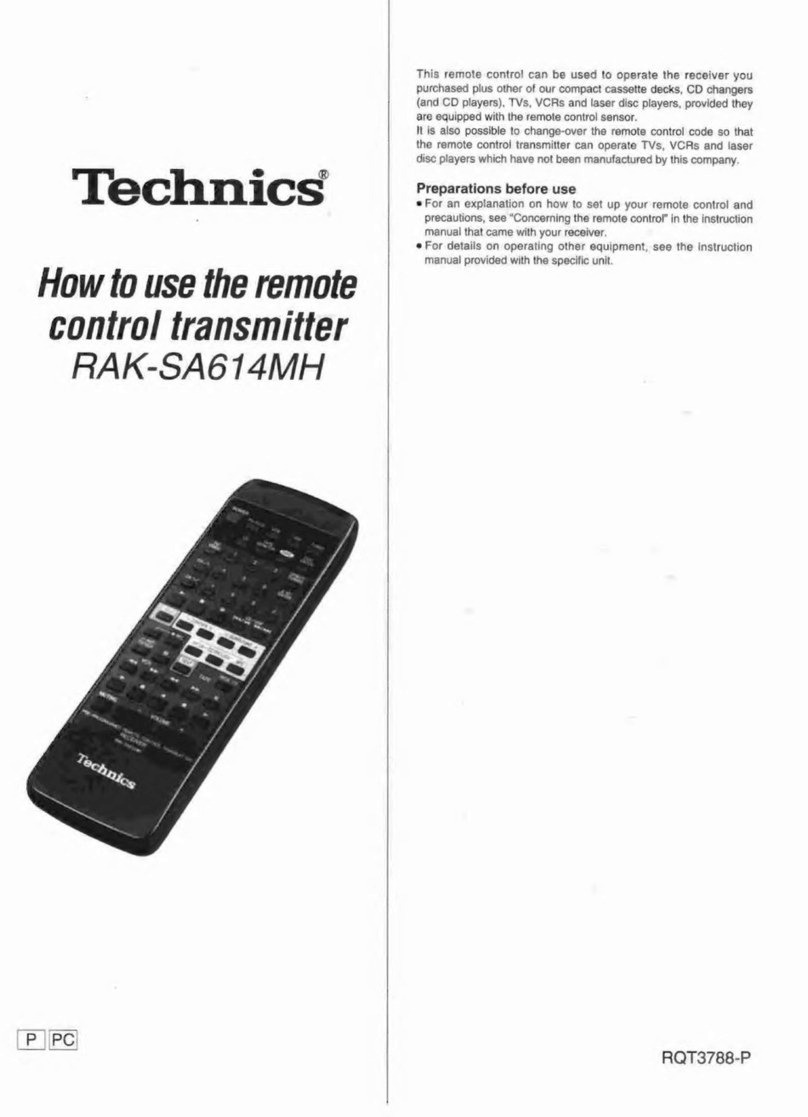
Technics SH-R500 User manual

Bere
‘Technics
Programmable
Remote
Control
Transmitter
SH-R500
OPERATING
INSTRUCTIONS
Before
operating
this
unit,
please
rea
d
these
instructions
completely.

HSIONA
Dean
Stereo
Fan
Thank
you
for
purchasing
the
Programmable
Remote
Control
Transmitter
SH-R500.
For
optimum
performance
and
safety.
please
read
these
instructions
carefully.
Contents
RGCOSSOLY
$2
fieees
oes
Hep
eee
Rms
3
Battery
Installation
.............0e
sees
3
Use
of
BatterieS
...........
cece
ee
eee
4
Operation
Notes
..........-..055
‘Aue
ipart
5
Controls
and
Their
Functions
..........
6
Before
Using
the
Remote
Control
......
10
To
Control
Technics
Audio
Components
i230.
ese
isa
oes
14
To
Control
Panasonic
Video
Components
..........0c:es
eee
eee
18
To
Controla
Thomson
VCRorTV
......
22
To
Controla
Philips
VCRorTV..........
24
To
Enjoy
‘Direct
Play”
...........5005.
26
To
Enjoy
‘‘Multi-Function
Play”
........
28
Code
Memorization
.............00000es
32
Code
EraSure:
ses.
ks
ence
eceese
cena
34
Troubleshooting
Guide
...............-
38
Maintenance
6
isi
cacti
ee
ad
ew
ewe
oe
38
Technical
Specifications
..............
39

Accessory
e
Manganese
batteries
[RO3
(UM-4)
“AAA"1.5V]
........
4
ENGLISH
Battery
Installation
1
Open
the
cover.
Press
the
lever
and
move
the
cover
in
the
direction
of
the
arrow.
2
Insert
the
batteries.
Use
four
manganese
batteries
[RO3
(UM-4)
“AAA”
1.5
Vj].
Be
sure
that
the
batteries
are
inserted
so
that
their
positive
(+)
and
negative
(—)
polarities
match
the
polarities
indicated
in
the
compartment.
Batteries
instal-
led
incorrectly
may
leak
and
cause
damage.
Refer
to
“Use
of
Batteries"
on
page
4
for
additional
information.

HSIIONS
Use
of
Batteries
Use
manganese
batteries
in
this
unit.
We
recommend
the
use
of
alkaline
batteries
if
the
remote
control
is
used
very
frequently.
Do
not
mix
old
and
new
batteries,
or
batteries
of
different
types
(carbon
and
manganese,
etc.).
Always
remove
old,
weak
or
worn-out
batteries
promptly
and
dispose
of
them
properly.
The
battery
life
is
about
6
months.
Although
the
battery
life
varies
depending
on
how
often
the
device
is
used,
the
batteries
should
be
replaced
about
once
every
6
months
on
the
average.
Because
a
fairly
large
power
is
required
in
order
to
enter
other
remote-control
signals
into
the
memory
of
this
unit,
note
that
the
batteries
will
weaken
faster
if
such
memory
entries
are
made
often.
The
batteries
should
be
replaced
if
commands
from
the
remote
control
transmitter
do
not
operate
the
unit
even
when
the
transmitter
is
held
close
to
the
front
panel,
or
when
the
display
becomes
dim
during
operation.
Since
this
unit
retains
the
memory
of
the
“learning”
keys
for
about
one
hour
from
the
time
the
batteries
are
removed,
when
replacement
is
necessary,
be
sure
to
have
the
new
batteries
ready
at
hand
before
removing
the
old
batteries.
If
the
memorized
codes
are
erased
by
not
replacing
the
batteries
quickly,
reprogram
this
unit
again.
The
original
SH-R500
pre-programmed
remote-control
codes
are
not
erased.
Never
subject
batteries
to
excessive
heat
or
flame;
do
not
attempt
to
disassemble
them;
and
be
sure
they
are
not
short-circuited.
if
a
battery
leaks,
remove
all
batteries
and
dispose
of
them
properly.
Thoroughly
clean
the
battery
compartment
before
inserting
new
batteries.
if
the
electrolyte
comes
into
contact
with
skin
or
clothes,
flush
with
water
immediately.
Keep
batteries
out
of
reach
of
children.
Do
not
use
rechargeable
(nickel-cadmium)
type
batteries.

Operation
Notes
Aim
the
remote
control's
transmission
window
toward
the
unit's
sensor.
Avoid
any
obstacles.
Use
the
remote
control
within
a
60
degree
angle
and
within
6
meters
(20
ft.)
from
the
unit.
lf
the
receiving
unit
is
placed
in
an
audio
rack,
the
distance
that
the
remote-control
transmitter
can
be
used
from
might
be
reduced
due
to
the
thickness
or
color
of
the
glass
door.
6
meters
(20
ft.)
Be
sure
the
transmission
window
and
the
unit’s
sensor
are
free
from
dust.
Excessive
dust
might
prevent
reception.
Avoid
dust
The
operation
may
not
be
correct
if
direct
sunlight
or
other
strong
light
source
strikes
the
remote
control
signal
sensor
part
of
this
unit.
If
there
is
a
problem,
place
the
unit
away
from
the
light
source.
The
audio
control
panel
of
the
remote
control
may
be
covered
by
a
clear
plastic
protective
sheet.
This
sheet
may
be
removed
if
desired.

HSIIONA
Controls
and
Their
Functions
USE
LEARN
|
RROROROHO:

Function
select
keys
These
keys
are
used
to
select
the
component
to
be
controlled
by
this
unit.
[2]
Input/function
select
keys
These
keys
are
used
to
select
the
input
source
at
the
component
and
to
select
the
component
to
be
controlled
by
this
unit.
Direct
play
key
This
key
is
used
to
change
this
unit
to
the
“direct
play”
mode.
[4]
Display
off/on
key
This
key
is
used
to
switch
ON
or
OFF
the
display
of
this
unit.
it
automatically
goes
“OFF”
when
the
display
is
not
used
for
approximately
18
minutes.
[5]
Operation
keys
These
keys
are
used
to
select
the
desired
function
of
the
selected
component.
[6]
Audio
power
key
This
key
is
used
to
switch
ON
or
OFF
the
power
of
the
desired
component.
Muting
key
This
key
is
used
to
temporarily
reduce
the
volume
level.
The
volume
level
is
attenuated
by
20
dB
(approx.
40).
Press
once
again
to
resume
to
the
previous
volume
level.
(Continued
on
next
page)
ENGLISH

_
Controls
and
Their
Functions
(continuea)
HSHONS
USE
DIRECT
et
DESI
USE
LEARN
MULTI
AITIAL
yp
ORECT
EG

Operation
mode
select
keys
These
keys
are
used
to
select
the
operation
mode
to
be
operated
by
this
unit.
use:
Select
the
“use”
key
to
set
this
unit
for
normal
operation.
learn
mode:
Select
the
“learn
mode”
key
to
set
this
unit
to
the
“learn”
mode.
enter:
Select
the
“enter”
key
to
select
the
mode.
(See
item
(i3].)
See
pages
23
through
37
for
more
details.
[9]
Multi-function
keys
These
keys
are
used
to
memorize
a
series
of
codes
(up
to
8
codes)
and
transmit
these
codes
in
a
single
operation.
(See
pages
28
through
31.)
Optional
keys
These
keys
are
used
to
memorize
a
code
to
be
used
frequently.
(See
page
33.)
Volume
keys
These
keys
are
used
to
adjust
the
volume
level.
Display
section
{12]
Direct
indicator
This
indicator
illuminates
when
this unit
is
set
to
the
“direct
play”
mode.
[13]
Operation
mode
indicators
One
of
these
indicators
shows
the
operation
mode
to
be
operated
by
this
unit.
[OK|/[ERROR]
indicators
[15]
Component
display
This
display
shows
which
of
the
component
function
has
been
selected.
The
display
shows
“FULL”
if
memory
capacity
is
exceeded
when
signals
from
another
remote
contro!
are
memorized.
ENGLISH

Before
Using
the
Remote
Control
This
remote
control
comes
in
two
types.
new
and
old.
This
remote
control
is
already
set
with
the
old
codes
so
first
check
if
it
can
operate
your
equipment
as
it
is.
HSIMONA
USE
LEARN
MULTI
Ait
W
csnect
WN
Ga
Cx
JERRCS
|
(AY
AN
UN
IN
WN
10

Select
the
component
to
be
operated.
Check
all
the
equipment
you
are
Press
the
power
or
play
buttons,
etc.
If
operation
is
possible
Use
the
remote
control
as
it
is
without
changing
codes.
If
operation
is
not
possible
Since
this
remote
control
can
not
be
operated
as
it
is,
first
change
the
mode
and
then
begin
to
operate
each
piece
of
equipment.
Follow
the
procedure
given
on
the
next
page
for
changing
the
mode.
ENGLISH
11

Before
Using
the
Remote
Control
(continued)
USE
LEARN
MULTI
INITIAL
METWM)3
OIRECT
NY
Wa
NG
Na
Cor
ANININ
IN
YN
Goa
12

,
modes
.
Select
‘‘ALL’’.
(Press
4
times.)
ENGLISH
Press
‘“‘enter’’.
“ALL”
will
flash.
Press
and
hold
the
key
until
the
“OK"
sign
is
indicated.
To
return
to
the
former
mode
Perform
steps
1~3
given
above.
If
operation
is
not
possible
with
new
and
old
codes
Since
operation
is
not
possible
in
this
condition,
refer
to
‘Code
Memorization”
on
page
32.
13

HSIIDN3
14
To
Control
Technics
Audio
Components
Muting
key

Switch
ON
the
power
of
the
component
to
be
operated.
audio
1
offion
a
ENGLISH
Select
the
component
to
be
operated.
DAT:
For
digital
audio
tape
deck
tape:
For
cassette
deck
CD:
ForCD
player
tuner:
For
receiver
or
tuner
Operate
the
component.
(See
next
page
for
details.)
sah
volume
AGT
Al
Adjust
the
volume
level.
To
attenuate
the
volume
level
muting
Press
the
muting
key.
The
volume
level
is
attenuated
by
approx.,
20
dB
(*/o).
Press
once
again
to
resume
to
the
previous
volume
level.
It
doesn’t
work?
In
that
case:
)
Copy
the
memorized
settings
of
the
remote
control
supplied
with
your
audio
components
to
this
transmitter
as
shown
on
page
32.
Then
try
again.
15

HSITONSA
To
Control
Technics
Audio
Components
(continued)
The
following
is
a
description
of
the
various
key
functions
which
control
remote-control
compatible
Technics
compo-
nents.
Note
that
some
keys
may
not
be
functional,
depending
on
the
component
itself.
Receiver
or
tuner
operation
For
selection
of
the
FM
or
AM
preset
channels
To
enable
the
disc
select
function
For
selection
of
the
disc
number
or
track
number
For
selection
of
program
play
mode
For
moving
the
pick
up
to
the
beginning
of
the
next
or
previous
track
For
selection
of
program
cancel
mode
Temporary
stop
of
disc
play
Play
of
the
compact
disc
Stop
of
the
compact
disc
play
16

For
details
regarding
operation
steps,
refer
to
the
operating
instructions
for
each
component.
|
Cassette
deck
operation
|
For
making
an
unrecorded
passage
during
recording
For
selection
of
the
deck
to
be
operated
For
recording
Fast
(for
a
dual-deck
forward
component)
and
rewind
Temporary
stop
of
tape
Playback
of
forward-side
of
the
tape
movement
Stop
of
tape
movement
Playback
of
reverse-side
of
the
tape
Digital
audio
tape
deck
operation
For
selection
of
the
tune
number
uncon
For
recording
or
making
an
unrecorded
passage
during
recording
Fast
forward
and
rewind
Temporary
stop
of
tape
Playback
of
the
tape
eae
Stop
of
tape
movement
ENGLISH
17

To
Control
Panasonic
Video
Components
m
z
9)
a
7)
x=
oi
Muting
key
18

Select
the
component
to
be
operated.
VCR1:
Forfirst
VCR
VCR
2:
Forsecond
VCR
VDP:
For
video
disc
player
TV:
For
TV
Operate
the
component.
(See
next
page
for
details.)
volume
Cae
Adjust
the
volume
level.
To
attenuate
the
volume
level
Press
the
muting
key.
The
volume
level
is
attenuated
by
approx.,
20
dB
(Vio).
Press
once
again
to
resume
to
the
previous
volume
level.
(
It
doesn’t
work?
In
that
case:
)
Copy
the
memorized
settings
of
the
remote
control
supplied
with
your
video
components
to
this
transmitter
as
shown
on
page
32.
Then
try
again.
ENGLISH
19

HSITONS
To
Control
Panasonic
Video
Components
continuea)
The
following
is
a
description
of
the
various
key
functions
which
control
remote-control!
compatible
Panasonic
compo-
nents.
Note
that
some
keys
may
not
be
functional,
depending
on
the
component
itself.
VCR
1/VCR
2
operation
For
switching
the
power
ON
or
OFF
of
a
VCR.
For
direct
channel
selections
programmed
into
memory
For
channel
tuning
in
the
sequence
in
which
the
channels
are
programmed
into
memory.
Fast-forward
or
rewind
Press
these
keys
simultaneously.
O
bel)
10
©
©
©fO;
J©
@|O:
©
OJO
]
Qi
¢
|
@
For
direct
selection
of
chapter
number
For
selection
=
oe
€
RQ
3
Fi
a
S
if
3
s8
‘i
eg
3
of
program
8
For
movin
play
mode
Sane
©)
the
pick
i
For
selection
he
ie
,
of
program
beginning
of
cancel
mode
ae
chapter
Playback
of
the
video
disc
Stop
of
the
disc
play
Temporary
stop
of
disc
play
20
Table of contents
Other Technics Transmitter manuals
Popular Transmitter manuals by other brands

HYDROLOGICAL SERVICES
HYDROLOGICAL SERVICES WLT420 operating manual

Nice
Nice Silentron Silenya Adv 7041 PCK 3 Instructions and warnings for installation and use

Michell Instruments
Michell Instruments SF82 Series user manual

LEGRAND
LEGRAND Tynetec ZXT870 quick start guide

Sennheiser
Sennheiser SI 1011 operating instructions

Status
Status SEM320 user guide

AVK
AVK 3004/001 Installation, operation and maintenance manual

Minebea
Minebea CSA-507C instruction manual

SEIKAKU TECHNICAL GROUP
SEIKAKU TECHNICAL GROUP VT-22P instruction manual

Nautel
Nautel XR6 troubleshooting manual

Panametrics
Panametrics DigitalFlow XMT868i Startup guide

XtremeMac
XtremeMac AirPlay IA-AIR-00 manual