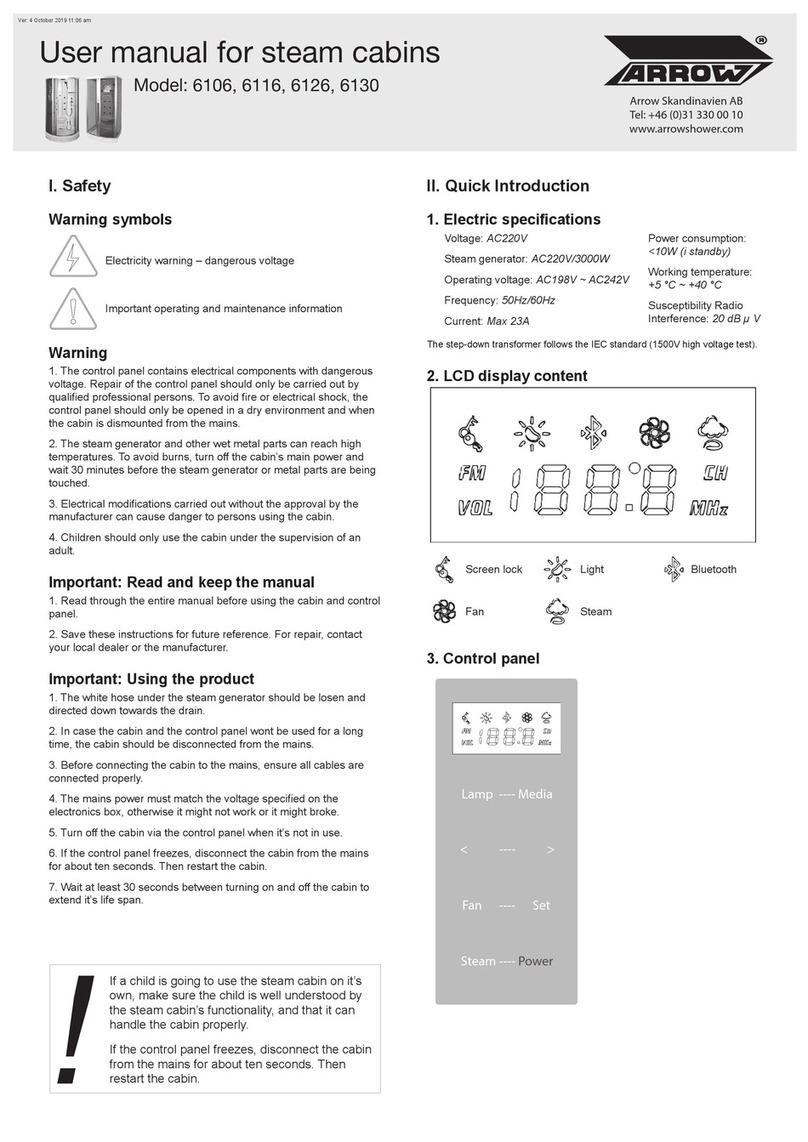
Technoform Techno Design Himalia 31 User manual

par
by
( 450.699.2424 – 1 877.377.4494 7 450.699.8484 - [email protected] ü www.technoform.ca
HSW202003-02
MANUEL D’INSTALLATION POUR MUR DE DOUCHE
HIMALIA 31-34-36
SHOWER WALL INSTALLATION MANUAL
CONTENU
CONTENT
§ Panneau mural x 2
§ Wall panel x 2

par
by
( 450.699.2424 – 1 877.377.4494 7 450.699.8484 - [email protected] ü www.technoform.ca
HSW202003-02
OUTILS & MATÉRIAUX REQUIS
REQUIRED TOOLS & MATERIALS
§ Ruban à mesurer
§ Niveau
§ Équerre
§ Crayon
§ Tournevis Robertson no. 8
§ Scie emporte-pièce
§ Couteau utilitaire
§ Ruban masque 2''
§ Marteau
§ Pistolet à calfeutrage
§ Un tube de 304 ml de scellant latex/acrylique
pour salle de bain*
§ Deux tubes de 310 ml d’adhésif recommandé
pour les contours de bain et de douche en ABS*.
§ Deux lattes de bois de +/- 2" x 70" x 5/8"
§ Huit lattes de bois de dimensions variables (selon
la dimension de votre douche, soit 31", 34" ou
36") – voir Fig. 3.
* Informez-vous auprès de votre détaillant.
§ Measuring tape
§ Level
§ Square
§ Pencil
§ Robertson screwdriver no. 8
§ Hole saw
§ Utility knife
§ 2'' Masking tape
§ Hammer
§ Caulking gun
§ One 304 ml cartridge of latex/acrylic caulk for
bathrooms*
§ Two 310 ml cartridges of adhesive recommended
for ABS shower and tub-surrounds*.
§ Two wooden laths of +/- 2" x 70" x 5/8"
§ Eight wooden laths of variable dimensions
(according to your shower size: 31", 34" or 36") –
See Fig. 3.
* Please see with your retailer.
AVANT DE COMMENCER | PRIOR TO STARTING
§
§ Ce manuel traite de l’installation et de l’entretien de votre nouveau mur de douche Himalia de Techno
Design® par Industries Technoform Ltée. Veuillez en lire le contenu avant d’entamer l’installation. Par la
suite, assurez-vous de le conserver dans un lieu sûr pour référence future.
§ Retirez le produit de son emballage, vérifiez que toutes les composantes s’y trouvent, enlevez la
pellicule de plastique sur chacune des composantes s’il y a lieu et assurez-vous que le produit soit en
bon état. Si l’inspection révèle que le produit est endommagé ou qu’il y a un défaut de fabrication,
veuillez communiquer avec le distributeur. La garantie ne couvre pas les dommages ou les défauts de
finition une fois le produit installé. La responsabilité quant aux dommages survenus lors du transport
cesse lorsque le produit est transféré au transporteur. Toute plainte liée à un dommage dû au transport
doit être directement soulevée auprès du transporteur.
§ Vérifiez tous les codes de plomberie locaux et veillez à arrêter l'eau à la source et retirer la vieille
plomberie, le cas échéant.
§ Ce produit permet un certain ajustement; toutefois, si les parois ne sont pas solides, d’aplomb et
d’équerre, l’installation pourrait en souffrir.
§ Les murs devraient être recouverts de placoplâtre ordinaire ou de placoplâtre résistant à l’eau, d’une
épaisseur de 1/2''. Les murs doivent être secs et exempts de saleté, de cire et de savon, ou de tout autre
résidu. Les papiers peints doivent être enlevés. Ne pas installer le mur de douche par-dessus des tuiles
de céramique ou du contre-plaqué.
§ Laissez le mur de douche à la température de la pièce environ une demi-heure avant de procéder à
l’installation.

par
by
( 450.699.2424 – 1 877.377.4494 7 450.699.8484 - [email protected] ü www.technoform.ca
HSW202003-02
§ Attendez 24 heures après l'installation avant d'utiliser la douche (jusqu'à ce que le silicone soit sec).
§ Utilisez le carton d'emballage pour protéger le produit lors de l'installation.
§ Veuillez prévoir à l'avance les perforations pour la plomberie. Nous vous recommandons l'usage d'une
scie emporte-pièce pour se faire. Pour tout perçage de la robinetterie, appliquez du ruban masque pour
empêcher le jaillissement d'éclisses et de copeaux.
§ This guide covers the installation process as well as the maintenance of your new Techno Design®
Himalia shower wall by Technoform Industries Ltd. Please read it carefully prior to installation. You
should then keep it in a safe place for future reference.
§ Remove the product from its packaging, make sure that all of the components are there, then remove the
plastic film on each of the components if need be and verify that the product is in good shape. Should the
inspection reveal that the product is damaged or that it has a manufacturing defect, contact the
distributor at once. The warranty does not cover damages or finishing defects once the product has been
installed. The responsibility for shipping damages ceases upon delivery of the product in good order to
the carrier. All complaints regarding damages due to shipping must be made directly to the carrier.
§ Check all local plumbing codes and be sure to shut off water supply at the source and remove all old
plumbing fixtures, if applicable.
§ This product has been designed with some adjustability for minor alignment problems; however, if the
walls are not solid, plumb and square, it may result in a poor installation.
§ The walls should be covered with 1/2" drywall or water-resistant drywall. The walls must be dry and free
of dirt, wax and soap, or any other residue. Wallpaper must be removed. Do not install the shower wall
over existing ceramic tile or plywood.
§ Allow product to reach room temperature for 30 minutes before installing.
§ Wait 24 hours after the installation before using the shower (until silicone is dry).
§ Use shipping cardboard to protect the product while installing.
§ Plan ahead the perforations required for the plumbing. We recommend that you use a hole saw to
proceed. We also recommend that you apply masking tape to prevent splints.
ÉTAPES À SUIVRE | STEPS TO FOLLOW
1. Suite à l'installation de votre base de douche, installez le placoplâtre par dessus la bride de carrelage
(Figure 1).
2. Enlevez la pellicule de plastique se trouvant sur les zones d'assemblage des murs d'acrylique seulement
(où les vis et le silicone seront mis). Tirez un joint de silicone dans la cavité prévue à cet effet, puis
assemblez les murs à l'aide des vis et des écrous no. 8 fournis (Figure 2).
3. Préinstallez les murs sur la base de douche et tracez des lignes repères de chaque côté des murs, ainsi
que sur le haut de ceux-ci (Figure 3).
4. Retirez ensuite les murs et fixez les lattes de +/- 2'' X 70'' X 5/8'' le long des lignes verticales
préalablement tracées (laissez environ 1/4'' d'espace entre la latte et la base de douche). Fixez ensuite
les lattes horizontales de dimensions variables selon la grandeur de votre douche (Figure 4).

par
by
( 450.699.2424 – 1 877.377.4494 7 450.699.8484 - [email protected] ü www.technoform.ca
HSW202003-02
5. Étendez l'adhésif recommandé sur la surface des lattes de bois (Figure 5).
6. Enlevez le restant de la pellicule de plastique se trouvant sur les murs, puis faites la finition (Figure 6).
1. Following the installation of your shower base, install the drywall above the tiling flange (Figure 1).
2. Remove the plastic film from the assembly area on the acrylic walls only (where the screws and silicone
will be). Spread a bead of silicone in the cavity provided for this purpose and assemble the walls with the
help of no. 8 screws and nuts supplied (Figure 2).
3. Pre-install the walls on the shower base and trace reference lines along each side of the walls, as well as
on the top of the walls (Figure 3).
4. Remove the walls and fix the +/- 2'' X 70'' X 5/8'' laths along the previously traced vertical lines (leave
approx 1/4'' space between the lath and the shower base). Then fix the horizontal laths of variable
dimensions according to the size of your shower (Figure 4).
5. Spread the recommended adhesive on the surface of the wooden laths (Figure 5).
6. Remove the remainder of the plastic film on the shower walls, then proceed with the finish (Figure 6).
ENTRETIEN & NETTOYAGE | CARE & CLEANING
Nettoyez avec un savon doux (savon à vaisselle). NE PAS employer de produits de nettoyage abrasifs ou
corrosifs. L'usage de ces produits pourrait endommager les composantes et annulerait la garantie.
L'utilisation de grattoir, brosse ou tout autre objet pouvant endommager la surface du produit est à
proscrire. L'application régulière d'une cire pour auto de qualité contribuera à maintenir le lustre du produit
et en facilitera l'entretient.
Clean with gentle soap (dishwashing liquid). DO NOT use any abrasive or corrosive cleaning products. Using
these products may damage the components and void the warranty. The use of gritting, scraper, brushes or
any other object which can damage the surface of the product is proscribed. A regular application of a
quality wax will help maintain the surface finish and facilitate the maintenance.
GARANTIE LIMITÉE DE 10 ANS | LIMITED WARRANTY OF 10 YEARS
Ce produit est garanti contre tout défaut de fabrication à partir de la date d’achat indiqué sur le reçu (bon
de caisse) de l’achat fait par le consommateur. Industries Technoform Ltée offre une garantie limitée de dix
(10) ans sur ses murs de douche en acrylique. Cette garantie s’adresse au propriétaire original. Elle porte
sur le produit mais n’inclus pas la main d’œuvre et ne comprends pas les frais de déplacement, les frais
d’installation, de désinstallation, ni les frais de transport. À sa discrétion, le manufacturier remplacera ou
réparera sans charge durant la période de garantie et si l’installation est conforme, le produit défectueux,
ceci n’incluant pas les frais mentionnés ci haut. La garantie ne s'applique pas aux taches provoquées par
une eau ferreuse ou une eau dure. Cette garantie ne couvre pas les dommages causés par les usages
abusifs, la négligence, le mauvais usage, les bris résultant de chocs, de mauvaises manutentions, de
modifications du produit, de l’utilisation de produits chimiques ou abrasifs. Si tel était le cas, cette garantie
serait annulée sans aucun autre recours. Cette garantie n’est valide que si les instructions d’installation
ont été suivies et que l’installation est conforme au manuel d’installation. Cette garantie se limite au
choix du manufacturier concernant le remplacement ou la réparation. Aucune indemnité ne pourra être
réclamée suite à un accident survenu lors de l’installation ou suite à l’usage du produit.

par
by
( 450.699.2424 – 1 877.377.4494 7 450.699.8484 - [email protected] ü www.technoform.ca
HSW202003-02
This product is warranted against any manufacturing defect starting from the date of purchase by the
consumer as shown on the purchaser’s receipt. Technoform Industries Ltd offers a limited warranty of ten
(10) years on its acrylic shower walls. This warranty is limited to the original consumer purchaser and is
applicable for the product only. Labor charges, traveling expenses, installation /uninstallation fees, as well
as carrier fees are not covered. During the warranty period, the manufacturer will, at its discretion, replace
or repair free of charge the product proven to be defective, excluding the above mentioned fees, so long as
the installation is compliant. This warranty does not cover stains caused by different types of water such as
ferrous or alkaline water. This warranty does not cover damages caused by abusive usage, neglect, misuse,
as well as breakage resulting from shocks, improper handling, modifications made to the product, usage of
abrasive or chemical products. If this were the case, this warranty would be void without any other recourse.
This warranty is only applicable if the installation instructions were followed and the installation is
compliant with the instructions provided in this manual. This warranty is limited to the choice of the
manufacturer regarding the replacement or repair. Technoform Industries Ltd is not liable for any incidental
or consequential damages resulting from the use of its products or their installations.
FIGURES
5
1/4
26
23
1. 2. 3.
3. 4. 5.
This manual suits for next models
2
Table of contents
Popular Shower Cabin manuals by other brands

Novellini
Novellini NEW HOLIDAY R115 Installation, use and maintenance manual
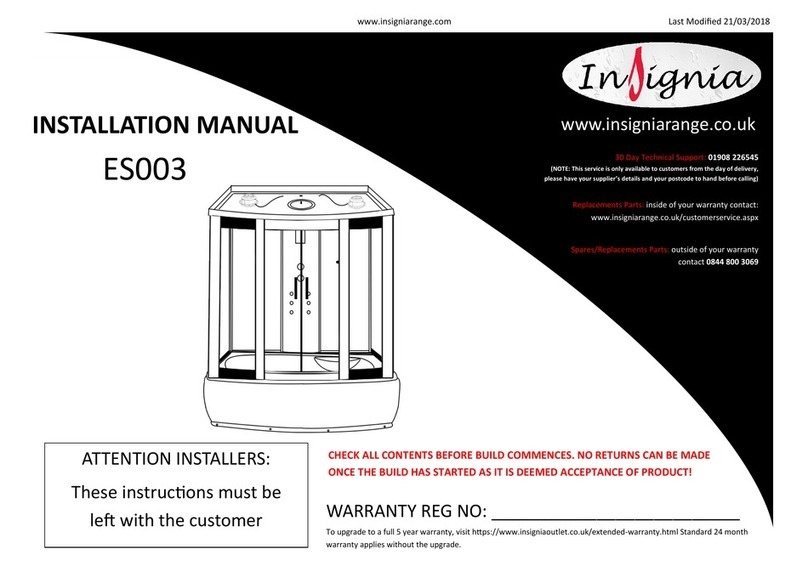
Insignia
Insignia ES003 instruction manual
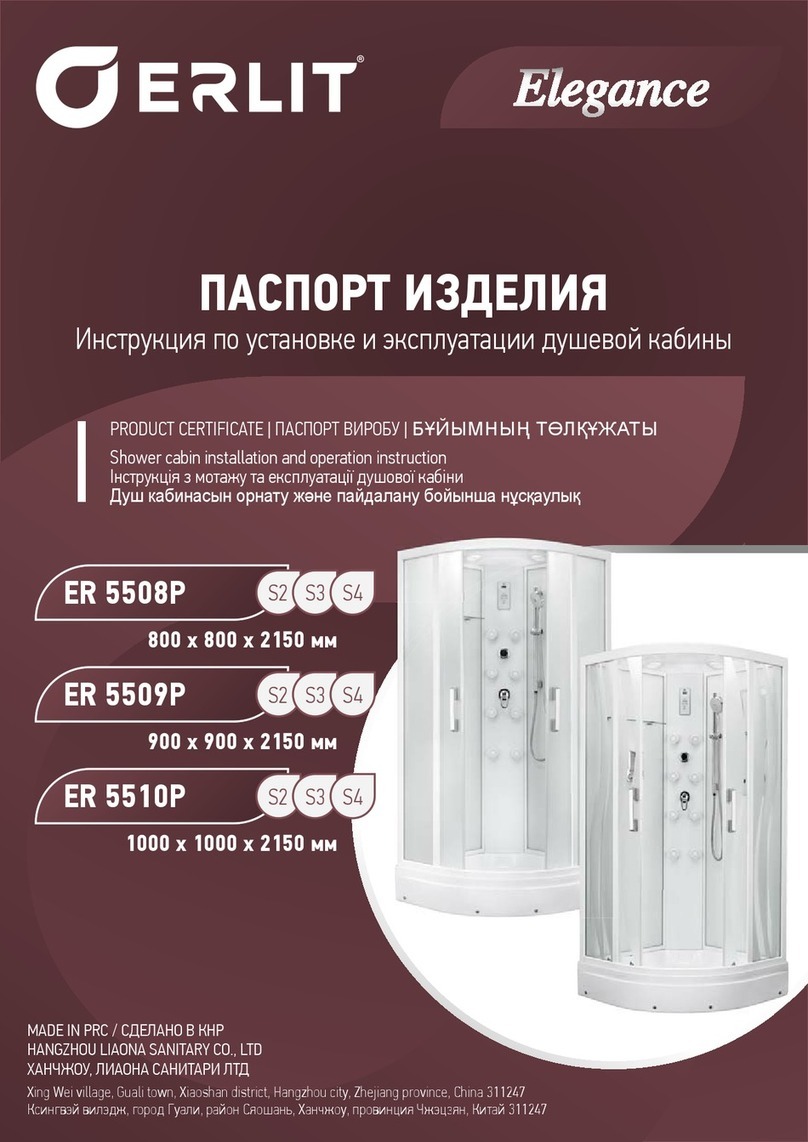
ERLIT
ERLIT ER5508P-S3 Installation and operation instruction

Omnires
Omnires NDC80X Installation and Maintenance

MASCO Bath
MASCO Bath Aqua Glass ASB Eleganza 48" installation manual
Arblu
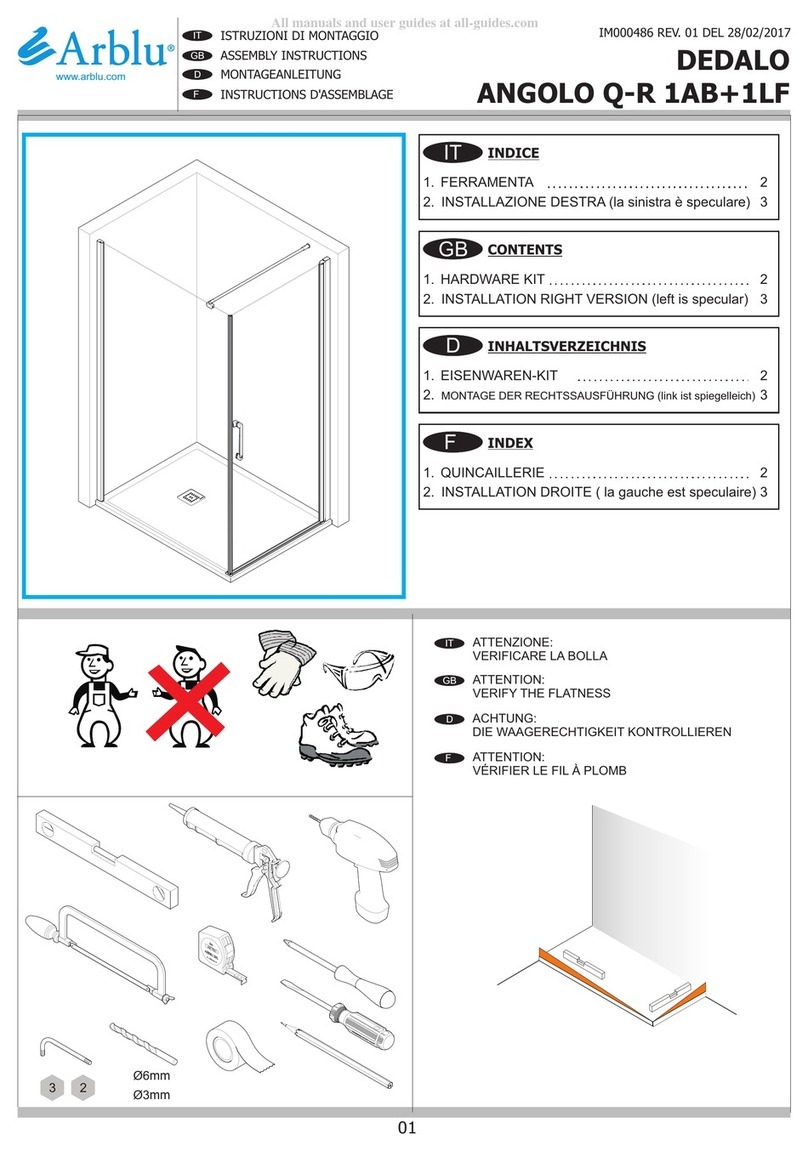
Arblu DEDALO ANGOLO Q-R 1AB+1LF Assembly instructions
