III. User guide for control panel
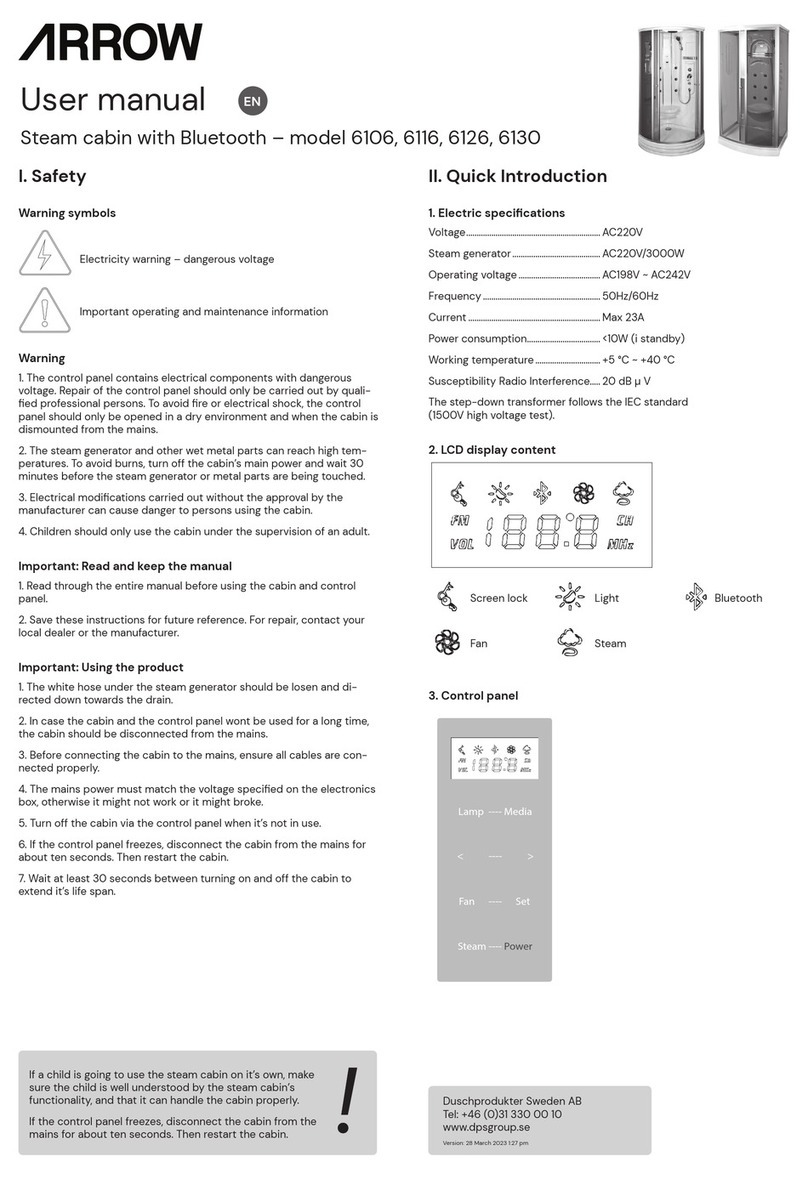
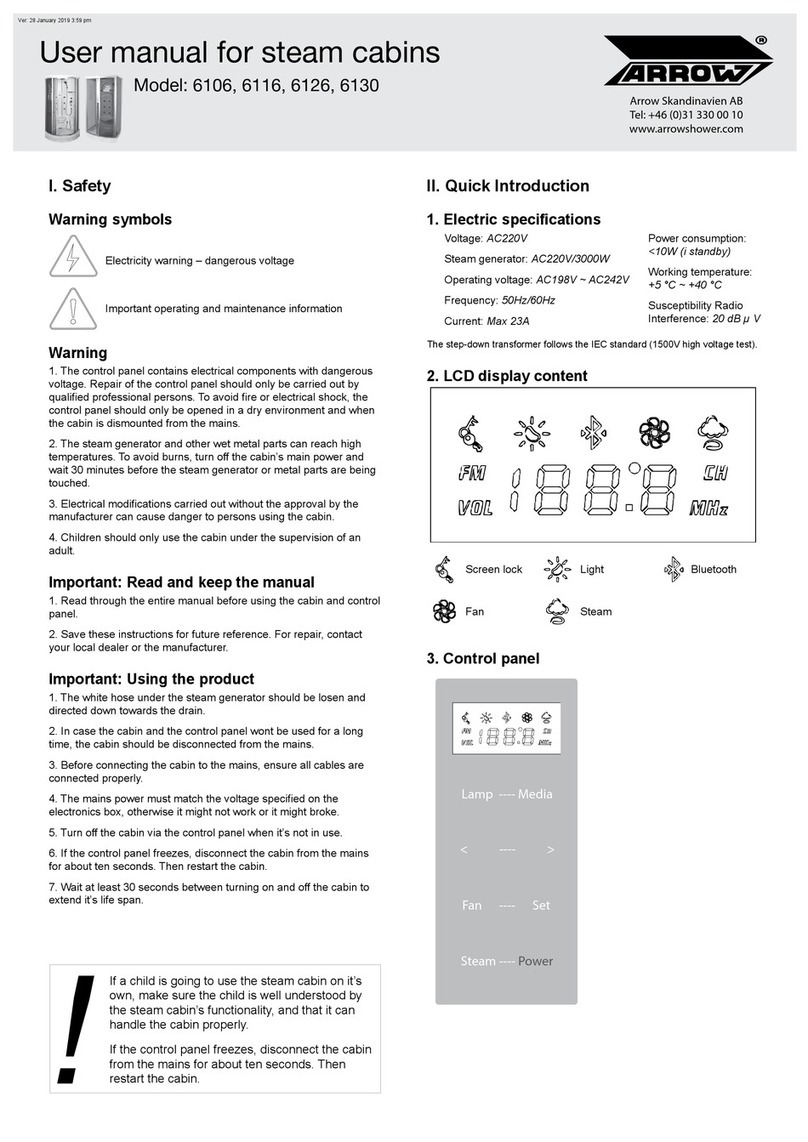
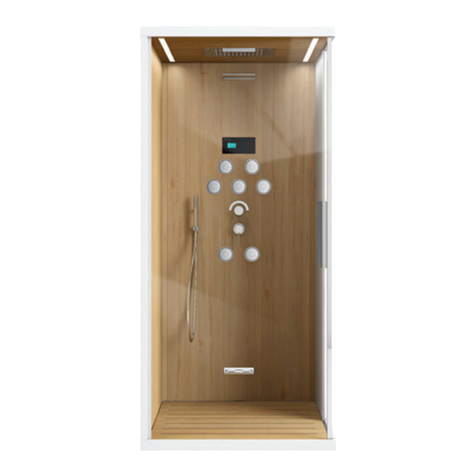
1. Power
Press the Power button to turn the system on. The lights comes
on. The screen will by default show the air temperature. Press the
Power button again to turn the system o.
2. Screen lock
The screen lock is activated when no button is pressed for a few
minutes. The key symbol lights up and all buttons are disabled.
Press any button for 3 seconds to unlock the screen.
3. Lamps
Press the Lamp button one or several times to turn on and switch
between the lamps. Available options: Only top lamp is turned on /
only backlight is turned on / both lamps are turned on / both lamps
are turned o. The top lamp will turn on automatically when the
system is turned on.
4. Fan
Press the Fan button to turn the fan on. The fan symbol lights up on
the screen. Press the Fan button again to turn the fan o.
5. Steam function
5.1 Before you turn the steam function on
Turn the diverter to ”O” and the ow controler to max. Then choose
temperature and time.
5.2 Temperature
Press the Set button until the temperature ashes on the screen.
Press the < or > buttons to decrease or increase the temperature.
Default temperature is 45 °C. Selectable temperature is 25 °C to 47
°C. Choose temperature and wait 5 seconds.
5.3 Timer
Press the Set button until the timer ashes on the screen. Press the
< or > buttons to decrease or increase the time. Default time is 45
minutes. Selectable time is 10 to 60 minutes. Choose time and wait
5 seconds.
5.4 Start the steam function
Press the Steam button to start the steam function. The steam
symbol lights up on the screen.
The steam water tank is lled automatically, and re-lled when
needed.
5.5 Turn o the steam function
The steam function will turn o automatically when the time is up. To
manually turn it o, press the Steam button.
Remember to turn o the water with the ow control, and to set the
diverter to hand shower for instance.
The water tank is emptied automatically. It might take several
minutes.
6. Media: FM Radio
6.1 On/O
Press the Media button untill the radio frequency is shown on the
screen. To turn the radio o, press the Media button again untill the
temperature is showing on the screen.
6.2 Change radio frequency
Press the < or > button to decrease or increase the frequency (87,5
– 108,0 MHz). Press and hold the < or > button for 2 seconds to
search for the next radio station. The current frequency will be shown
on the screen.
6.3 Save a radio channel
To save the current radio frequency as a channel, press the Set
button twice. The digits will blink on the screen. Choose a channel
position by using the < and >buttons and press the Set button or
wait a few seconds to save.
6.4 Change the channel
In Radio mode, press the Set button three times. The text “CH”
blinks on the screen. Then choose a channel by using the < and >
buttons.
7. Media: Bluetooth
7.1 On/O
Press the Media button until Bluetooth symbol lights up on the
screen and the text “btC” is showing (“bluetooth connection”). These
will have a xed light if a Bluetooth device is connected to the cabin.
If they are ashing, no Bluetooth device is connected. To turn the
Bluetooth o, press the Media button again until the temperature is
showing on the screen.
7.2 Bluetooth pairing
To pair the cabin with a Bluetooth device, search for Bluetooth
devices on your smartphone, tablet or similar (follow the instructions
that came with your smartphone/tablet). Choose the cabin to pair the
devices.
If the pairing is successful, the Bluetooth symbol and the text “btC”
will have a xed light. If the pairing failed, the symbol and text will be
ashing.
7.3 Play music via Bluetooth
When the cabin is paired with another Bluetooth device, hold the
Media button for 3 seconds to start the music. Jump between songs
by pressing < or >. Hold the Media button for 3 seconds to stop
playing music.
8. Volume
Hold the Set button until the text “Vol” ashes on the screen. Press <
or > to decrease or increase the volume.
IV. Cleaning
Use a soft cloth and a mild detergent. Do not use a detergent
containing abrasives, acetone or ammonia. Limescale can be
removed using lime dissolving detergent. Drain and nozzles should
be cleaned regularly to prevent clogging. Chrome-plated parts
should be polished with care.
V. Error codes / Troubleshooting
E1: Temperature sensor failure. The sensor is broken or a short
circuit have occured. The control panel buttons are inactivated.
Disconnect the cabin from the mains and x the problem.
E2: Water level error: The stem generator is on but the water level
gauge does not work properly. The water tank will not be lled if the
water level is lower than what the gauge is indicating. It can be due
to damage or lime deposit. Turn o the steam function and wait until
the water level is normal and the error message (“E2”) disappears.
E3: Delayed water level measuring: Appears after two minutes of
“E2” error. Disconnect the cabin from the mains and x the problem.
E5: Overheating due to insucient water: Appears if the water level
gauge doesn’t work and the steam generator continues to heat up
the empty water tank to over 180 °C, visas texten ”E5” och systemet
piper två gånger. Disconnect the cabin from the mains, wait for the
water tank to get cold and x the problem.
